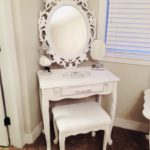
My First Project I Did Chalk Painting Furniture!
We had just moved into our new home back in 2014 and my first plan of attack after having moved in was to refinish and paint over most of my existing furniture! Out of necessity, my furniture painting journey had begun!
In my previous home, my furniture was very dark and cherry colored and I was happy with that scheme, having said that, moving into a new home inspired my creativity and to make over most of the furniture in the house.
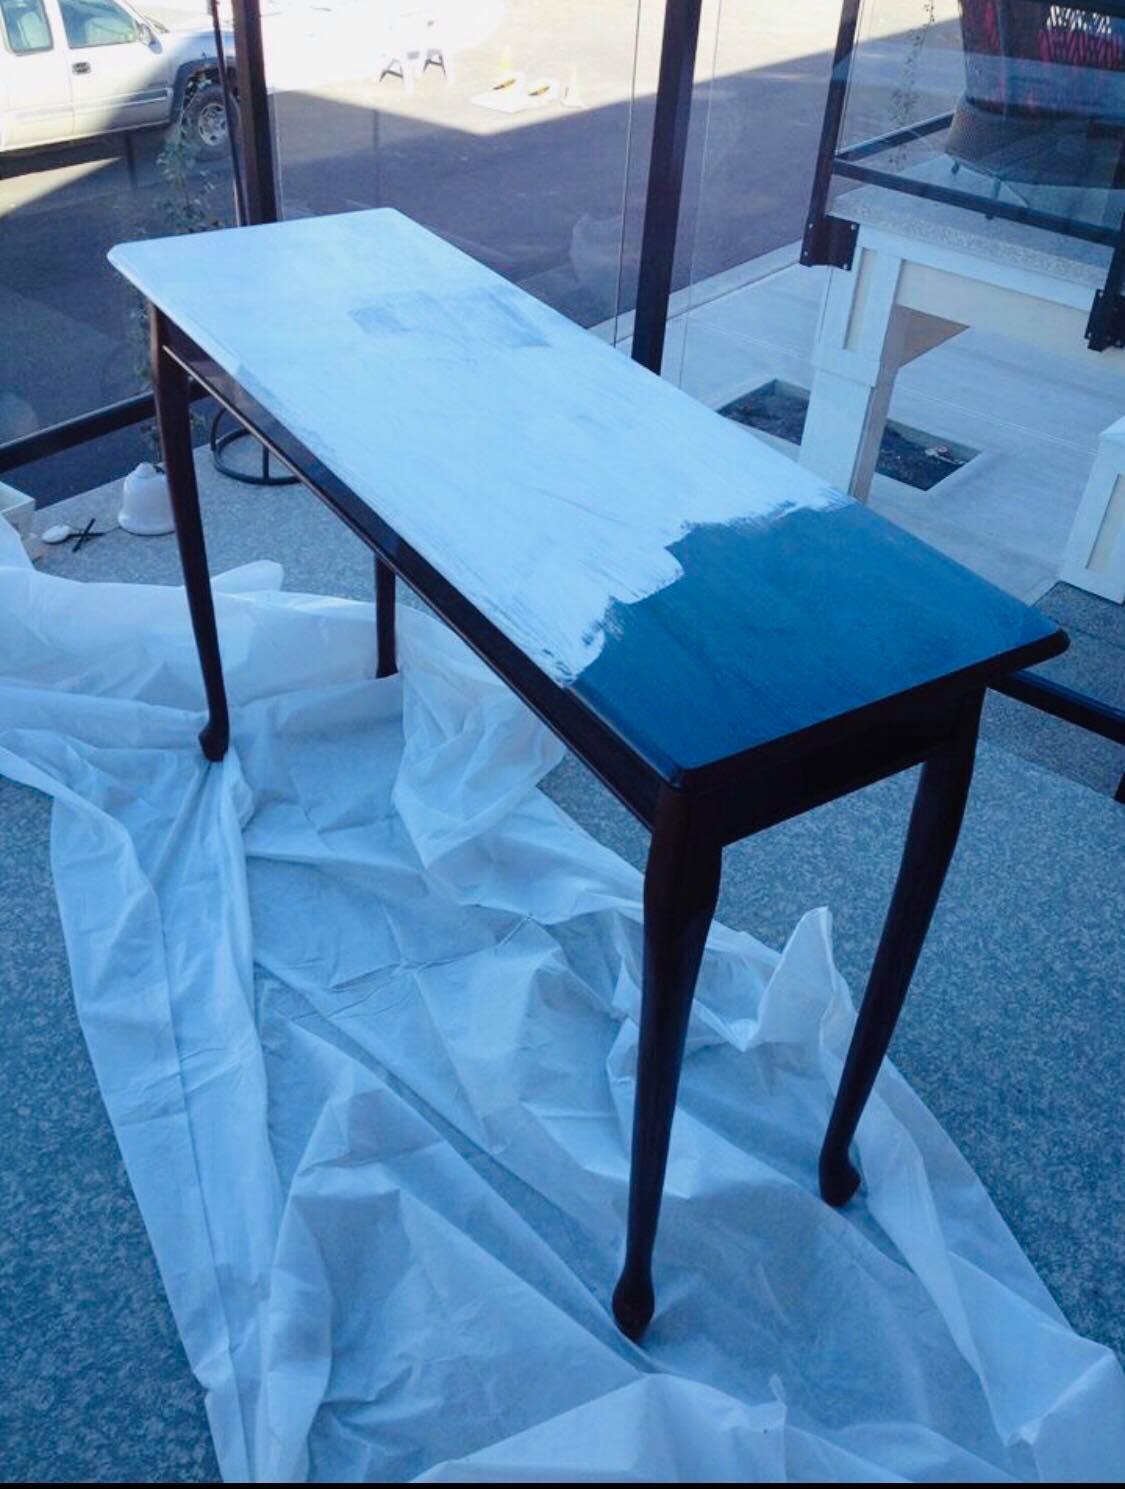
The first area I wanted to tackle was my brand new craft room and I needed a table in the corner and the only table I could find that would fit was a sofa table I had for years.
BEFORE:
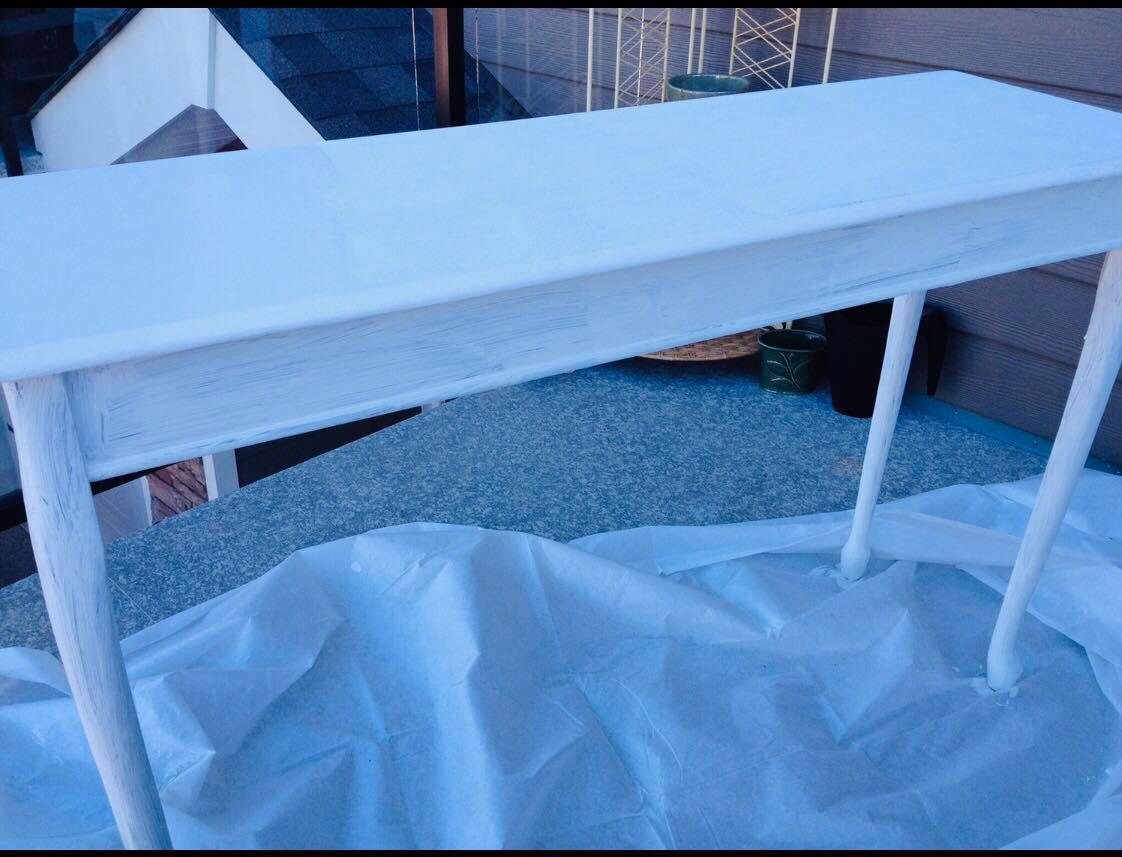
What a horrible picture isn’t it! I’m even surprised I actually took a picture and kept it from 10 years ago! I started painting it and then thought to take the photo. The photo was taken outside on our deck because at the time I thought I had to paint the furniture outside.
I have learned its not necessary to take the furniture outside to be painted. I would recommend painting in a garage if possible. As we had just moved, the garage was full of our belongings and there was no room in the garage to paint.
I have painted a lot of furniture right inside the house. I do open the windows for air but most chalk paint nowadays is low VOC and low odor.
These are a couple of photos I took while painting the sofa table. I learned something very valuable from that experience in that I went straight to painting without prep work! I did not sand and I did not prime, I just painted the table.
While the table turned out fine in the end, I went to a lot of extra work painting it and expense as I used many many coats. This particular wood was very shiny and it would have helped me tremendously to at least scuff it up with some sort of sandpaper.
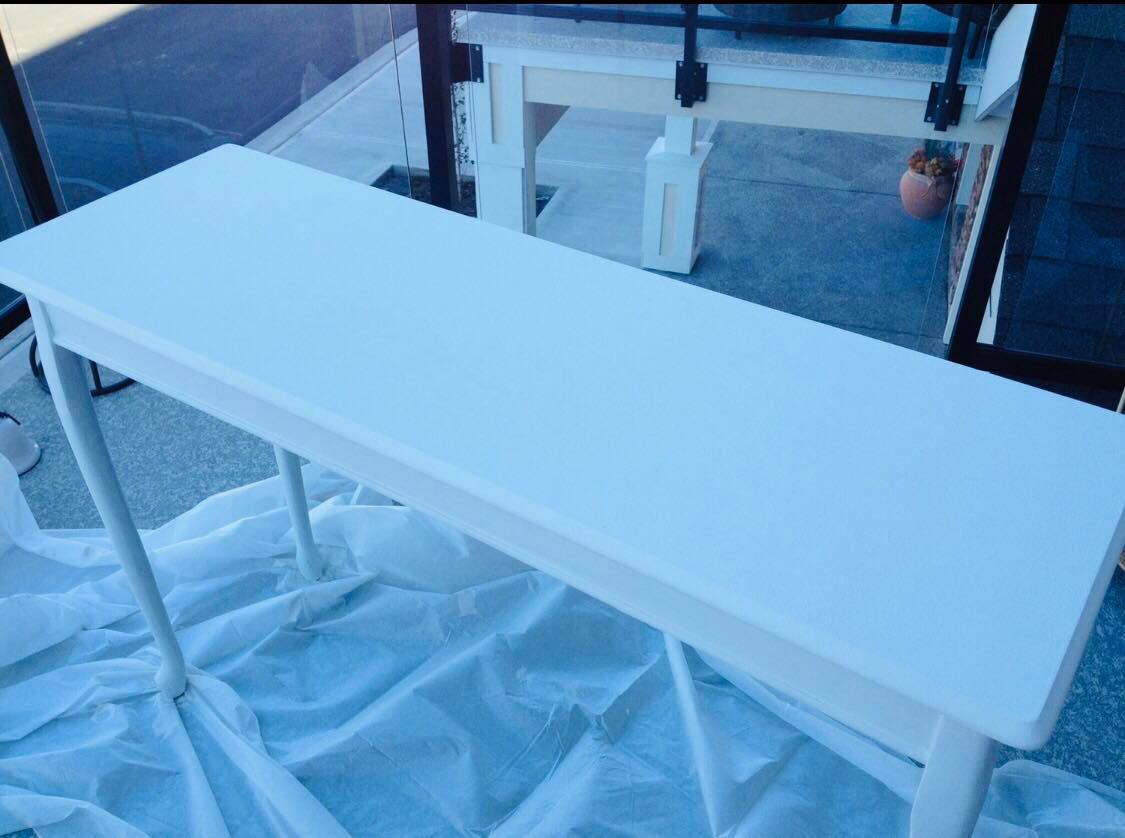
AFTER:

Prep Tips for Chalk Painting Furniture
- Most chalk paint requires little prep in the areas of sanding and priming but I do always suggest some sort of prep work. It will save you time and money in the end.
- If you are a beginner, I would stay away from buying furniture that needs repairs but if that doesn’t intimidate you, then go for it!
- For best results, you will want to clean your piece very well at the very least. If there are oils, fingerprints and dirt, your paint will have a hard time adhering nicely to your furniture. You can just use dish soap and water, no need for fancy cleaners, unless you would like to try some.
- If your piece is a very dark color, like mahogany or cherry wood, like my table was, I would suggest taking a sanding sponge and lightly scuffing it up, no need for harsh sanding, just a light scuffing is all that is necessary. Be sure to take a damp towel or rag and wipe off the excess sanding dust.
Primer
- I would strongly recommend using a primer with any pieces that are dark-colored and you are wanting to paint them out a lighter shade.
- You will end up saving time and money because you will need to use less chalk paint and therefore you will be painting fewer coats if you use a primer.
- When I painted my cherry furniture, I went from dark cherry to stark white! If you are going from a very dark color to a stark white color, you definitely will want to prime. Why? It will save you so much time and money on chalk paint! It means fewer coats for you and better coverage.
- The other issue that can happen is your wood can actually bleed through and the tannins can show through your paint color and no matter how many coats of paint, it will not cover a tannin. Tannins are dark spots on your furniture that bleed through the paint. Your best defense is using a primer for dark wood.
Brushes for Chalk Painting Furniture

Honestly, when it comes to brushes, I would suggest using the best brush you can afford. Having a nice quality brush makes a big difference to the enjoyment of painting as well as the coverage and lack of streaks you will have. I hate using a brush that has hairs coming out of it onto my project, yuck!
Sand and Paint
After you have cleaned your piece, lightly sanded it and wiped it down, you are ready to paint! I say dip that brush in and just get going. I personally am not a clean painter, nor am I a fancy one, just make sure there are no drip spots on corners and edges.
Wait for the first coat to dry, usually, I even take a hairdryer to it to speed it along and as long as it is dry to the touch, you are good to go for the next coat!
Sealing your Project for Chalk Painting Furniture
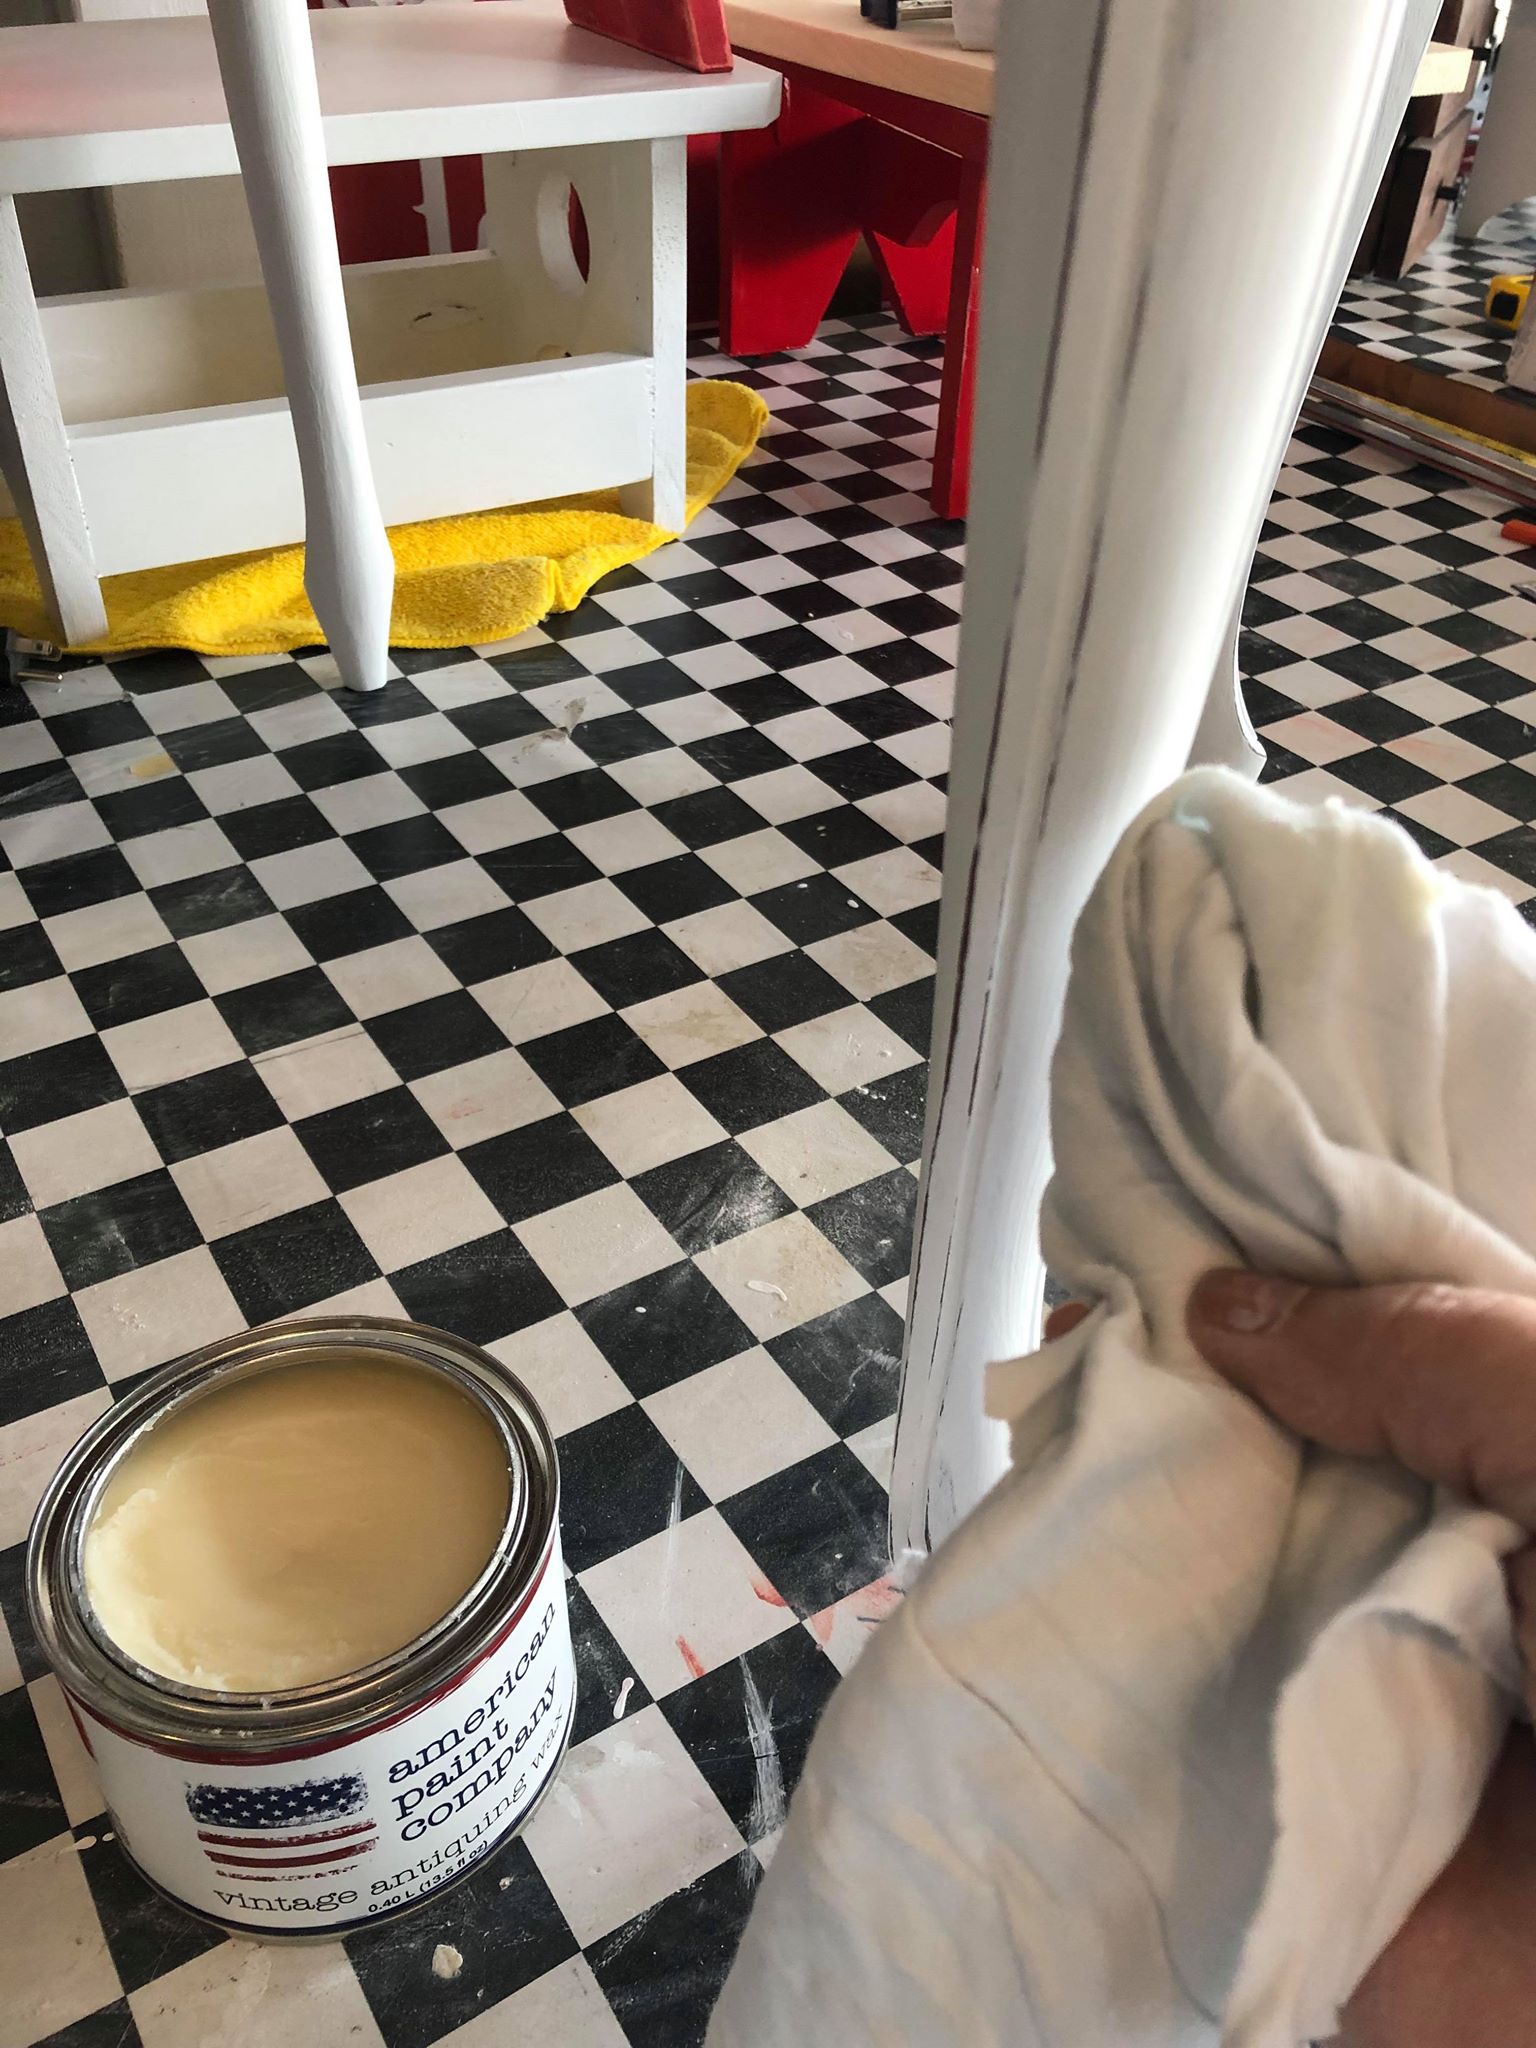
- The last step is where there is some controversy. Some people seal, some do not. I sometimes do and sometimes I don’t. It depends on what type of furniture it is and if its going to get a lot of wear and tear. If you are painting a kitchen table for instance, then yes, you would want to seal with a clear coat. If its just bedroom furniture, then you could wax the furniture with wax.
- The only issue with wax is that it usually needs to be applied again from time to time. Depending on what product you use, it may need a curing time. Meaning you do not want to use the furniture in a vigorous way until it had time to “set” or “cure”. This will depend on what product you end up using and what type of furniture you ended up painting.
I hope this helps! Best of luck with your new furniture painting addiction! Please leave a comment or photo of your project!
Before you Go, Check out these other furniture painting posts!
- King Size Headboard Makeover
- Vintage Nesting Tables Painted with Chalk Paint
- Vintage Vanity Makeover with Chalk Paint
- Nursery Dresser Painted with Chalk Paint
- Before and After Chalk Paint Fireplace
pin it for later!


