When we moved into our new house, the laundry closet was sadly lacking any warmth or functionality at all!
It was simply a closet with hoses and a builder’s grade shelf installed and we felt lucky to have a light installed as well! My laundry closet makeover was one of the first Makeovers I scheduled for our new home!
The Plan for the Laundry Closet Makeover:
- Paint the walls in the closet a gray toned color
- Install a budget friendly counter top in a gray toned color
- Add decorative elements to the counter top with both function and decor in mind
- Add baskets to the shelf for some easy organization
I debated whether or not remove the builders shelf in the closet. While its not pretty, it is still rather functional. I also dreamed of adding kitchen cabinets over top of the shelf as well but there is the attic crawl space above the shelf so I opted not to install cabinets up there. Not only that, I would need a 6 foot ladder to retrieve anything from up in the cabinets. While cabinets look beautiful, for my space I opted to not add them at this time. But who knows what the future will hold!
Before
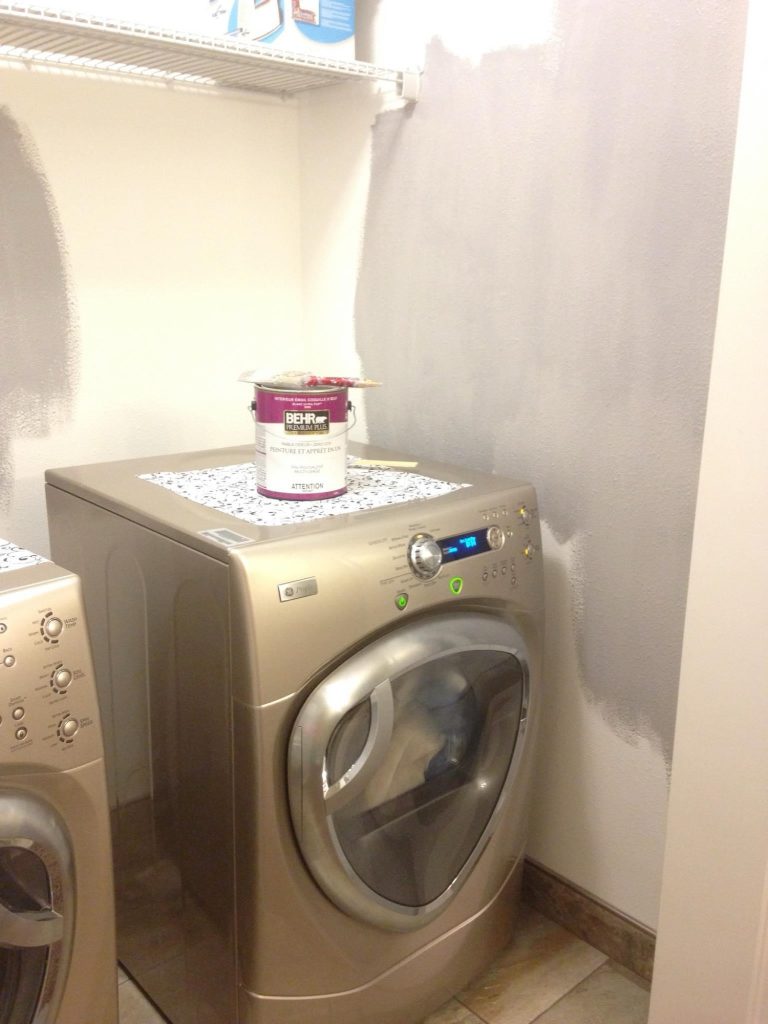
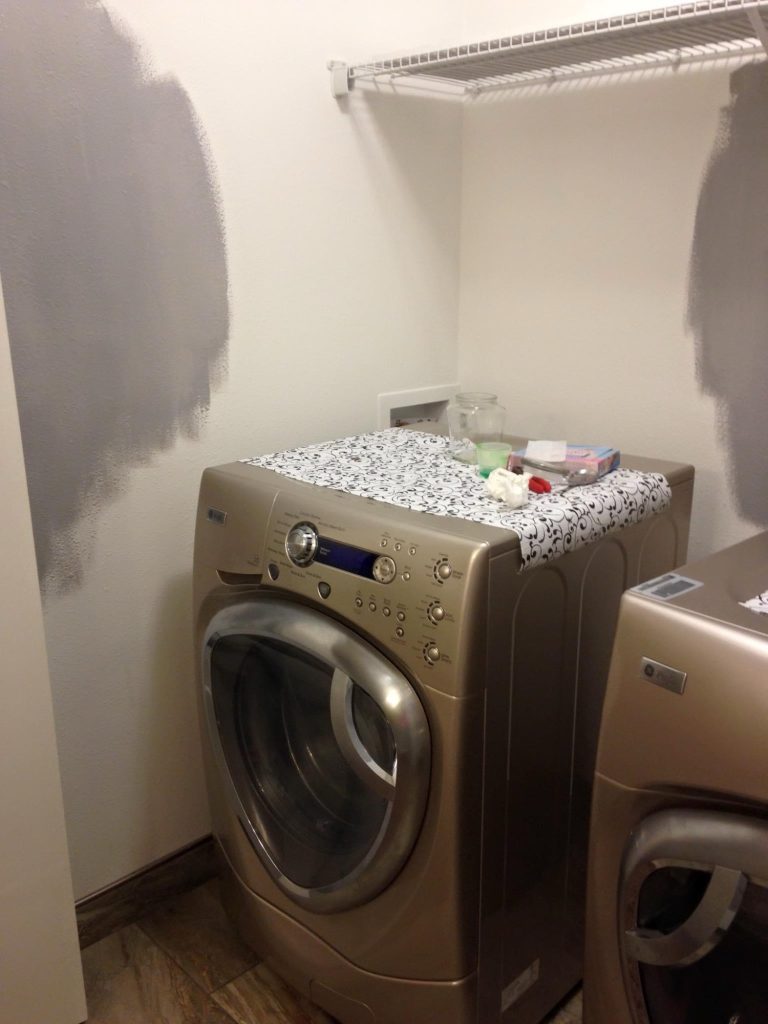
I found a really pretty gray paint with BEHR in the paint remnant section! If you have a small space to paint and don’t need much paint, sometimes its easier to go and grab a paint that has already been pre mixed and is on a good deal as it was a spoiled color mix. That is what I ended up doing here!
After Painting
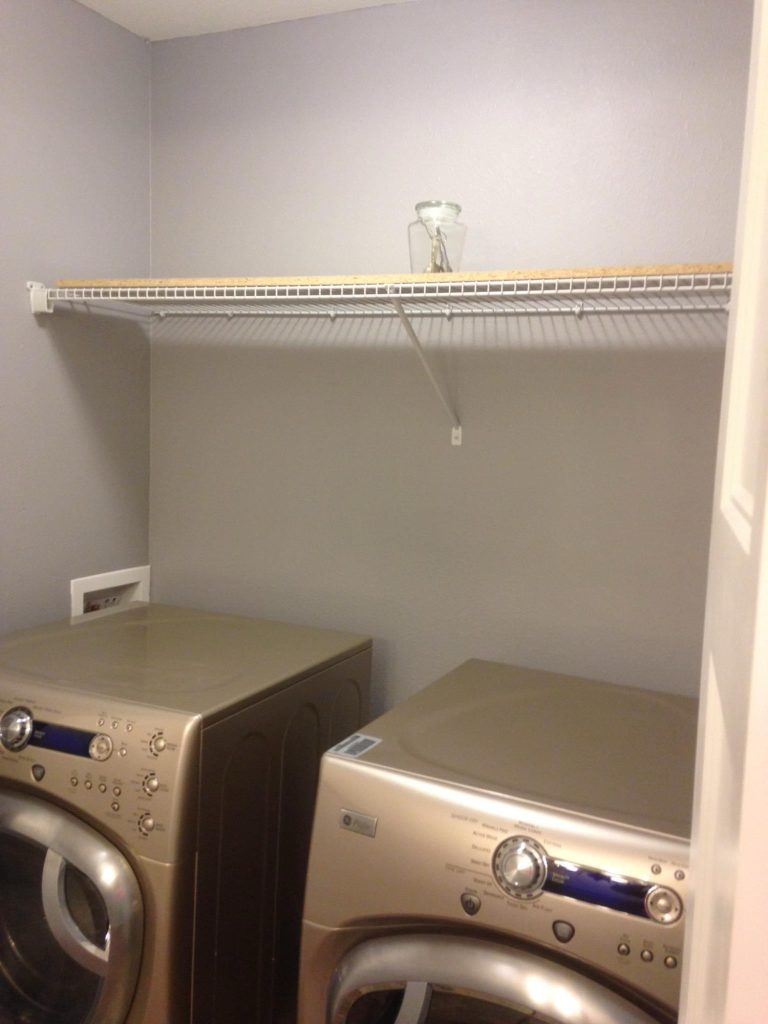
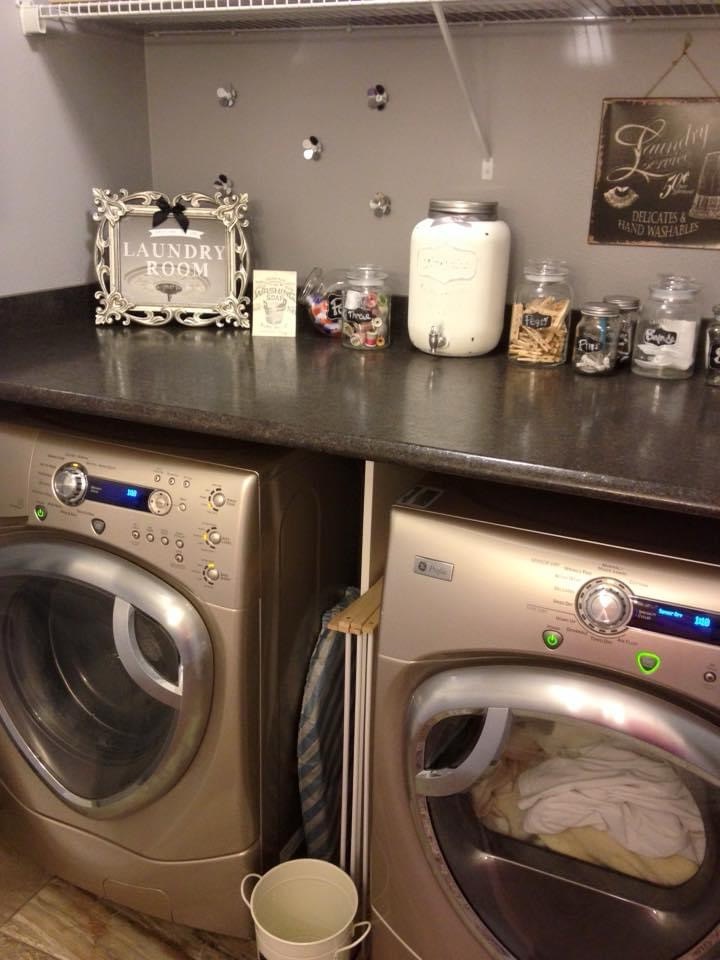
After painting was finished, it was now time to measure and install the counter top for the space. One of the most inexpensive ways to install counters is to go to a boneyard which is the remnant section of your local builder centre. If your counter top is a small measurement, which mine was, it can be fairly inexpensive to pick out a left over piece from a job. I found a counter top in the shade of gray I was envisioning!
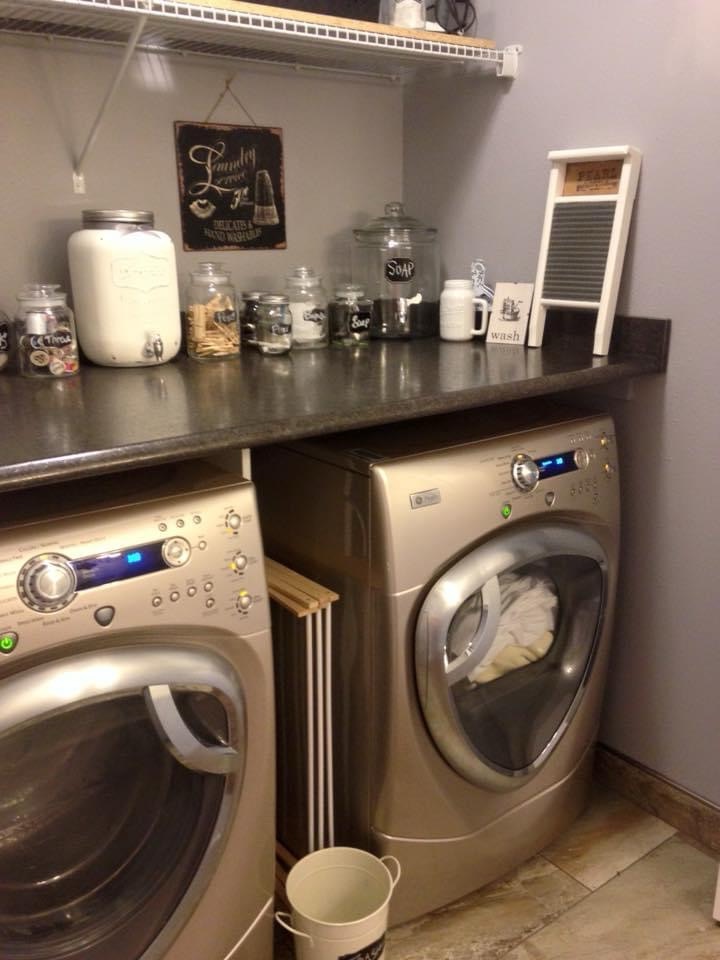
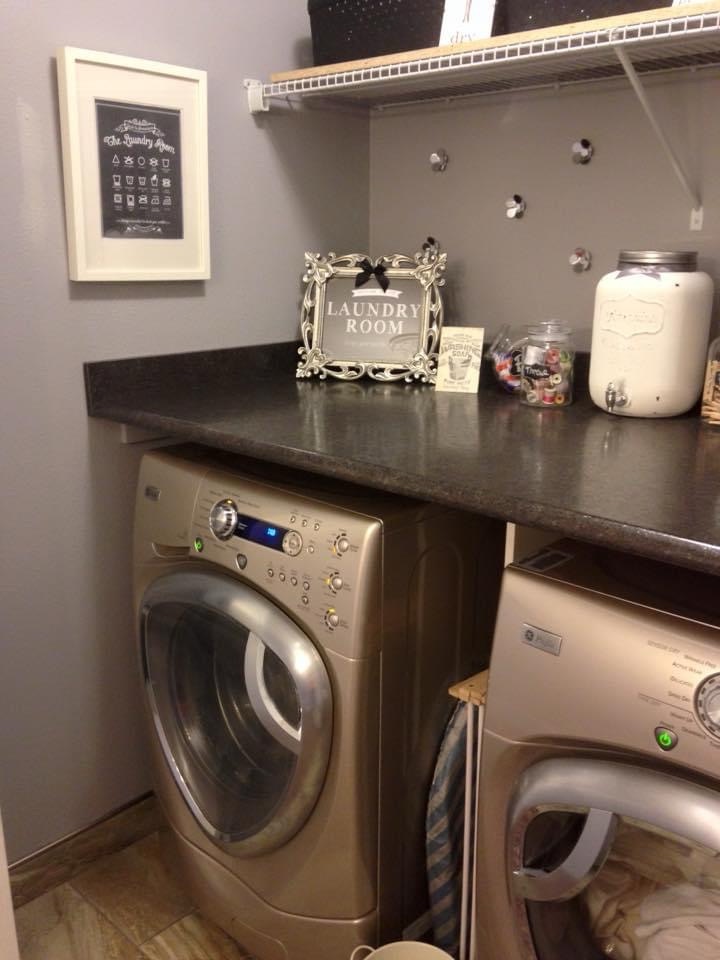
I also had some fun adding some cute decorative jars with lids for the counter top. I found some jars at my local dollar store that had chalk board on the front and I was able to use chalk to write on them what was in the jars. I have jars with clothes pegs, pins and dryer sheets. I also found a few jars to hold some laundry pods and thread. I also found a cute little garbage pail at the dollar store too!
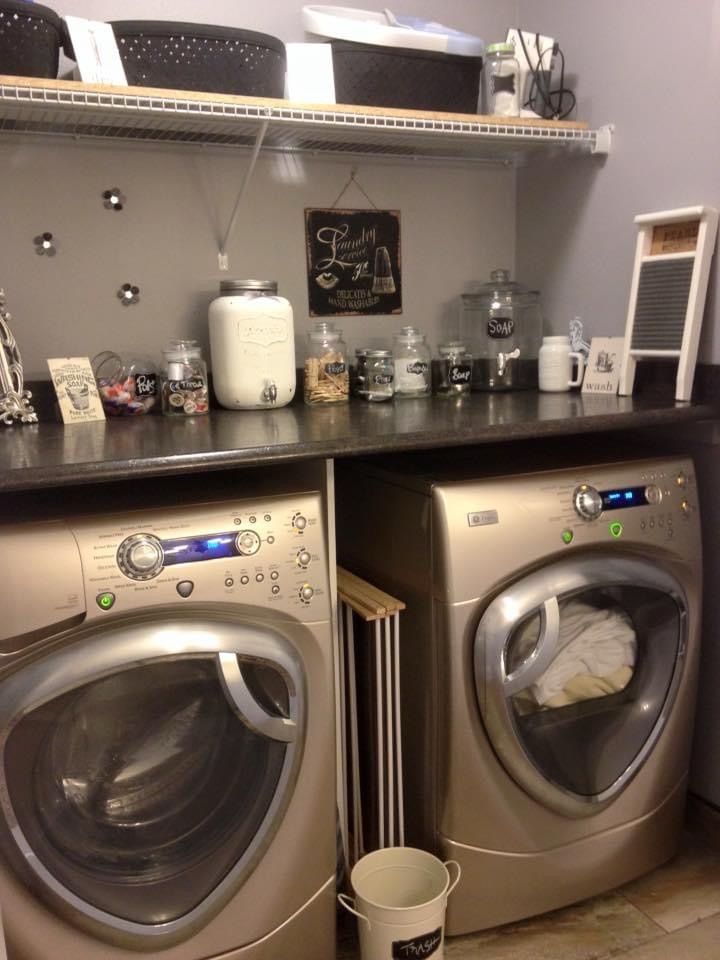
For the shelf, I found some inexpensive baskets that were a brown color and didn’t go with my color scheme, so I painted up the baskets with black chalk paint.
I also went with some super simple easy decorative elements for the counter as the counter was actually really very deep so I had alot of space on the counter to add decor.
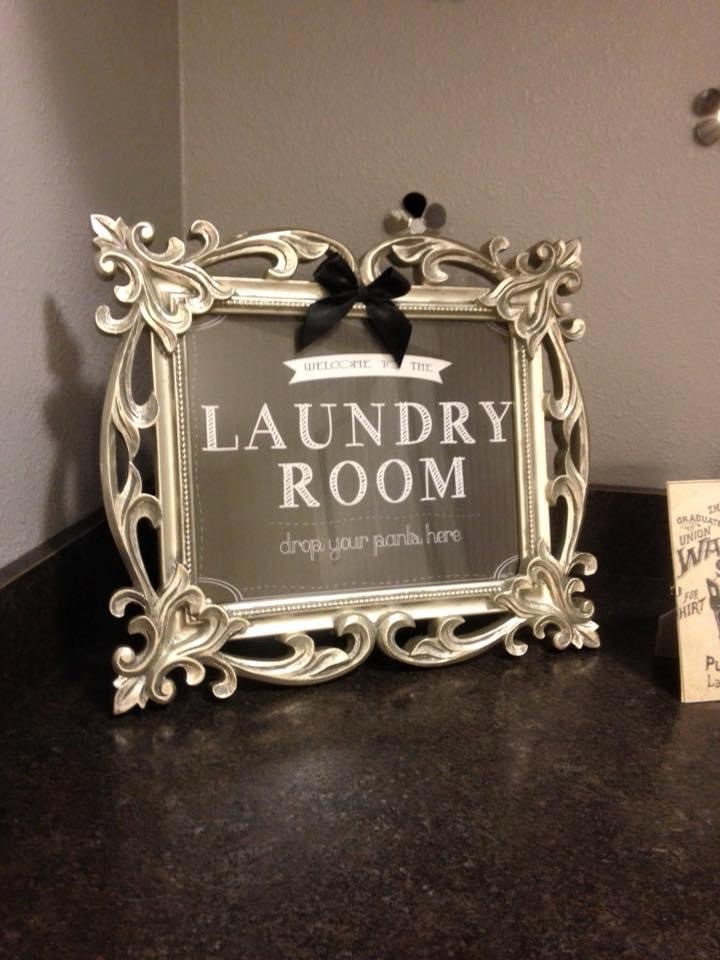
I simply googled the free sign and printed it off on my home computer and popped it into a frame I already had on hand.
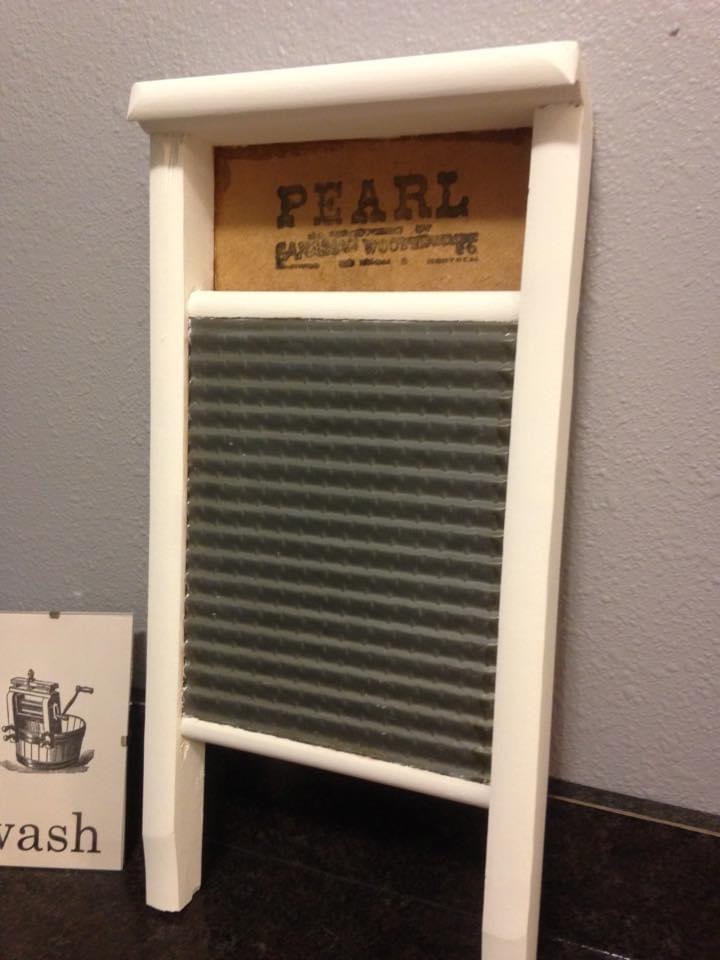
The little washboard I found at a second hand store. I washed it up and painted it out with some white chalk paint!
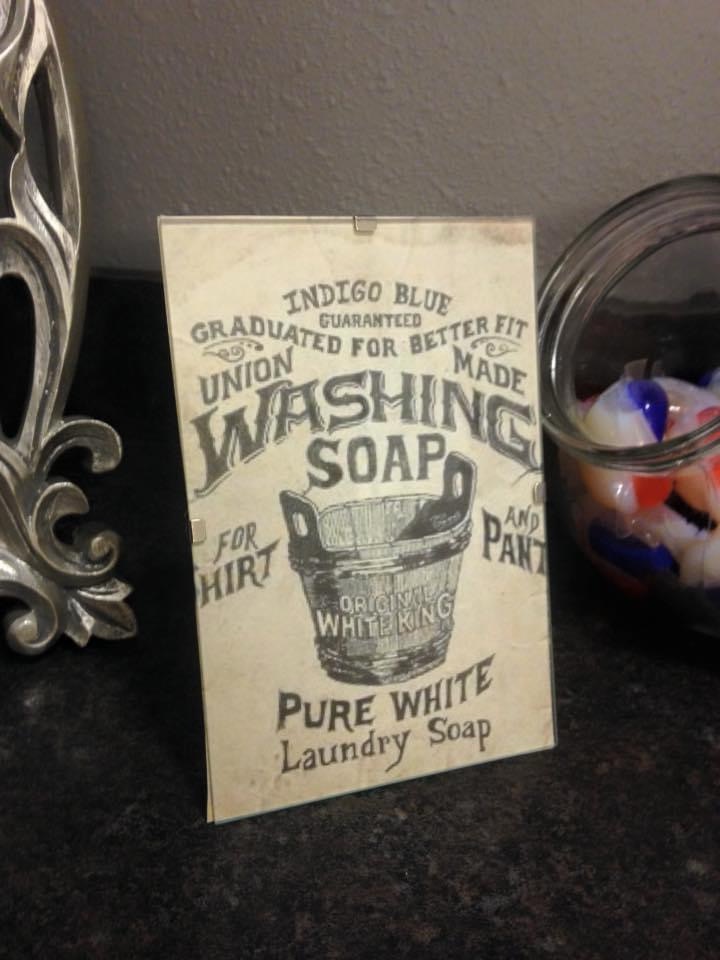
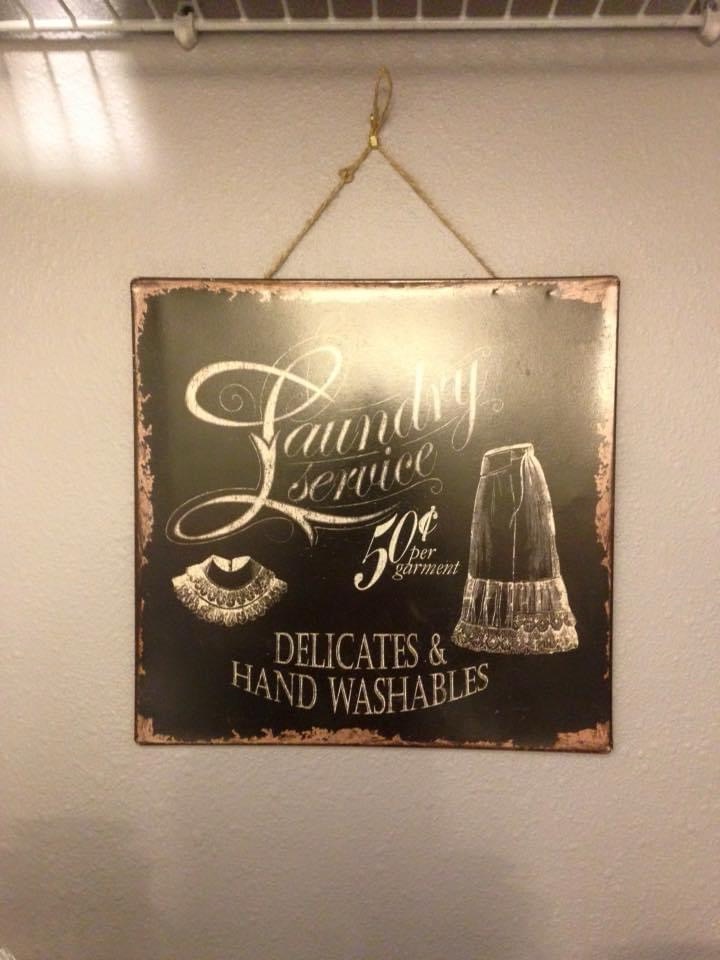
The theme I was going for with my little laundry closet is a vintage one. I found a vintage sign off of Google and printed it off and put it in a little frame. I also found the tin Laundry Service sign at my local Home Goods store.
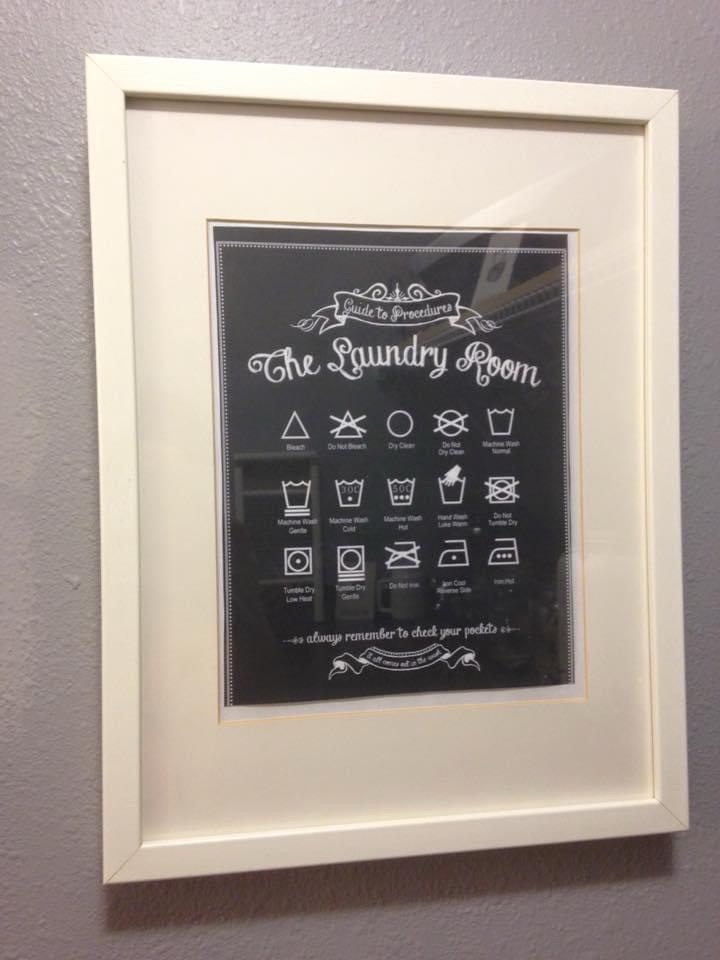
I had a really nice frame with a mat laying around my house so again I went to Google to find a free vintage Laundry Room symbols sign. I think I may have picked up that frame at IKEA many moons ago!
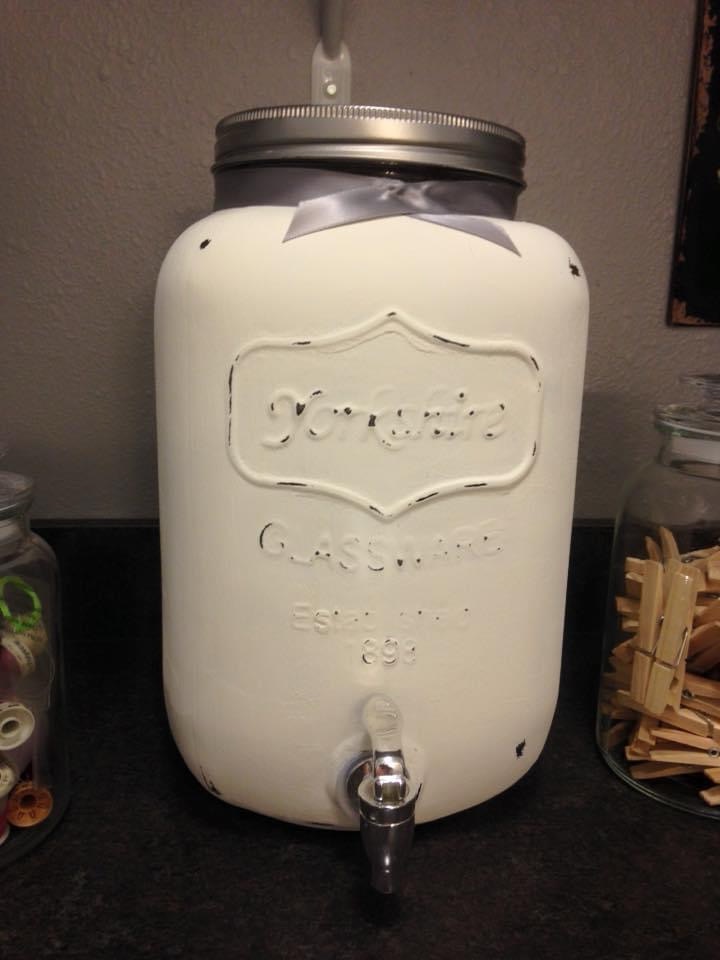
The Laundry dispenser is actually a drink dispenser I had at home. I love to re purpose what I already have. I took some white chalk paint and painted it out, distressed it and added a small ribbon to the top and loaded up my liquid detergent. So much easier and prettier than the dispensers from the store!
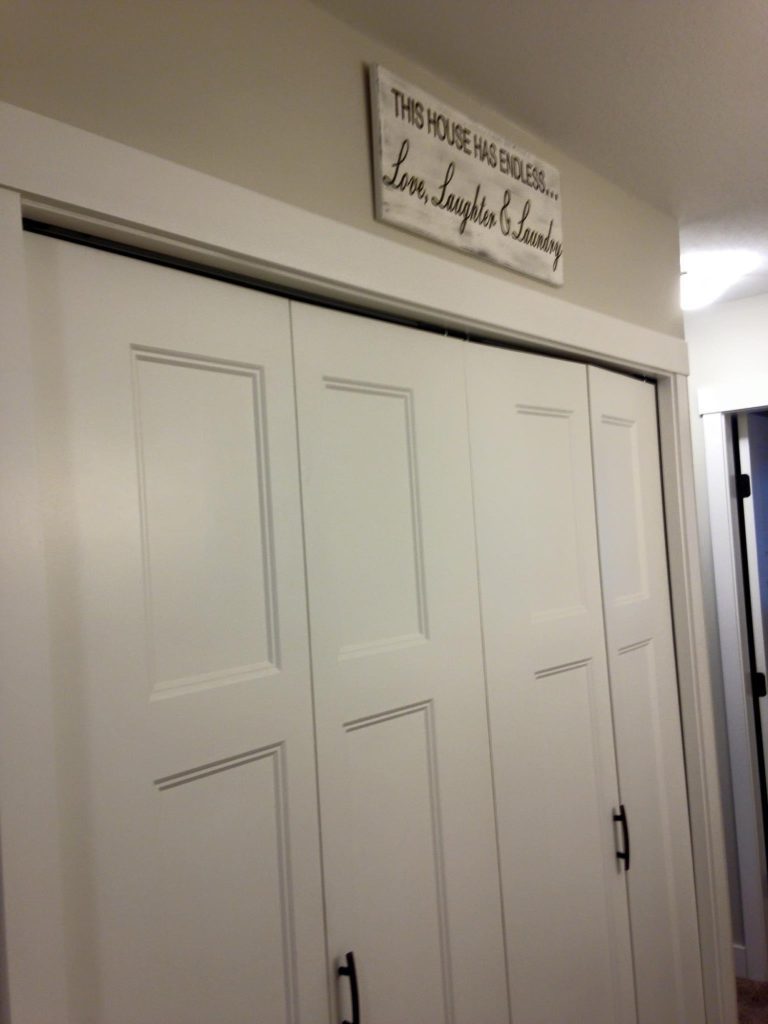
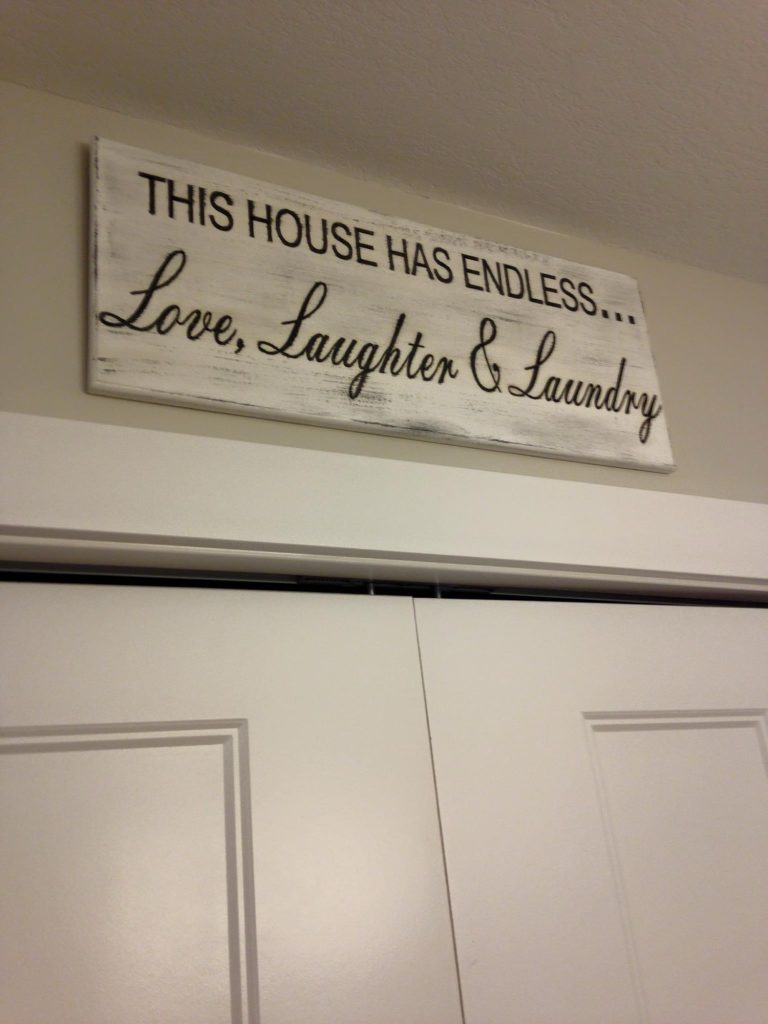
Laundry wood sign
And to complete the Laundry closet makeover, I added a wood sign to the outside of the Laundry closet doors. So cute!
After

I am so very happy with how my laundry closet makeover turned out! Such a small cute space and I was able to add some paint and a countertop and some vintage decor to turn it into a place I love to do laundry in!

