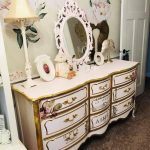
So when I was deciding on a theme for my son’s nursery, I knew I wanted a shiplap feature wall. But the more I looked into the work it takes to cut individual boards and individually paint them, the more I was not wanting to go ahead with it!
We didn’t have time to set up the nursery before the baby came for various reasons so we would be having to install the wall with a newborn and a toddler!
I had the baby room set up as my craft space and a guest space so I had fun stencilling the walls and well now I needed to cover those walls.
So faux shiplap panels to the rescue ! My local build it centre had an amazing selection of panelling to choose from. I also knew I wanted to order a light gray crib and I planned to do his room in a vintage light baby blue and light gray.
Before
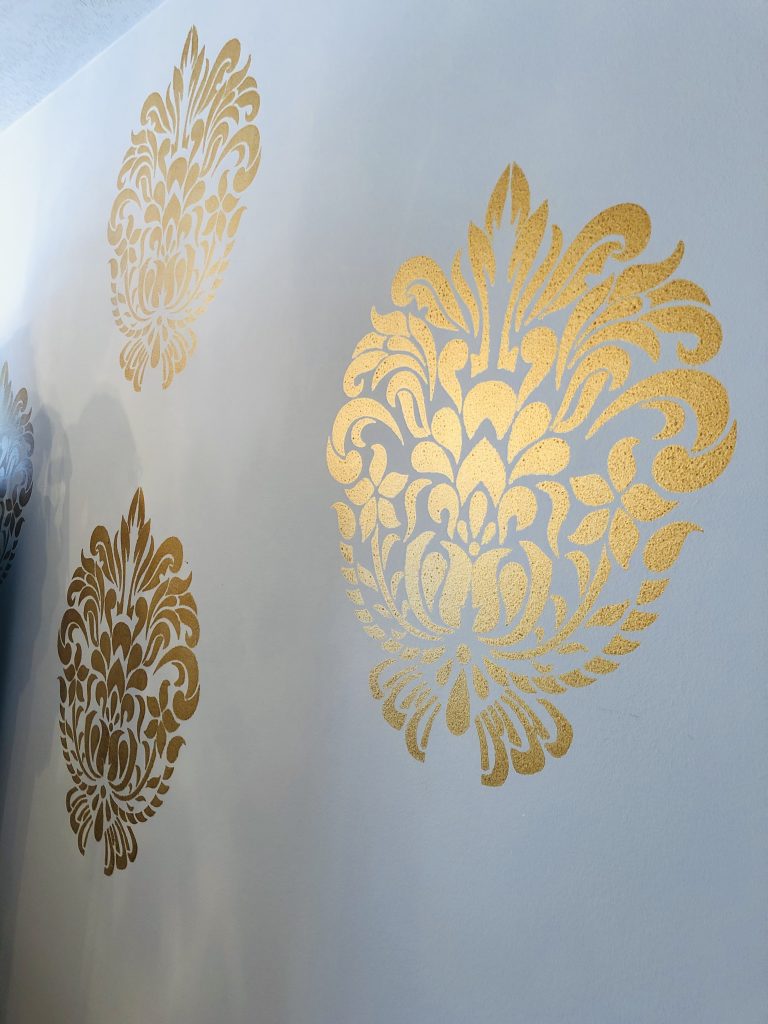
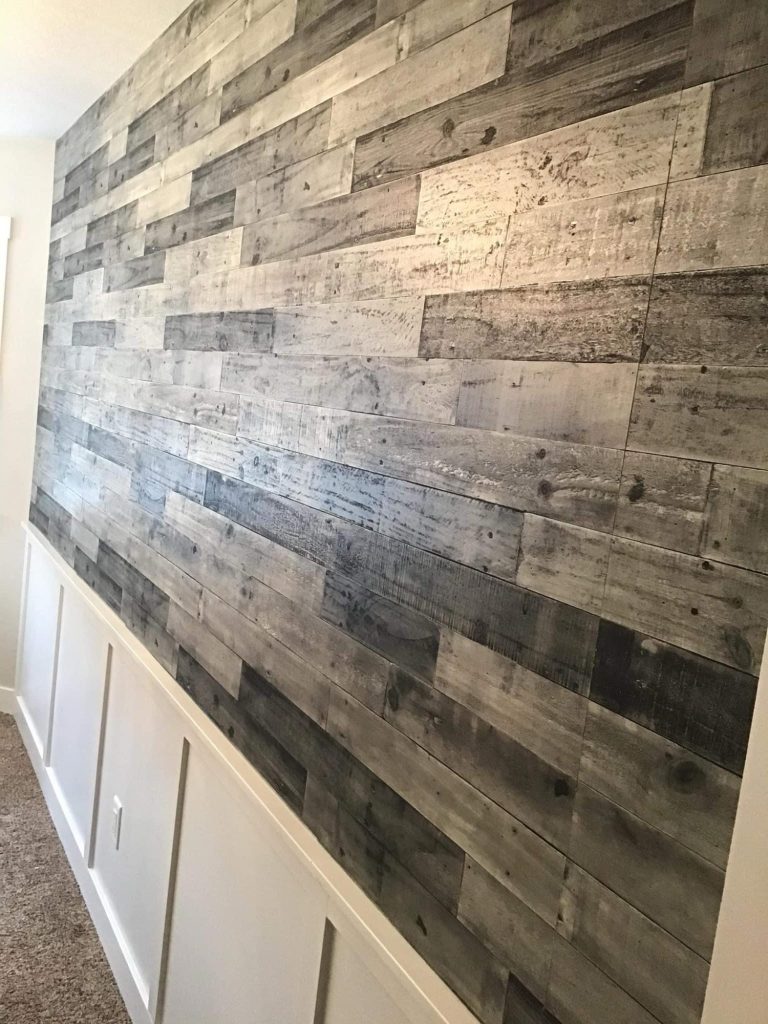
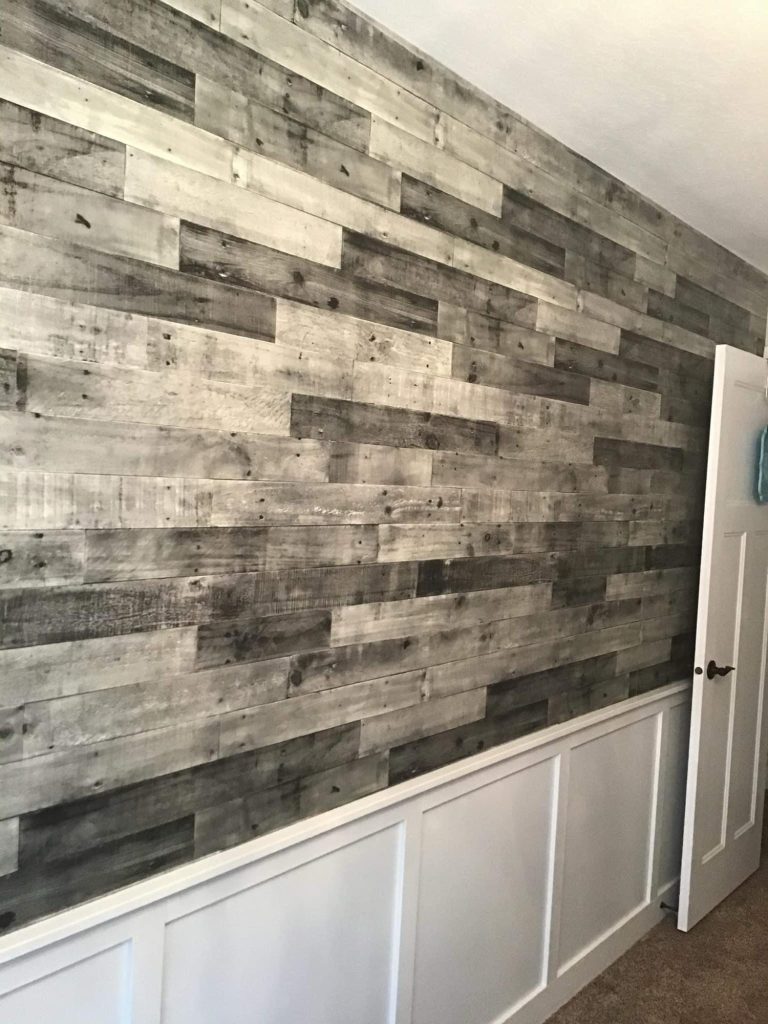
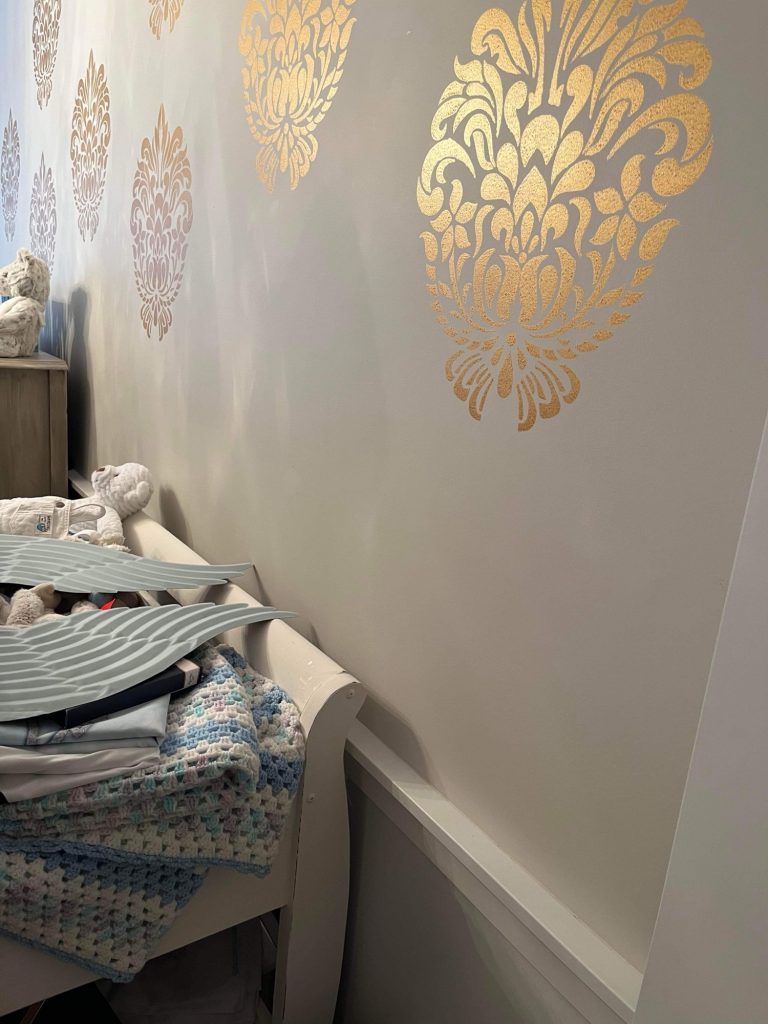
The wall I chose to put the faux shiplap panels on had a gold damask pattern painted on it from the room being previously a guest room. Such an easy way to makeover the room! The painted damask was done with a gold paint which raised the fibres on the wall and it would have not been a good candidate to lay wall paper over either.
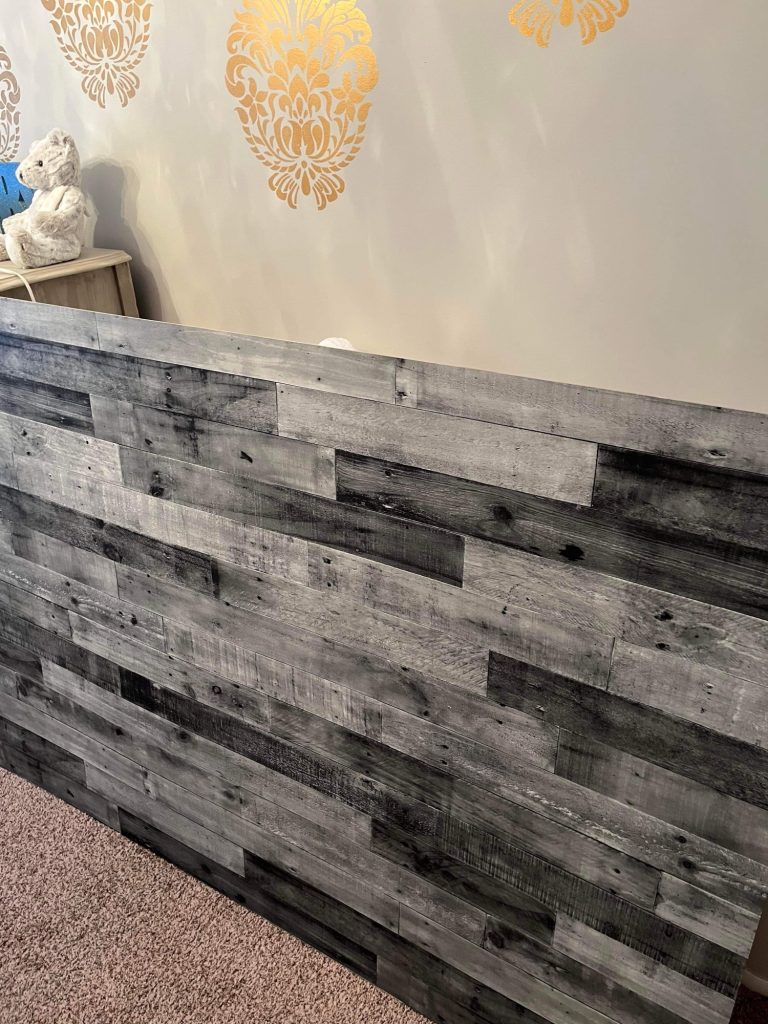
I purchased the panelling from my local build it center and the panels measured 48′ W and 96″ H and 1/4″ thick. The description for the panels were Wood Look Wall Panel in Grey.
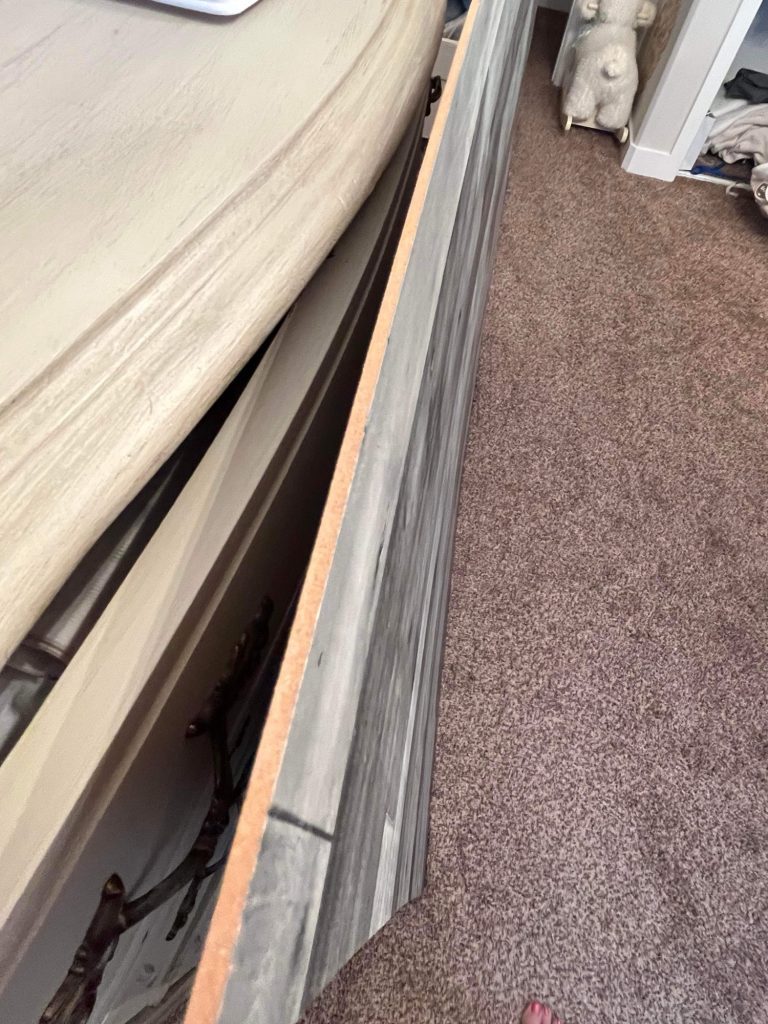
I was very excited to find these inexpensive faux shiplap panels ! All that is required for installation is a small saw; a nail gun and some glue for the corners. As we all know, walls are not perfect so it was necessary to glue down the corners in some spots.
The results were fast and dramatic!
After
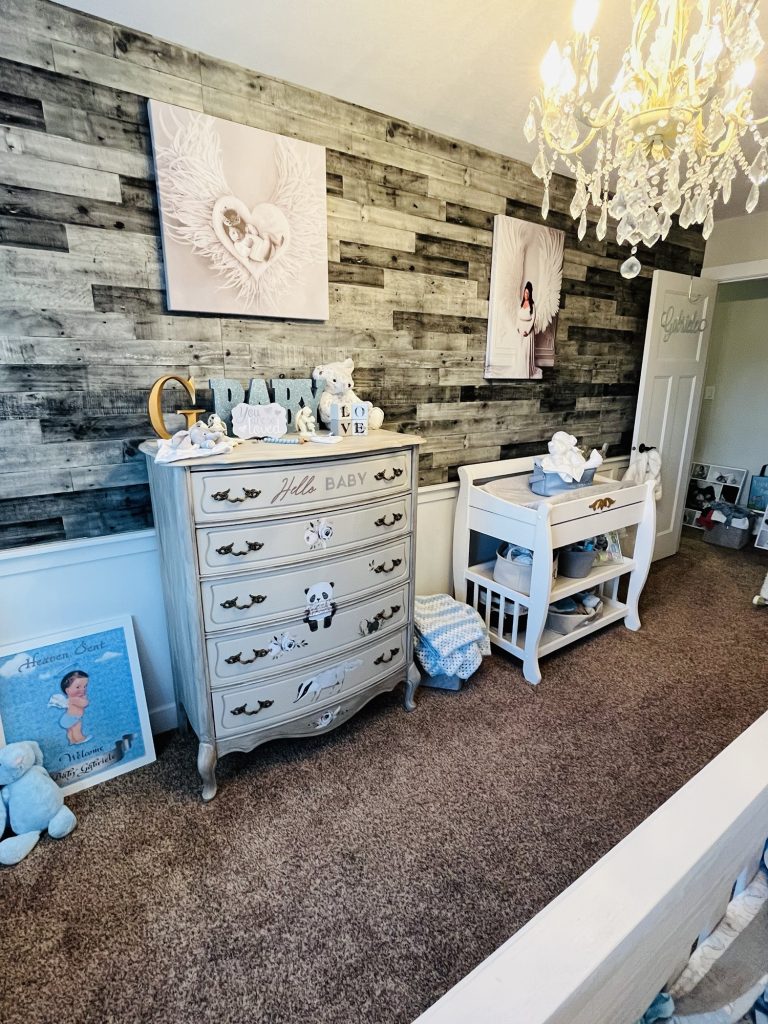
Have you installed any faux panelling for a feature wall in your home? Let me know how you made out! I was so happy with this transformation, I’m considering doing this in my oldest son’s room as well.
Are you looking for inspiration for the rest of the room? Check out some nursery inspiration!

