Farmhouse Sign Tutorial
Don’t you just love a cute farmhouse wood sign!? They are so fun and easy to make! Rustic wood signs are my first love!
This post contains affiliate links. See full disclosure HERE.
Materials Used:
- Oramask 813 vinyl stencil material
- Transfer Tape
- Rustoleum Chalked Paint, linen white
- Black Chalk Paint
- 3M 400 Grit Superfine sandpaper
- Power sander or 220 grit sandpaper for distressing
- Sponge (foam) Brush
- Paintbrush for painting stencil
- Cricut Cutting Machine
- Exacto knife
- Pinewood
Step 1
I used pine wood for this wood sign approx 8″ x 23″ long. Cut and sand board either with a power sander or 220 grit sandpaper. You can use any wood really. I have tried all kinds of wood from plywood, finished pine, knotty pine, laminated pine. I just find that choosing a smoother type of wood for signs just makes for a nicer sign especially when using a stencil as the stencil must adhere very closely to the board in order to have minimal bleeding with stenciling.
To be honest, I find barn wood or pallet wood to be too rough for my signs. There are some sign makers who use it and it can be used, its just that there is a lot more preparation work involved in using a rougher wood source.
Step 2
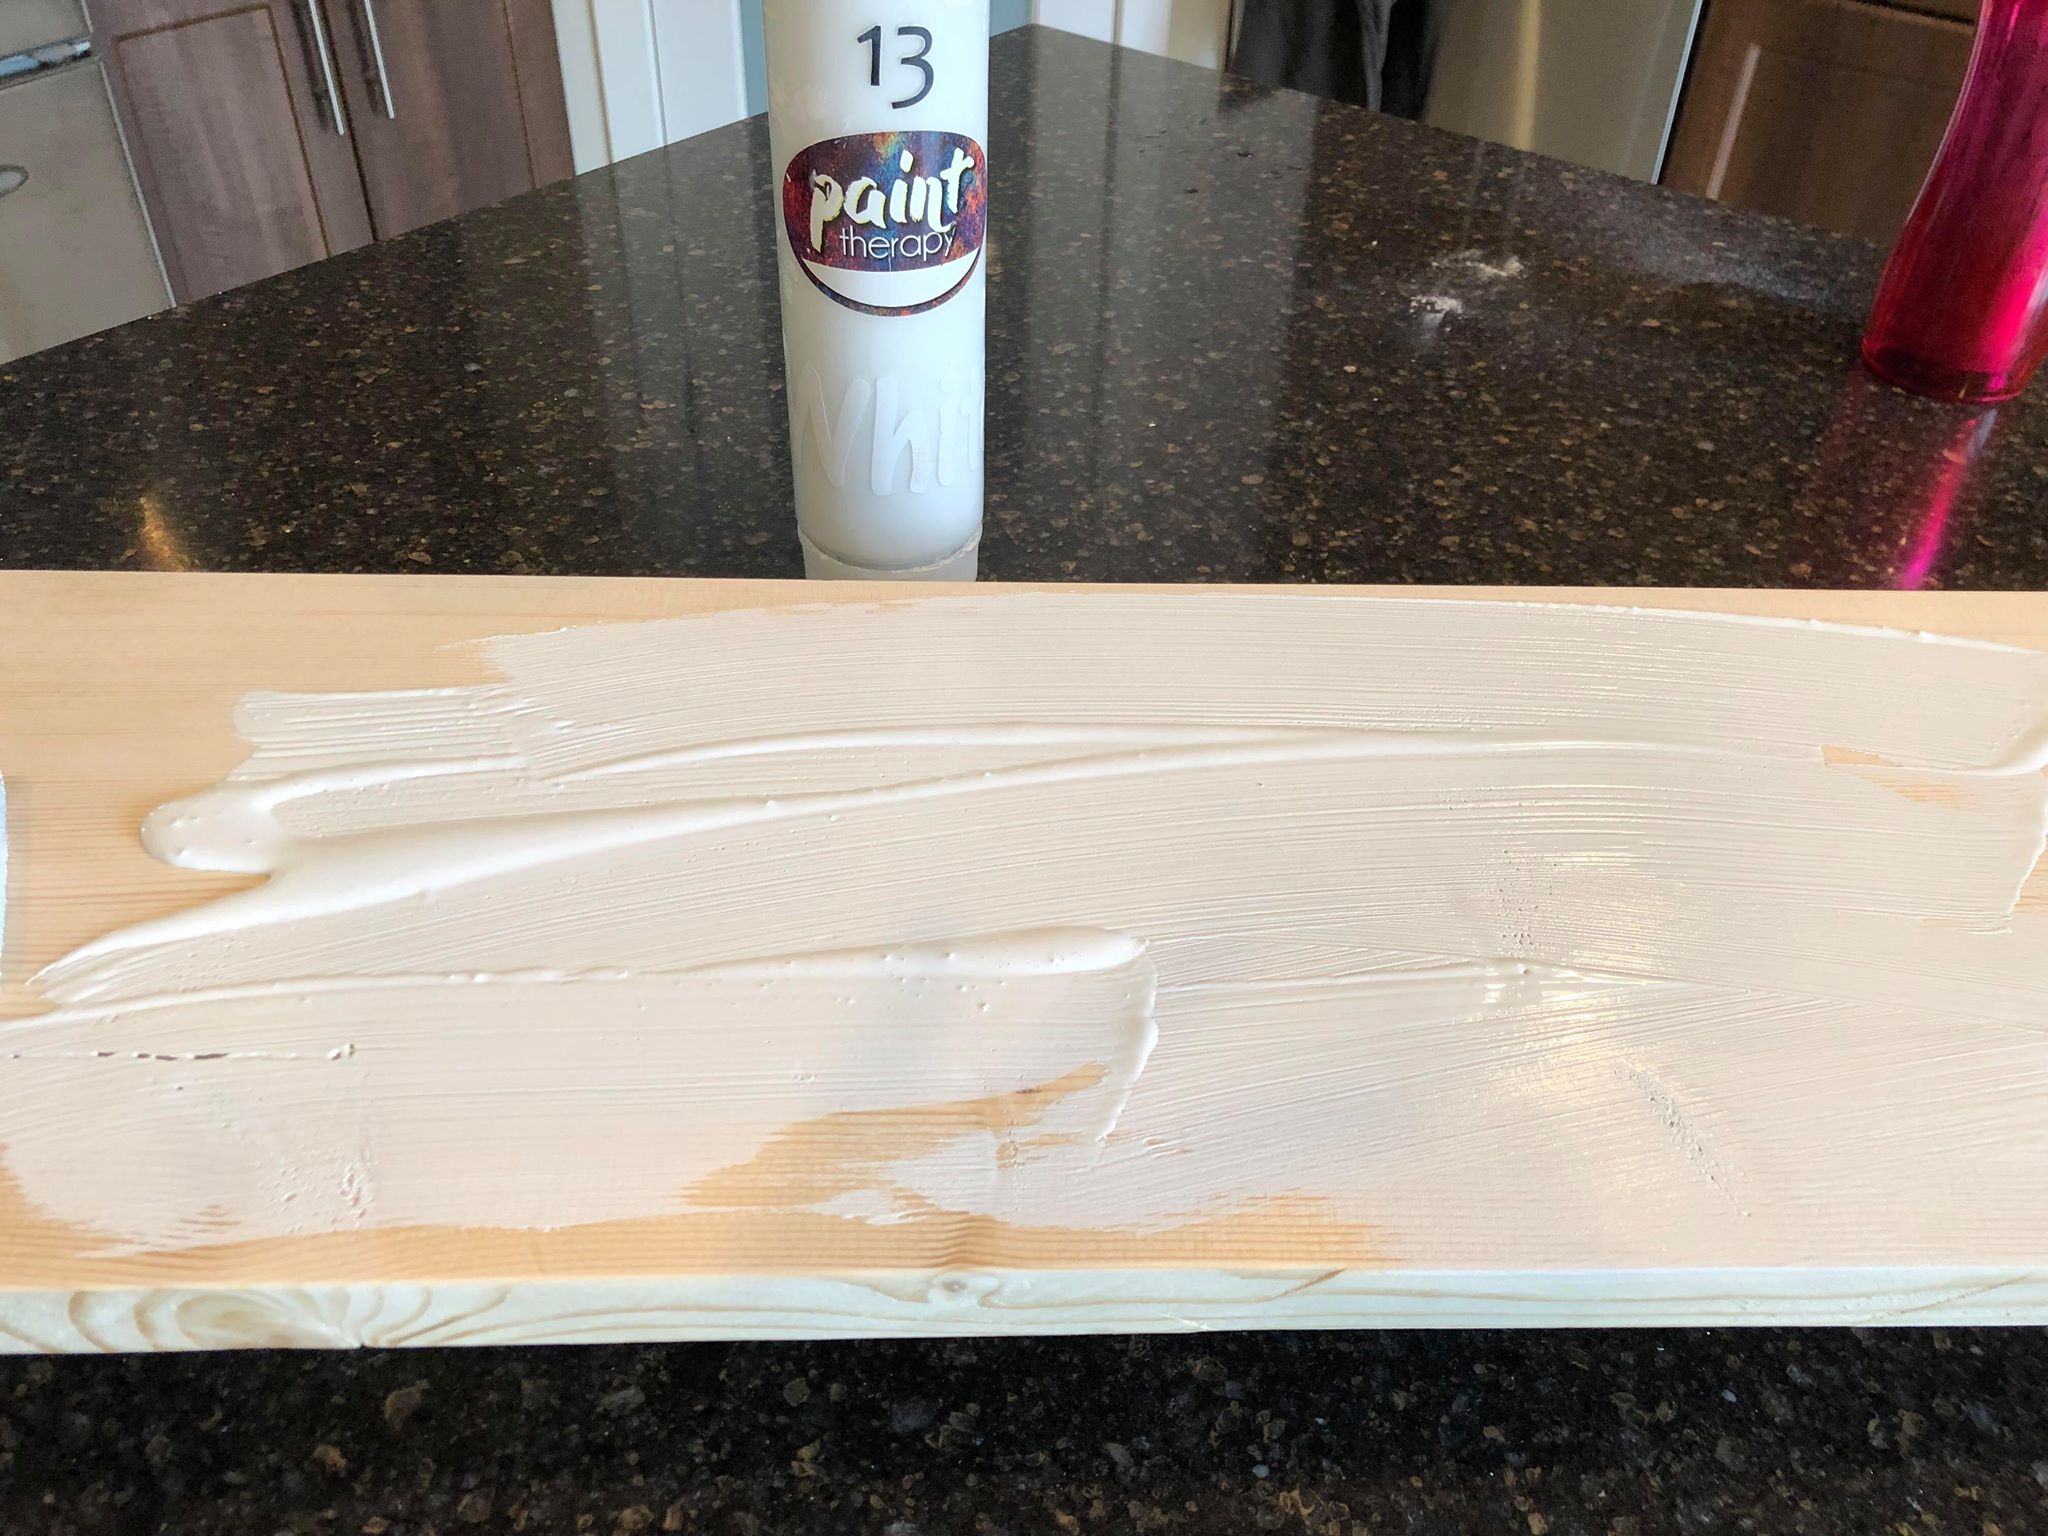
Apply white chalk paint to board with a sponge brush and let it dry. Only one coat is needed especially when doing a rustic type wood sign as I will be distressing it at the end in any case.
It also does not have to be perfect as the whole point to a rustic wood sign is distressing it!

Step 3
After the paint has dried, you will need to use high grit sandpaper (400) to sand the surface before applying the stencil. Take a dry rag or a paper towel and remove all the sanding dust off of your board.
This step ensures a nice smooth surface for the placement of the stencil. Placing the stencil on a smooth surface will ensure minimal bleeding as well.
Step 4
For this project, I simply designed the word “Gather” in my Design Space software which goes with my Cricut Air 2 machine.
Step 5 for Farmhouse Sign
I cut my Oramask stencil on my Cricut machine in the Custom setting (you will have to check out other tutorials for these exact steps)
Step 6
Take the cut stencil and weed out the design with your weeding tool or any pointy object you have on hand (sometimes I even use my Exacto knife).
Step 7
Apply transfer tape over the stencil. Make sure there are no bubbles in your transfer tape and you can use any flat surface to burnish you transfer tape onto your design. I have listed the brand I use at the top of this post.
Step 8 for Farmhouse Sign
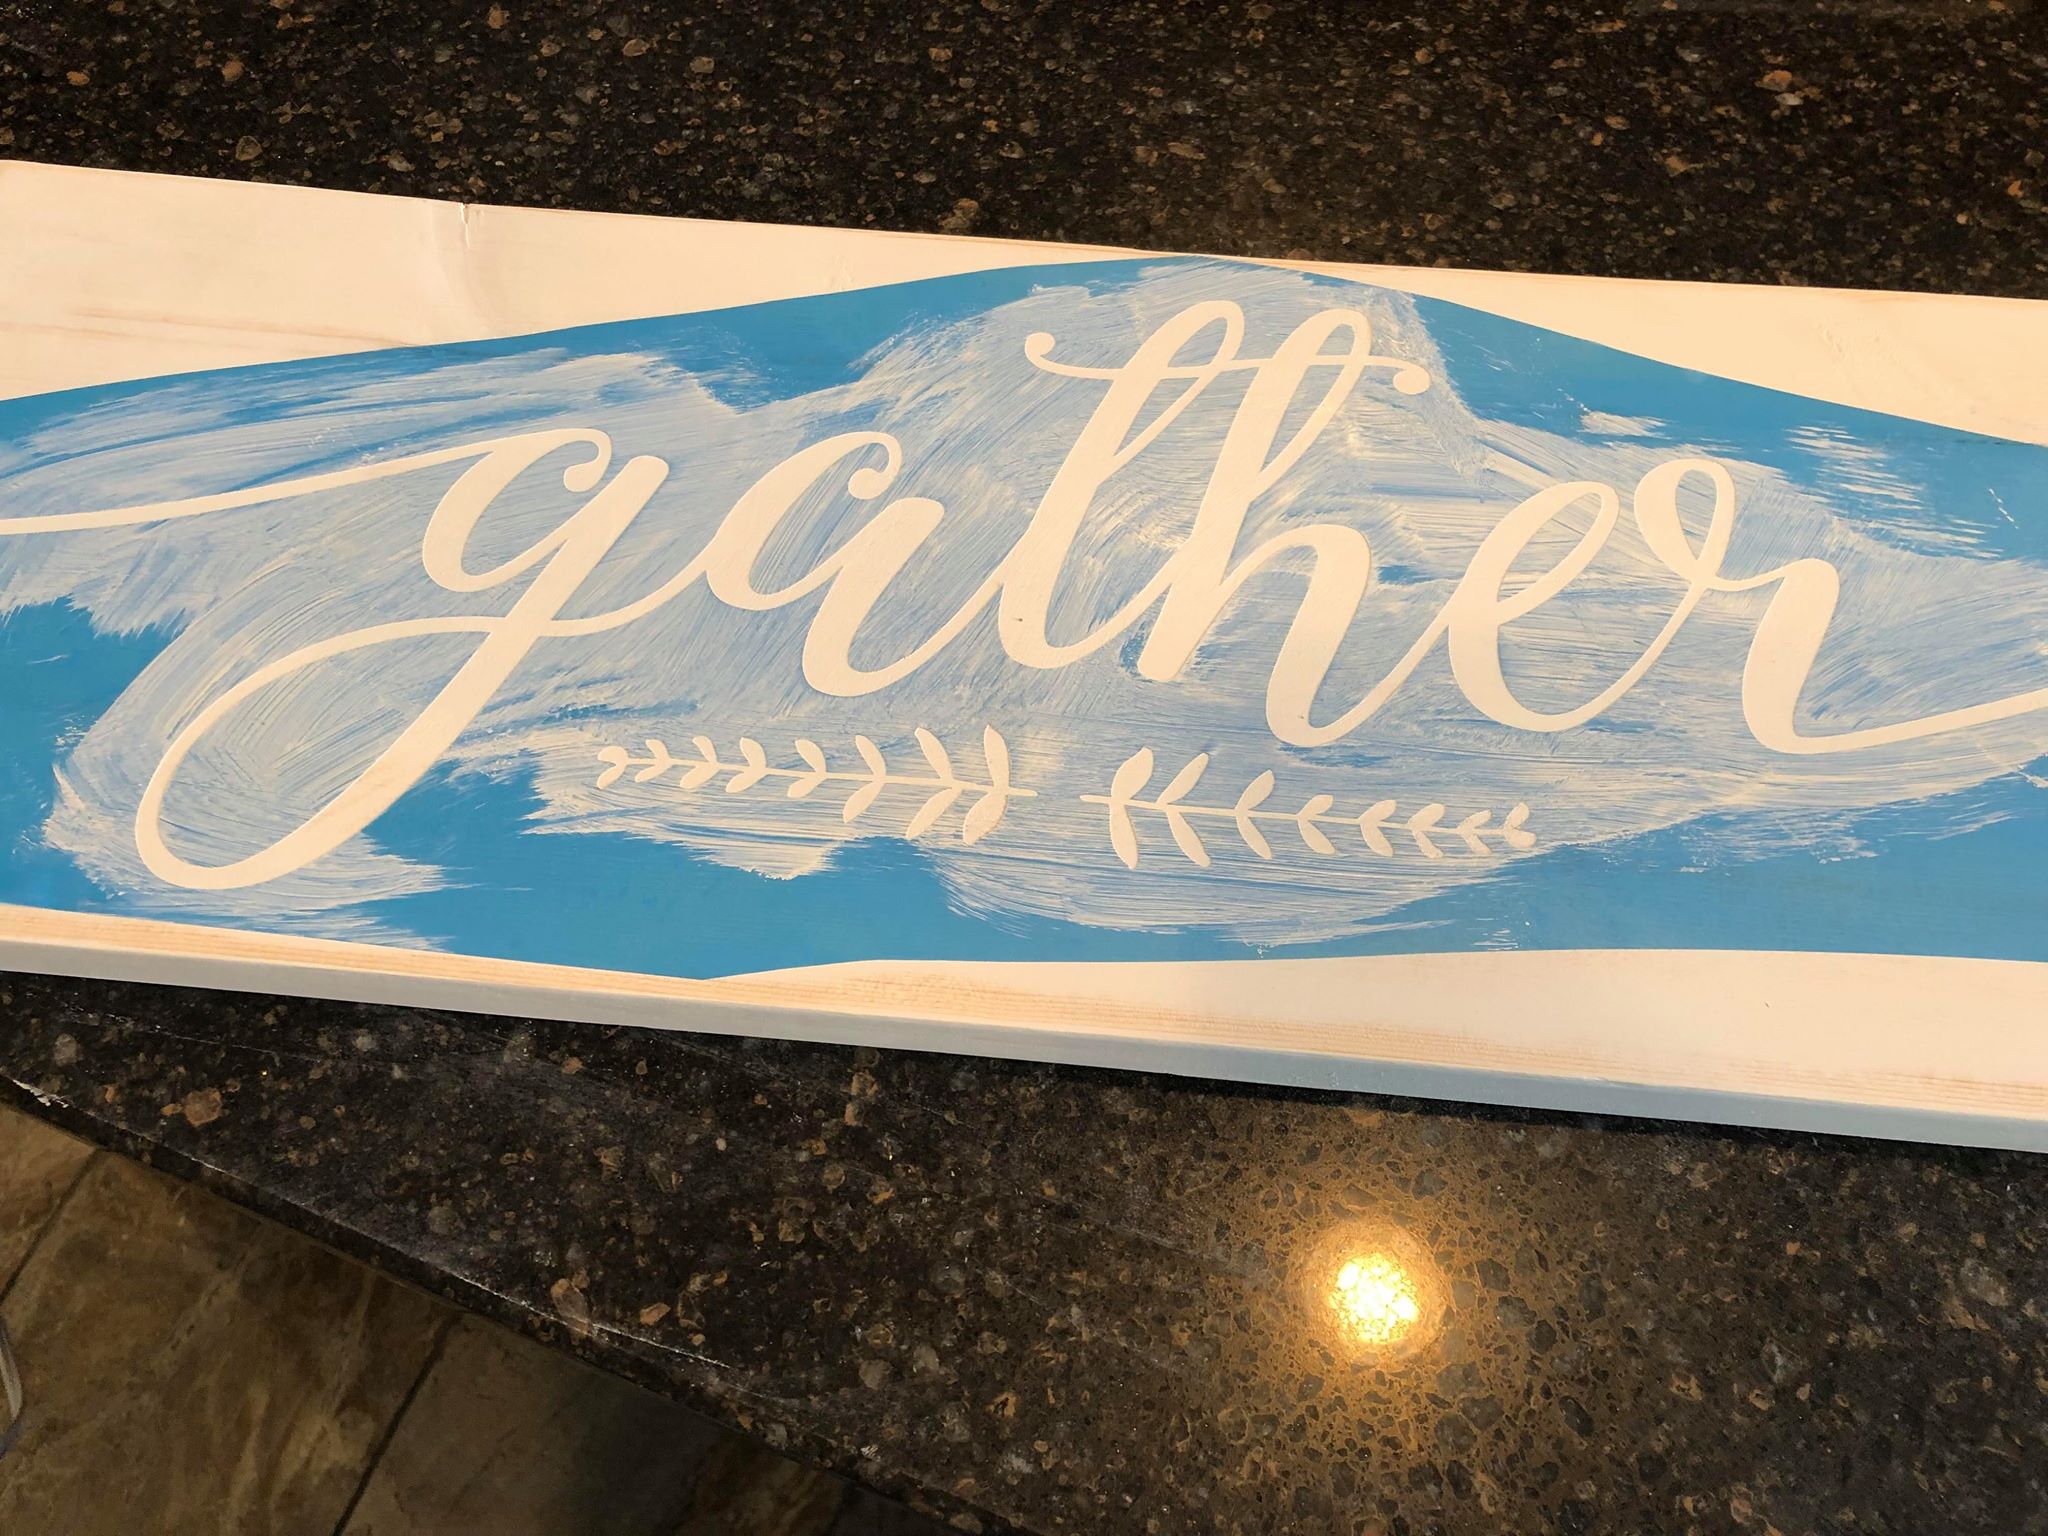
I removed the backer from the vinyl and placed it on the board and used the white paint to apply a thin coat over the stencil to reduce bleeding.
When using chalk paint for your base coat, there is an extra step I use when using chalk paint as it just aids in minimizing bleeding and it helps adhere the stencil to the board.

Step 9
I took a paintbrush and my black chalk paint and painted stencil. Be sure to be very light with your paint. I do not dab my paint, I simply paint right over the stencil.
In order to be sure you do not have any bleeding issues, be sure to not glob the paint on the stencil.

Step 10
Then I took my embossing dryer to stencil to be sure stencil was completely dry. After that, paint 2 light coats maximum and make sure to dry between coats.

Step 11
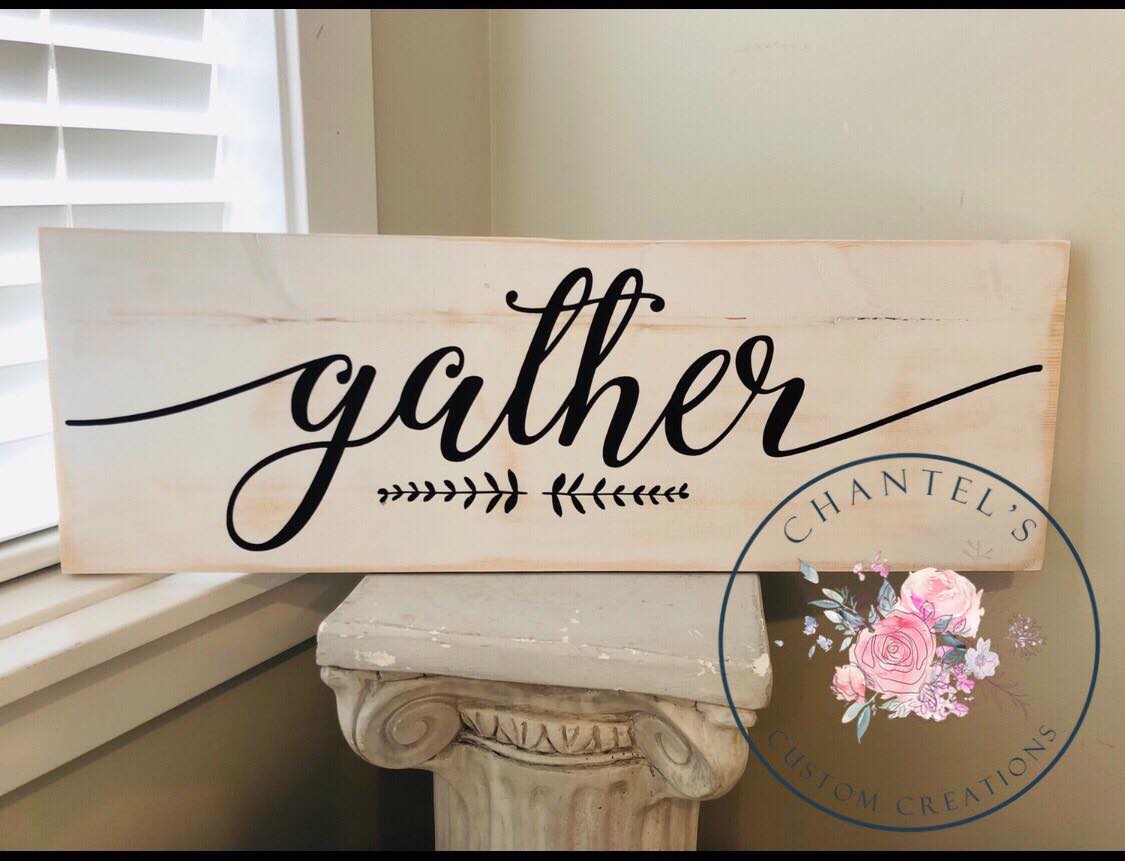
Remove the vinyl from the board to reveal your beautiful results! After you have removed most of the stencil by hand, you can take an Exacto knife and gently remove the inside pieces of your stencil that remained.
Step 12 (Optional)
An optional step is to take your sanding sponge or power sander and distress the outsides and corners of the sign.
In addition, just be sure to be light-handed with distressing as you do not want to risk taking off too much of the paint.

Please leave a comment if this tutorial has helped you make a farmhouse wood sign! I would love to see your results.
Are you interested in more tutorials on sign making? Check some out HERE!
- Easy DIY Wood Planter On A Budget
- Growth Chart with Transfers for Nursery
- Makeover on a Wood Beer Caddy


Leave a Reply