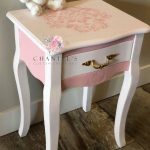
I wanted to find a vintage inspired side table for my son’s nursery to put his lamp and some photos on and for it to be big enough for him when he got older.
I always keep in mind when designing my children’s nurseries about the future. I like to buy staple pieces they will have for years to come.
The nice thing about vintage furniture is that those were the days when they built quality furniture.
All that is left to do after finding a quality piece is to paint it up with some chalk paint for an updated look!
Preparation
I began by cleaning my furniture piece very well. I found an amazing sold piece of furniture! Big enough for his needs down the line. Solid quality furniture with a nice big drawer as well. The table is also a nice big size. Big enough to put his lamp on and some photos for display.
“This post may contain affiliate links, please see Disclosure Policy“
Before
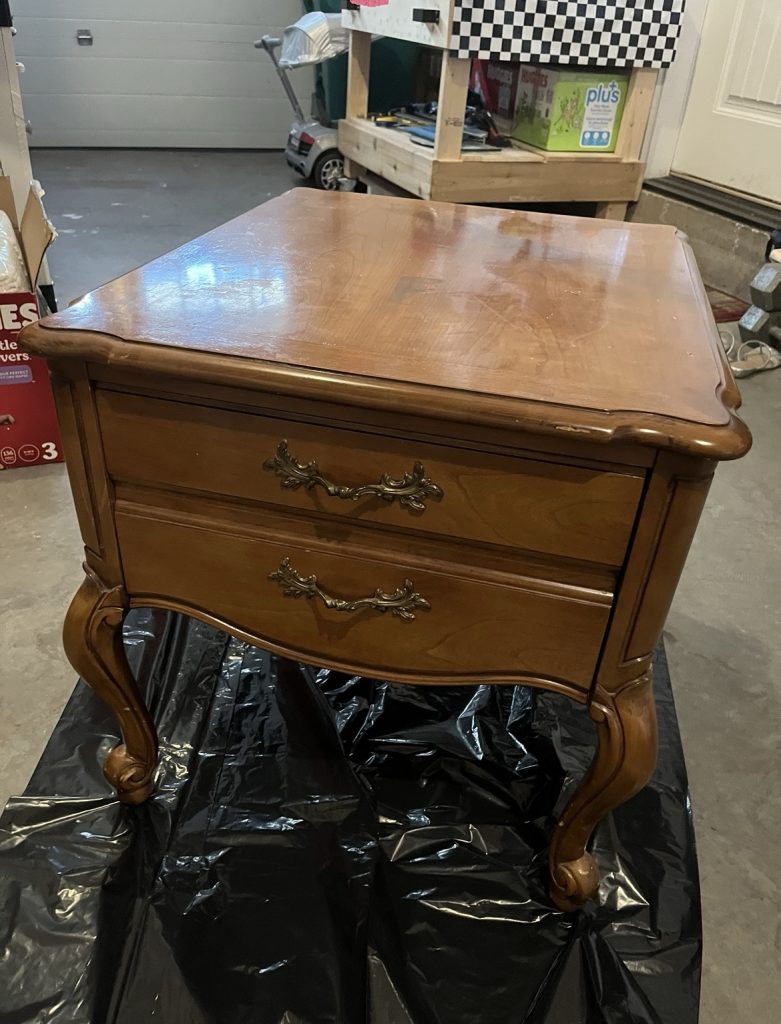
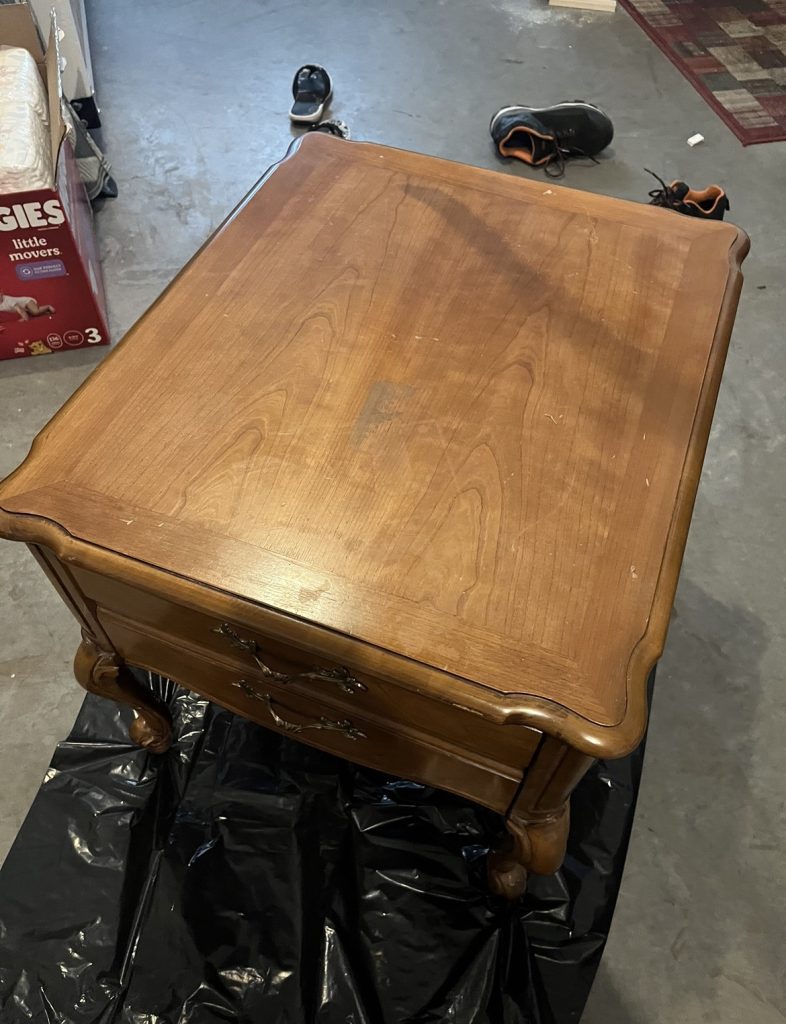
Preparation
I didn’t have much preparation for this table as it was in very good shape and all I had to do was clean it very well. It was fairly dirty so I used a furniture cleaner to get it nice and clean.
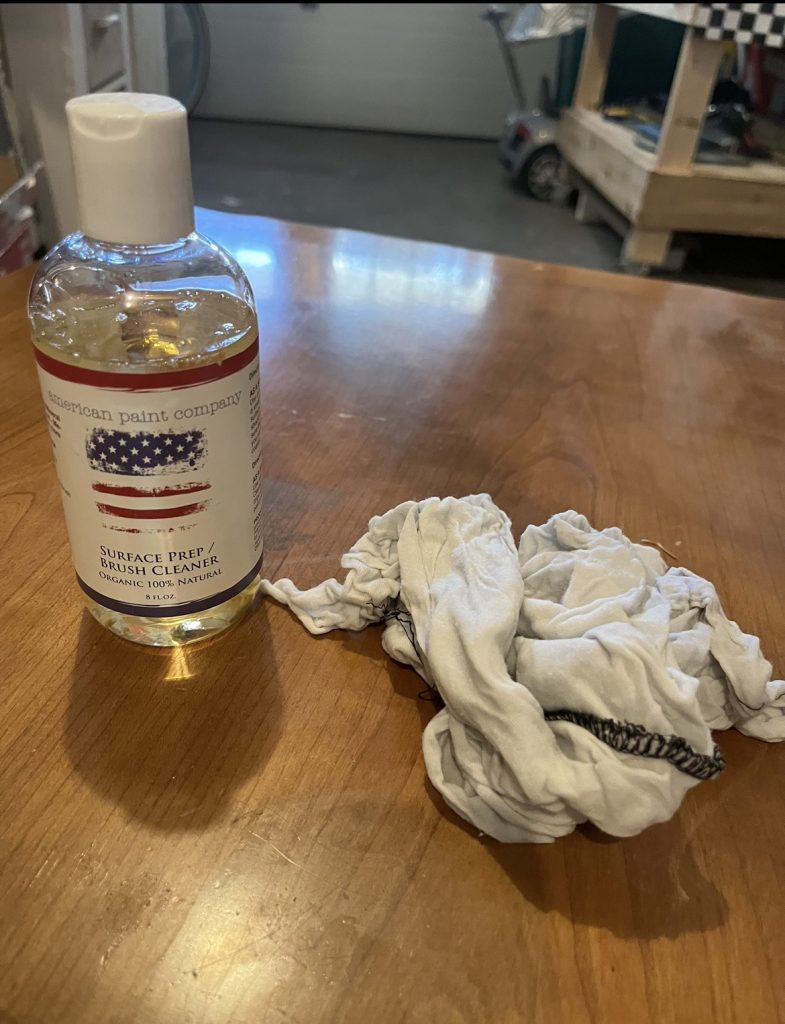
For this particular project I used American Paint Company surface prep. But you can use any furniture prep solution you have on hand or if you would like to grab a similar product, I have that here for you too.
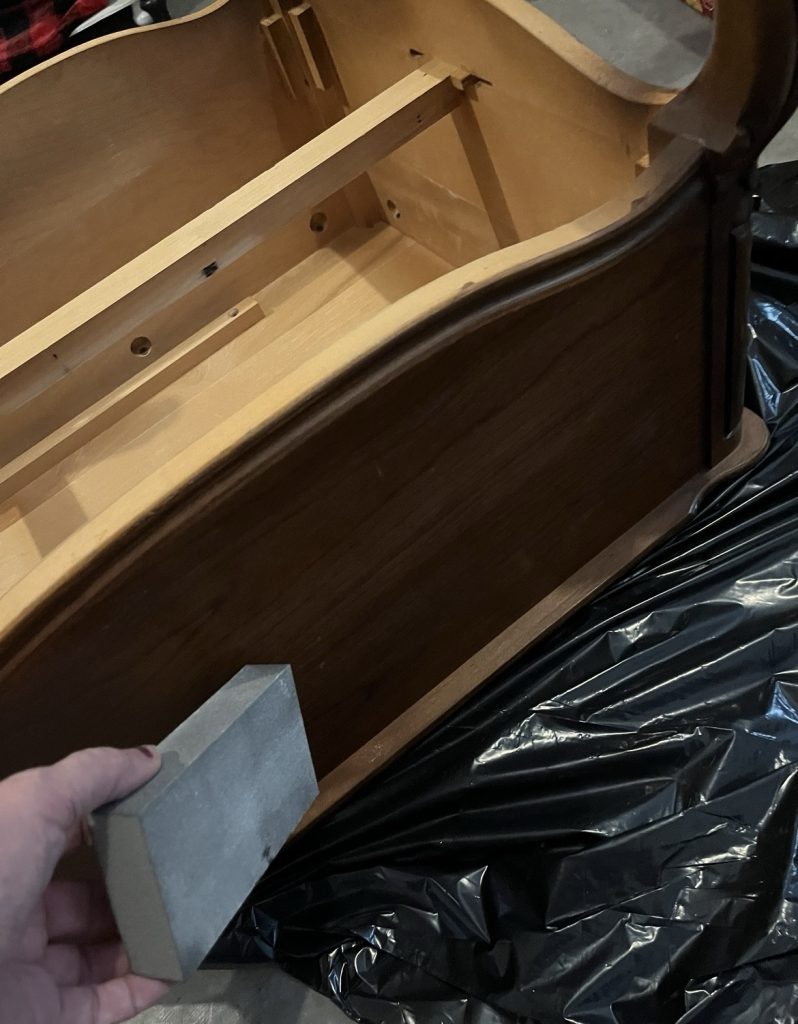
I always like to take a 200 grit sanding block and scuff up the finish on the piece, particuarily if the piece is extra shiny as I want to give the paint something to adhere to.
Painting
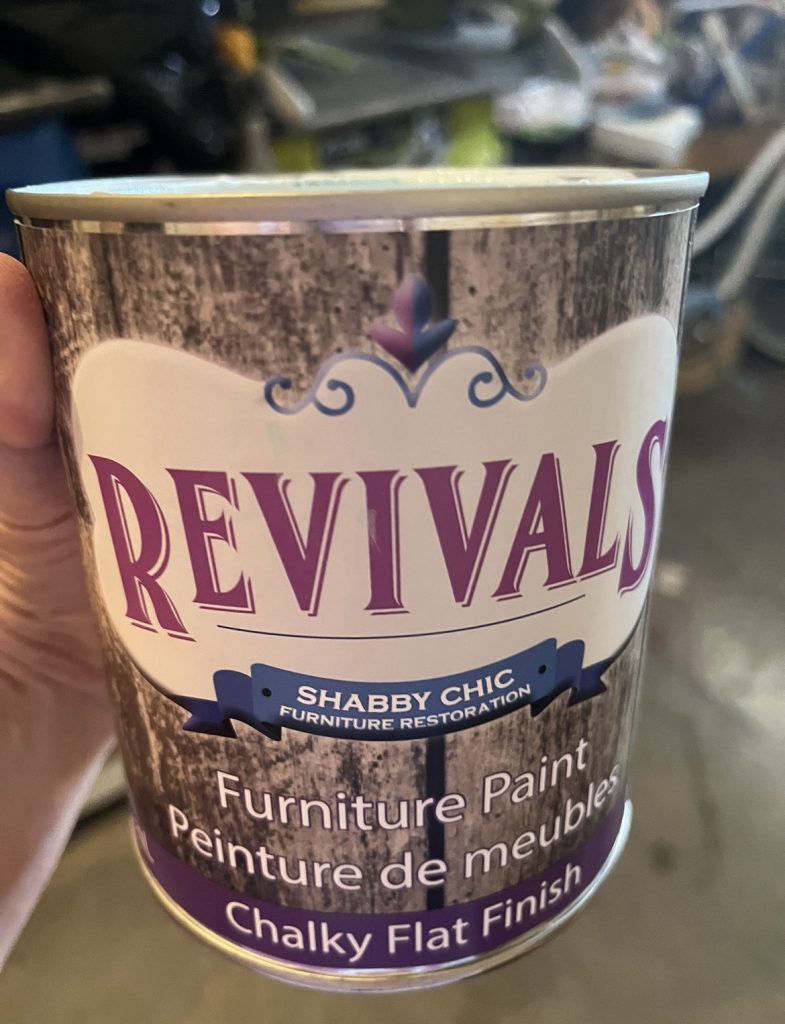
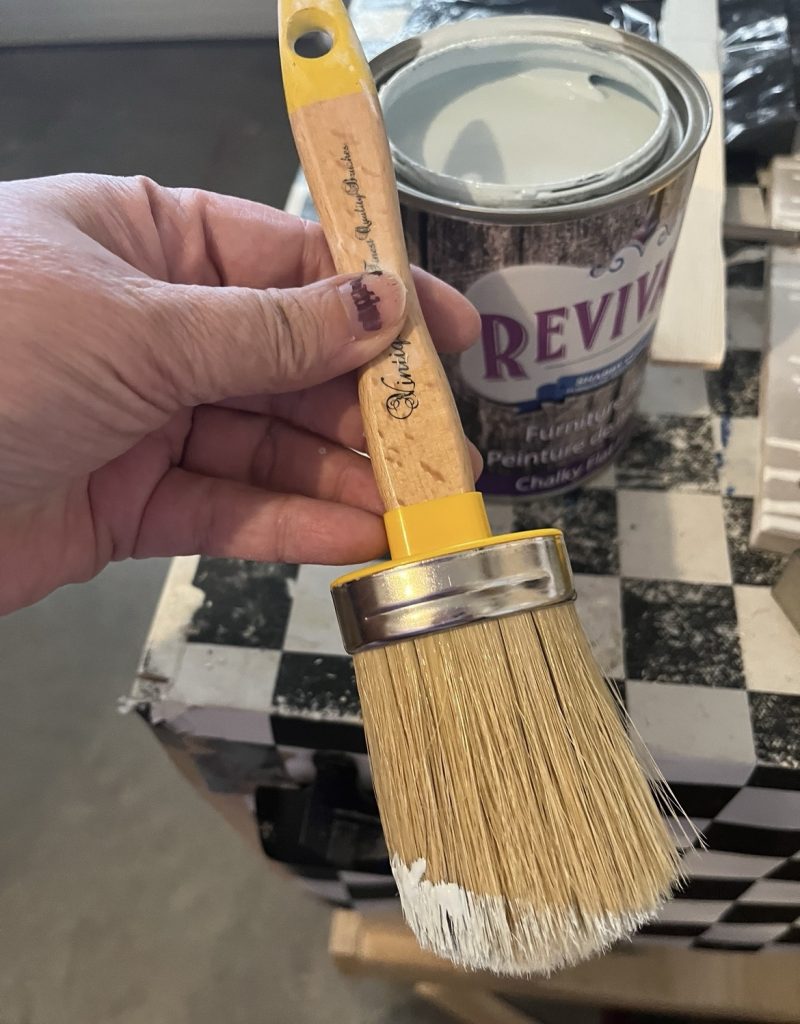
I began the painting process by finding some baby blue chalk paint. I found this particular brand at my local build it centre. You can purchase locally or online. I also make sure I have a really nice chalk paint brush. You want to make sure you get one that does not shed bristles into your surface and is nice and thick so you won’t have brush strokes.
I like to start my tables by flipping them upside down in order to make sure I get a really great coverage on the legs.
Then I flip it back once that has dried and start to paint my 3 coats of paint.
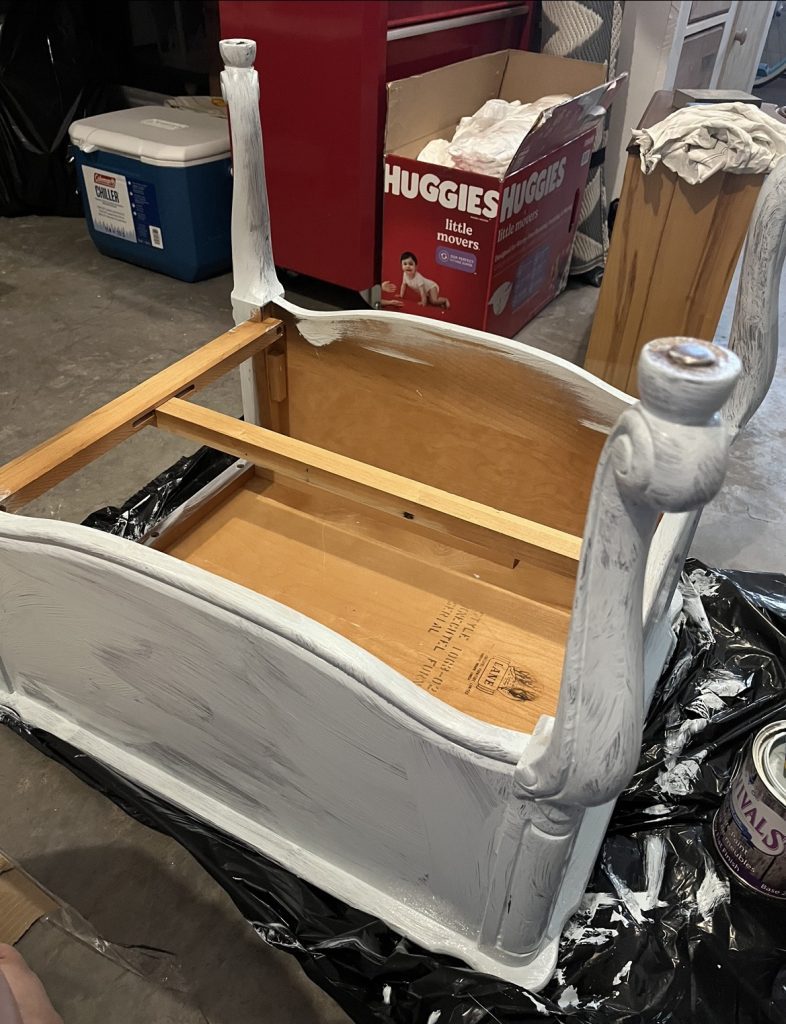
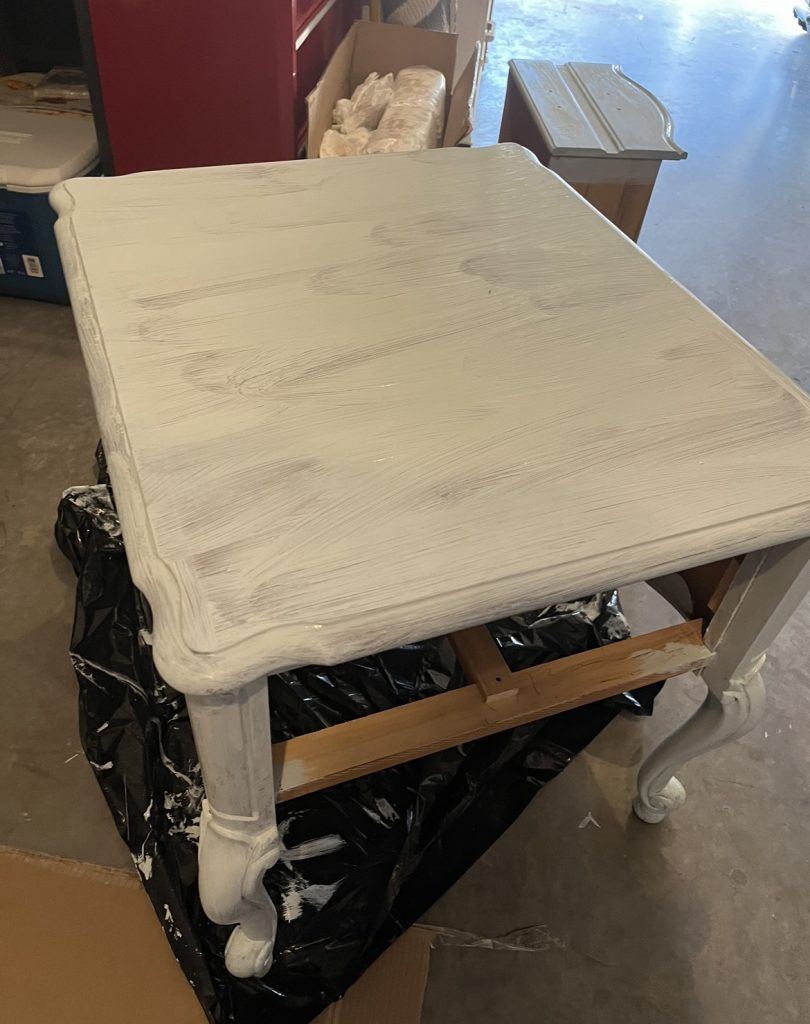
Progress pictures as I continue and finally reach the 3 coats of the chalk paint.
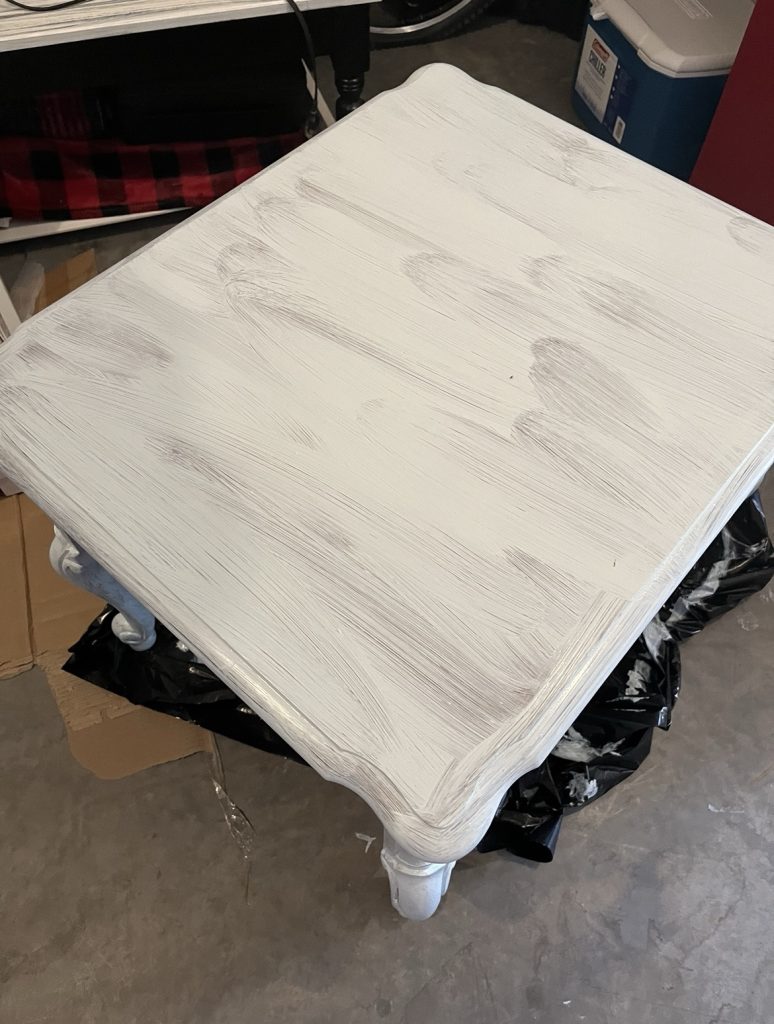
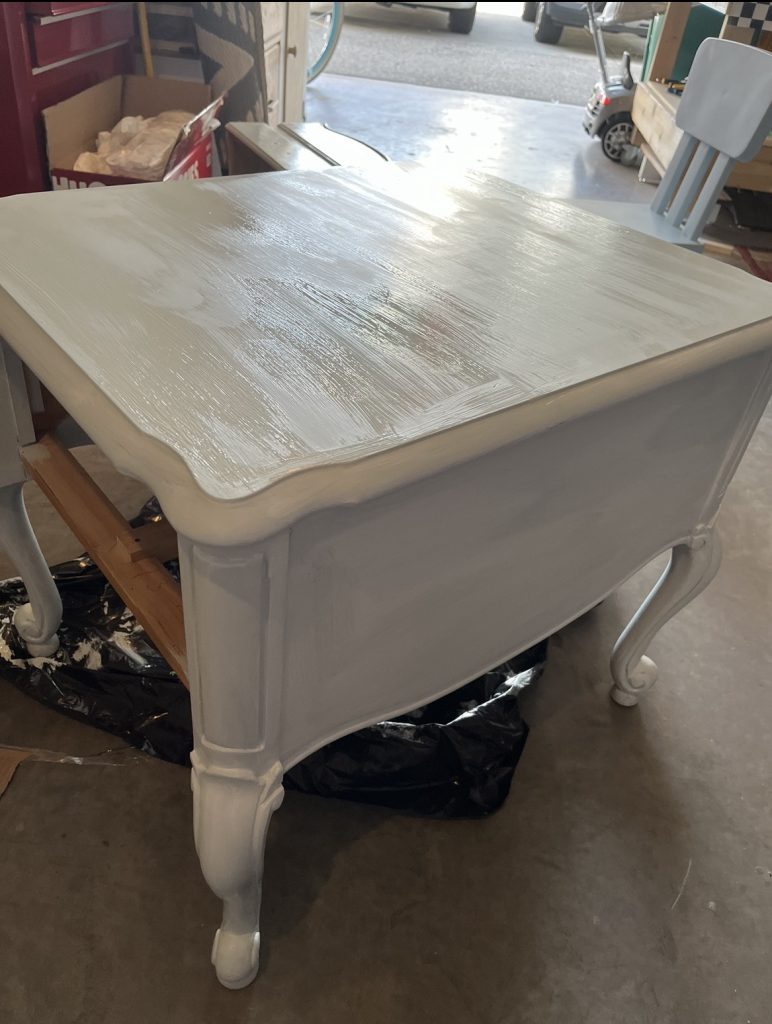
Distress
At this point, I am now done the painting portion and now I am wanting to take another sanding block or sand paper to start the distressing process. I am wanting to make sure I sand off all the corners and edges of this piece.
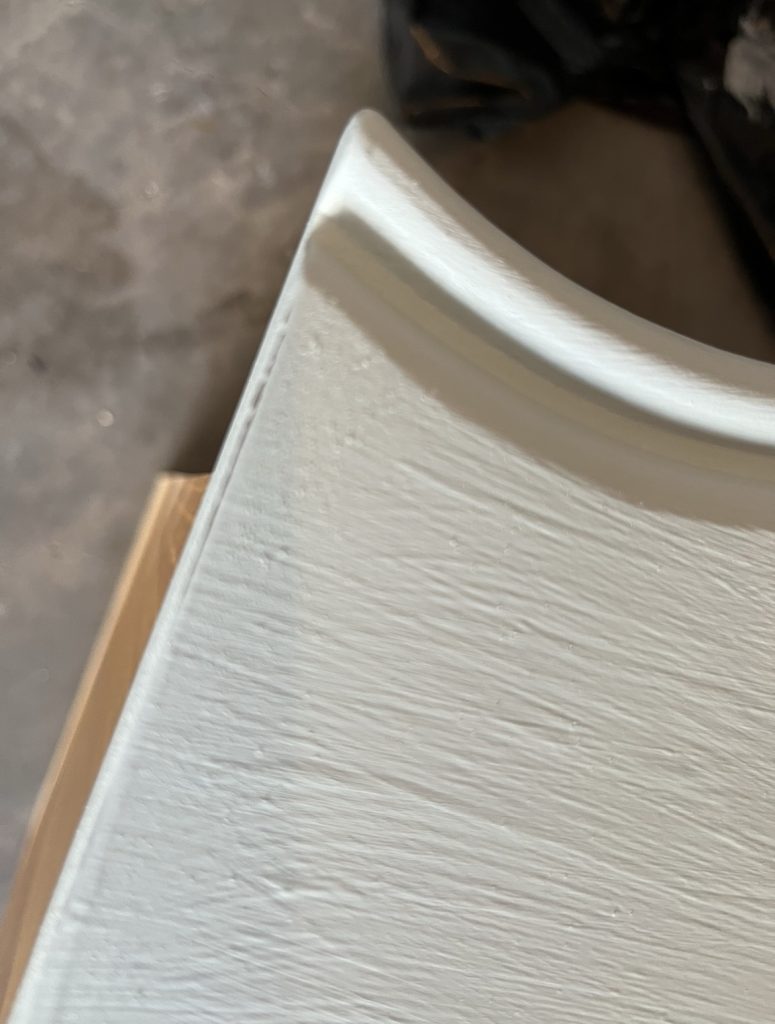
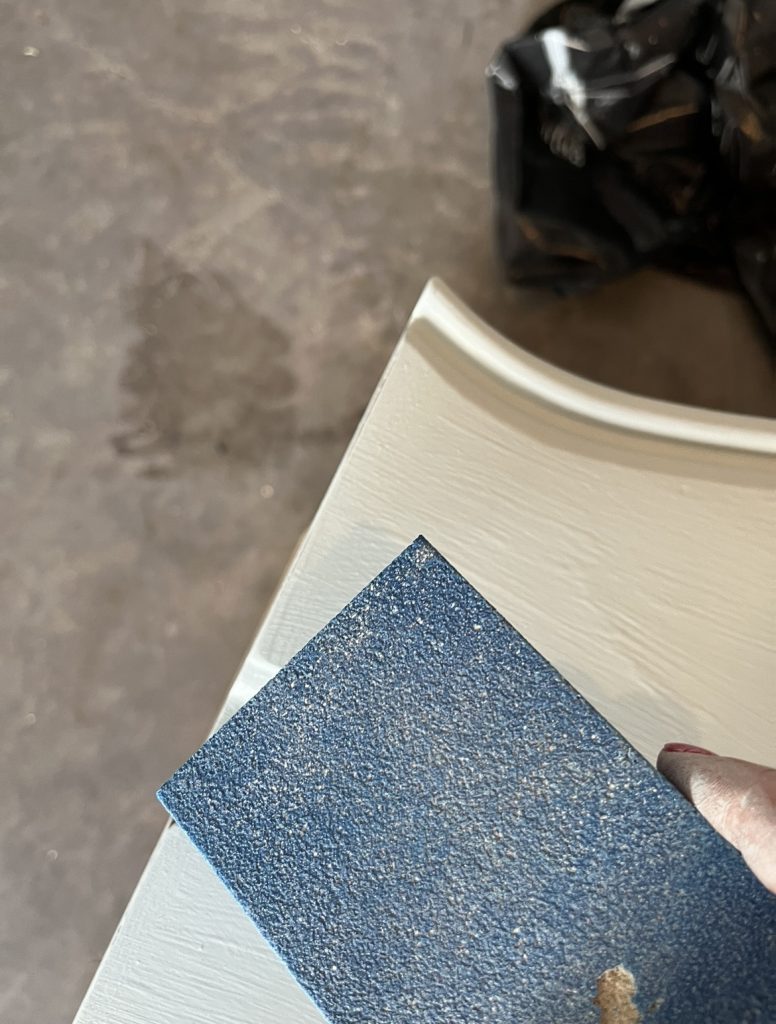
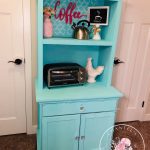
This is now the end result of the painting and distress process. Loving the baby blue color and I am loving the way the makeover turned out!
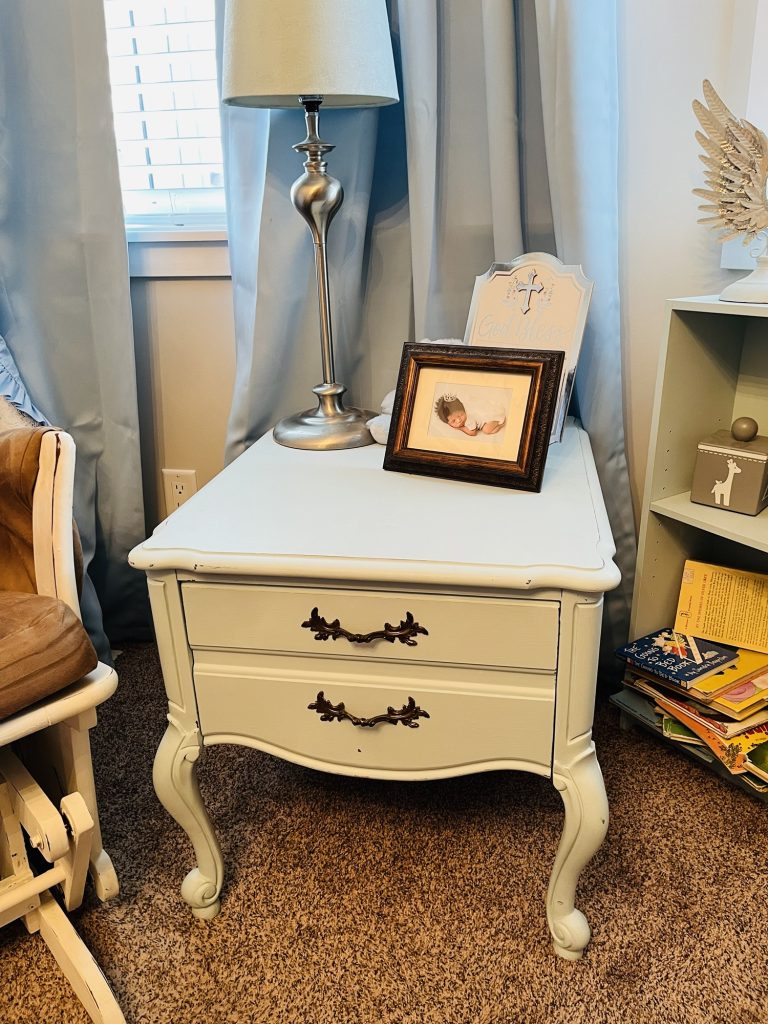
I am loving the night stand I chose for my son’s nursery. It is solid wood and can be kept for many more years to come. It also has a very large and deep drawer and right now I am storing a bunch of his books! There are just so many!
I hope I have been able to inspire you for your own nursery or even if you are debating on flipping the cheap table you found at a thrift store, go for it! You won’t regret it! A little paint can go a long way.
If you would like more makeover inspiration, please check out these posts:
- Chalk Paint Buffet Transformation
- Painted Armoire Before and After
- Chalk Painted China Cabinet to TV Stand Makeover
- Vintage Nesting Tables Painted with Chalk Paint
- King Size Headboard Makeover

