I was recently gifted a new fireplace and while I loved the style of it, I needed to make it over to fit into our bedroom scheme. Here are the steps I did in order to transform the fireplace!
This post contains affiliate links; here is a link to my Disclosure Policy
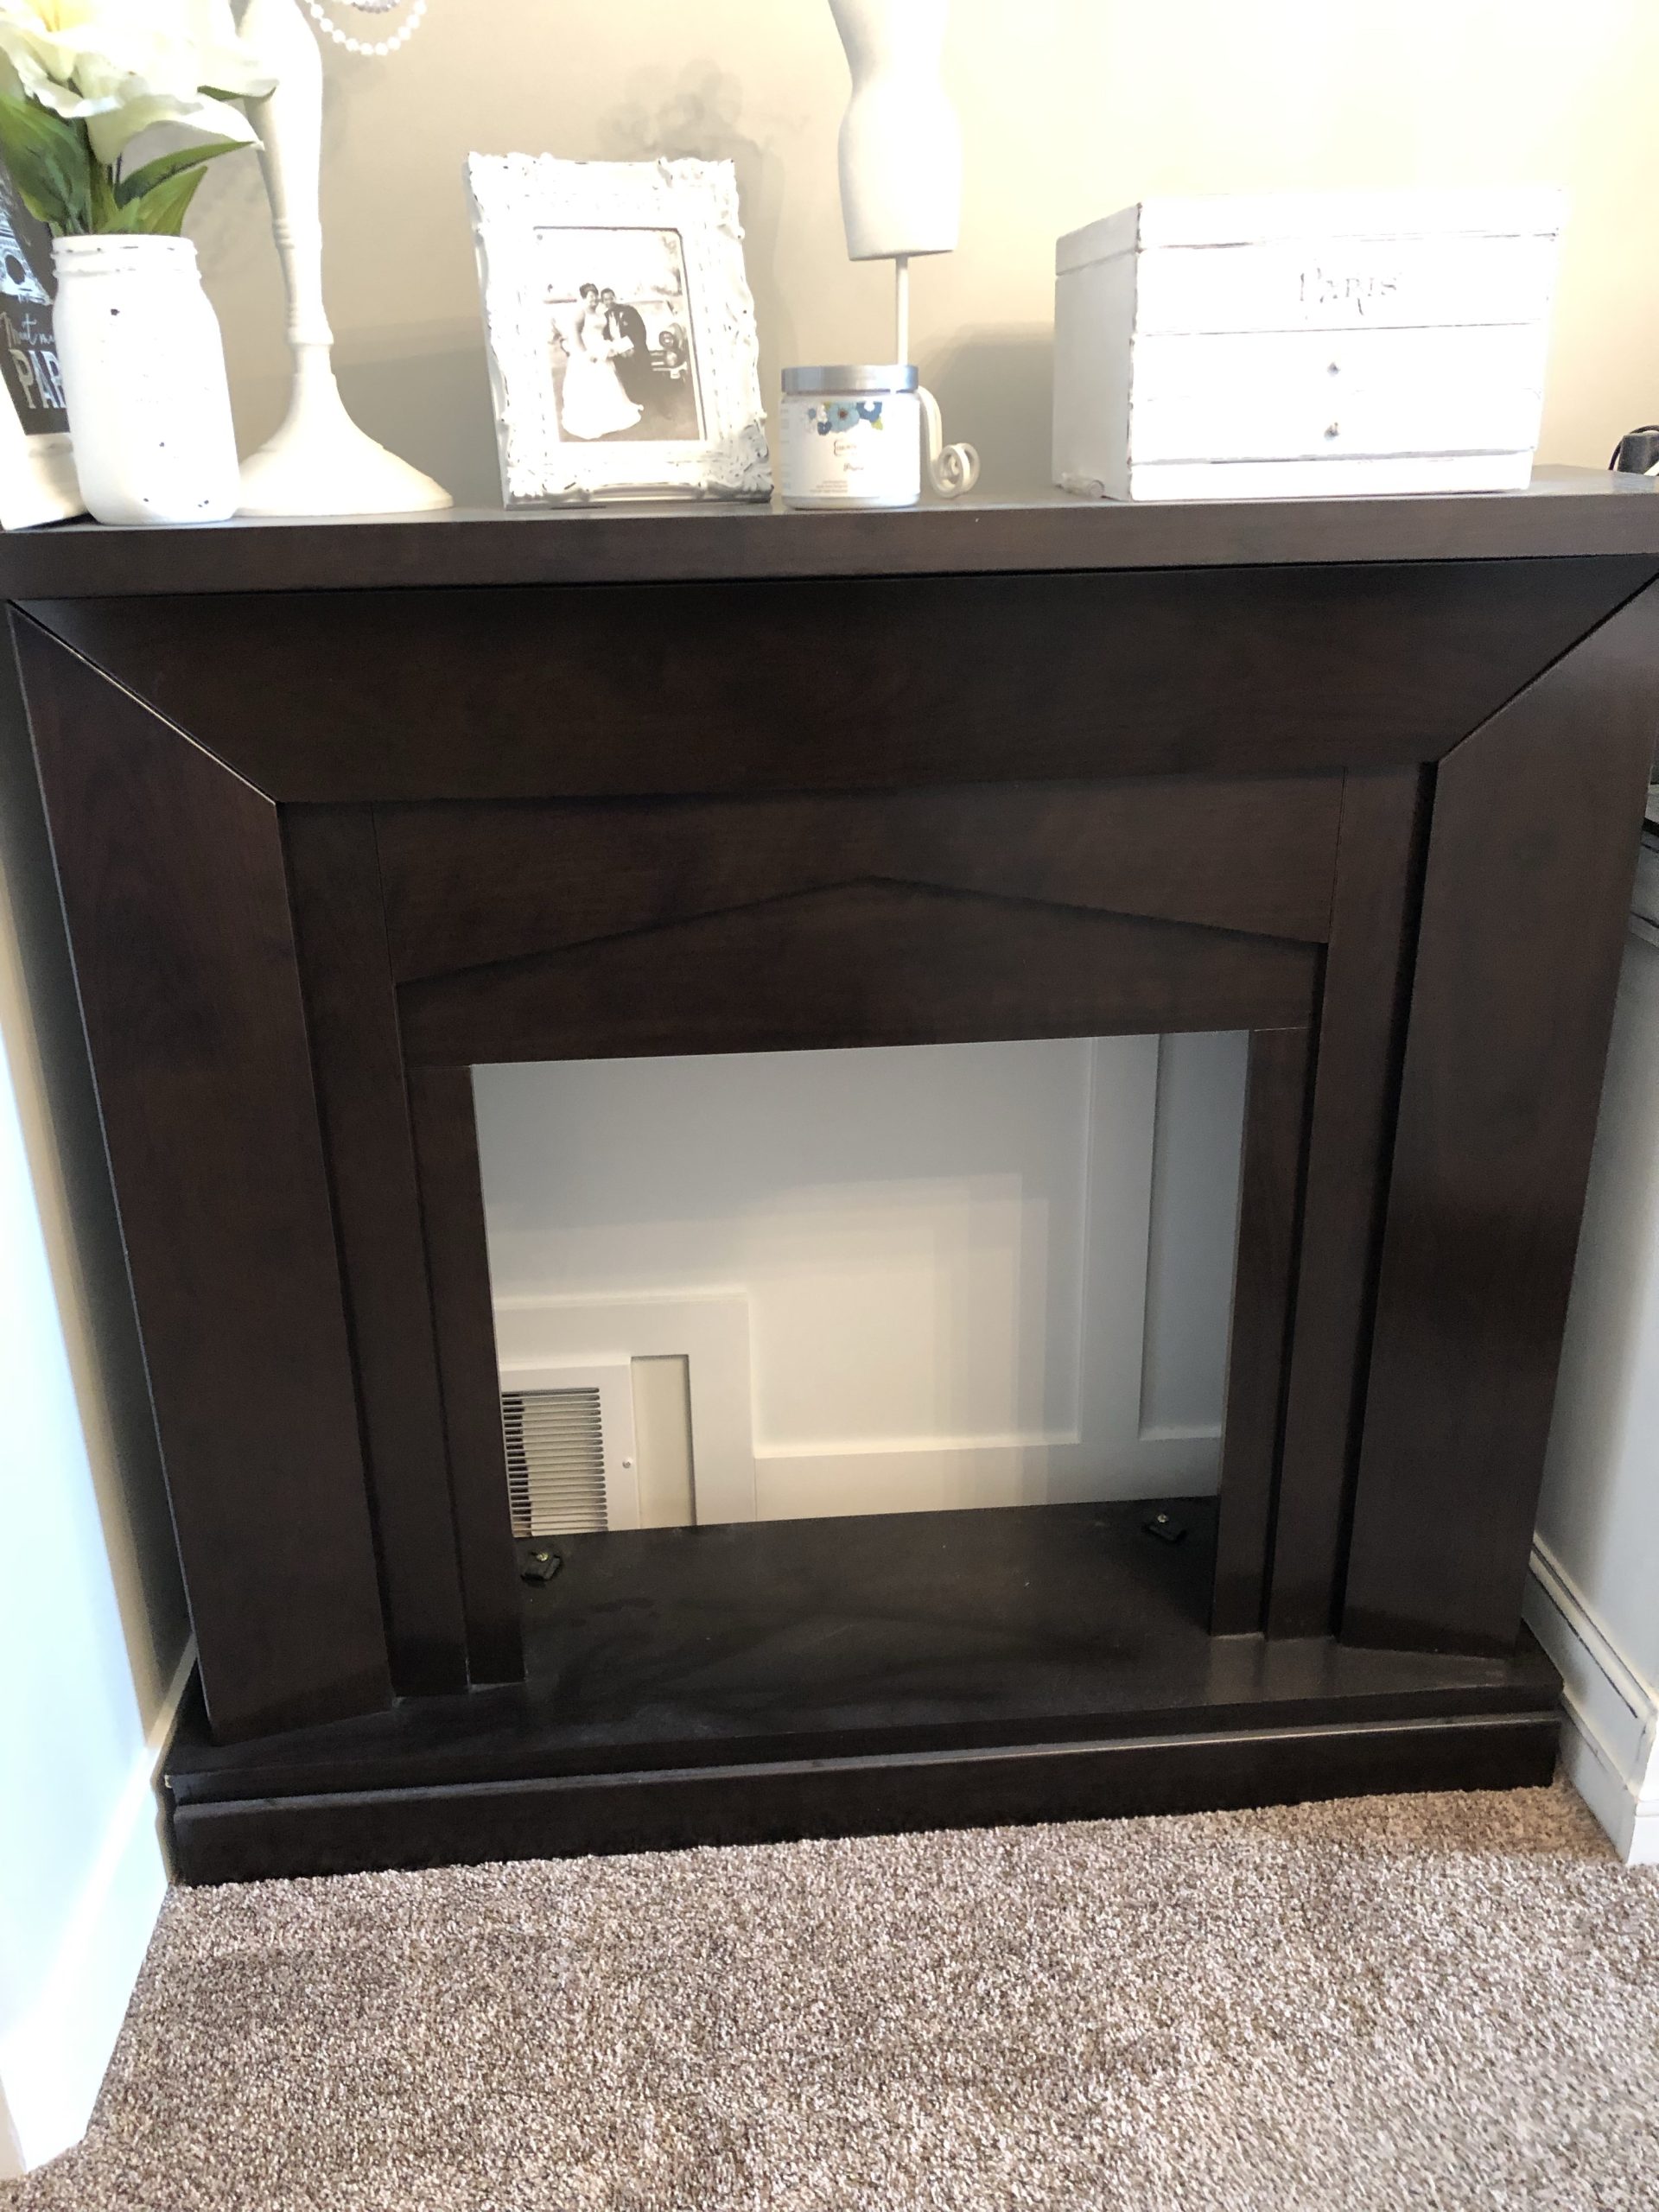
Before
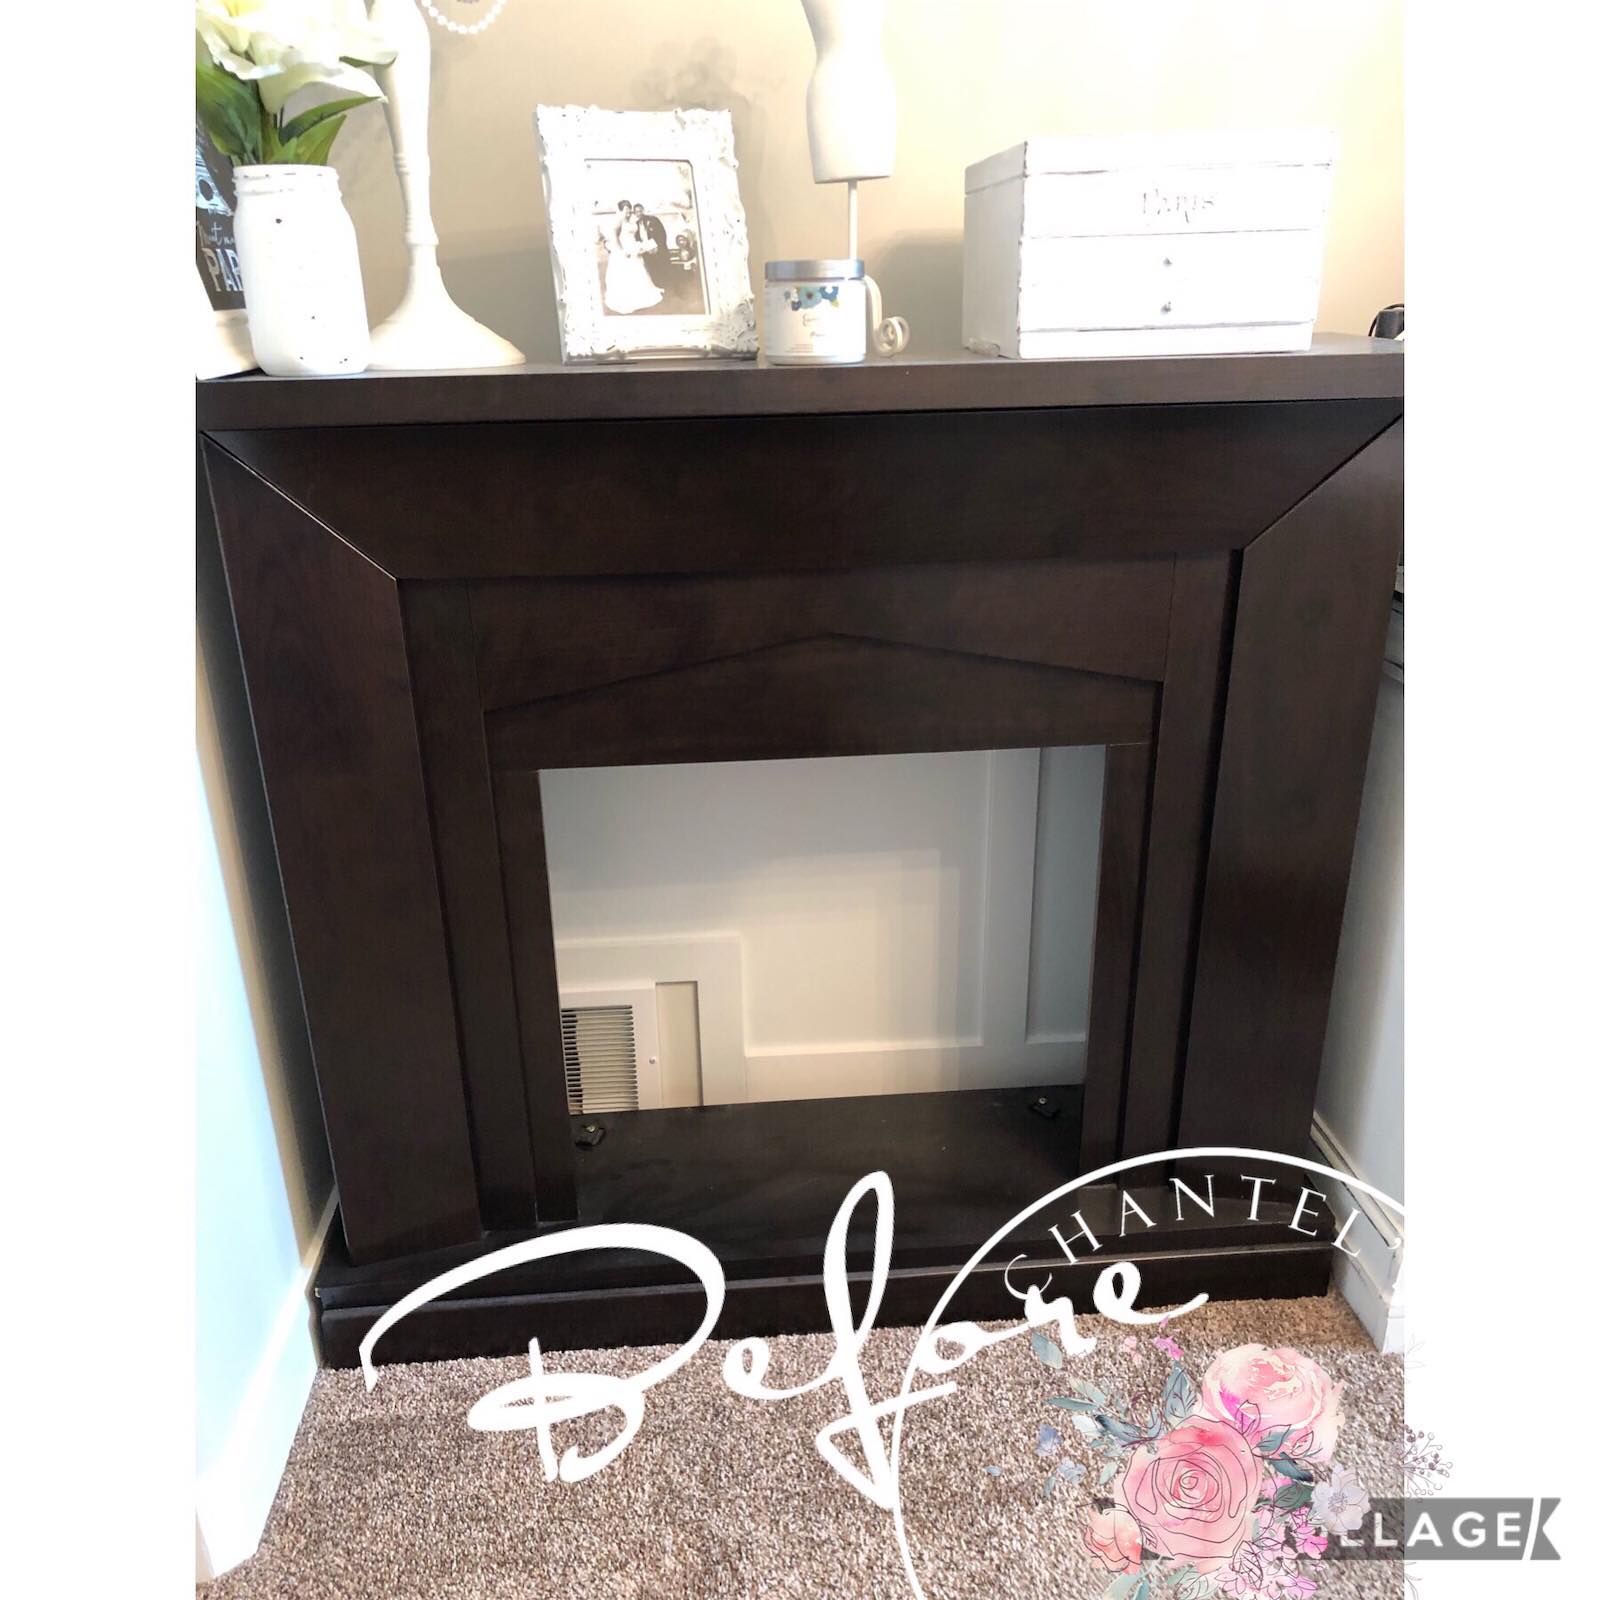
I began with all of the furniture preparation I do with every piece I paint. Please my post where I go into details on how I prep furniture.
Priming Steps
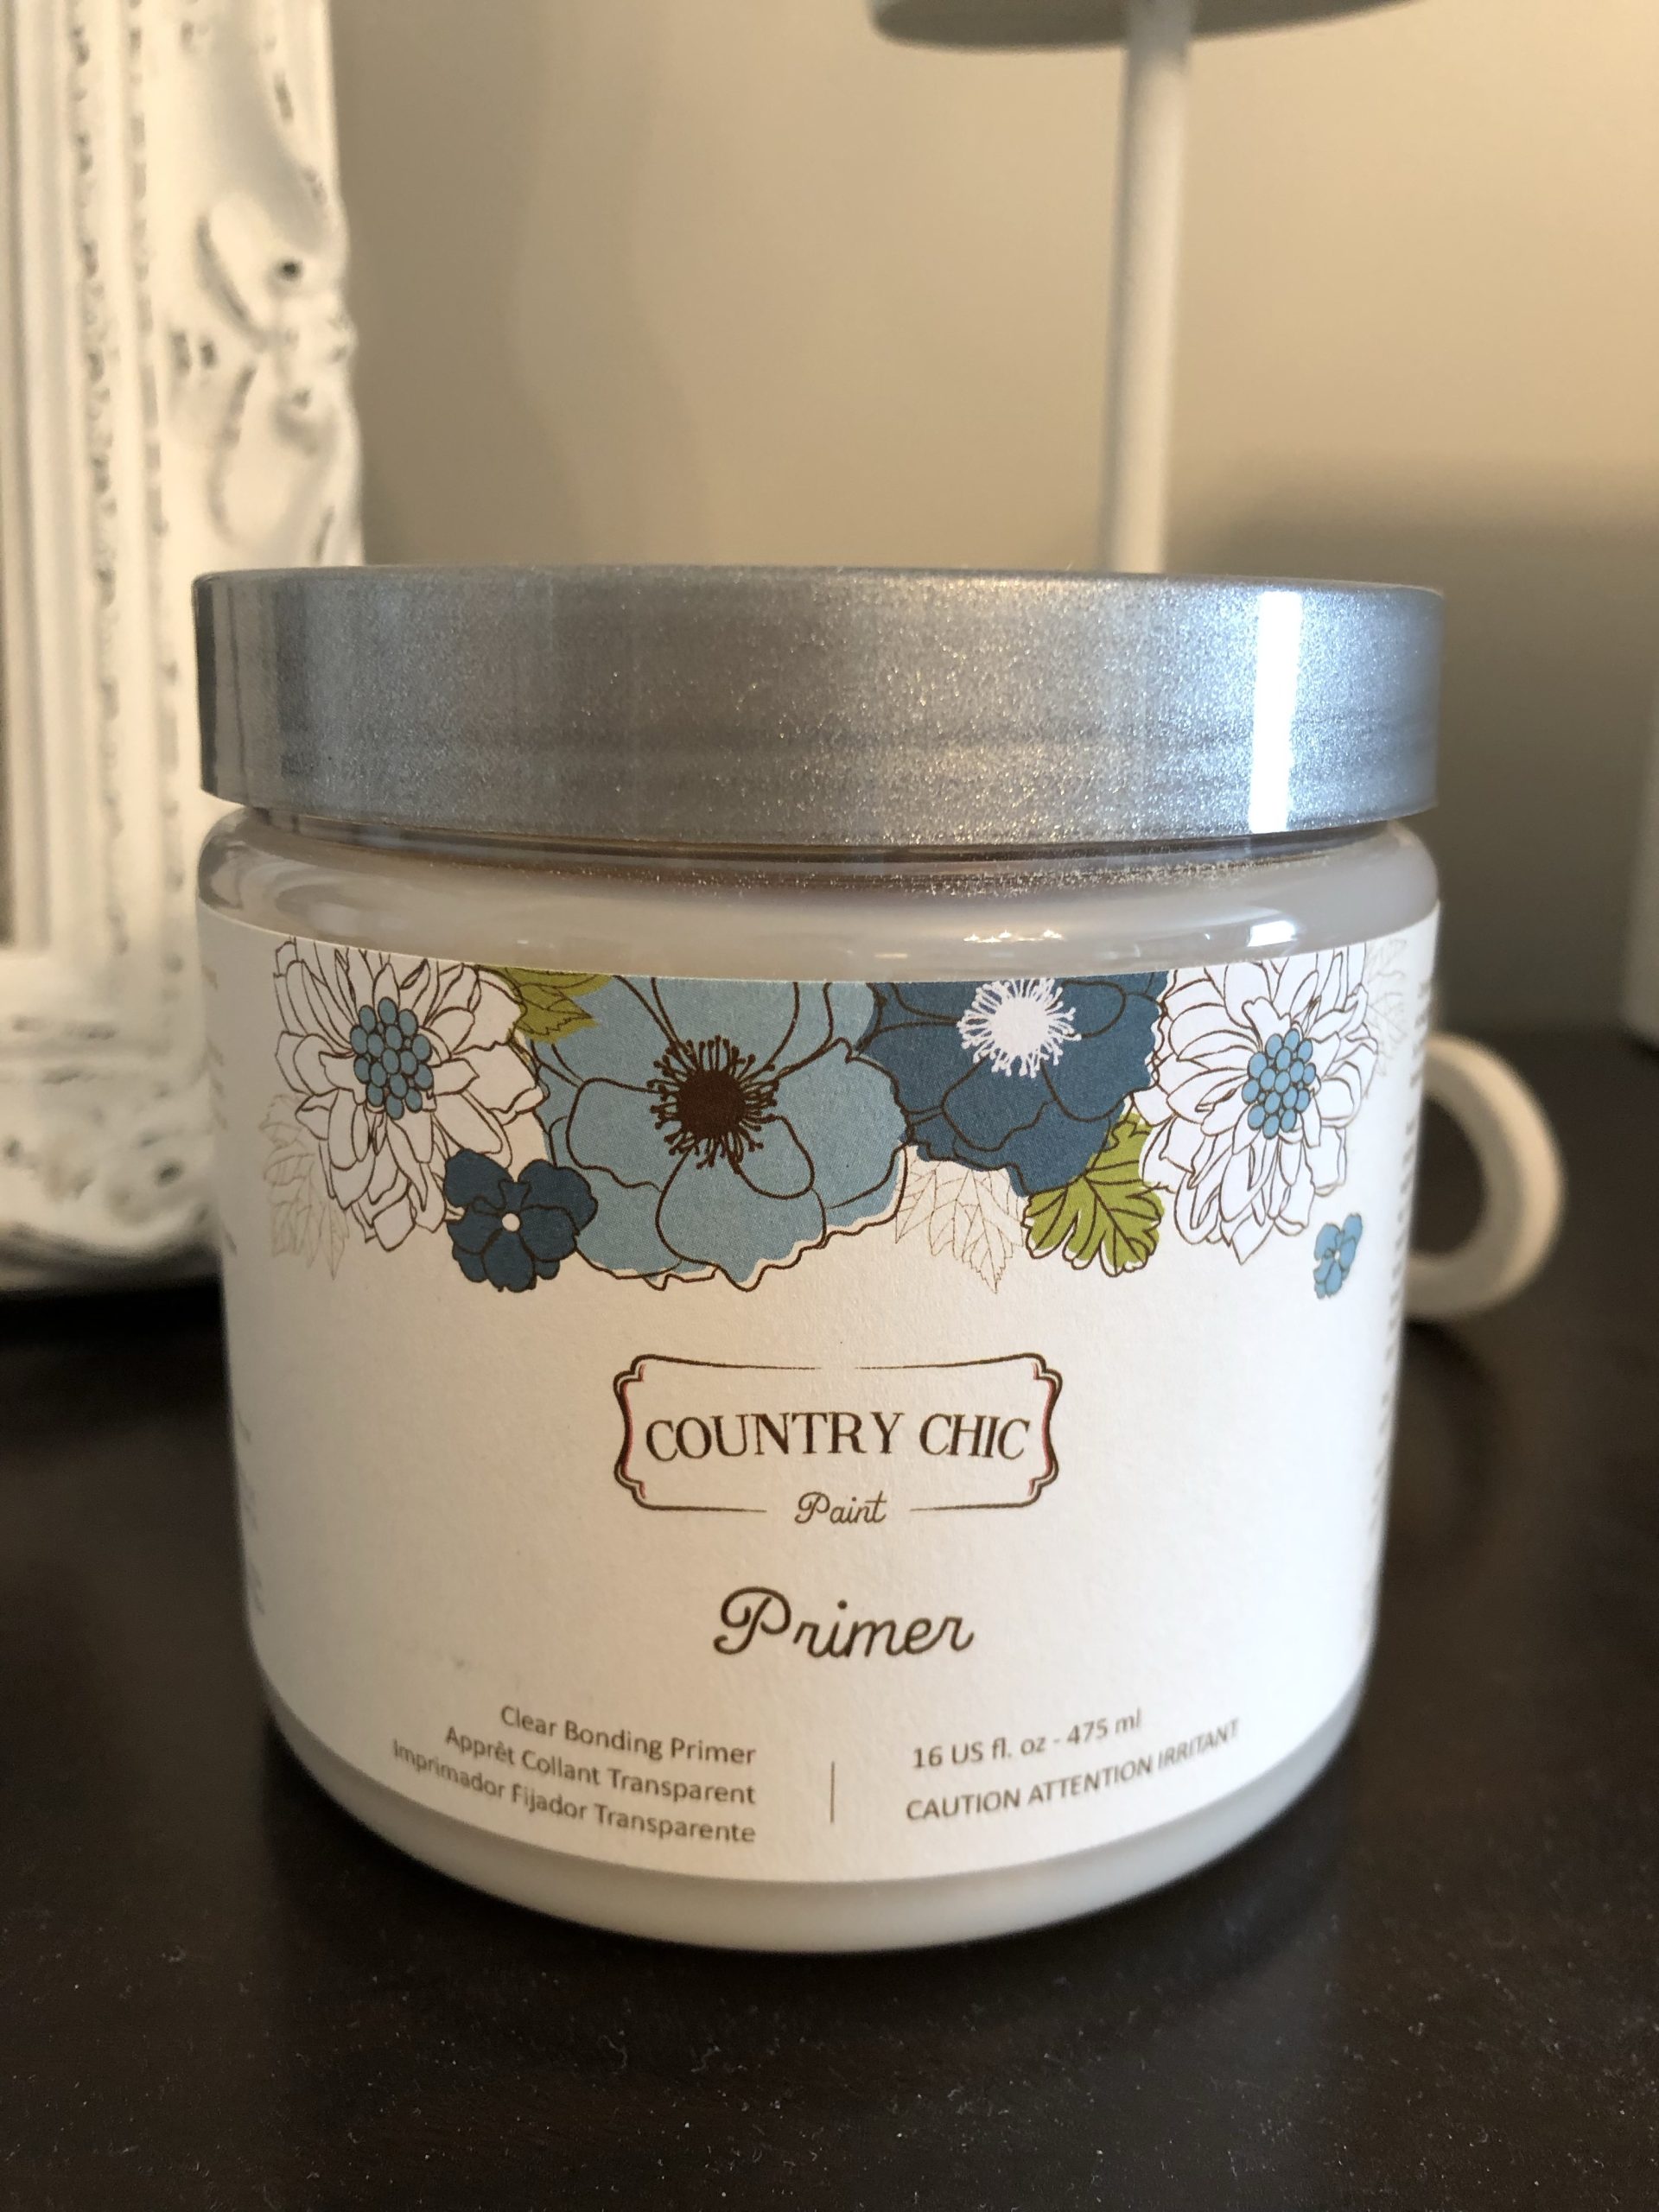
For this particular project, I used Country Chic Primer but really any primer will do and the one I use most frequently is the Zinsser brand, which I will link here for you.
It’s absolutely imperative that you prime your piece first particularly if you are starting with a shiny cherry wood to a white color! It will save you so much time and money on painting extra costs that are not needed.
- I prepared the piece by propping it up on some scrap pieces of wood as it was too big of a piece to be putting it upside down to get at the bottom edges.
- I also painted this right in my bedroom and that’s one of the best things I love about chalk style paint is that it is low VOC and usually does not have any fumes.
- Although I have noticed that the darker the color, aka black, in some brands, there is a bit of a smell to it which dissipates quickly once the piece is dried.
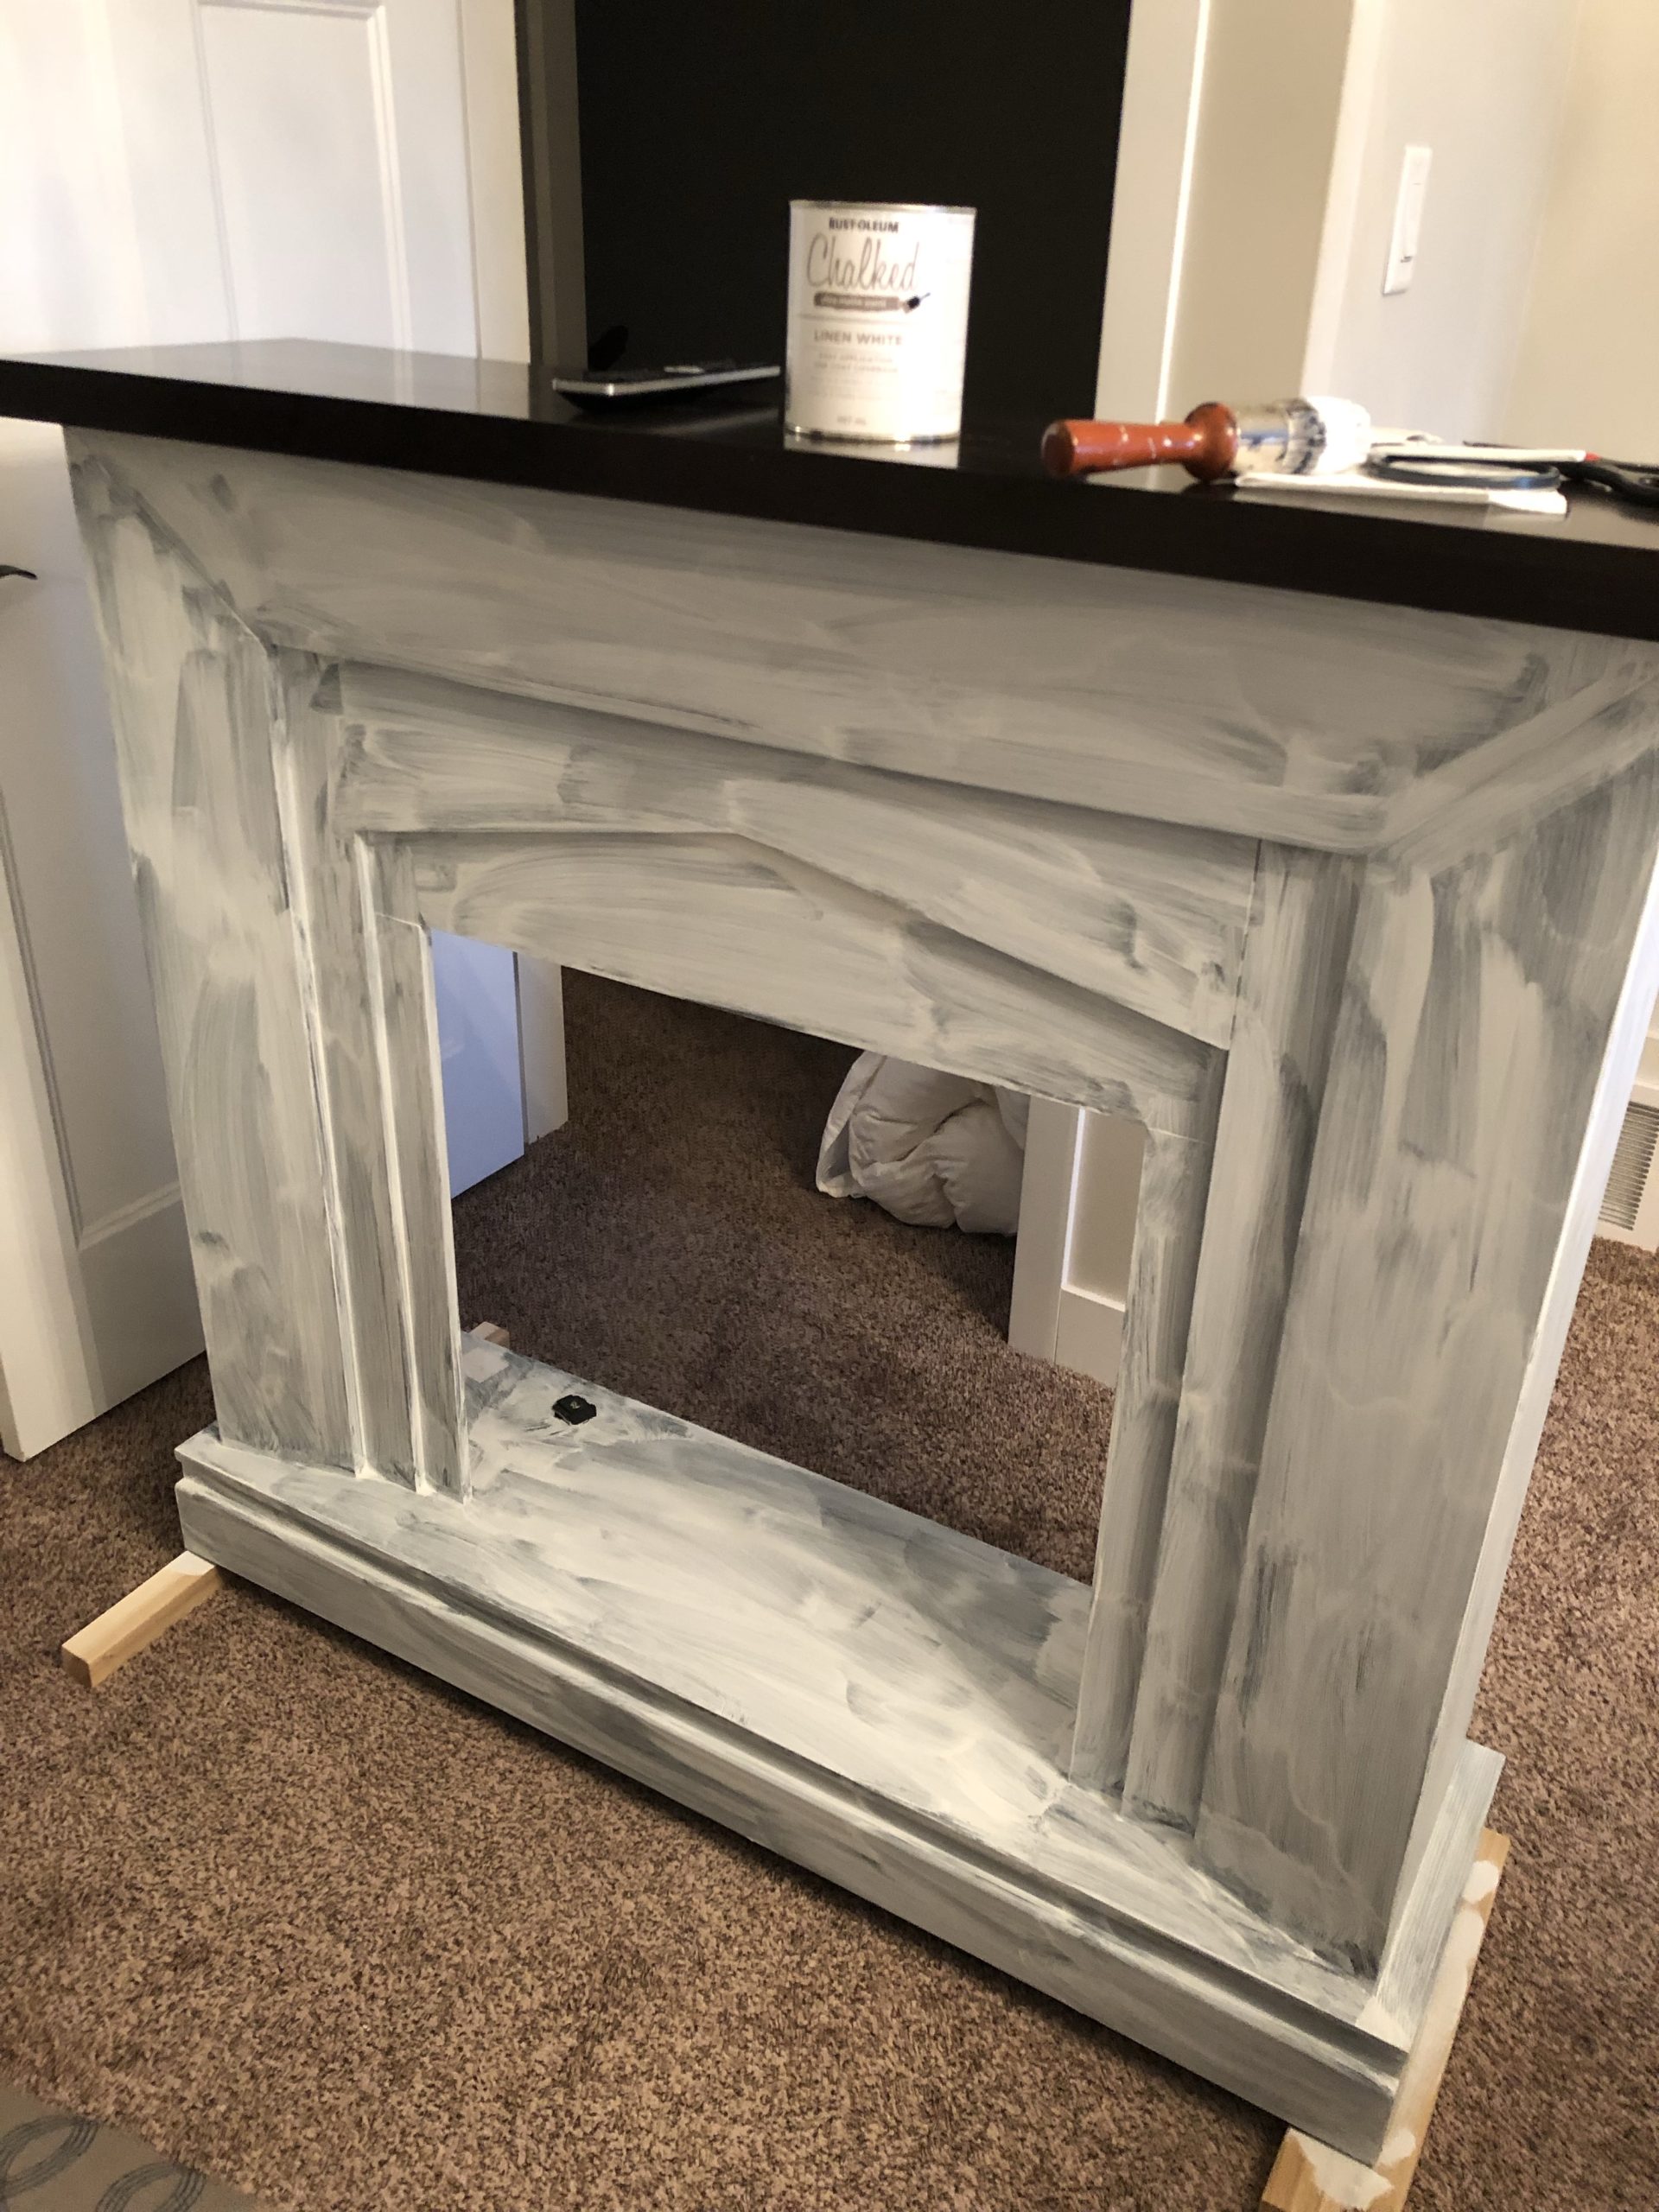
I went ahead and applied 2 coats of primer to the piece and let it dry thoroughly between coats.
Painting Steps
My plan for the top of the piece was to paint it out black. Our room is black and white.
I opted not to paint the white primer on the top and instead just went right to painting it black as the original cherry color does not make it difficult to go to the black color.
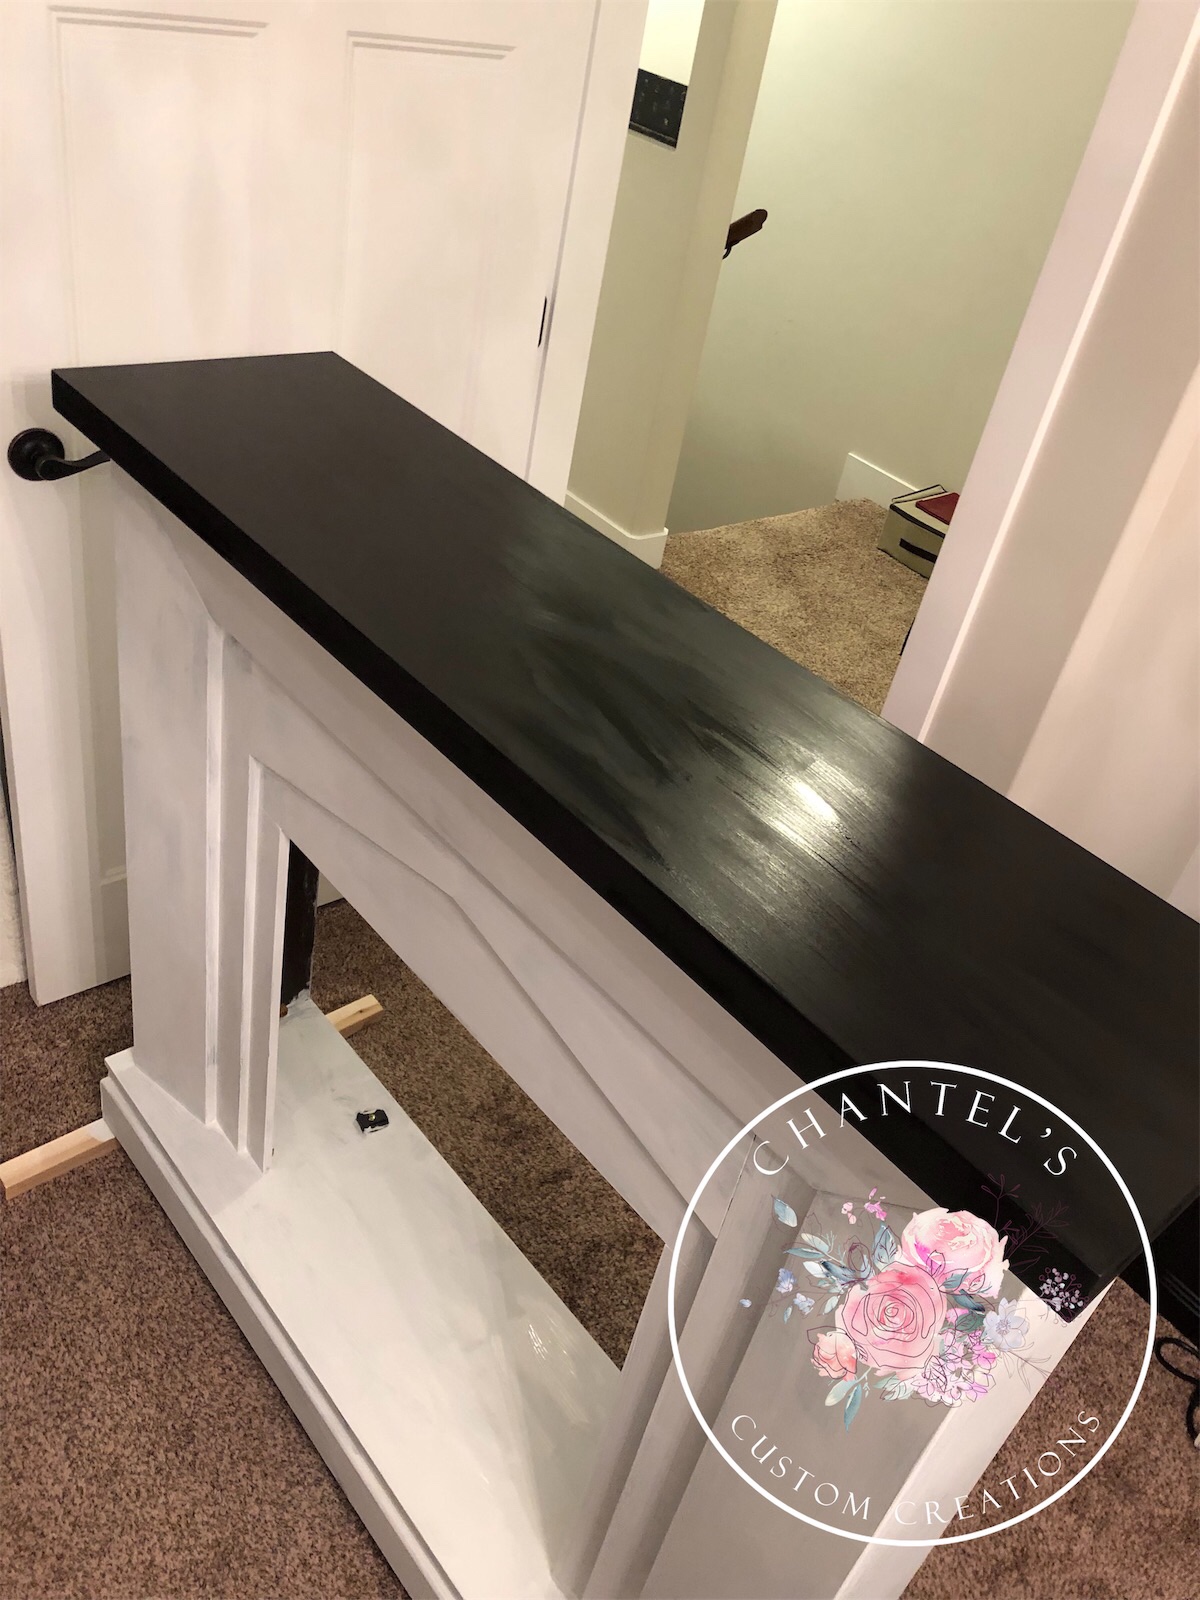
- A couple of coats of black chalk paint was all that was needed for the top part of the fireplace.
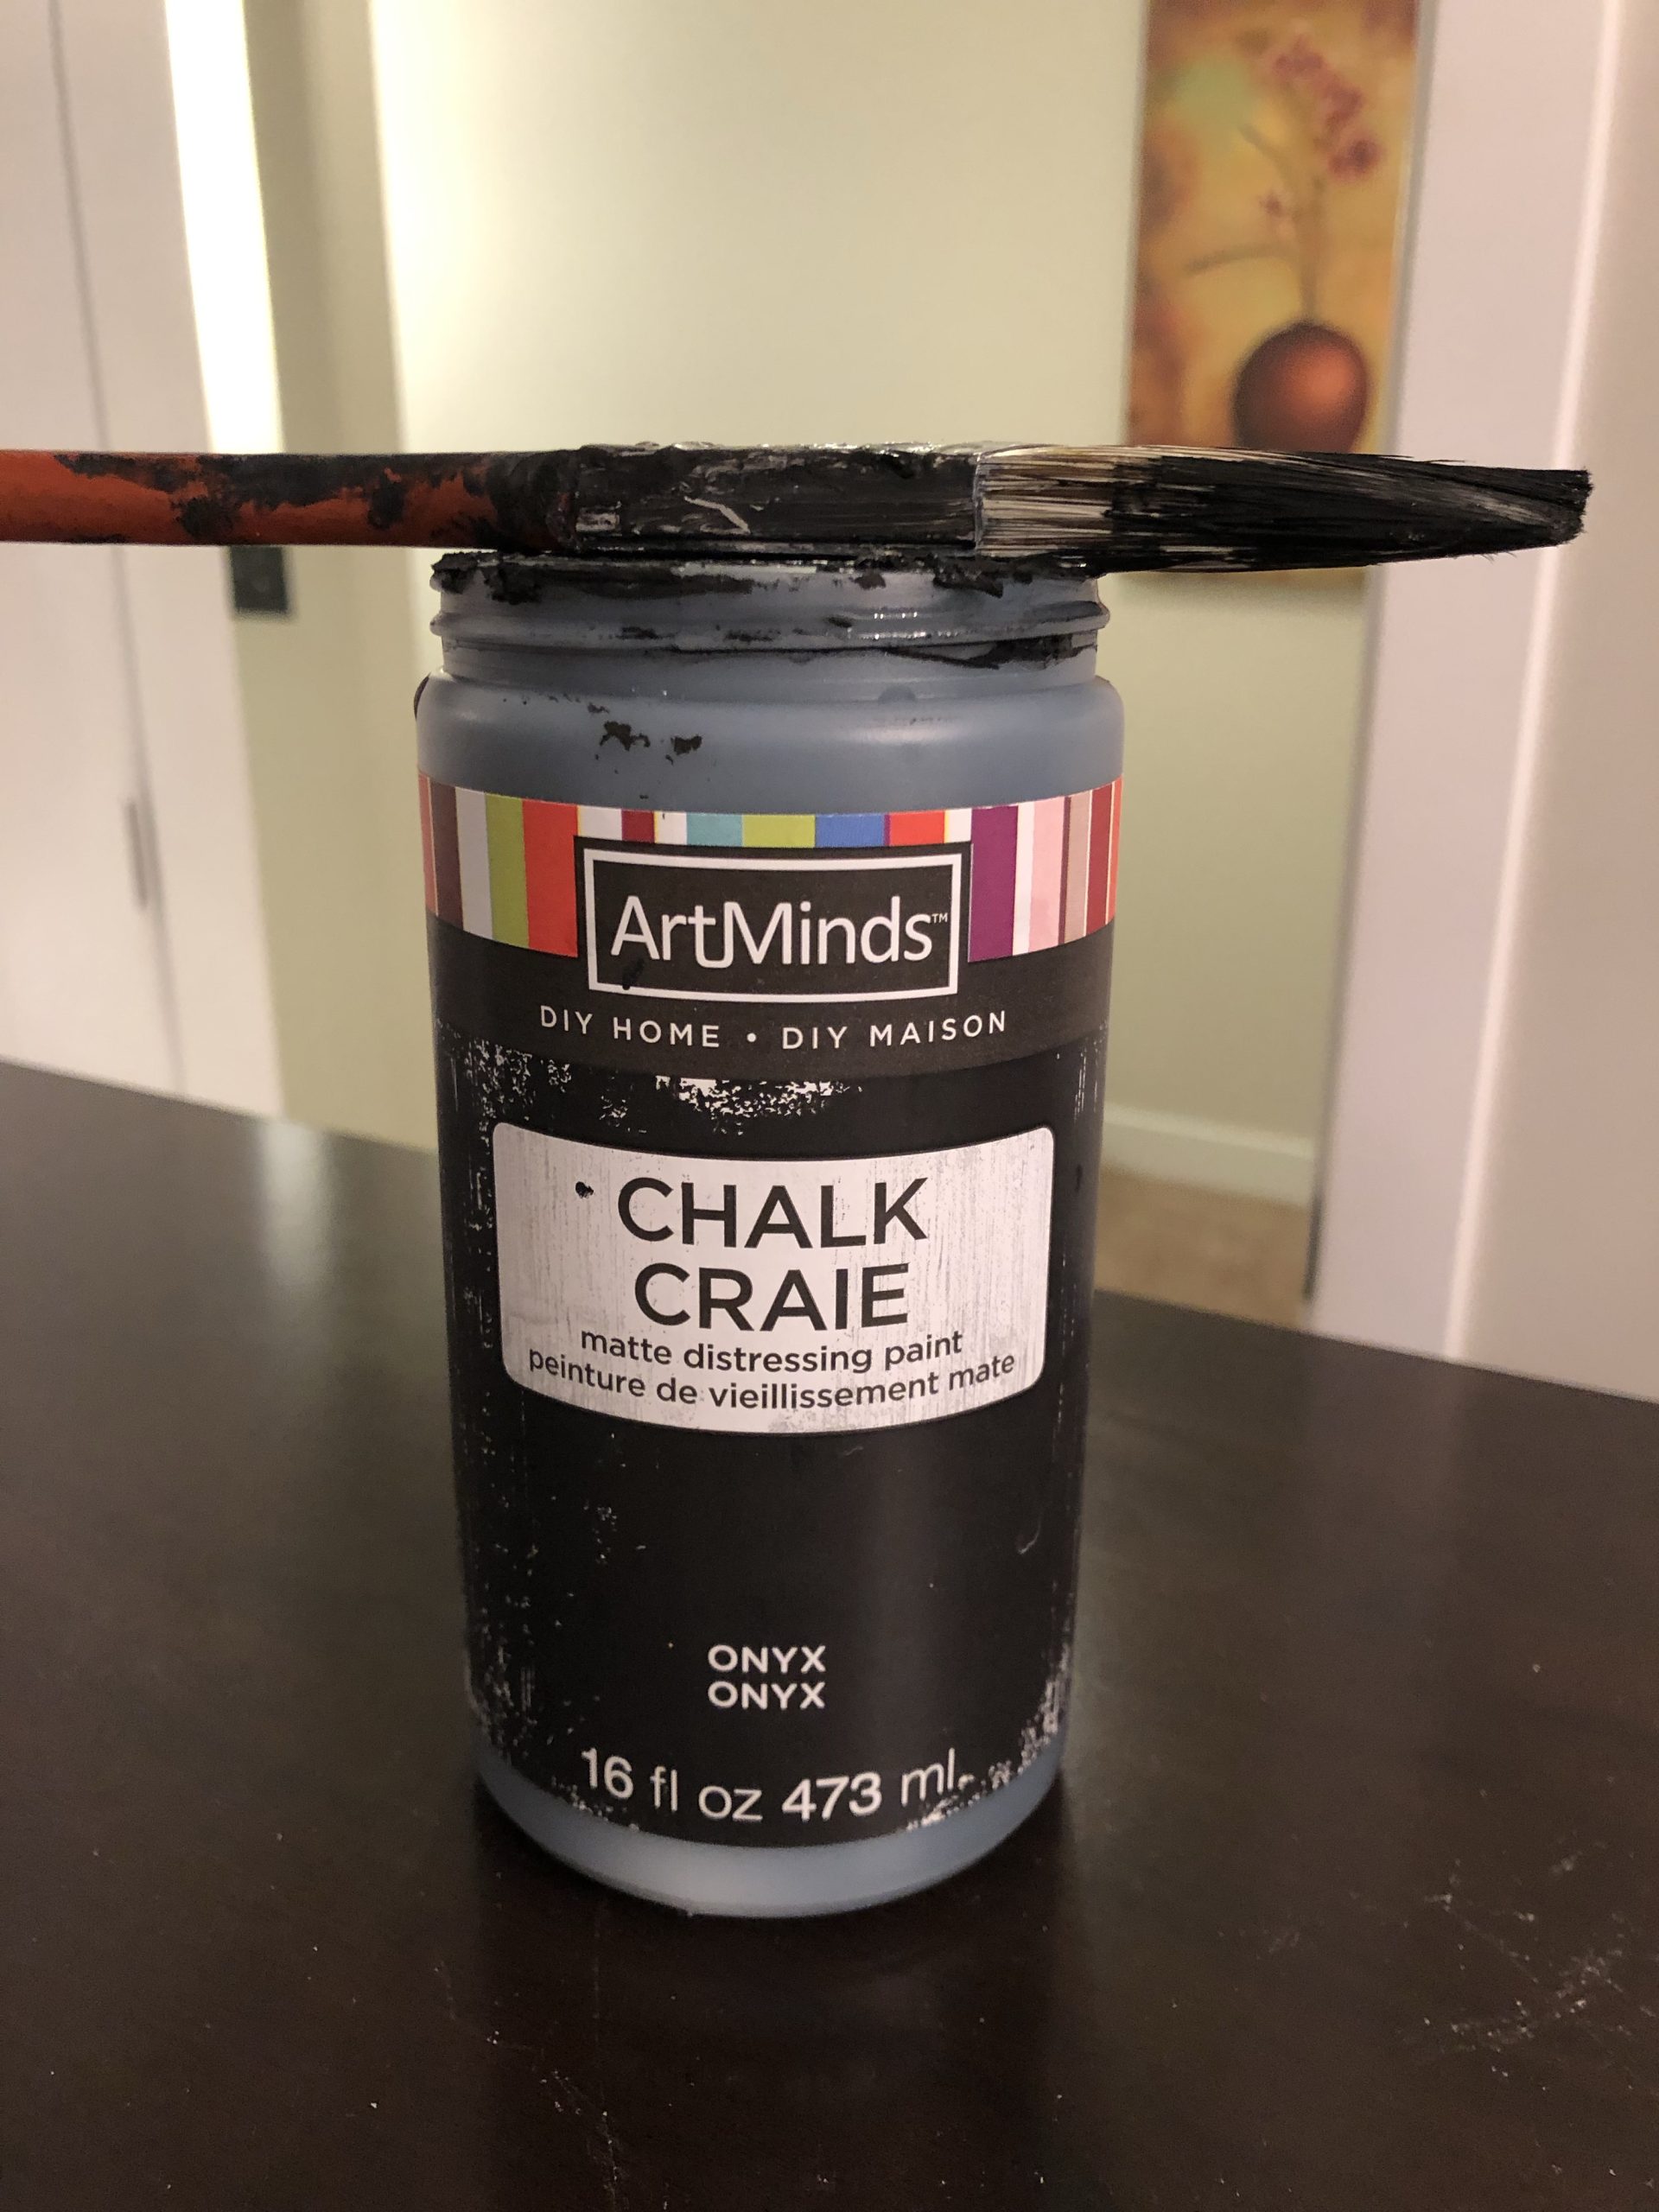
- I opted to use this brand of chalk paint in black. It really doesn’t matter the brand, but here I have found some similar paint in another brand.
White Chalk Paint
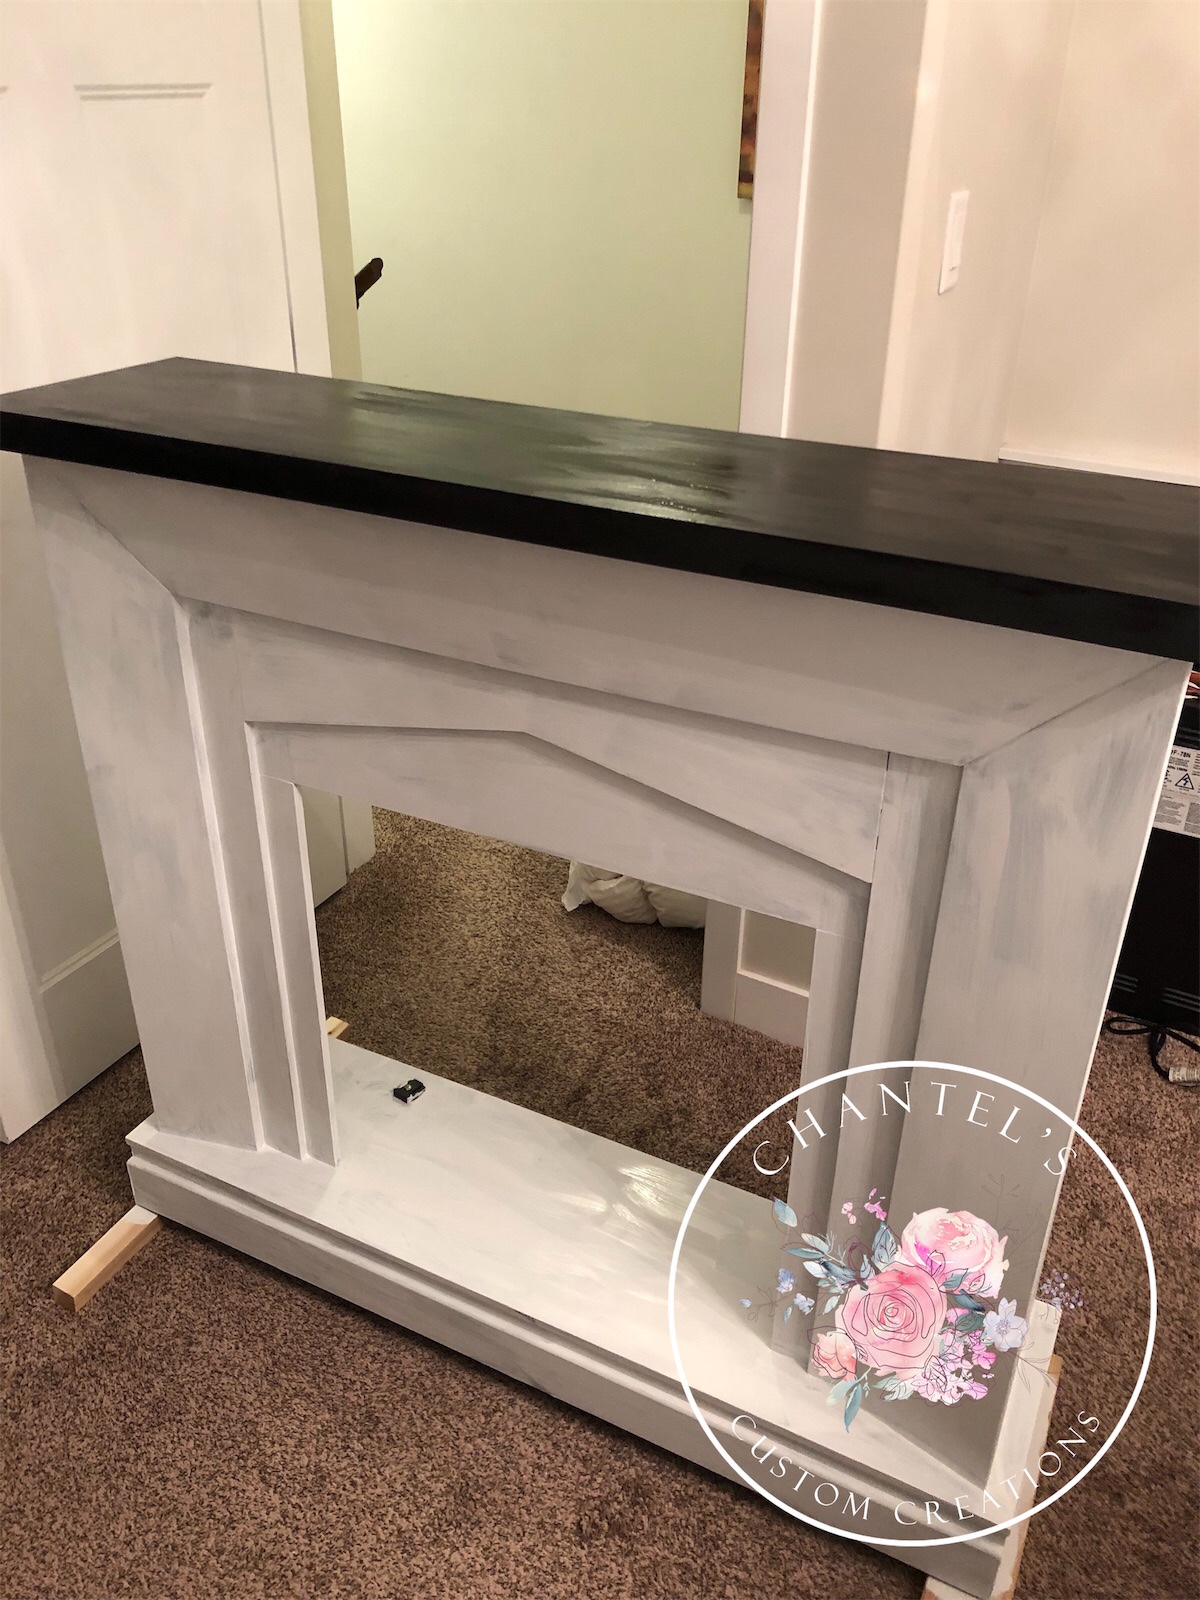
Next step was to start painting the white chalk paint on the main part of the fireplace. I used Rustoleum Chalked style paint in Linen white linked here. I painted 3 coats and made sure each coat was thoroughly dry.
Black Furniture Wax
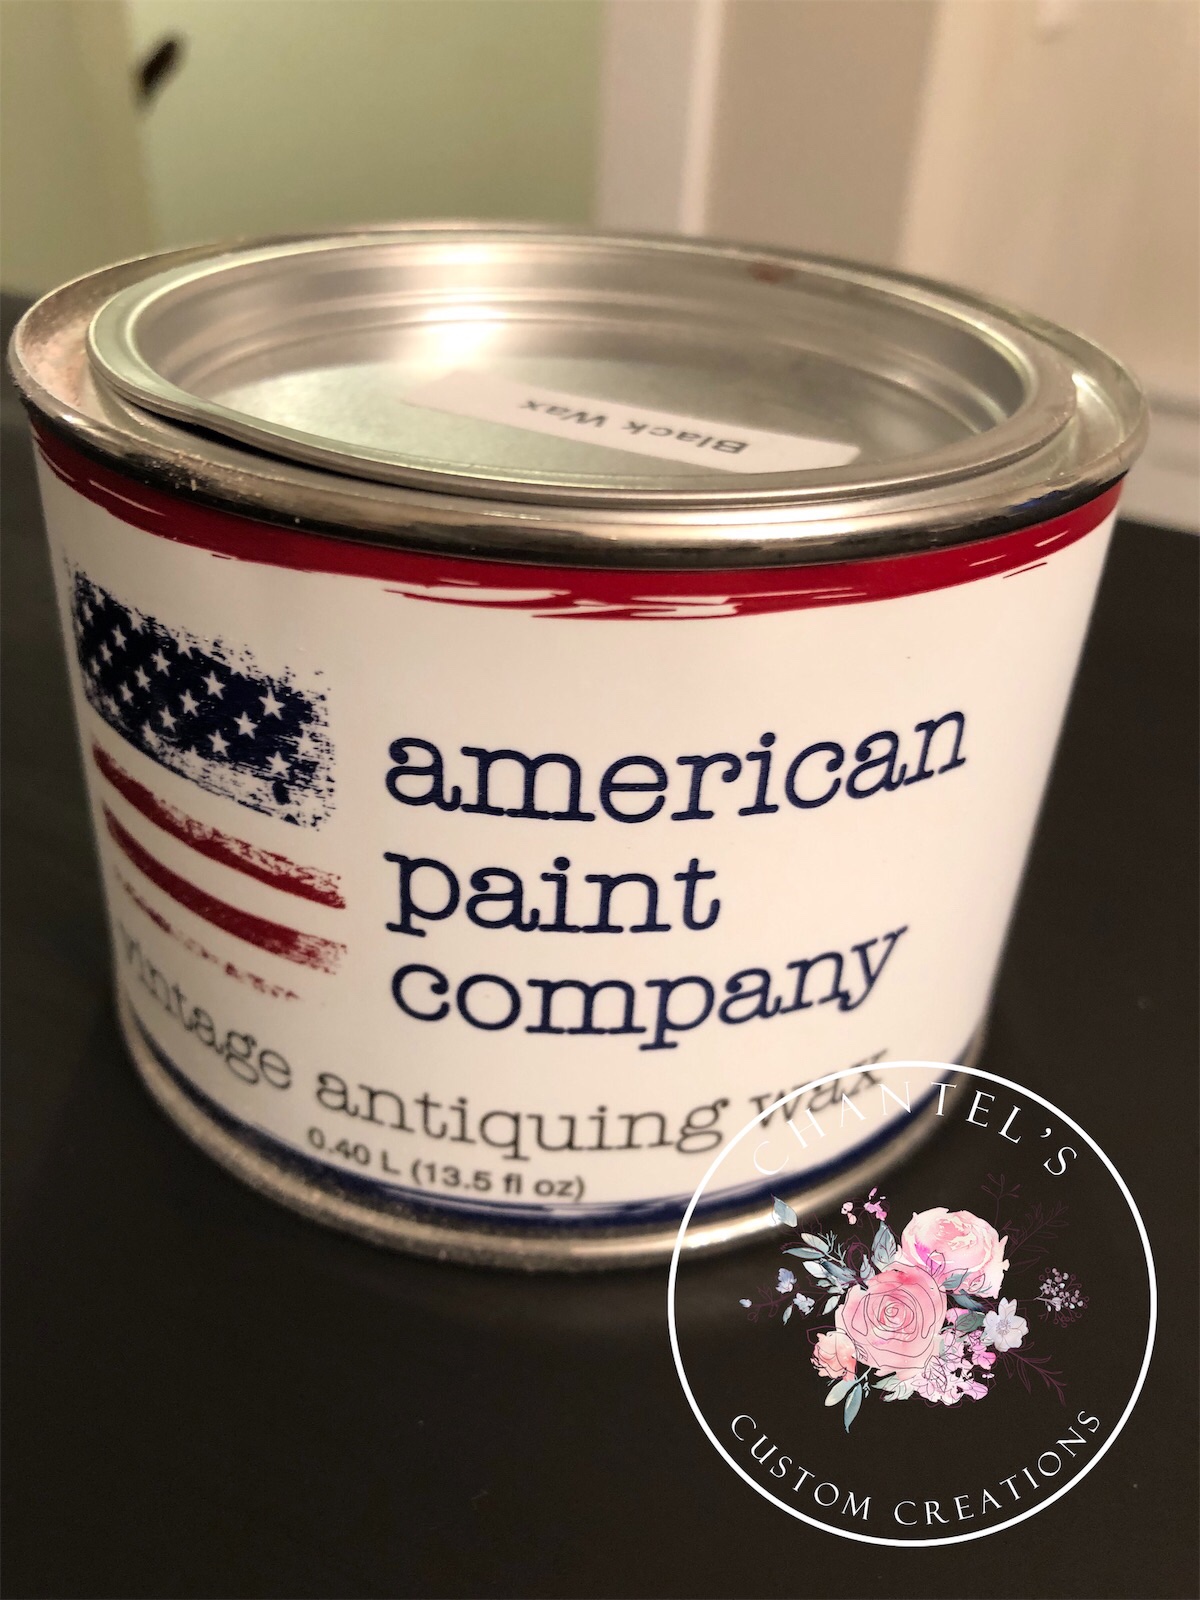
- Next step was to apply the black furniture wax to the top of the fireplace.
- I always do recommend to wax your furniture after you have painted it for the best durable long term results possible.
- Re-applying the wax does become necessary over time.
- I chose this particular brand of black wax but really its not necessary to use a specific brand. Nevertheless, here is a brand of black wax I would recommend.
Wax Application
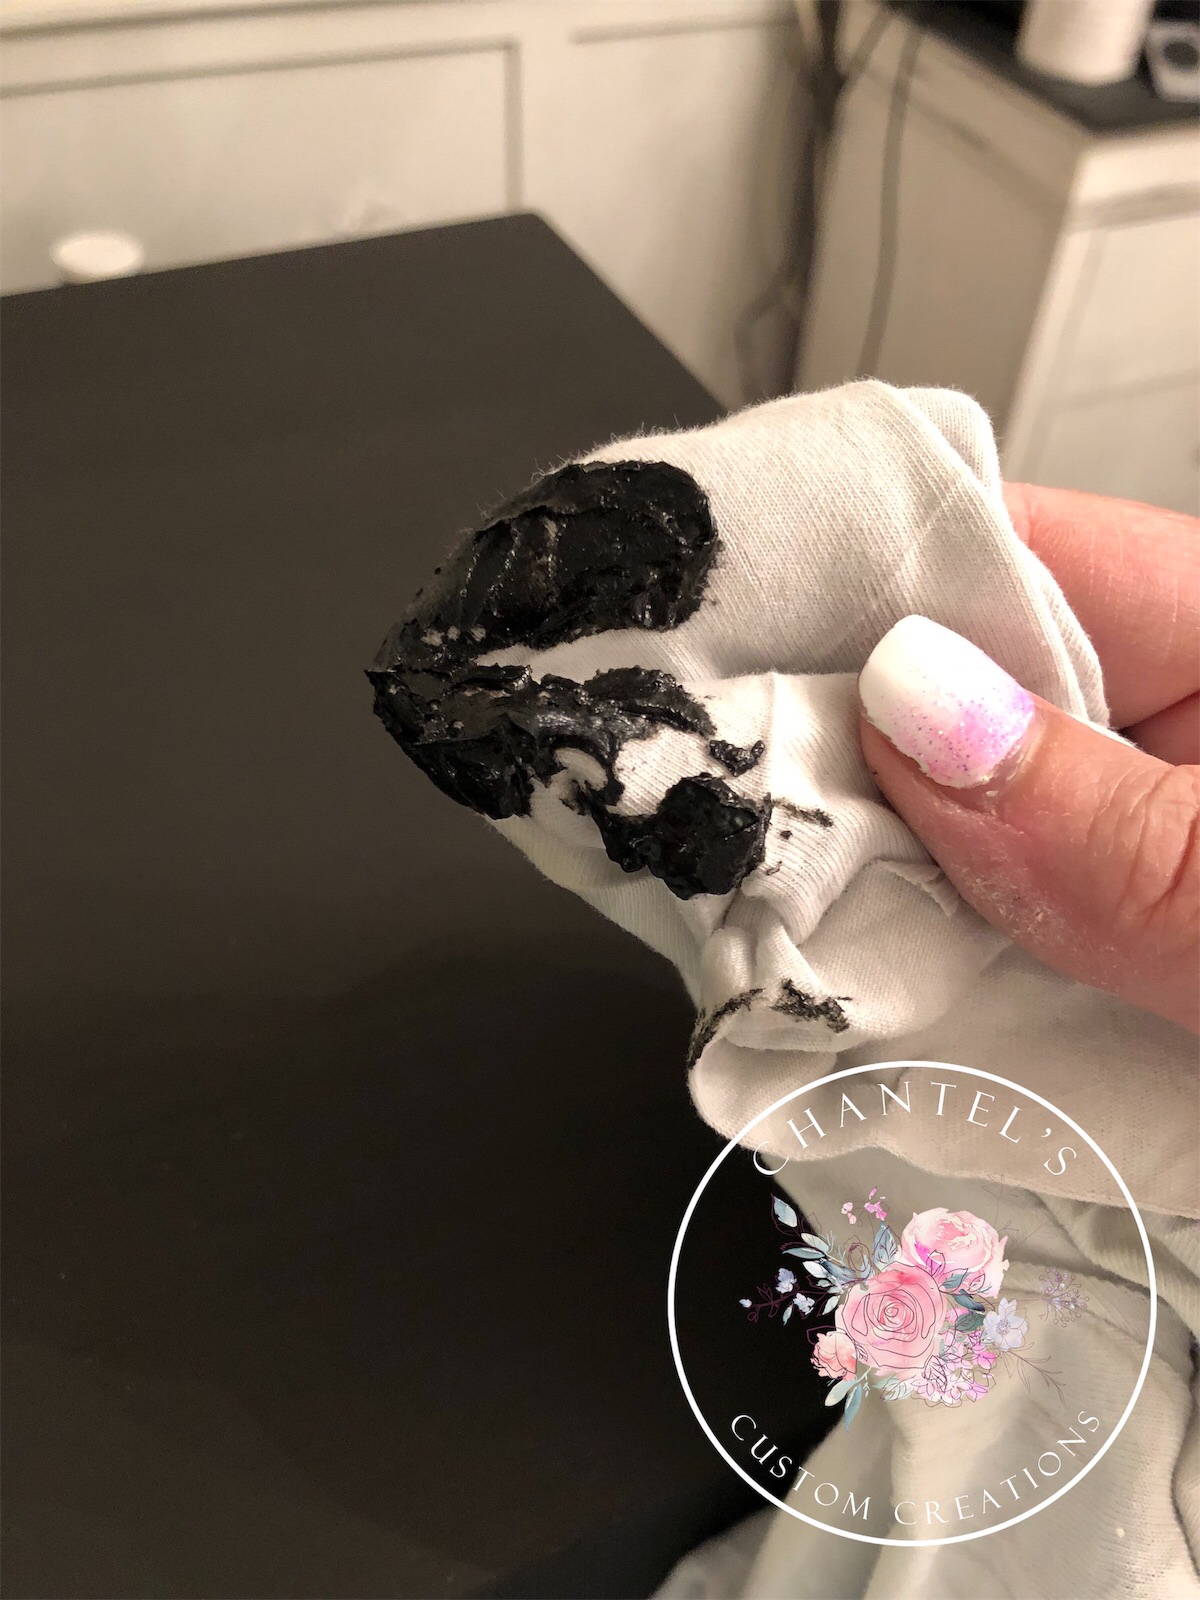
- The wax is a very simple and easy application.
- I have dry cotton shop rags on hand and use that to dip my rag in the wax and lightly apply it to the surface.
- I let it dry completely and usually I apply a second coat. Most brands dry quite quickly.
- It is definitely recommended to use the black wax with the black paint and the clear or white wax with the white furniture.
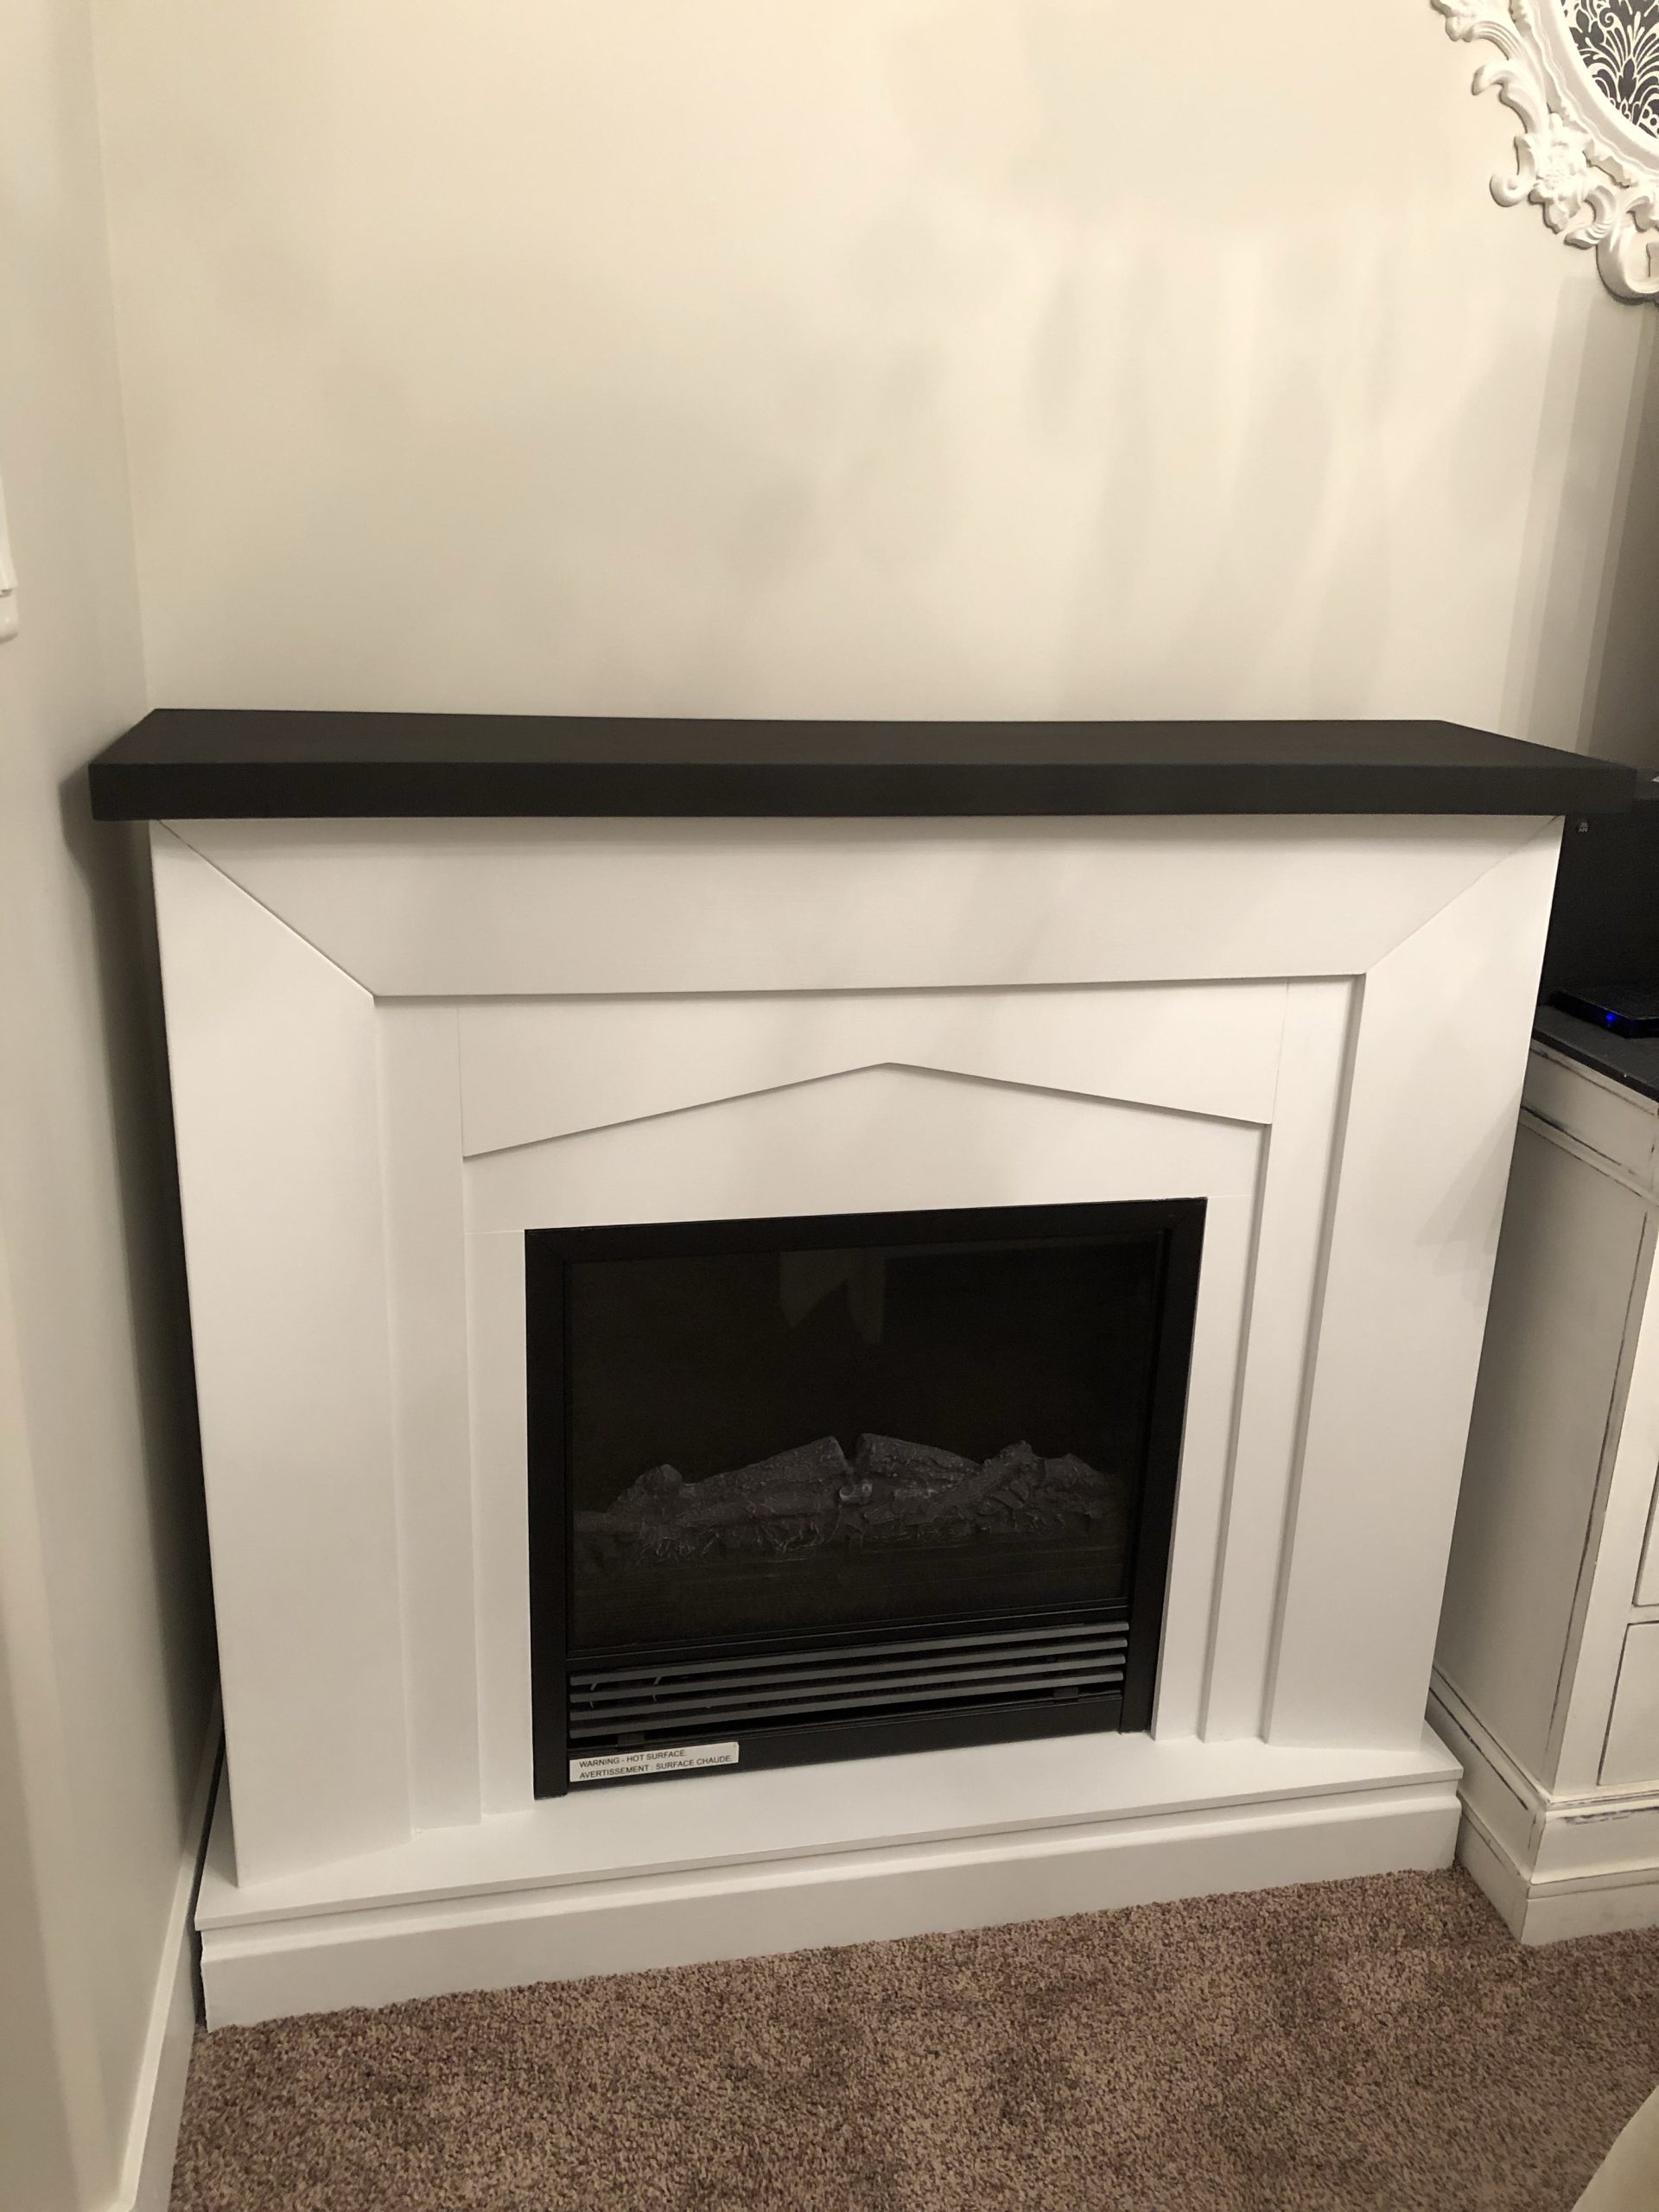
I placed my furniture in the space where it would go in the room to stand back to have a look after I painted the entire piece in the black and white.
When I stood back, I just didn’t feel like the piece was complete. It was missing something ! Yes, it was missing some silver leaf!
Silver Leaf Application
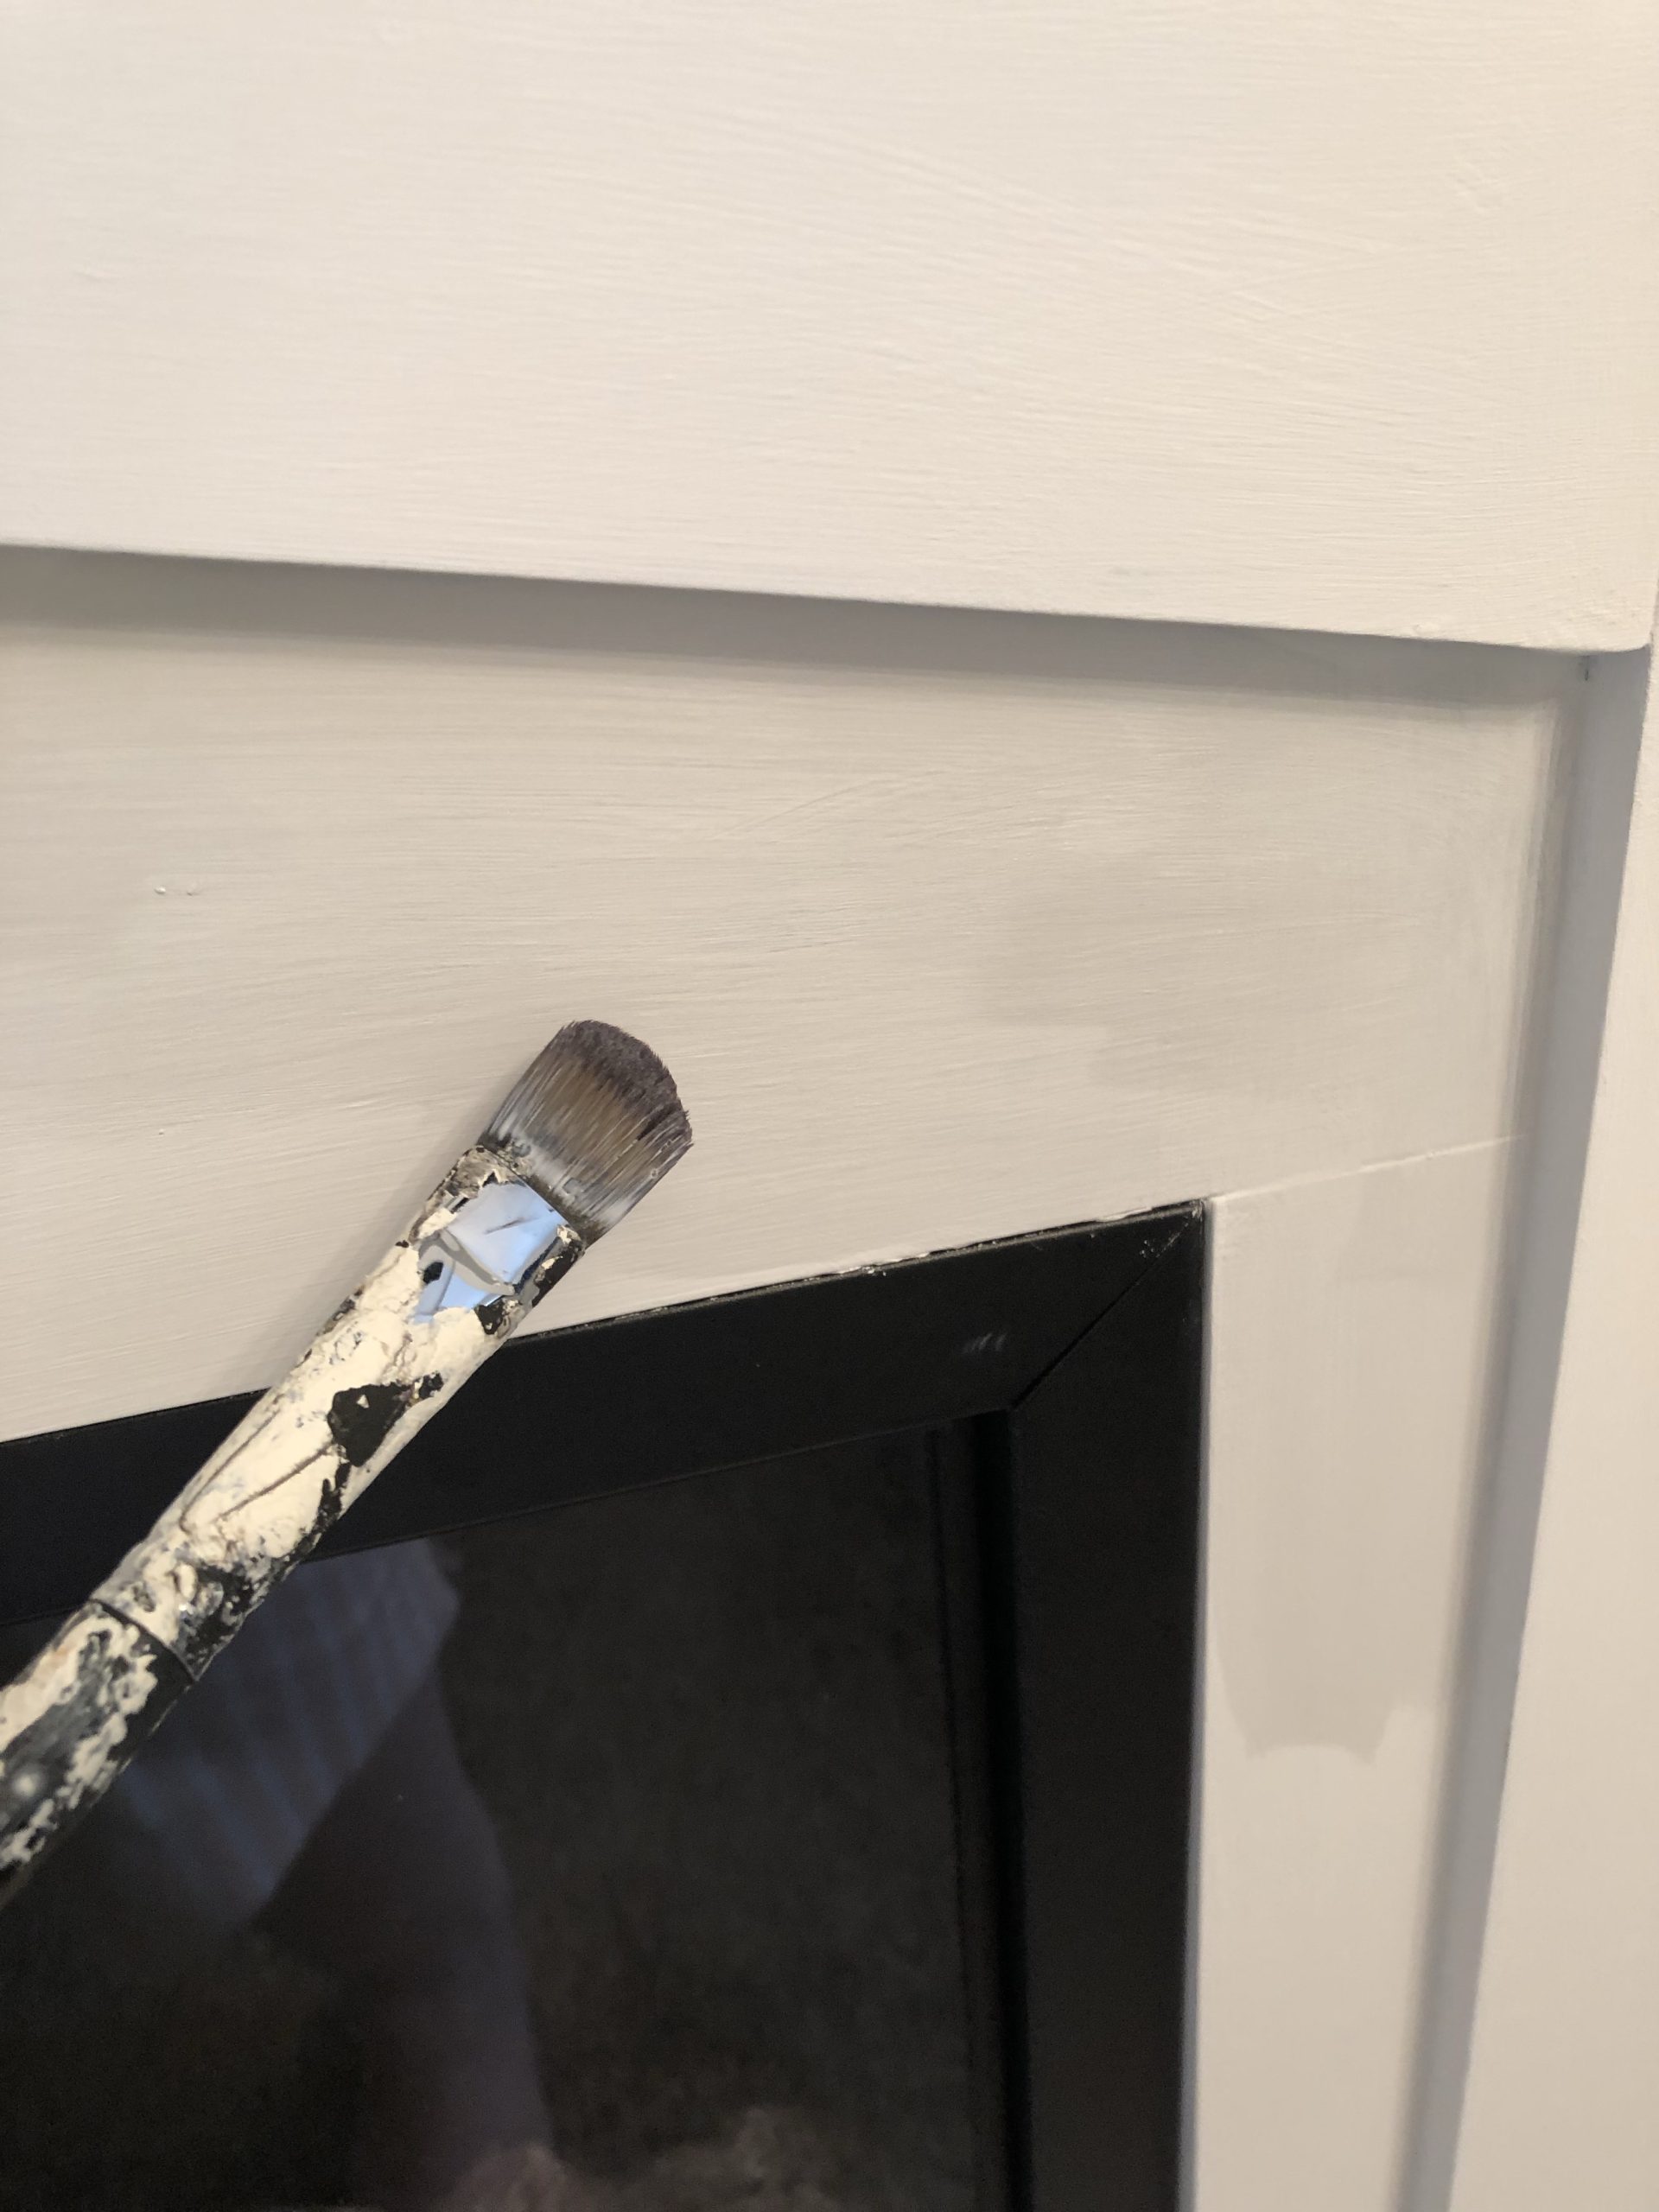
I started with the leafing glue and used a craft brush to quickly brush on the glue.
It is recommended to wait a couple of minutes to let the glue become tacky and then apply the sheets of silver.
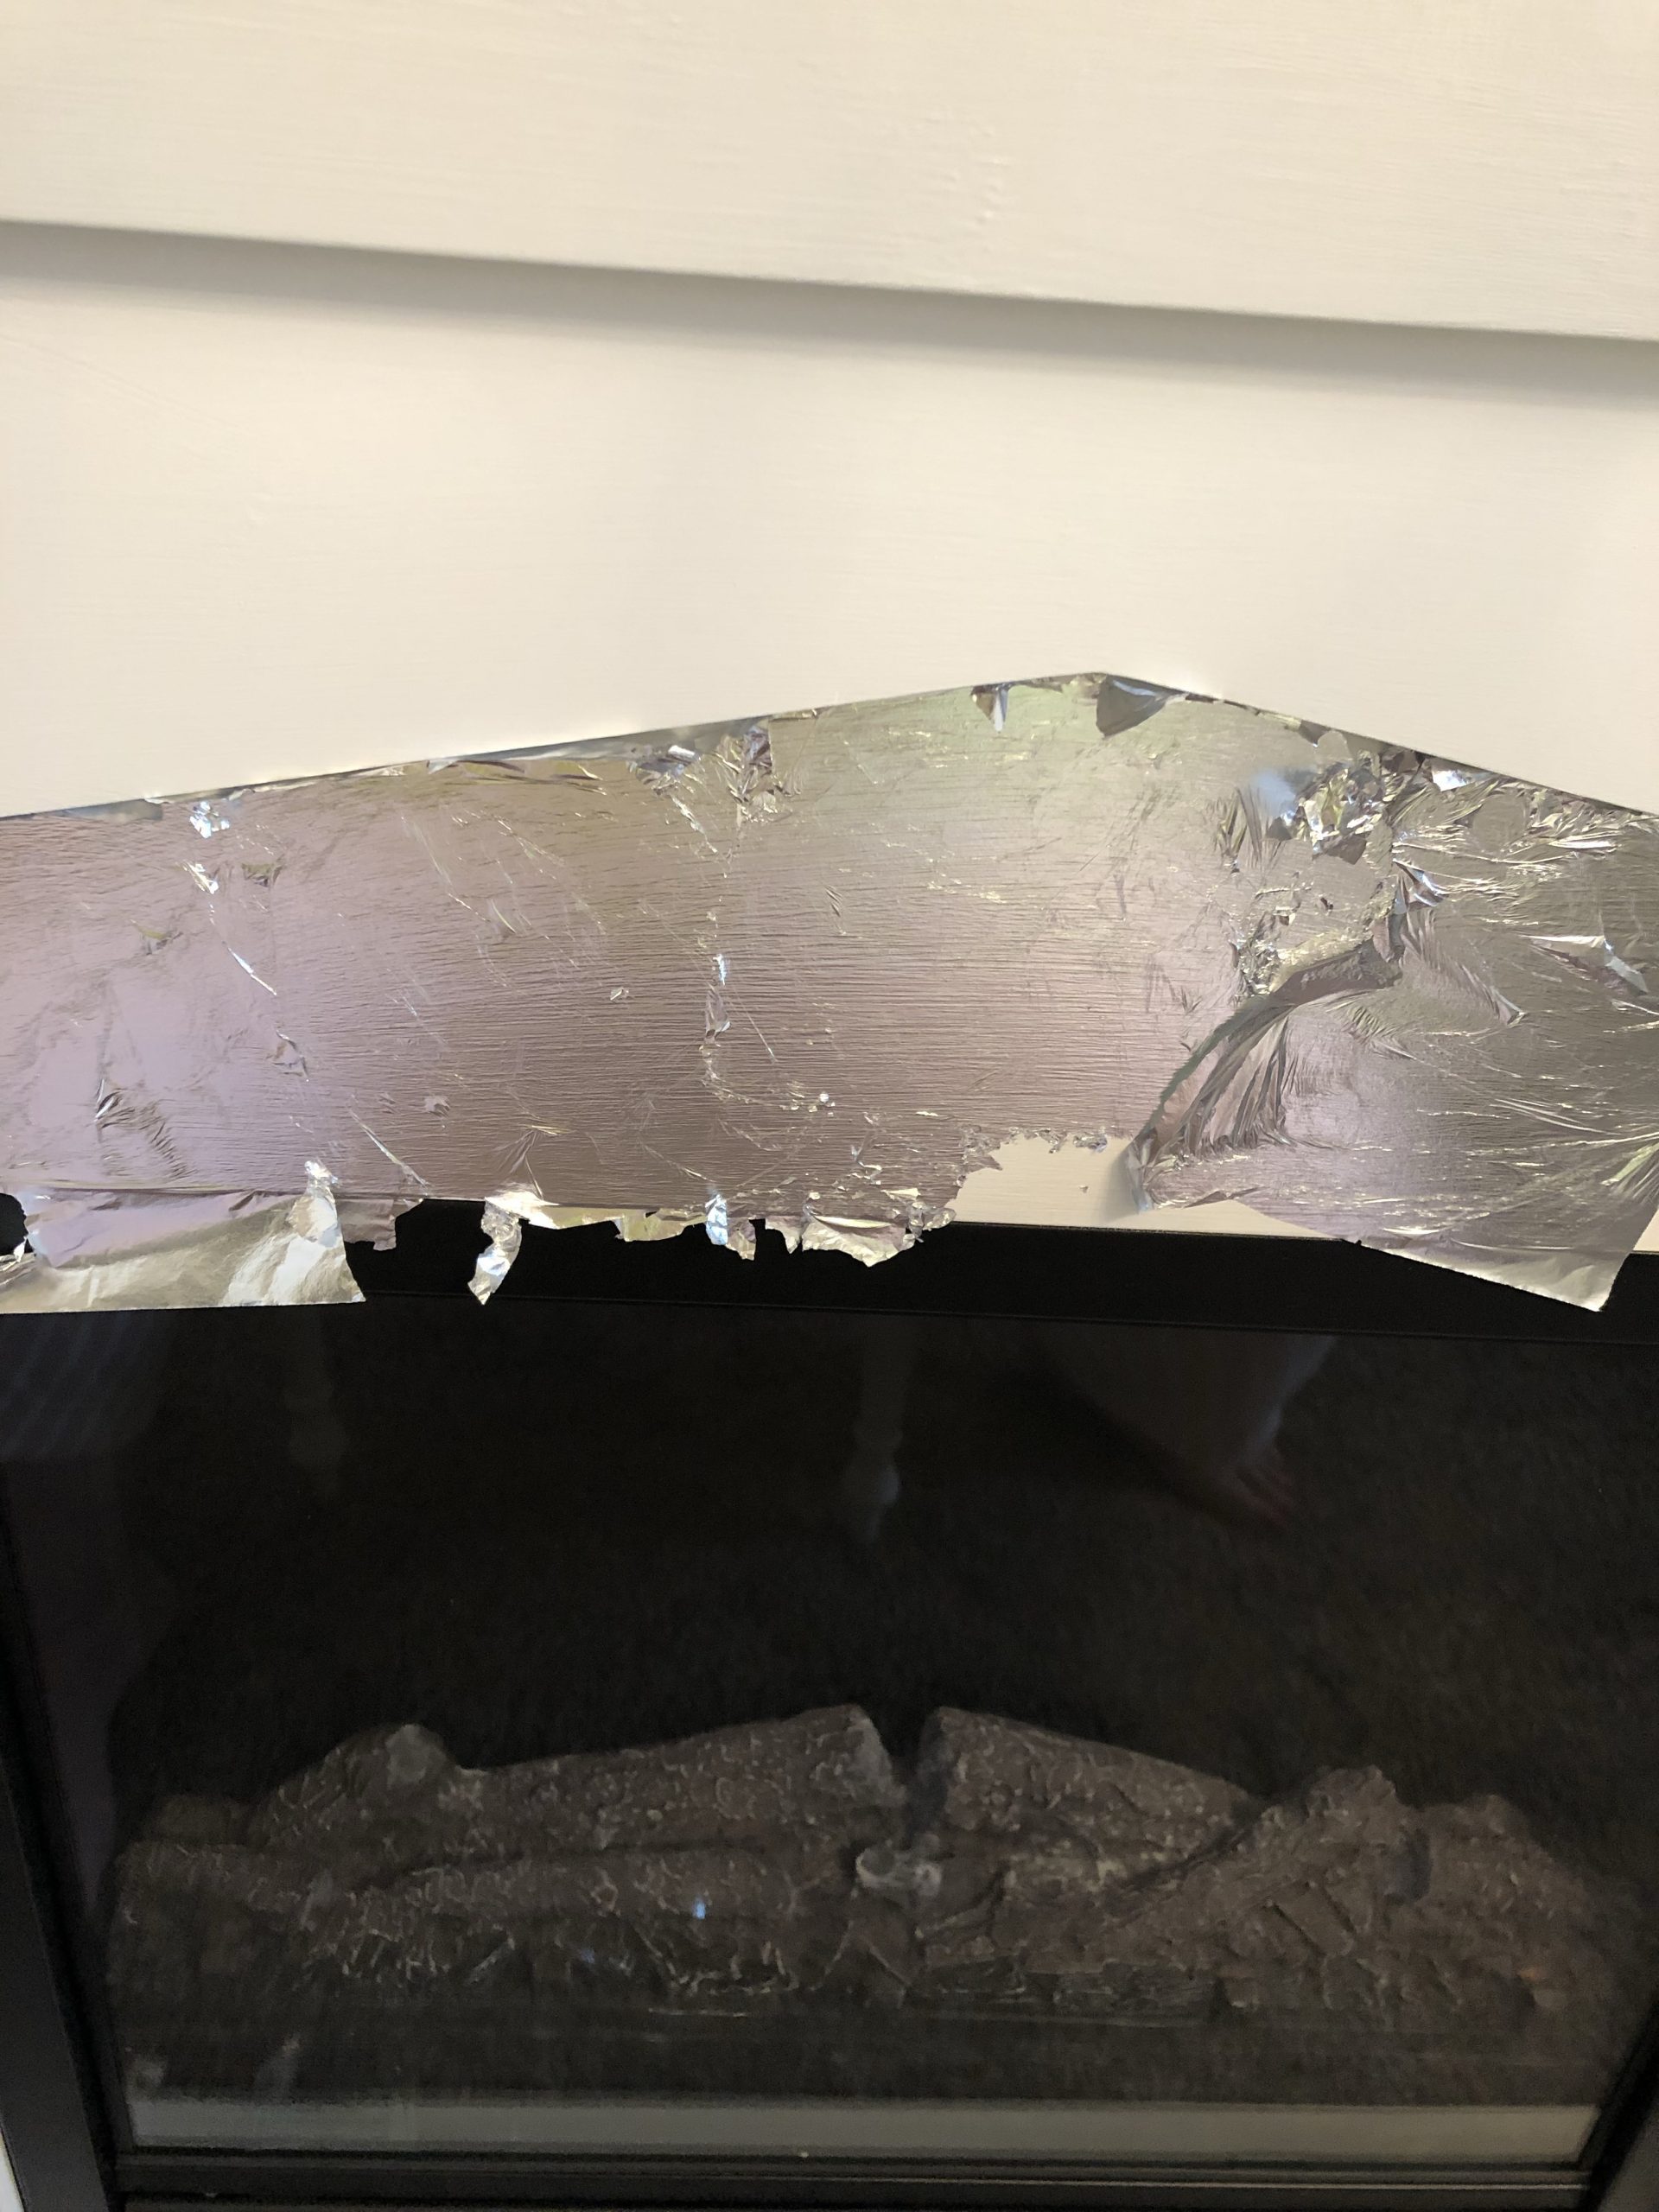
As soon as the silver was applied, I take another dry craft brush and brush off the excess leafing to expose the nice shiny silver!
Progression
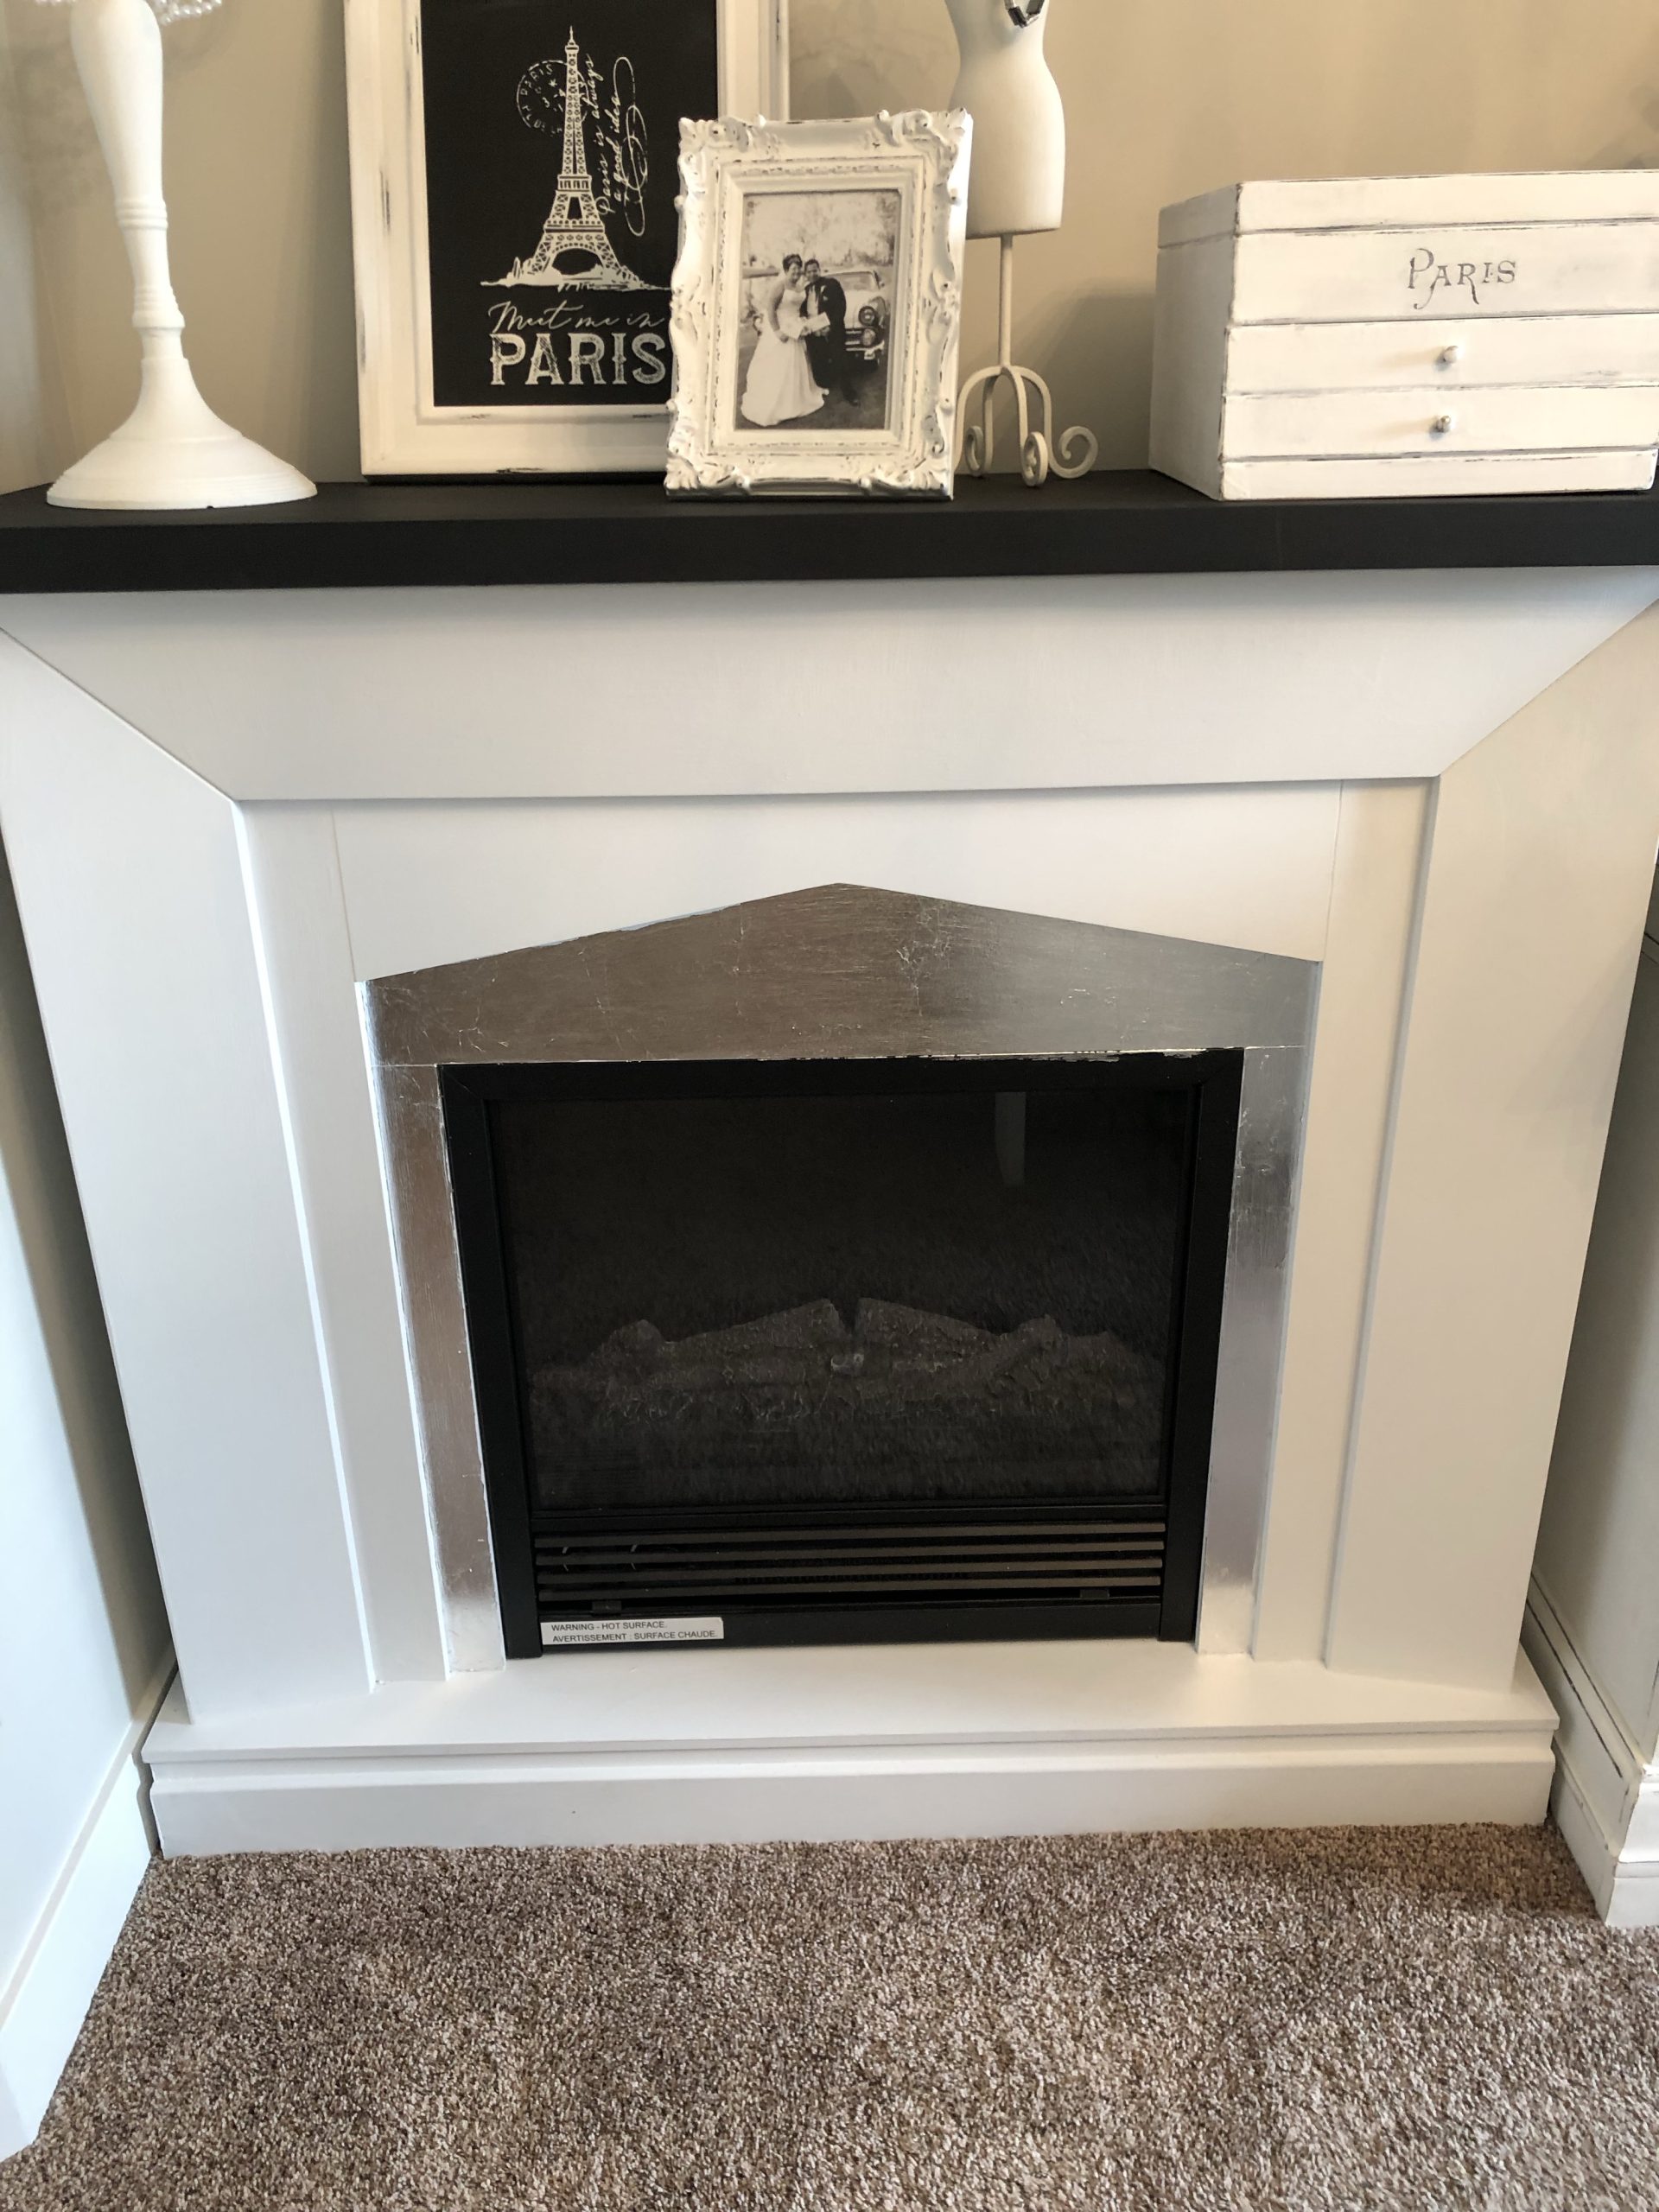
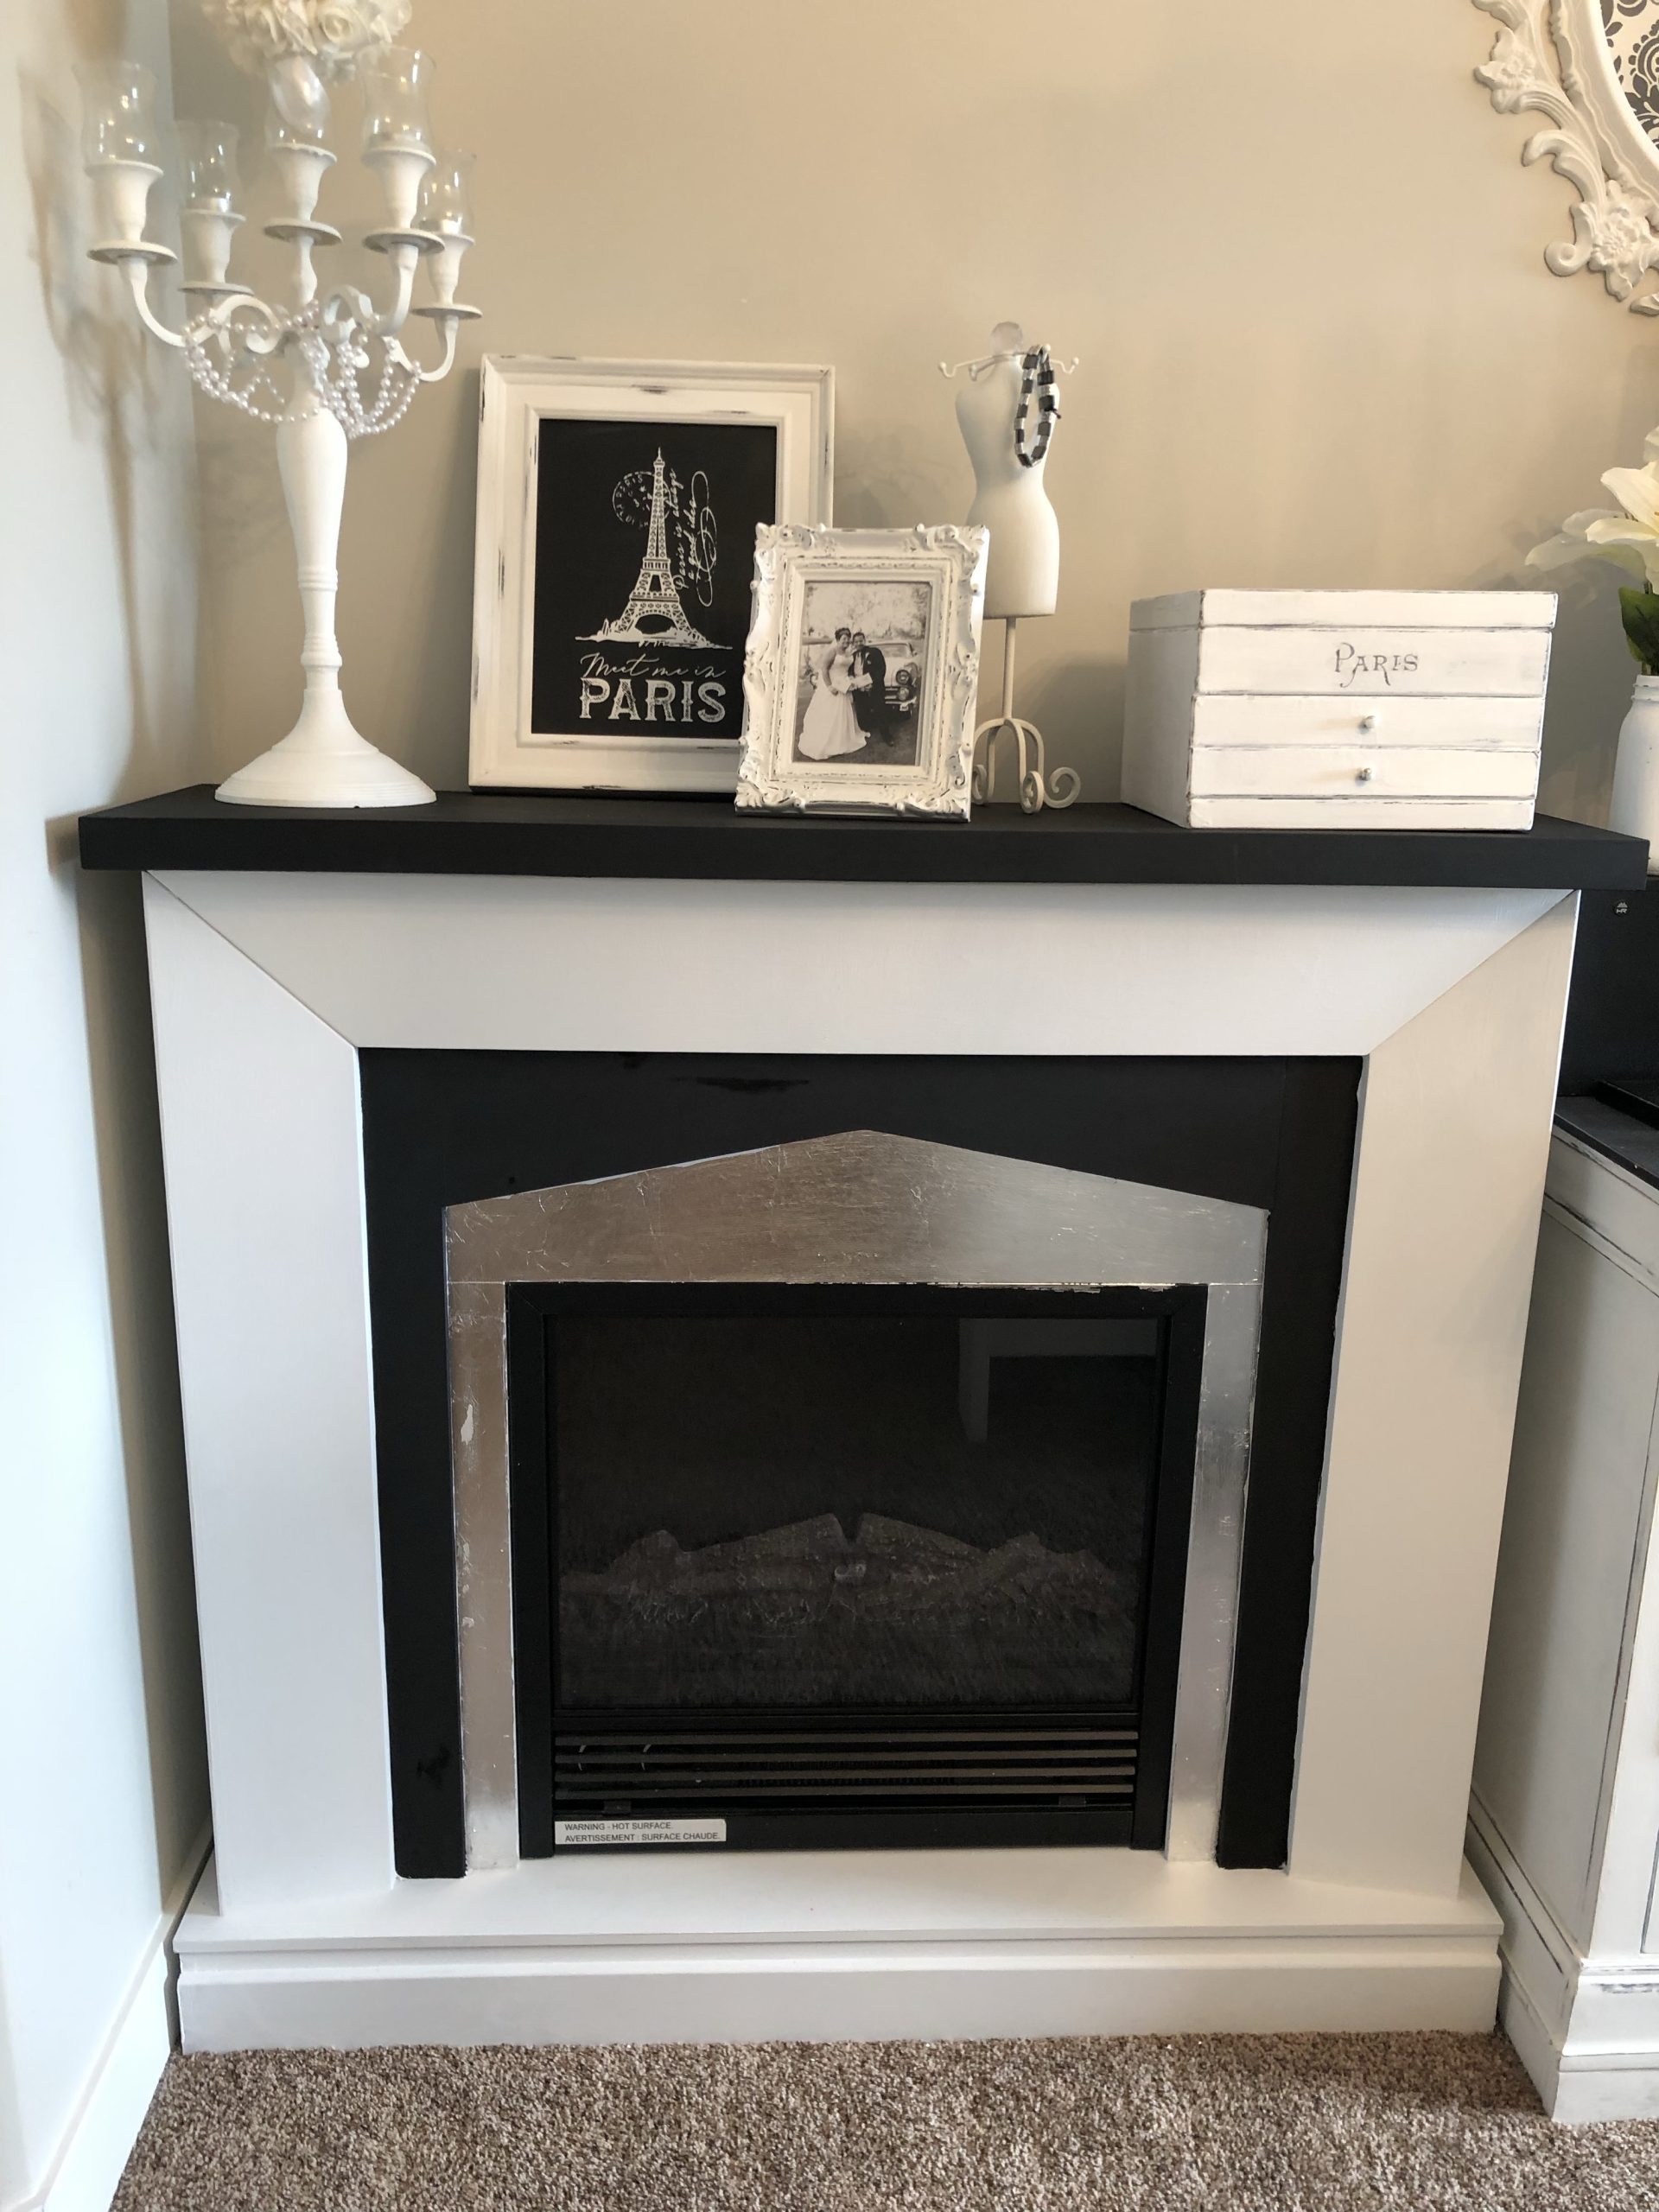
I don’t know about you, but adding that silver onto the fireplace surround, was absolutely the right choice !
Then I stood back again and while I was very happy with the results, I still felt like something was missing and I decided to add black to the interior part of the fireplace and wow!
That was definitely the right choice to finish off the piece.
Before
After

What do you think of my fireplace transformation? Let me know in the comments!
Looking for more inspirational before and afters?:
- King Size Headboard Makeover
- Can You Paint a Crib!
- Coffee Bar Makeover
- Chalk Painted China Cabinet to TV Stand Makeover
- Painted Armoire Before and After


Leave a Reply