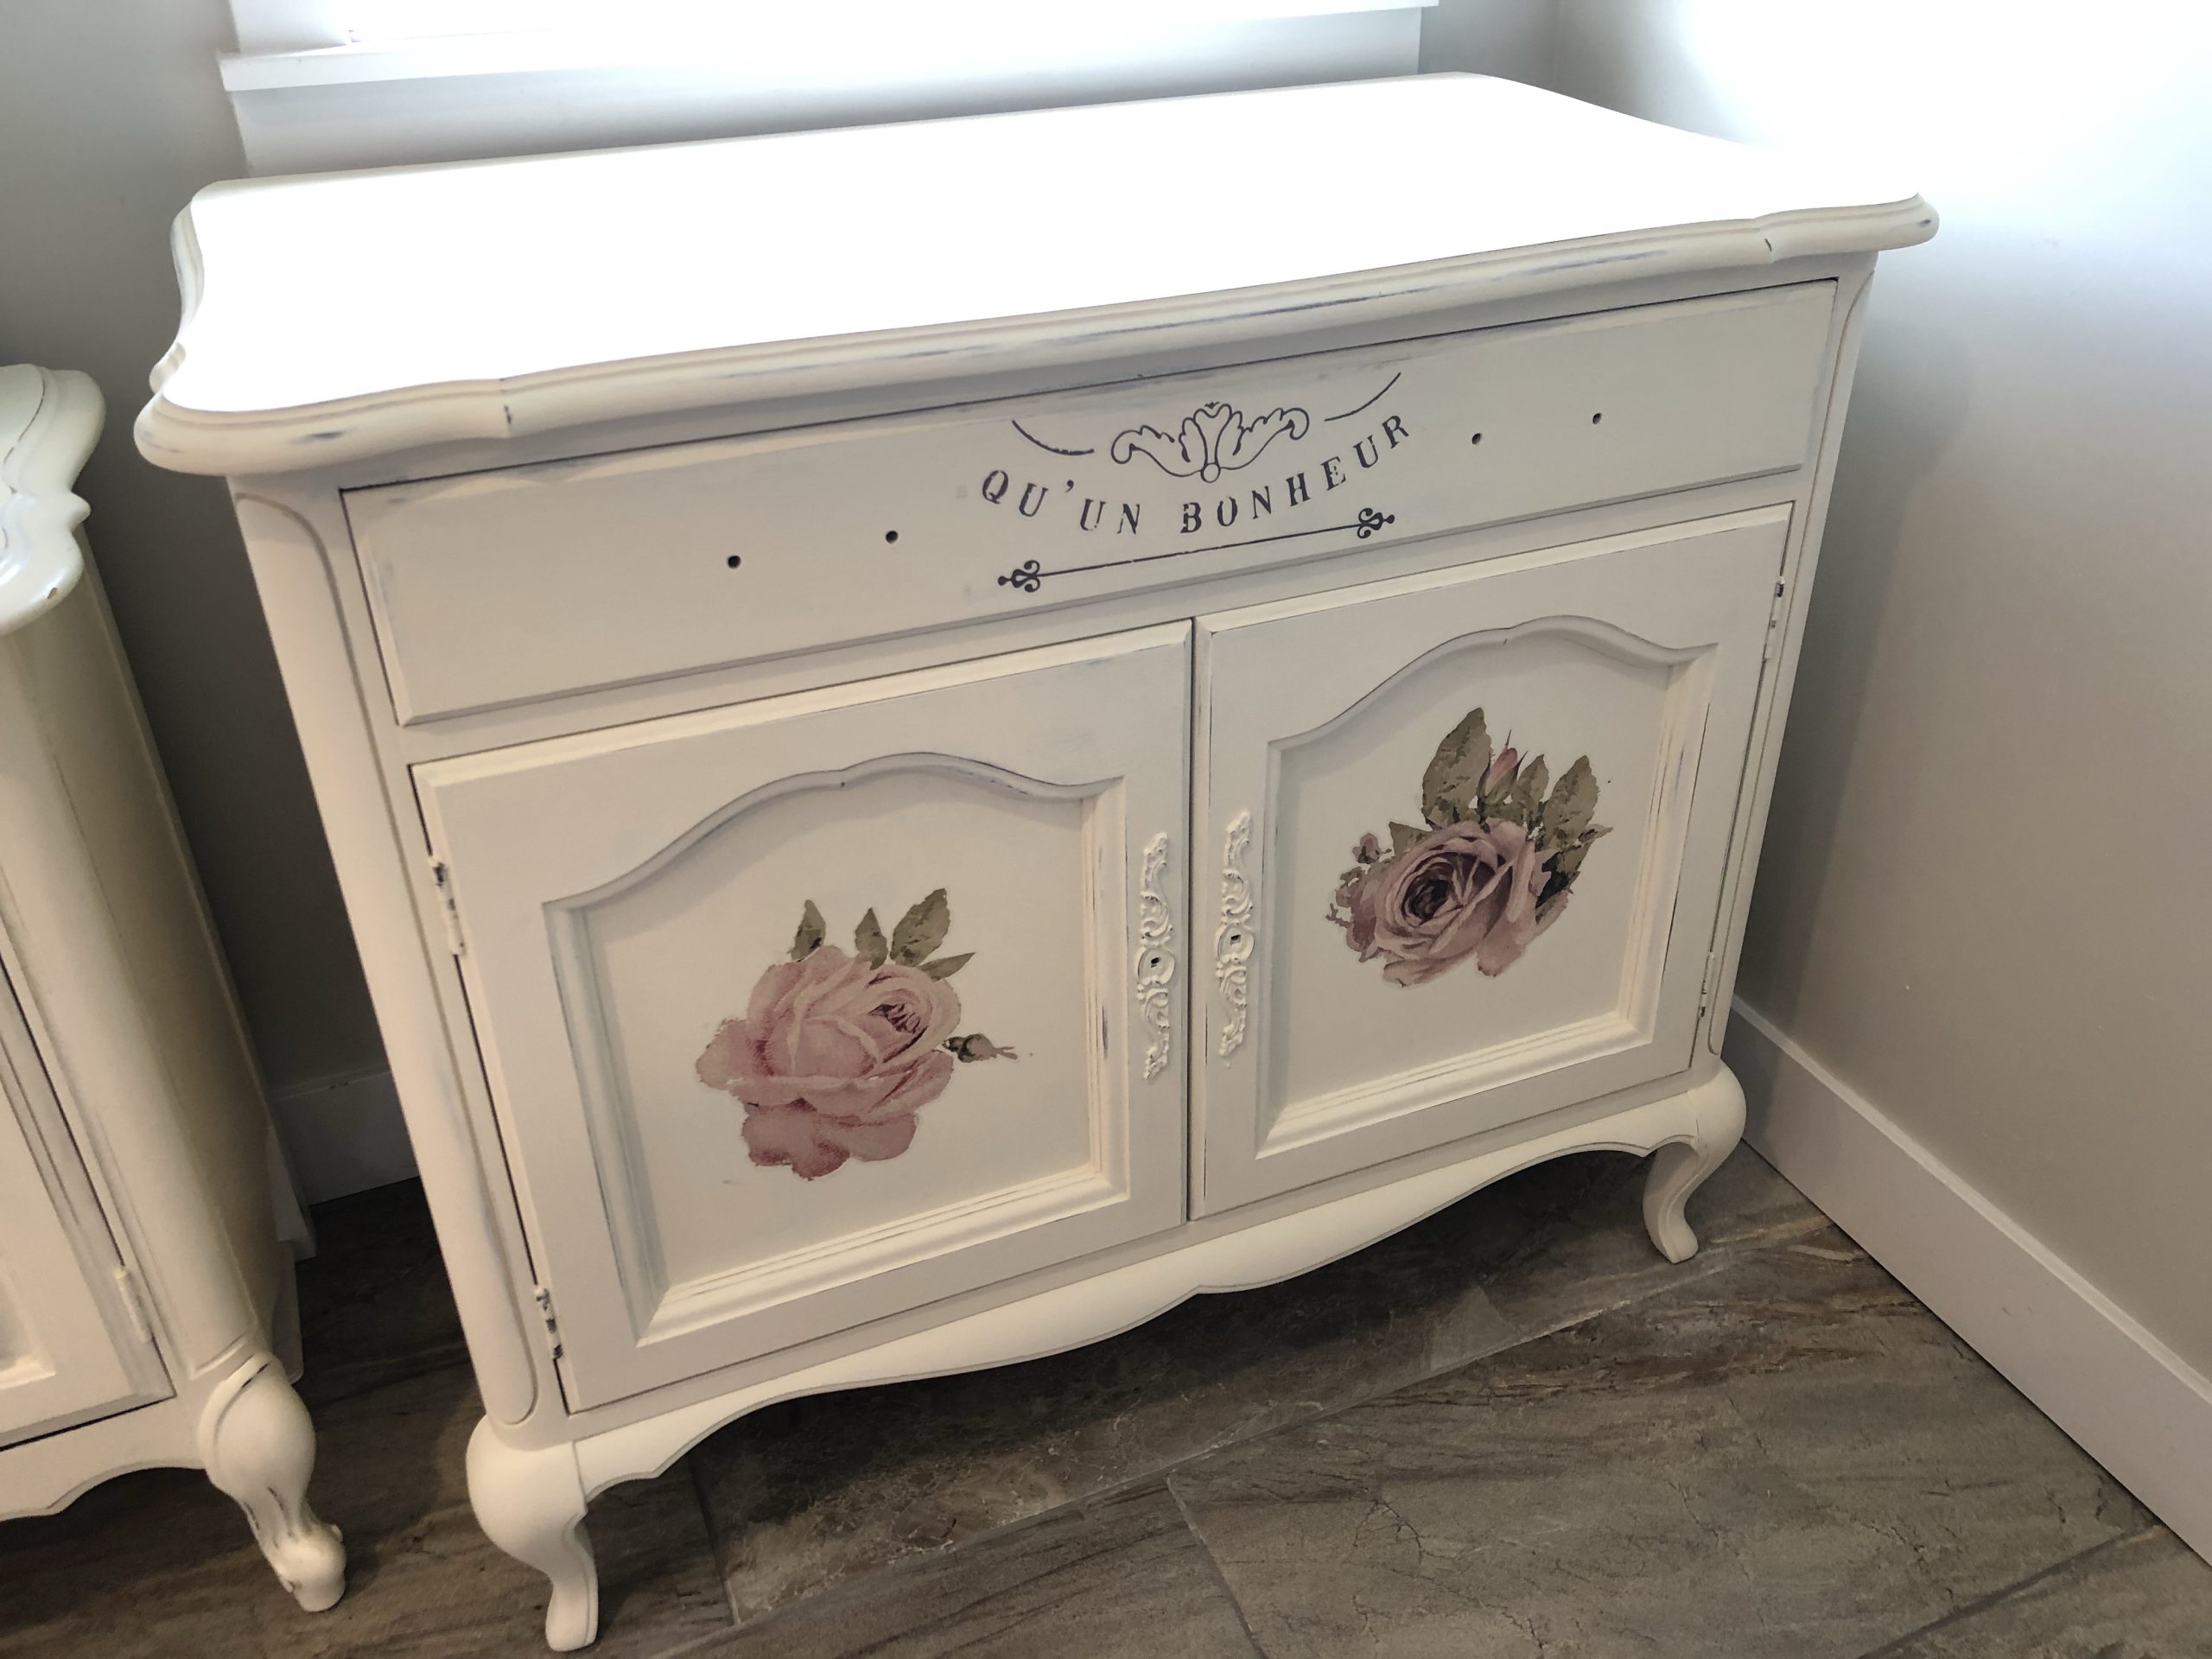
I found this beautiful vintage buffet on Facebook Marketplace and was so very excited to transform it! The size was perfect for me.
I didn’t think I could ever find a small buffet to fit into my very small dining area but I did it!
My best advice to you is to scour your local Marketplace for these kinds of deals. The man I bought them from, was selling his mother’s furniture and had no use for it.
I also bought a set of beautiful nesting tables, coffee table, and end tables from him. I went on to paint and sell those pieces and I regret it a little bit that I did not keep them for myself, they were stunning once they were painted!
This post contains affiliate links; here is a link to my Disclosure Policy
Before
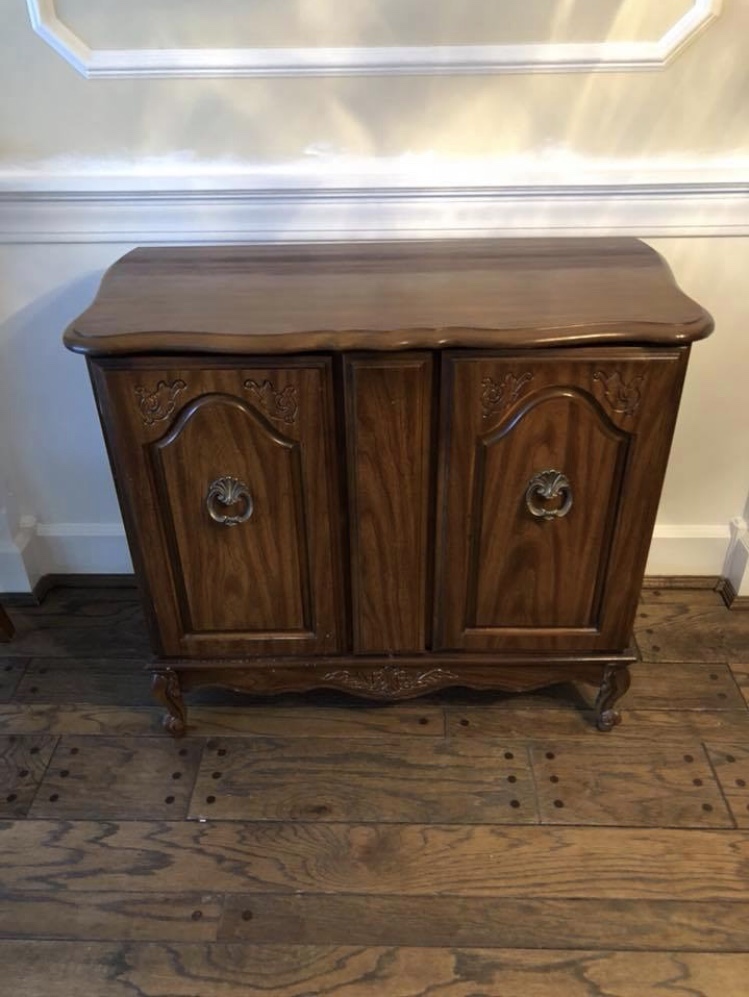
My piece was in beautiful shape and did not require any repairs or filling of holes. which is always a huge bonus and time saver!
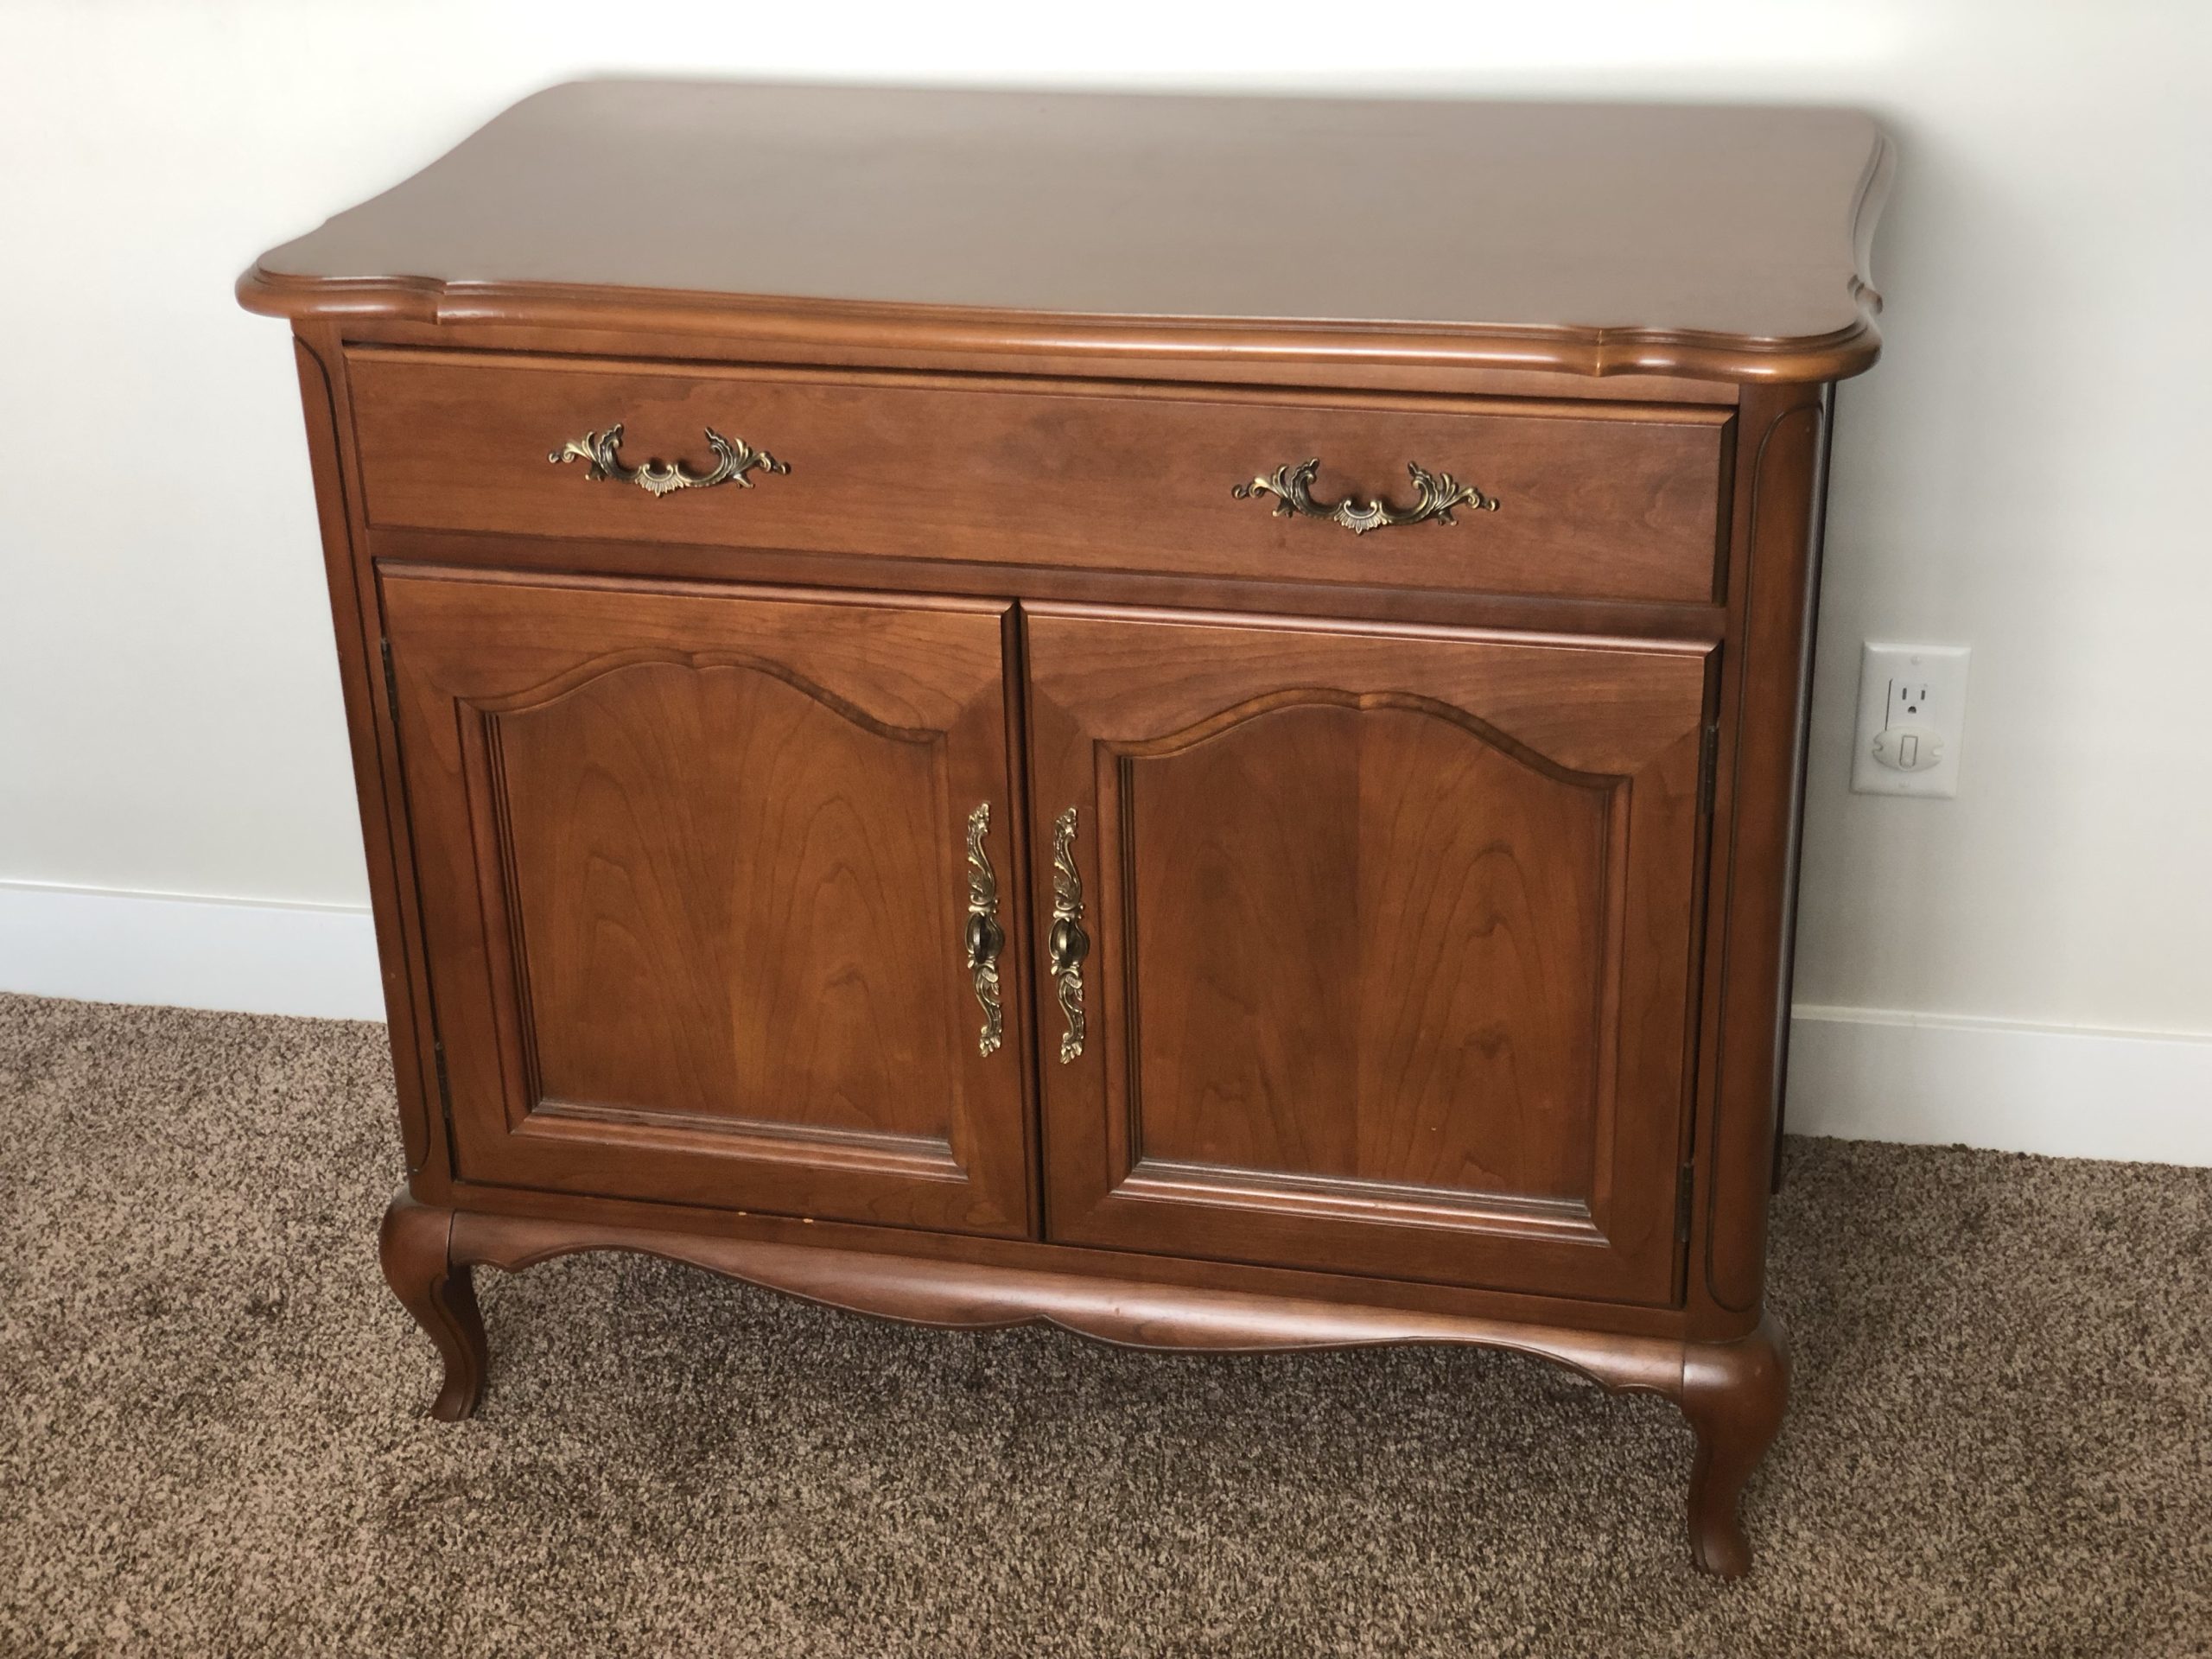
Furniture Preparation
First step is to always clean the grime and oils off the furniture by washing it with soap and water and a rag and to make sure the piece is dry.
If you would like to use a cleaner on your project, I recommend this one HERE.
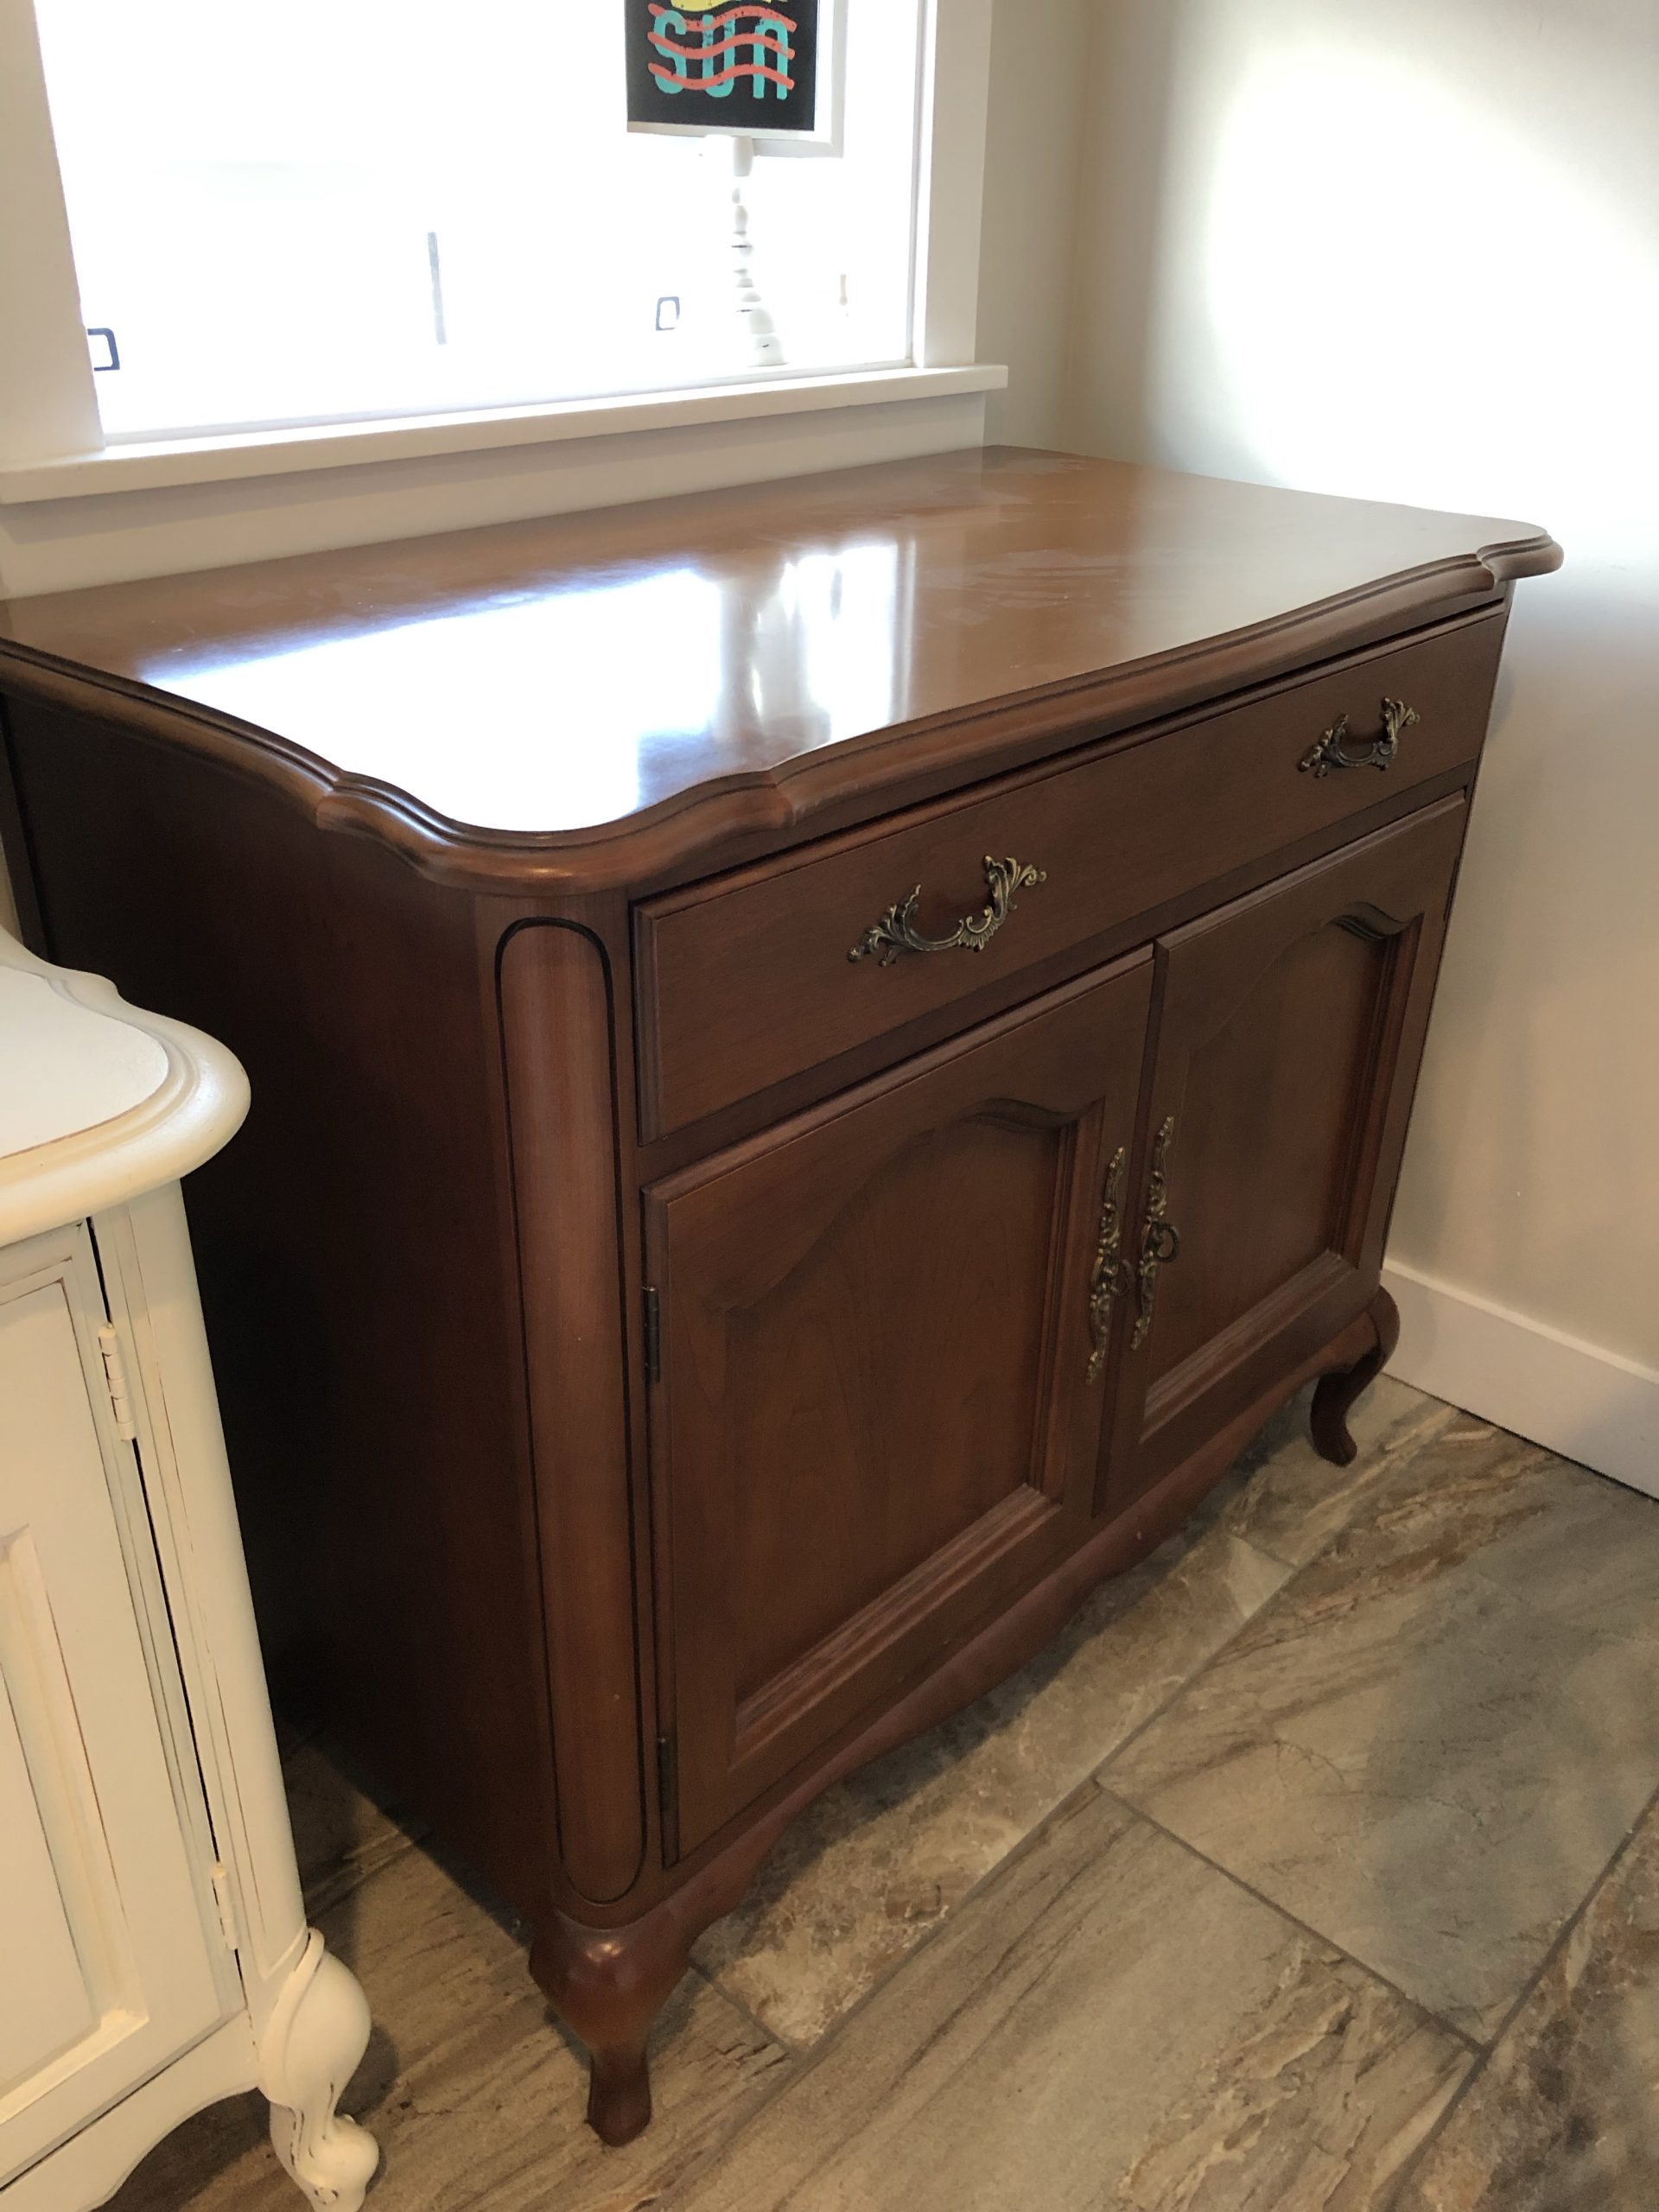

First thing I do is remove the hardware and then I began by scuffing up the piece with a sanding block I had on hand.
I recommend doing this step when you have a shiny piece like this one as the paint will adhere much easier that way.
Primer Steps

This piece is a fairly dark wood and I wanted to paint it a very light color.
In order to achieve this in less coats of paint as possible, its always recommended to use a white primer before chalk painting. This is the white primer I always use for all of my furniture painting projects.

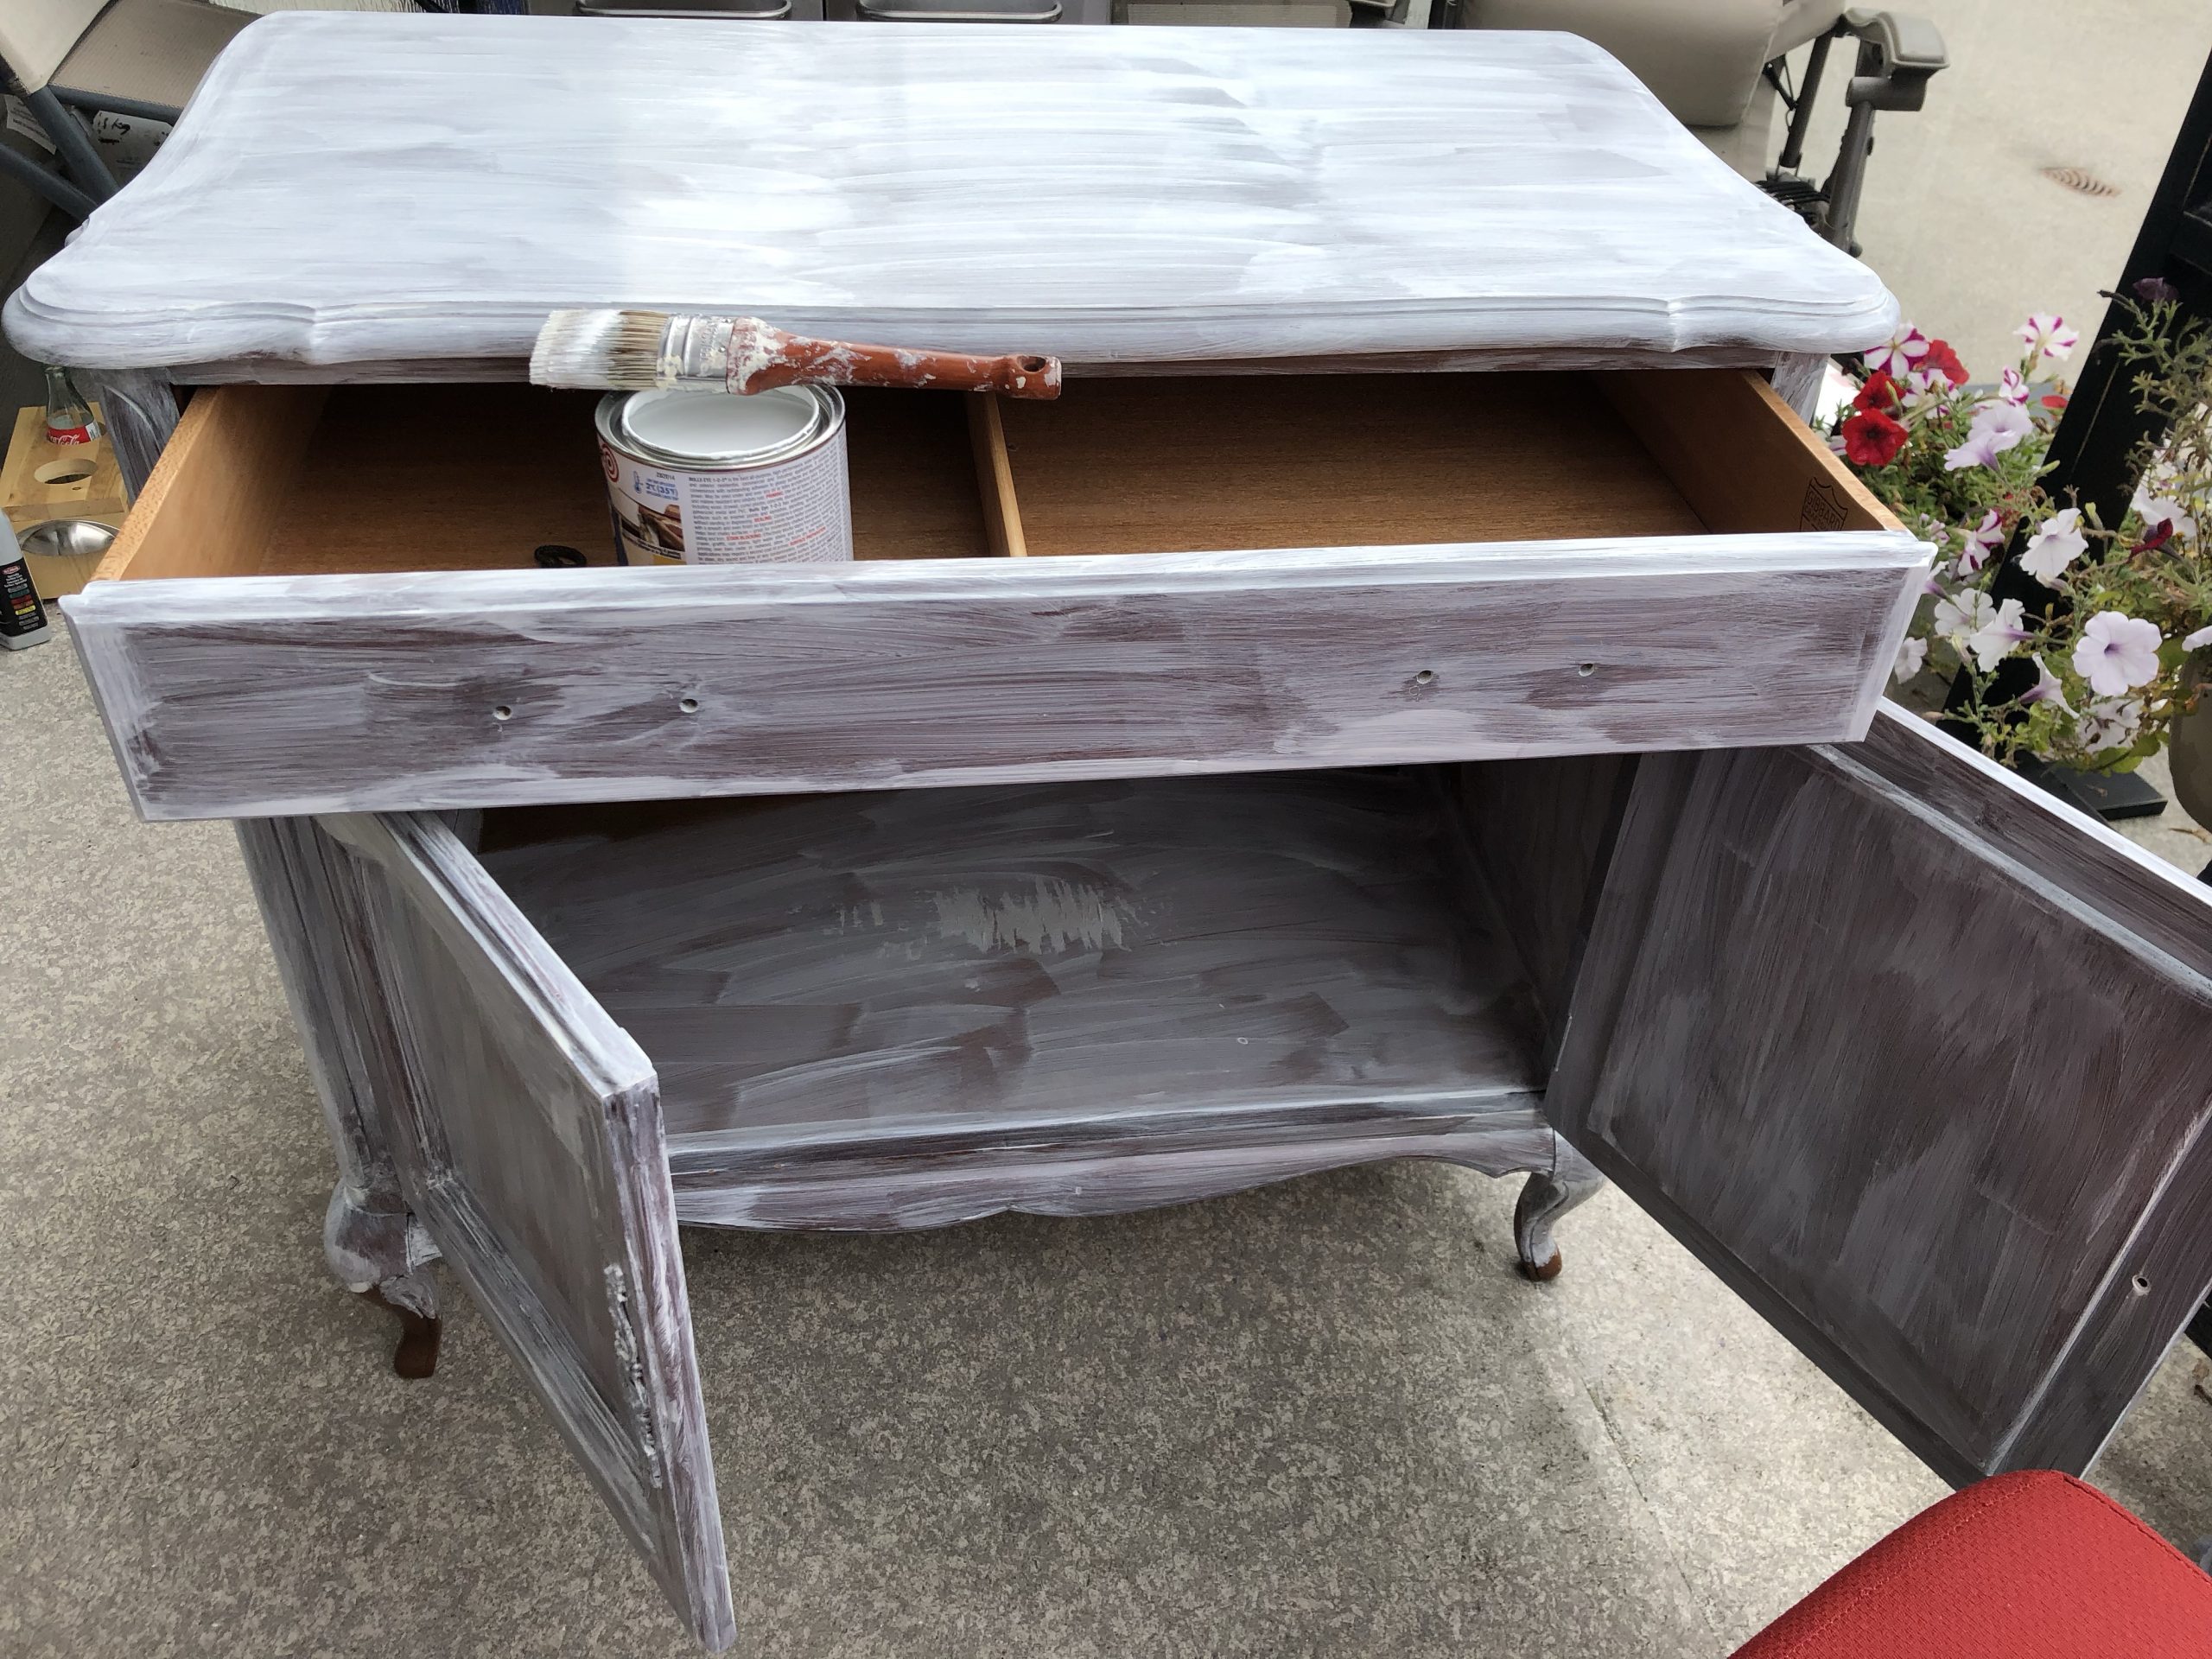
I did have to apply a couple of primer coats to my piece. I love this primer as it dries quickly and I can apply the second coat without having to wait very long.
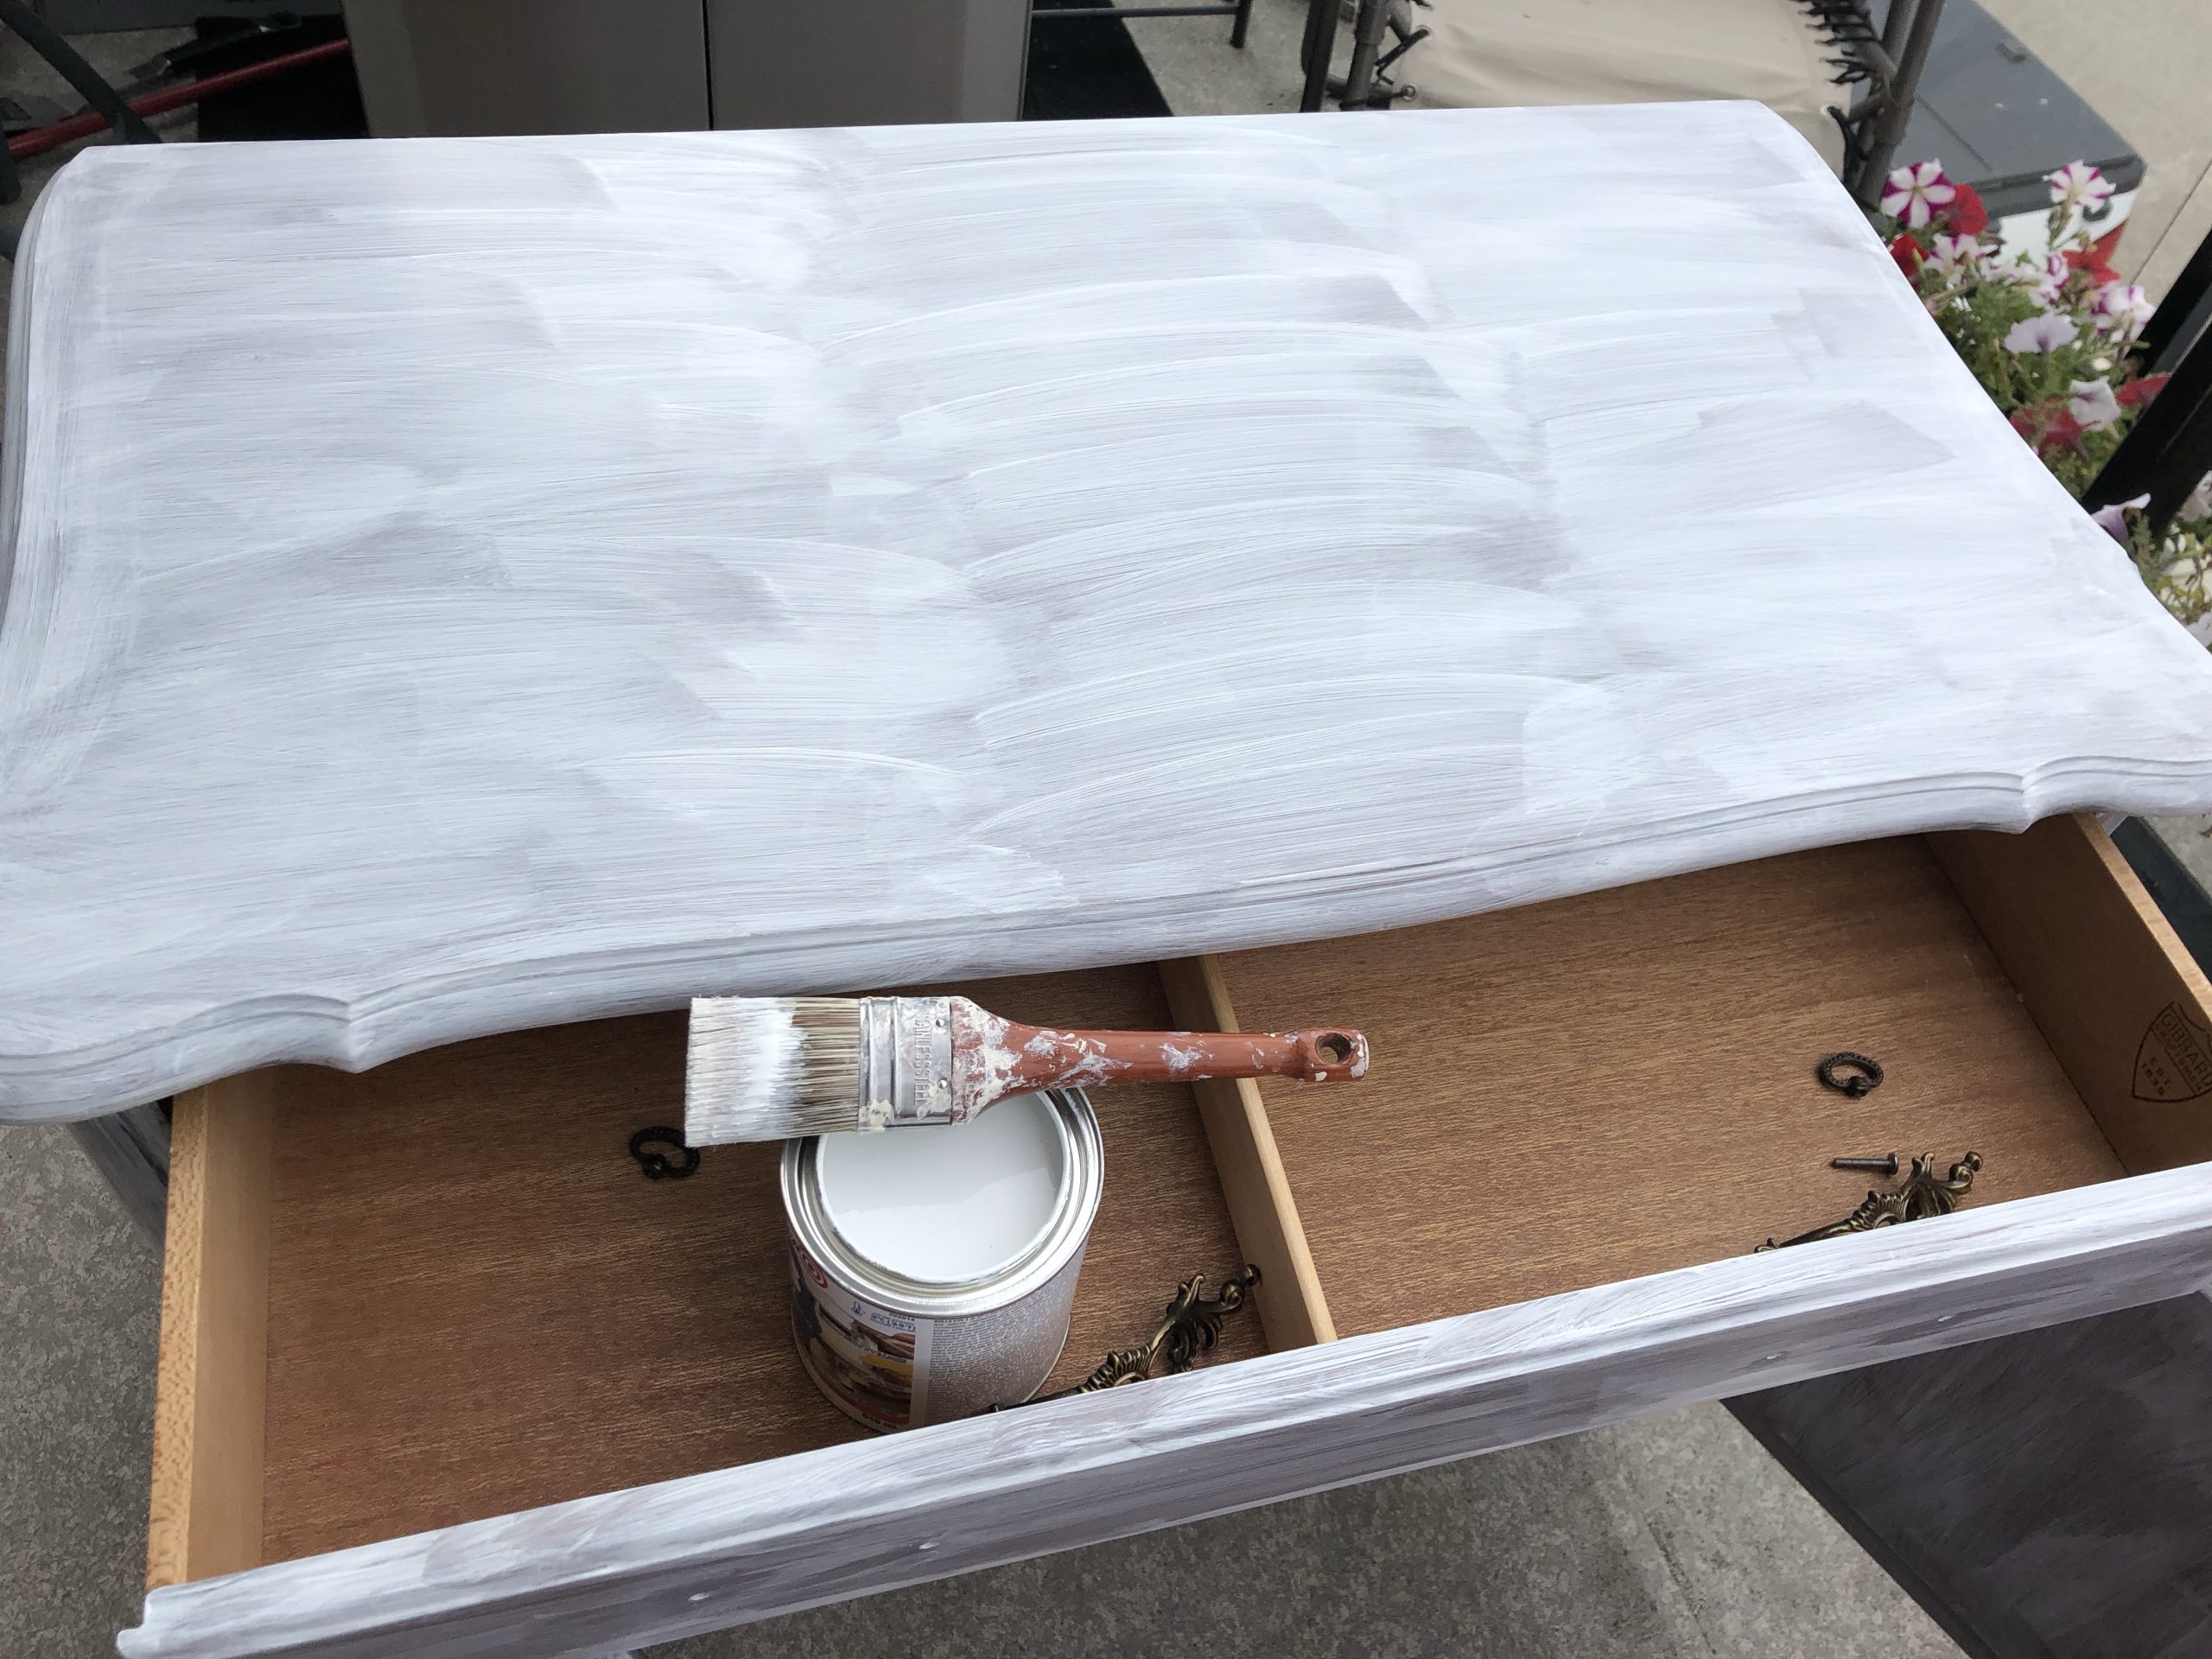
I used a nice quality bristle brush I purchased from Home Depot in the chalk painting section.
It was an expensive brush but it definitely made my job of painting very easy and the results were no big brush strokes either.
Painting Steps
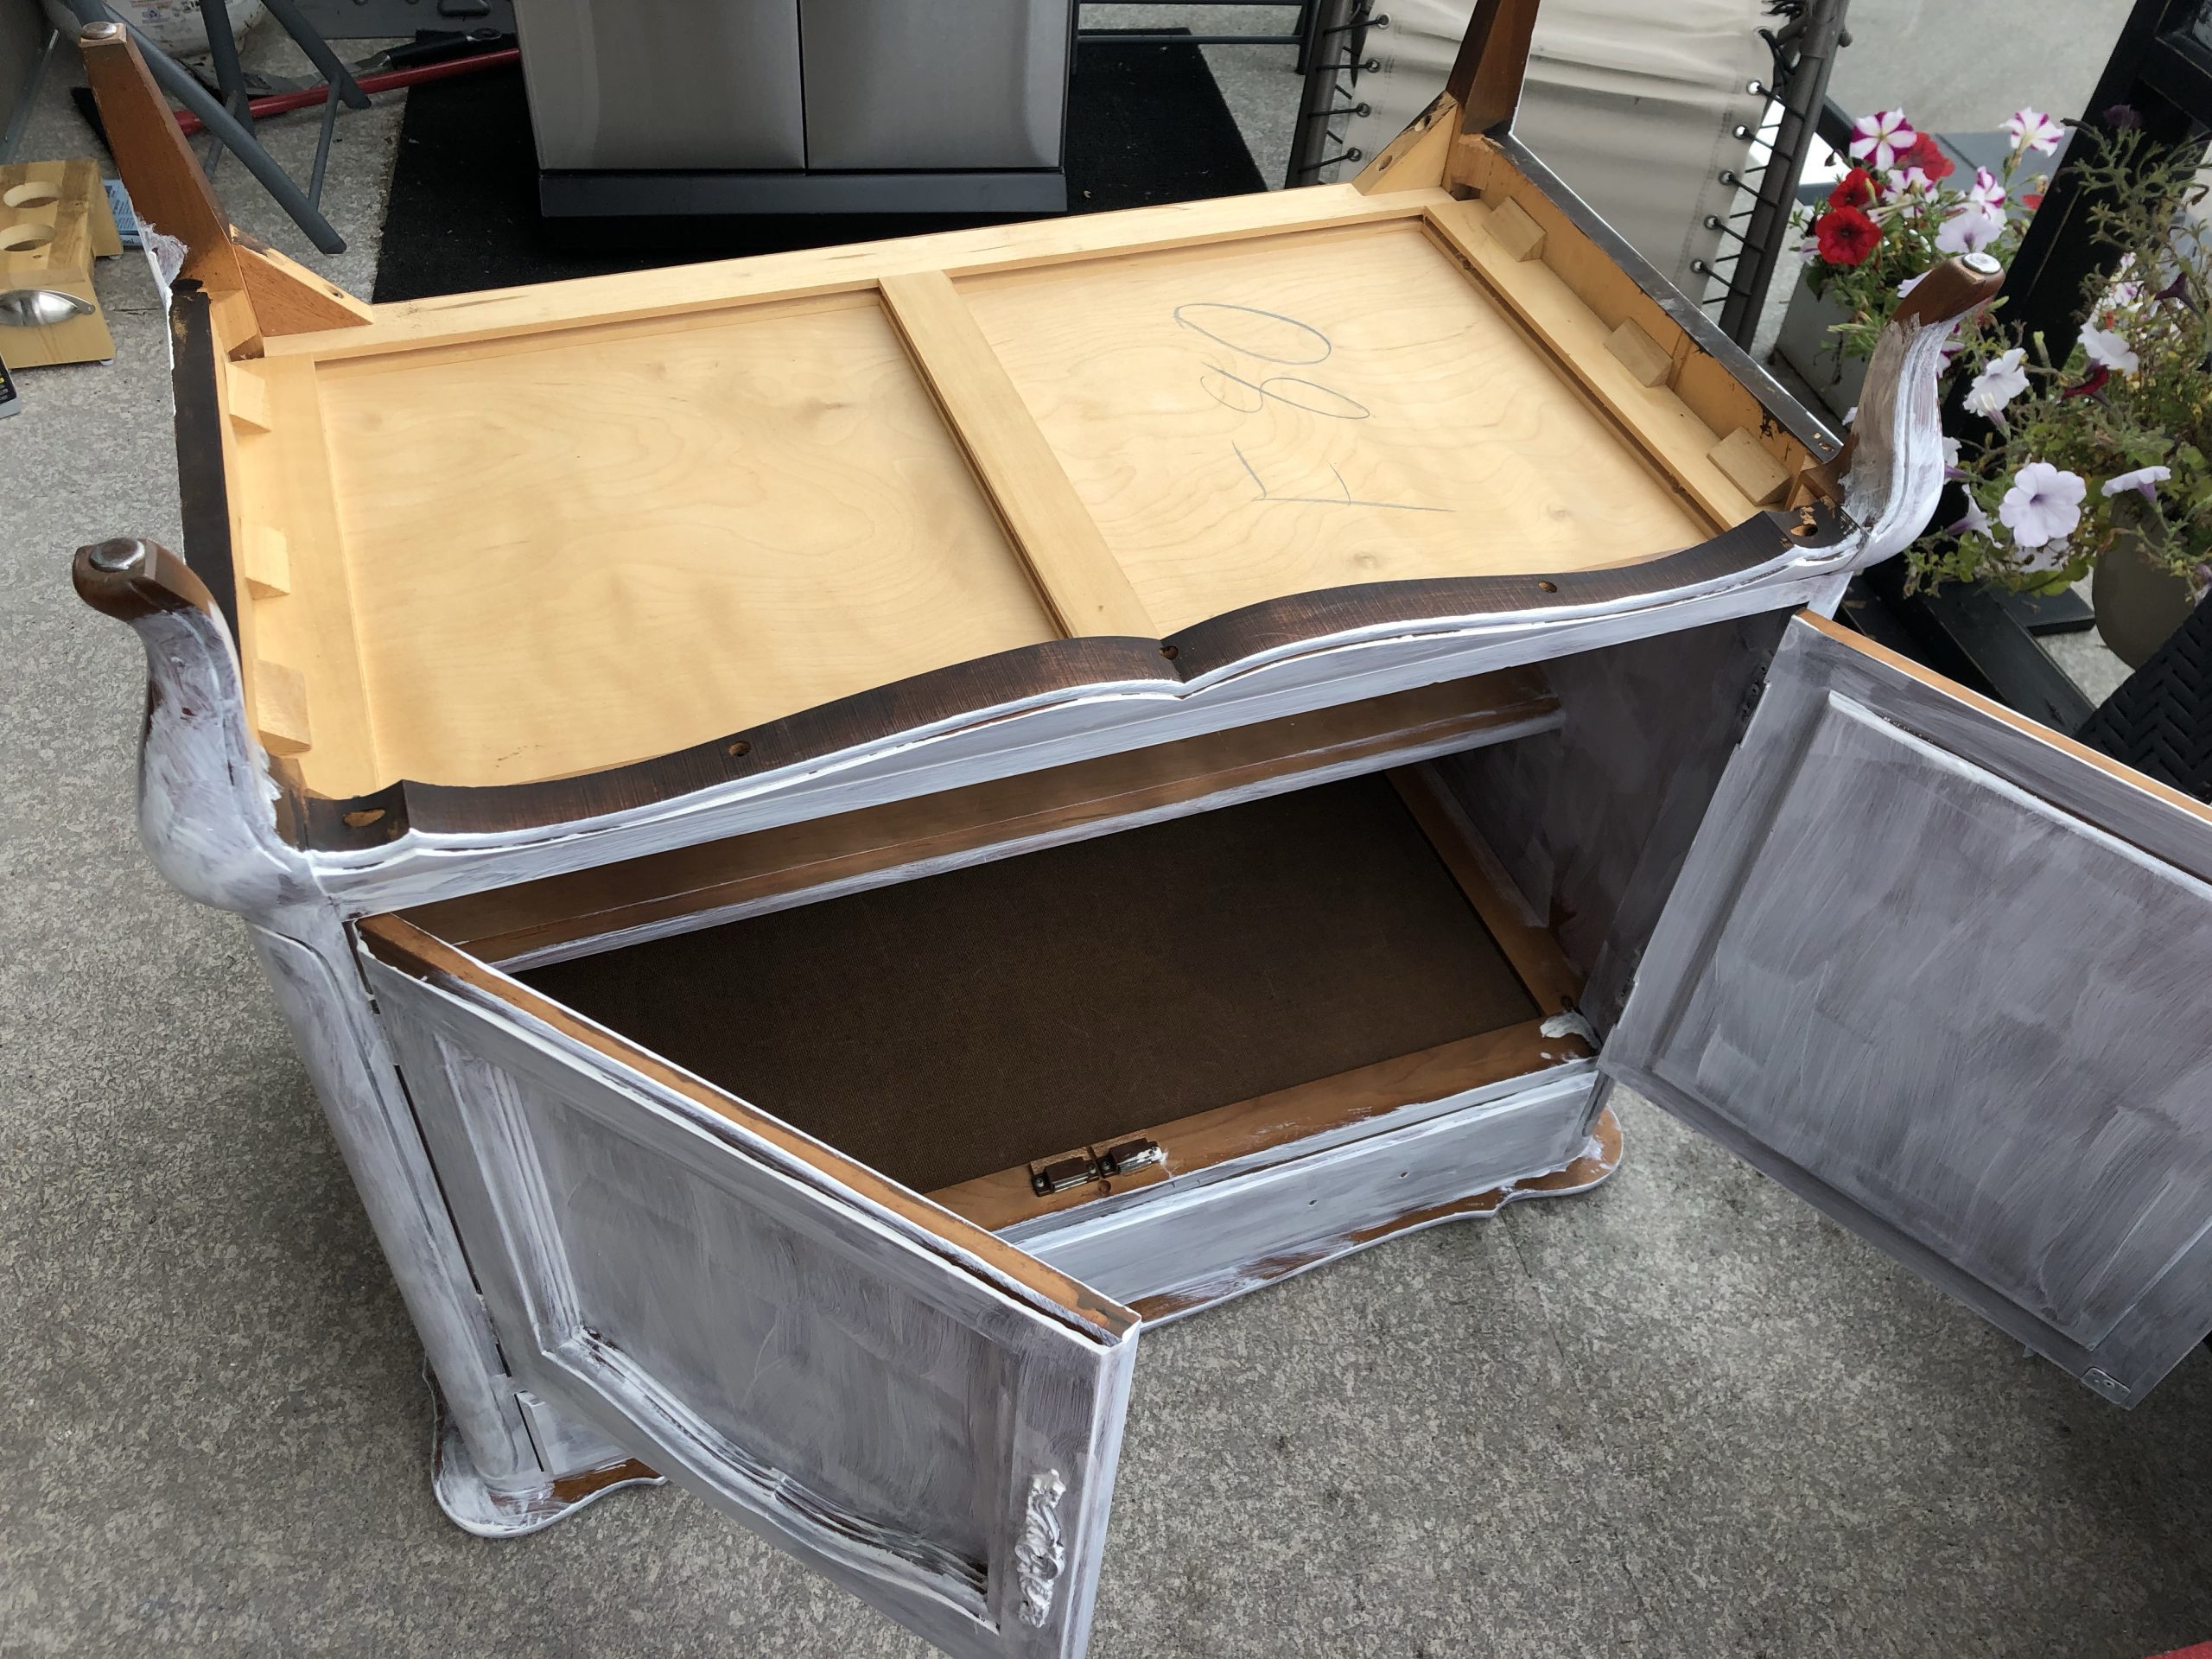
I opted to use Rustoleum chalk paint in the color Chiffon Cream.
Its a nice off white color and I didn’t want the result to be too much of a creamy yellow which can happen when applying several coats.
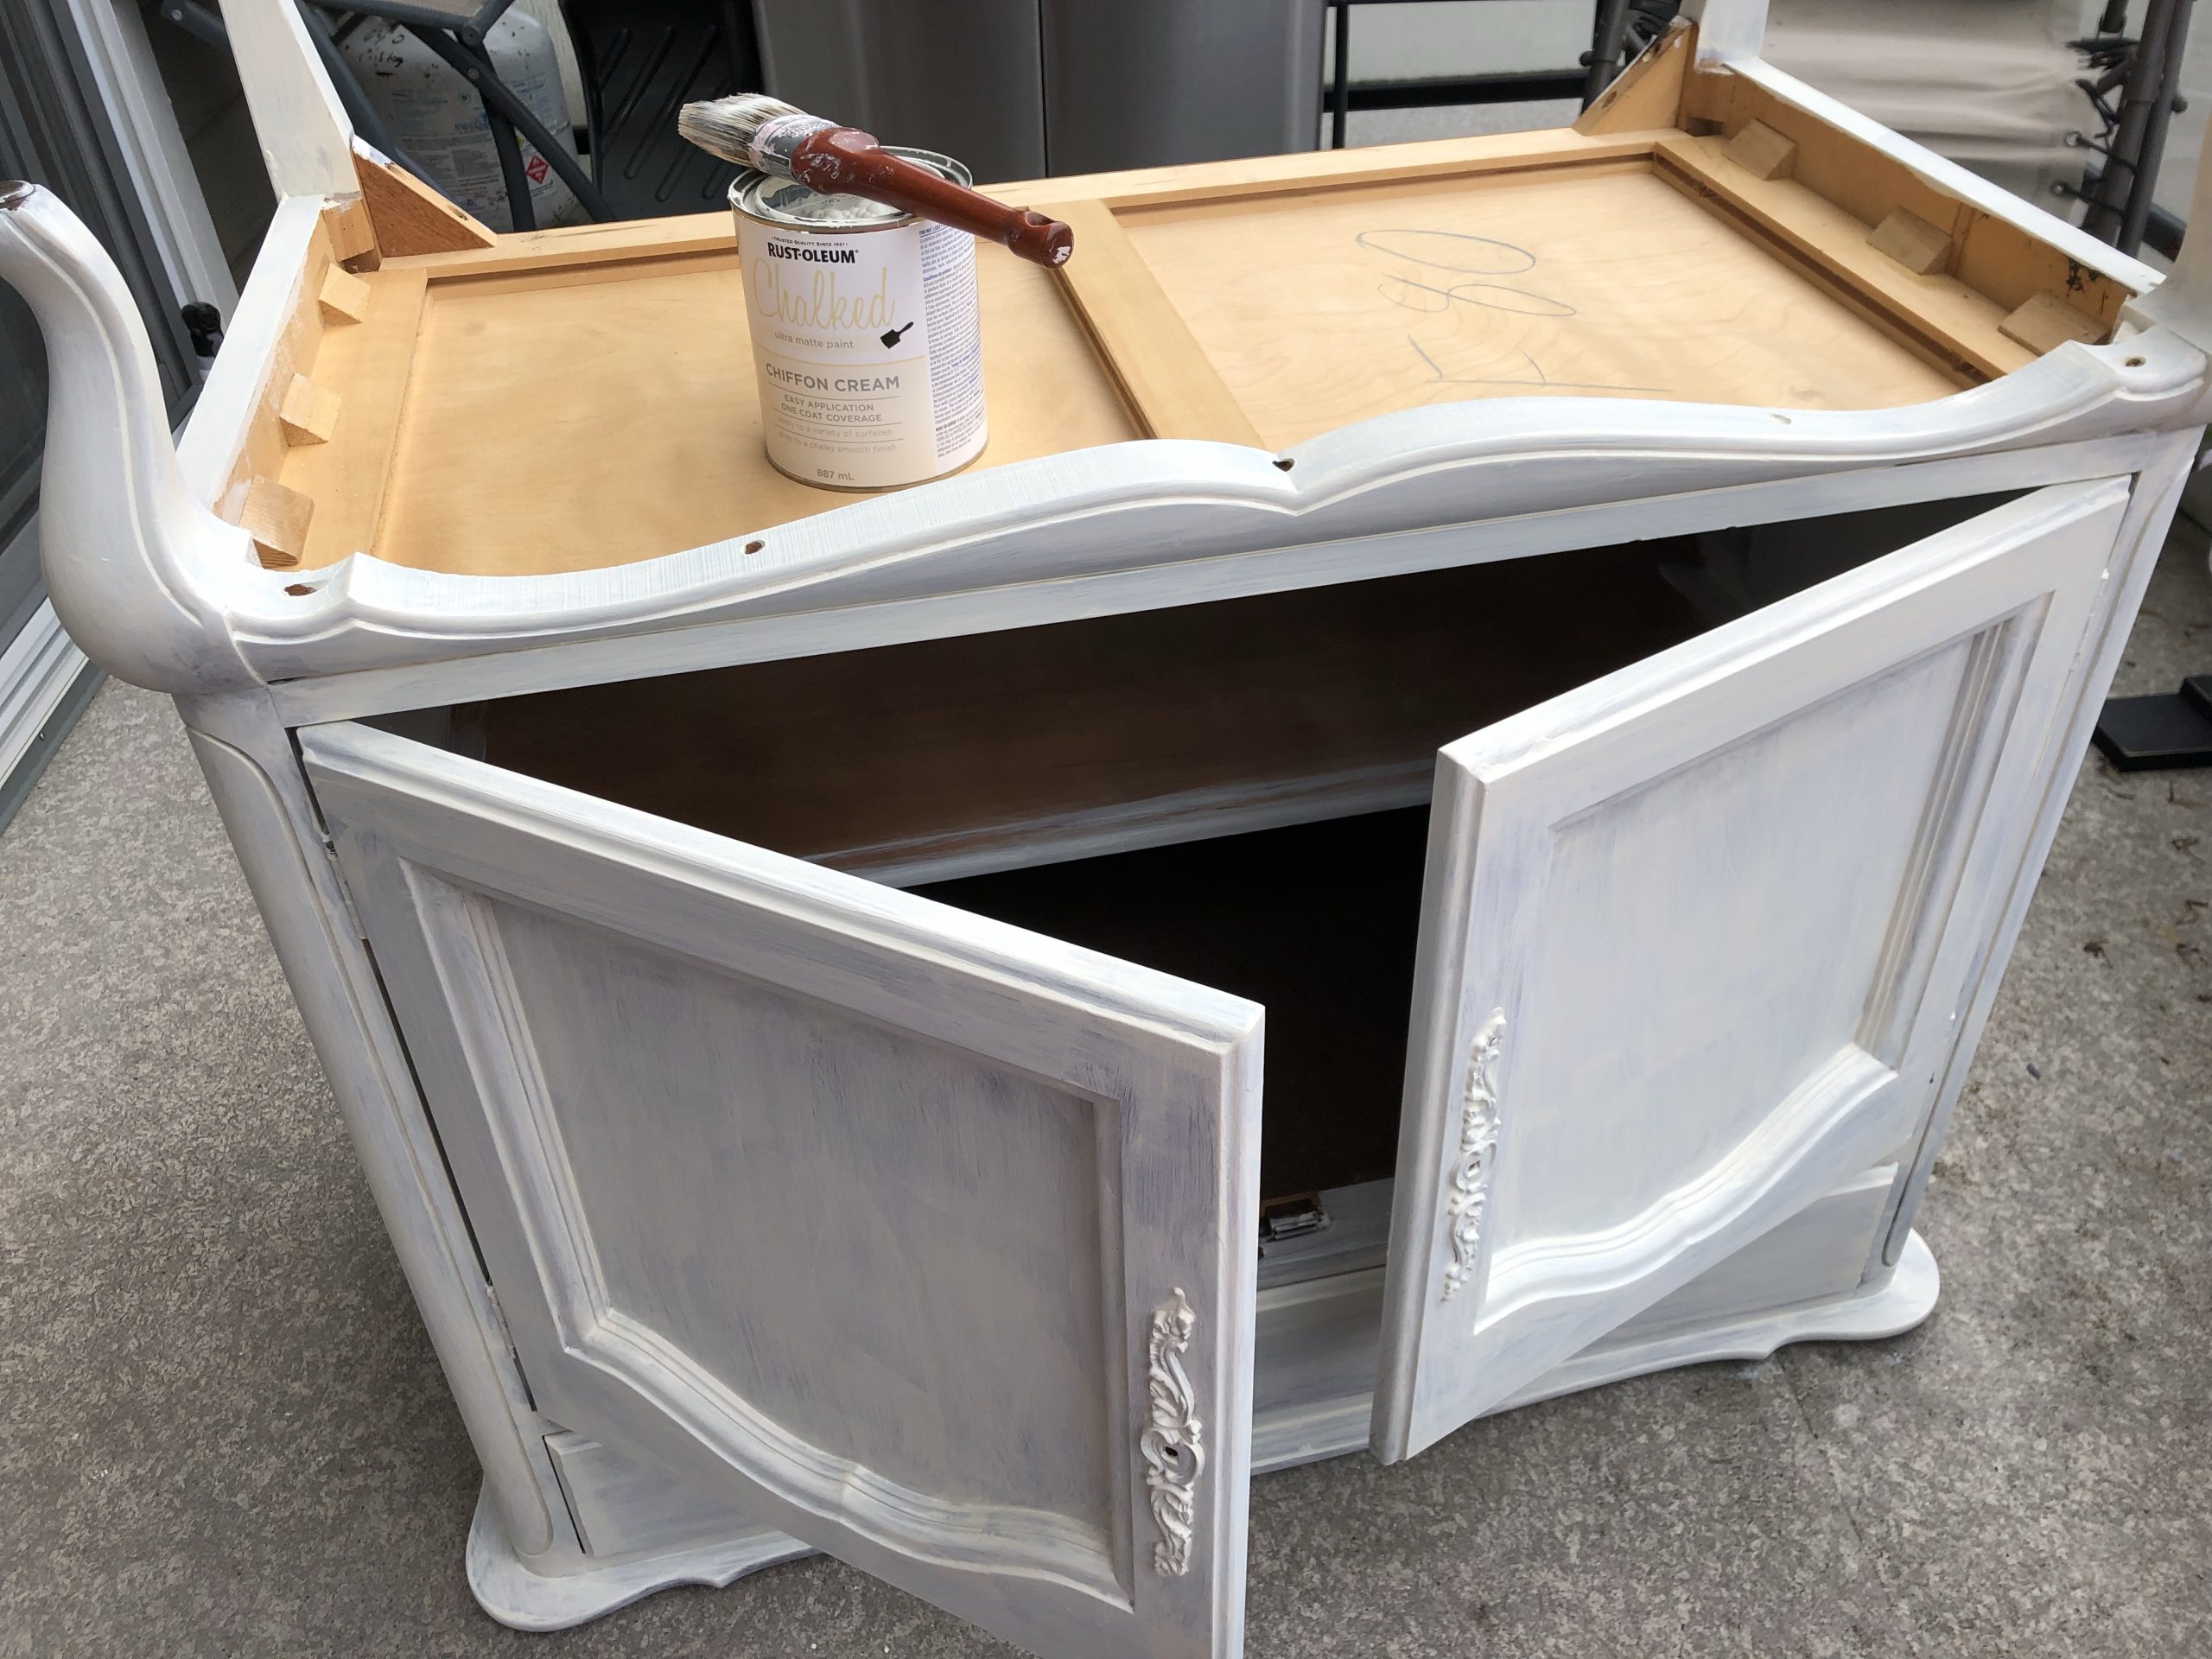
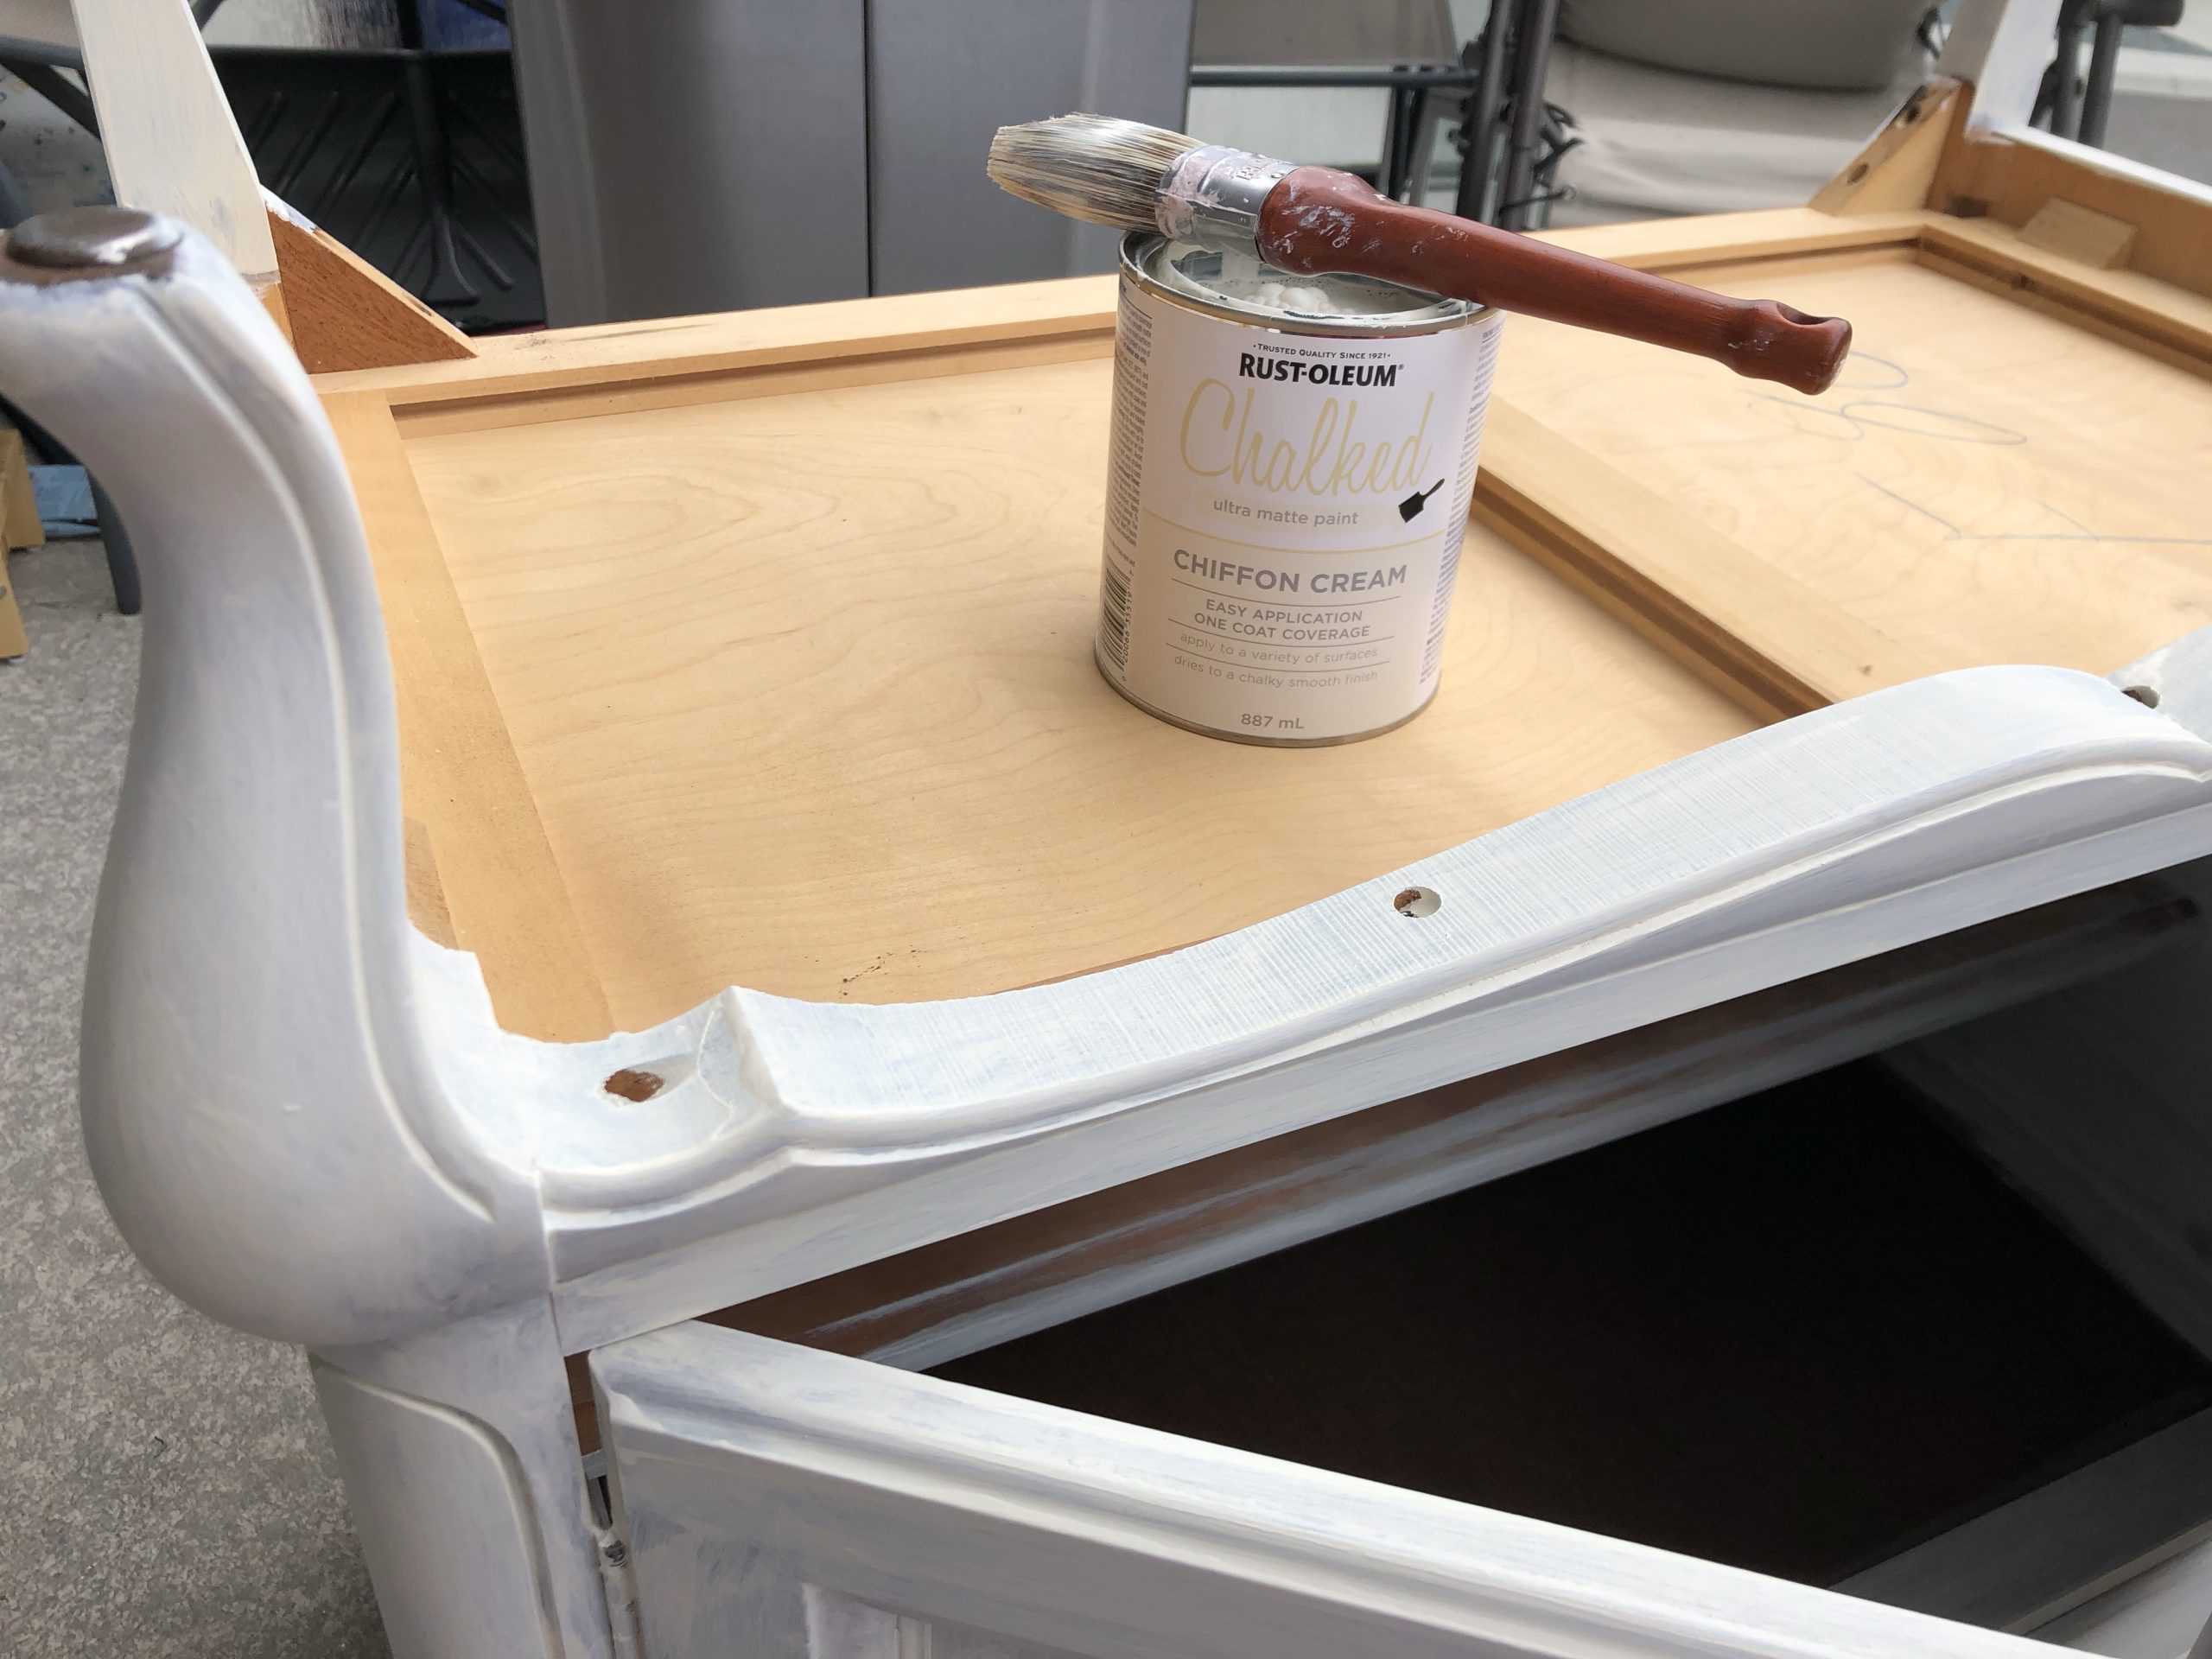

I ended up applying 3 coats and letting each coat dry in between. This paint is an amazing brand and the coverage always amazes me in the end.

I love this brand of paint, it covers so very well without a lot of coats!
A technique I like to use is to put the piece upside down to get very good coverage on the legs without missing any parts of the legs.
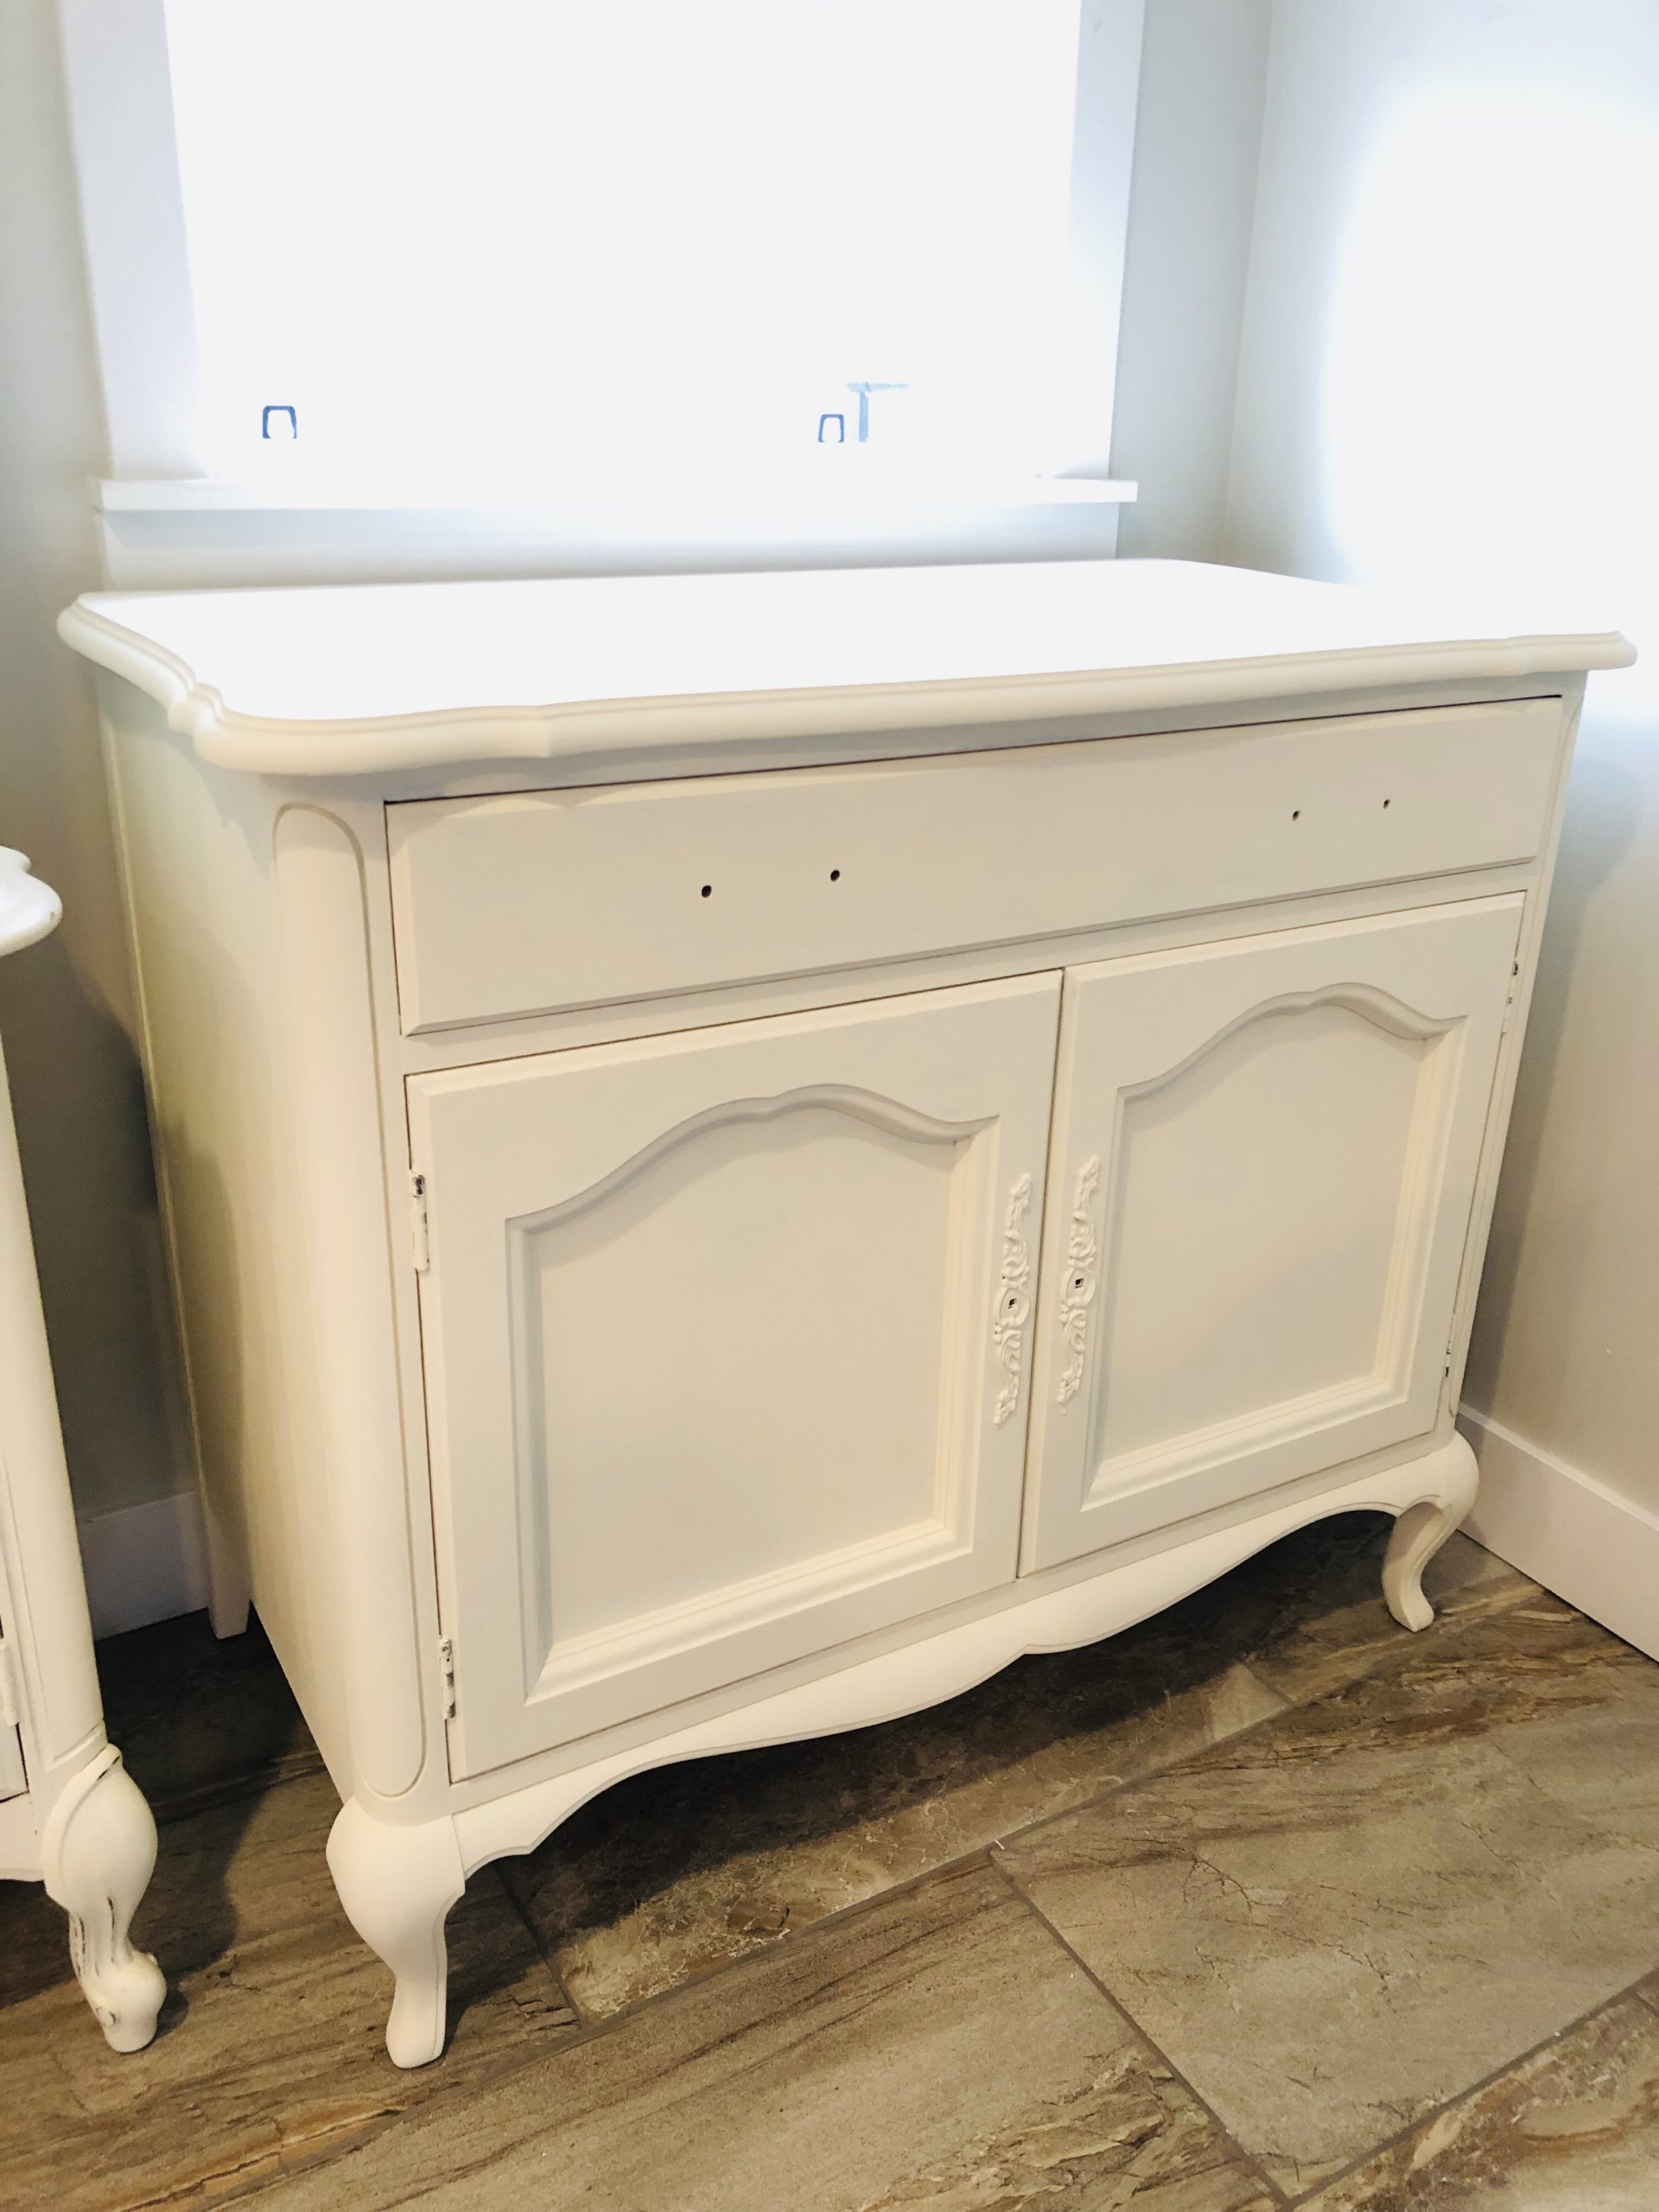
It looked so beautiful just painted from where we started!
Distressing Steps
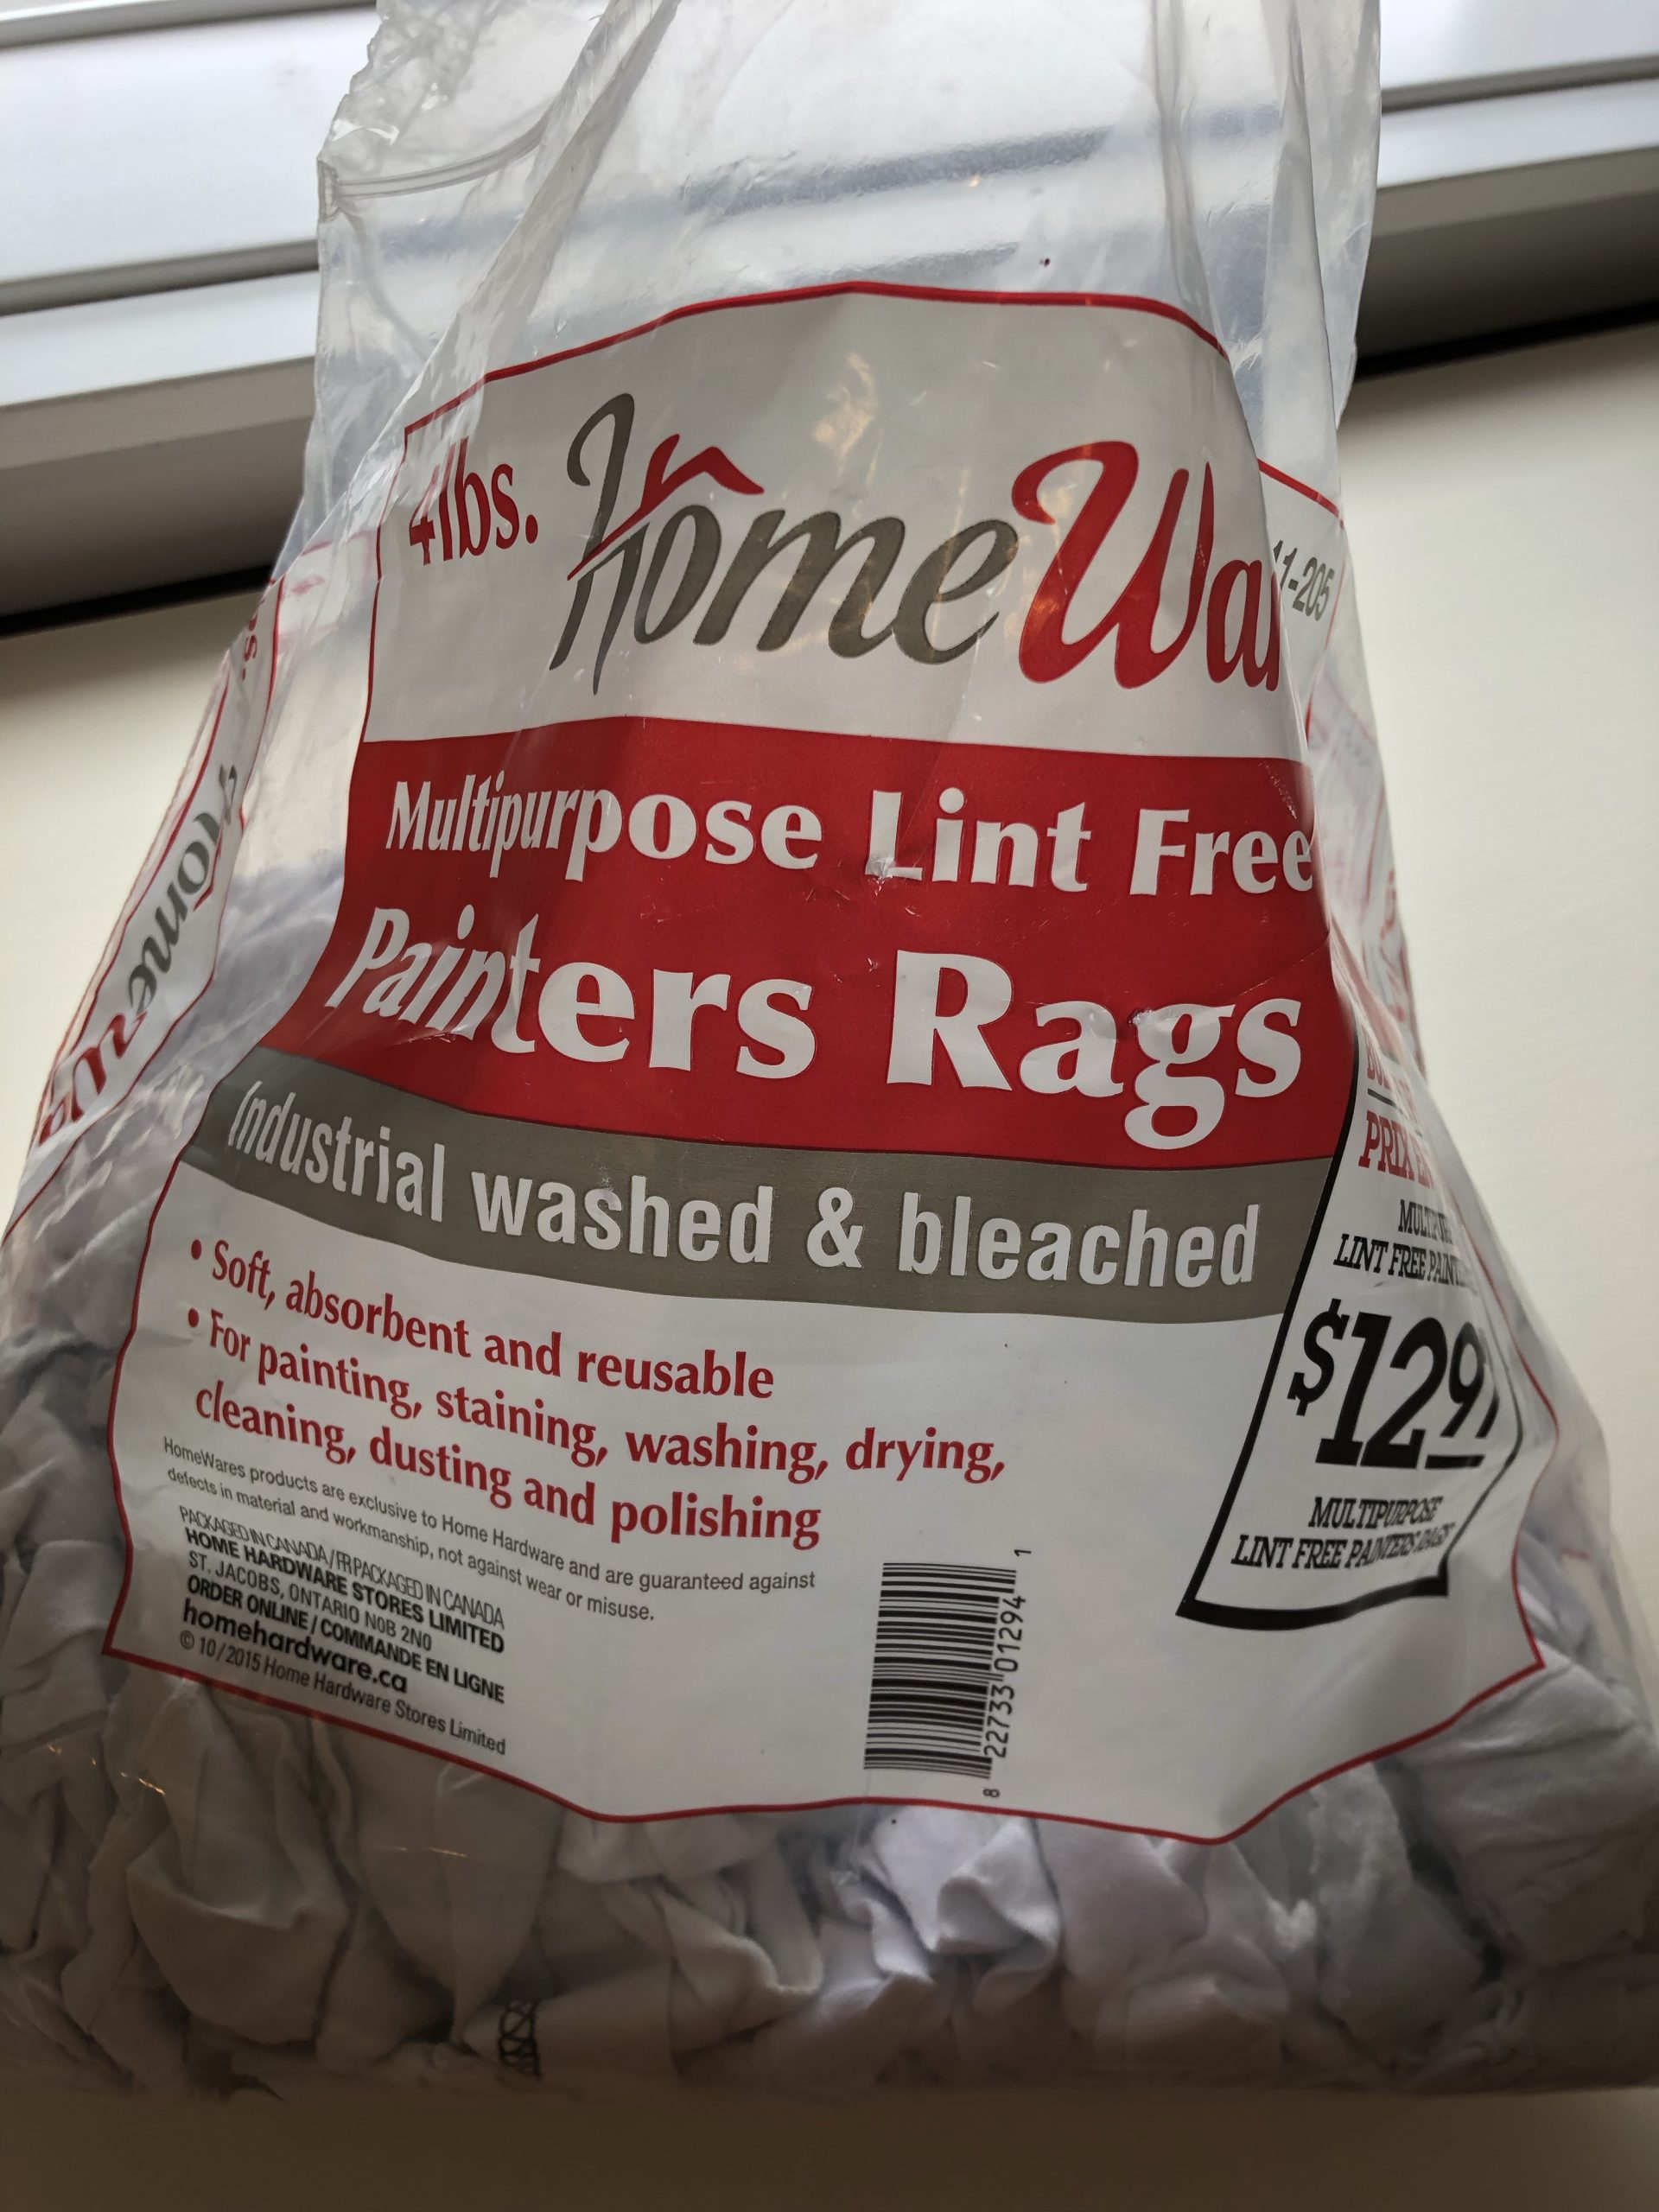
- I decided I wanted to distress my piece and opted to use wet rags to achieve the look I was after.
- I have painted many pieces of furniture and distressed them and after trial and error, I have opted to wet distress most of the time.
- If you are using sand paper to distress, it is very easy to scratch your wood and damage it.
- Who knows, you may want to paint over the distress in the future and if you have scratched the wood, it will show through a new paint job.
- I always like to use lint free soft shop rags to do this. If you have t-shirts on hand to do this, go ahead and rip them up. I usually don’t, so I always grab a bag of these you can find HERE.
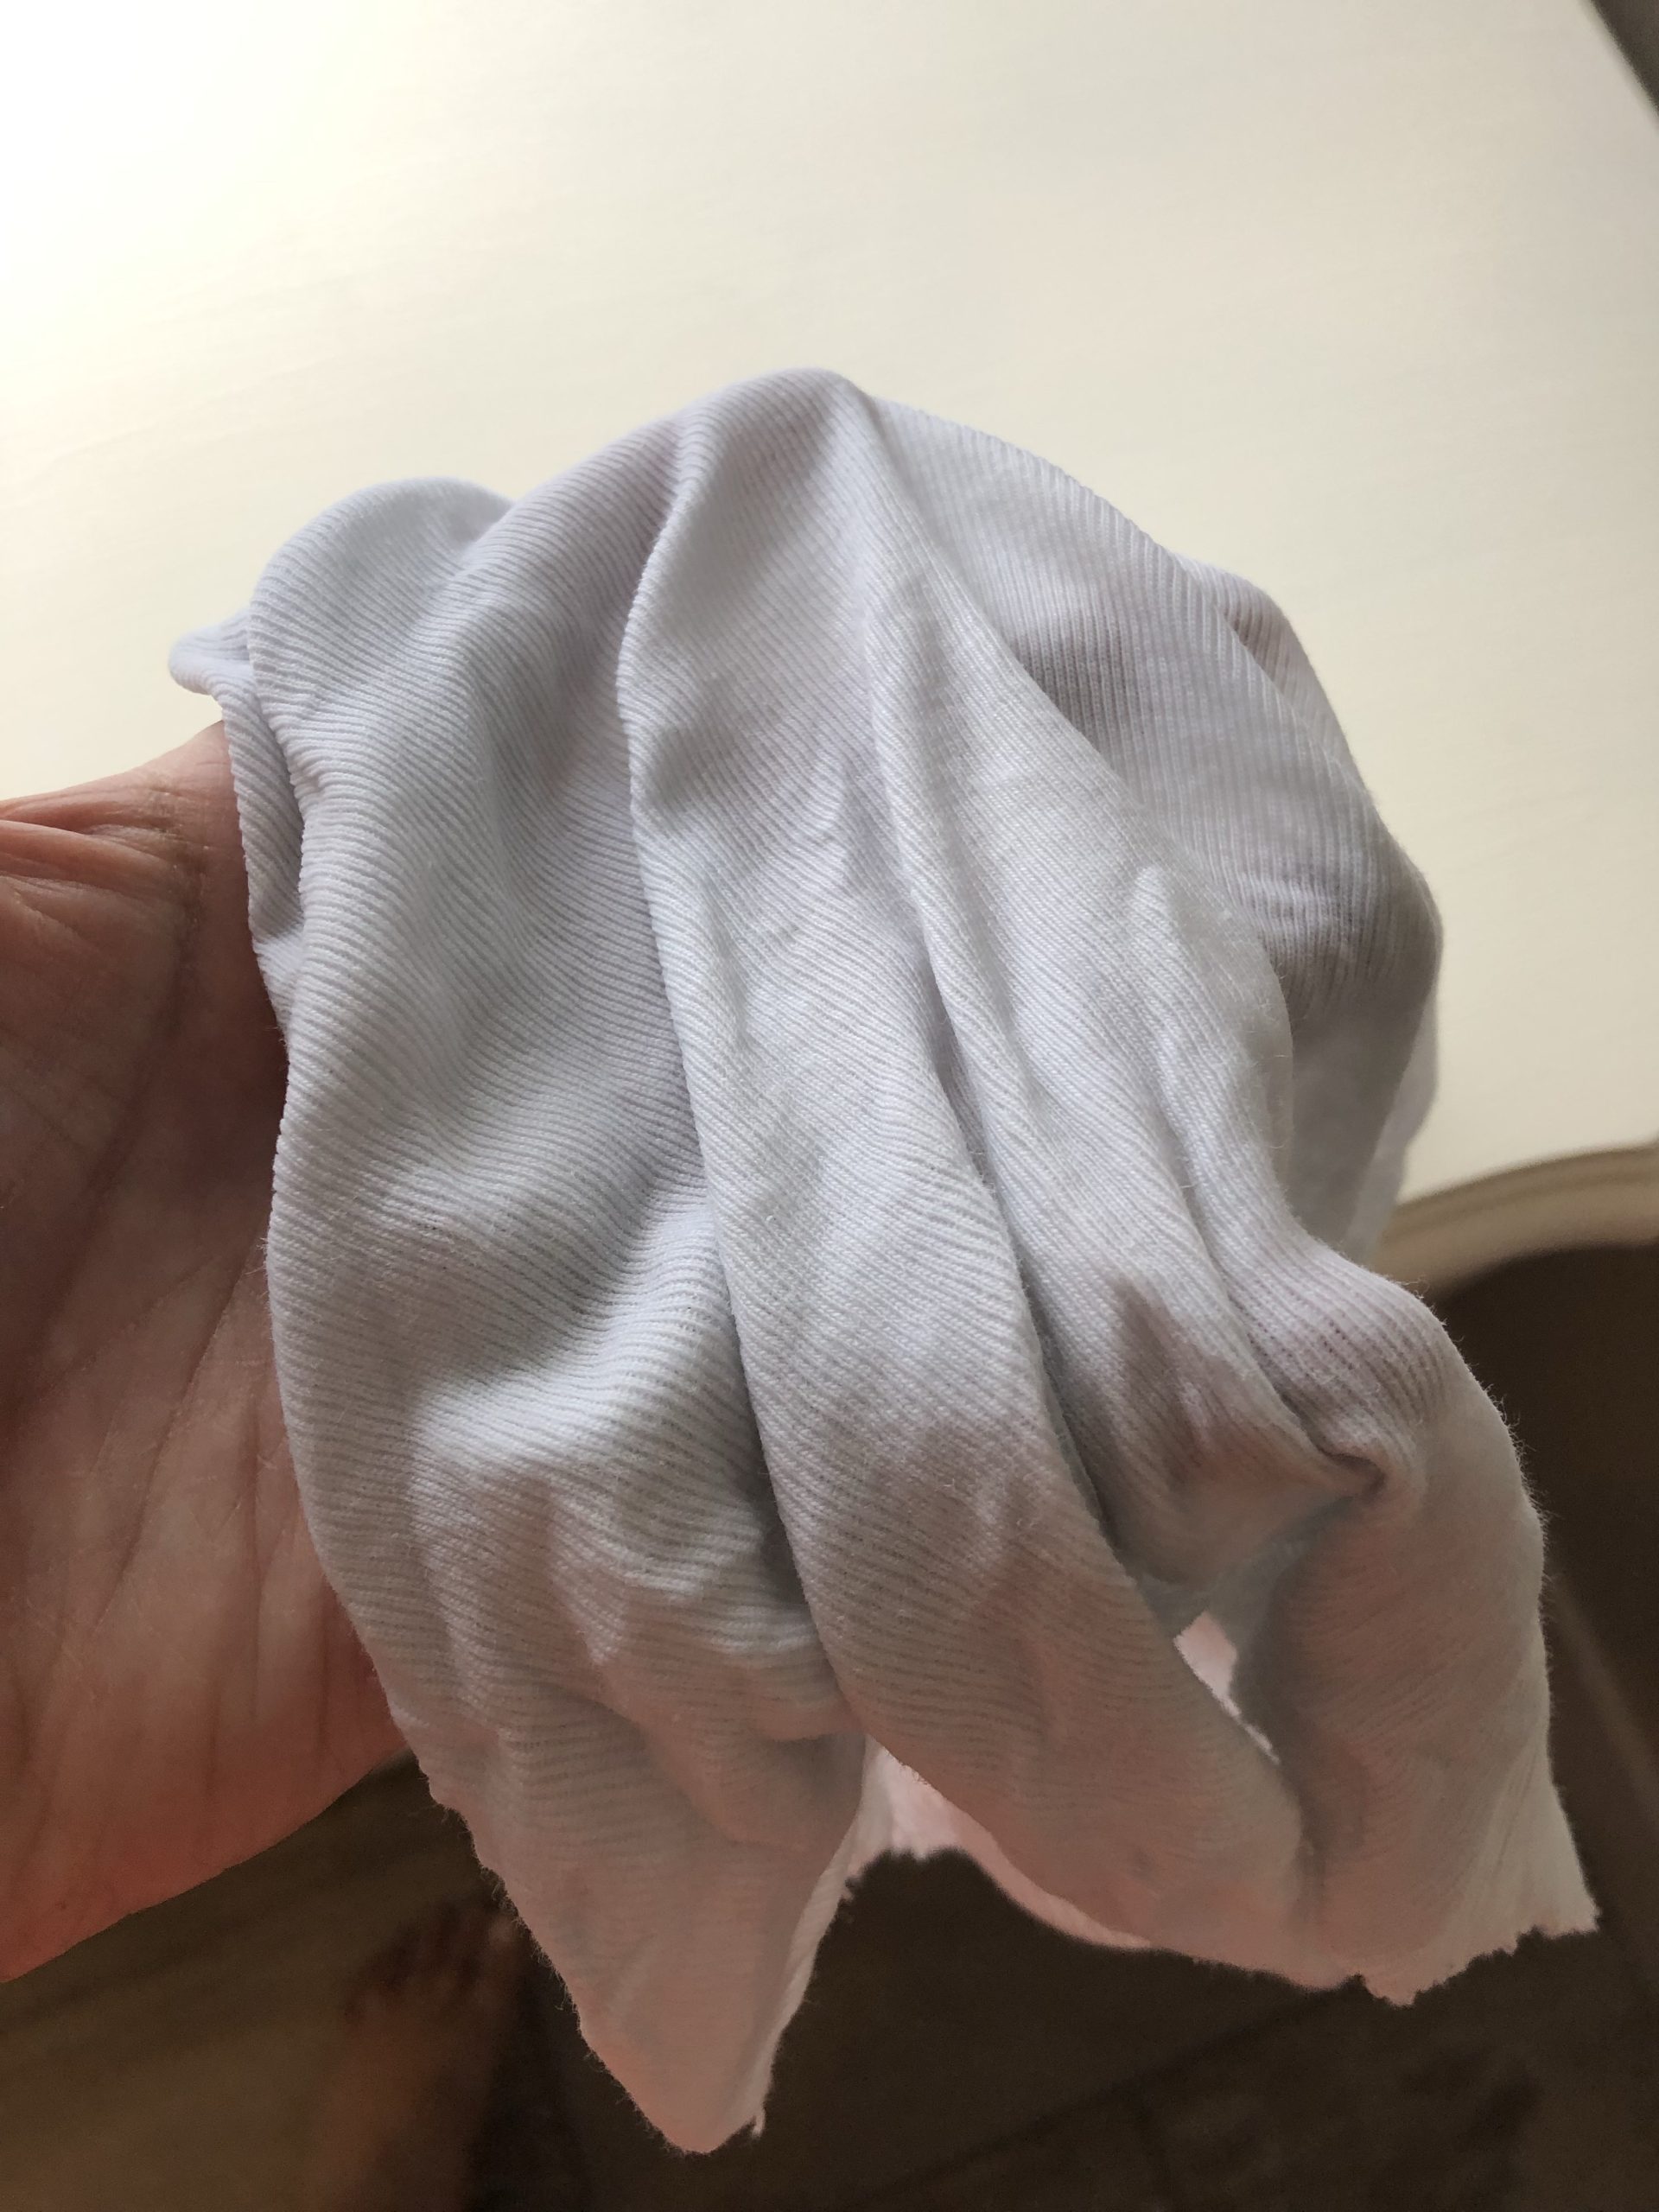
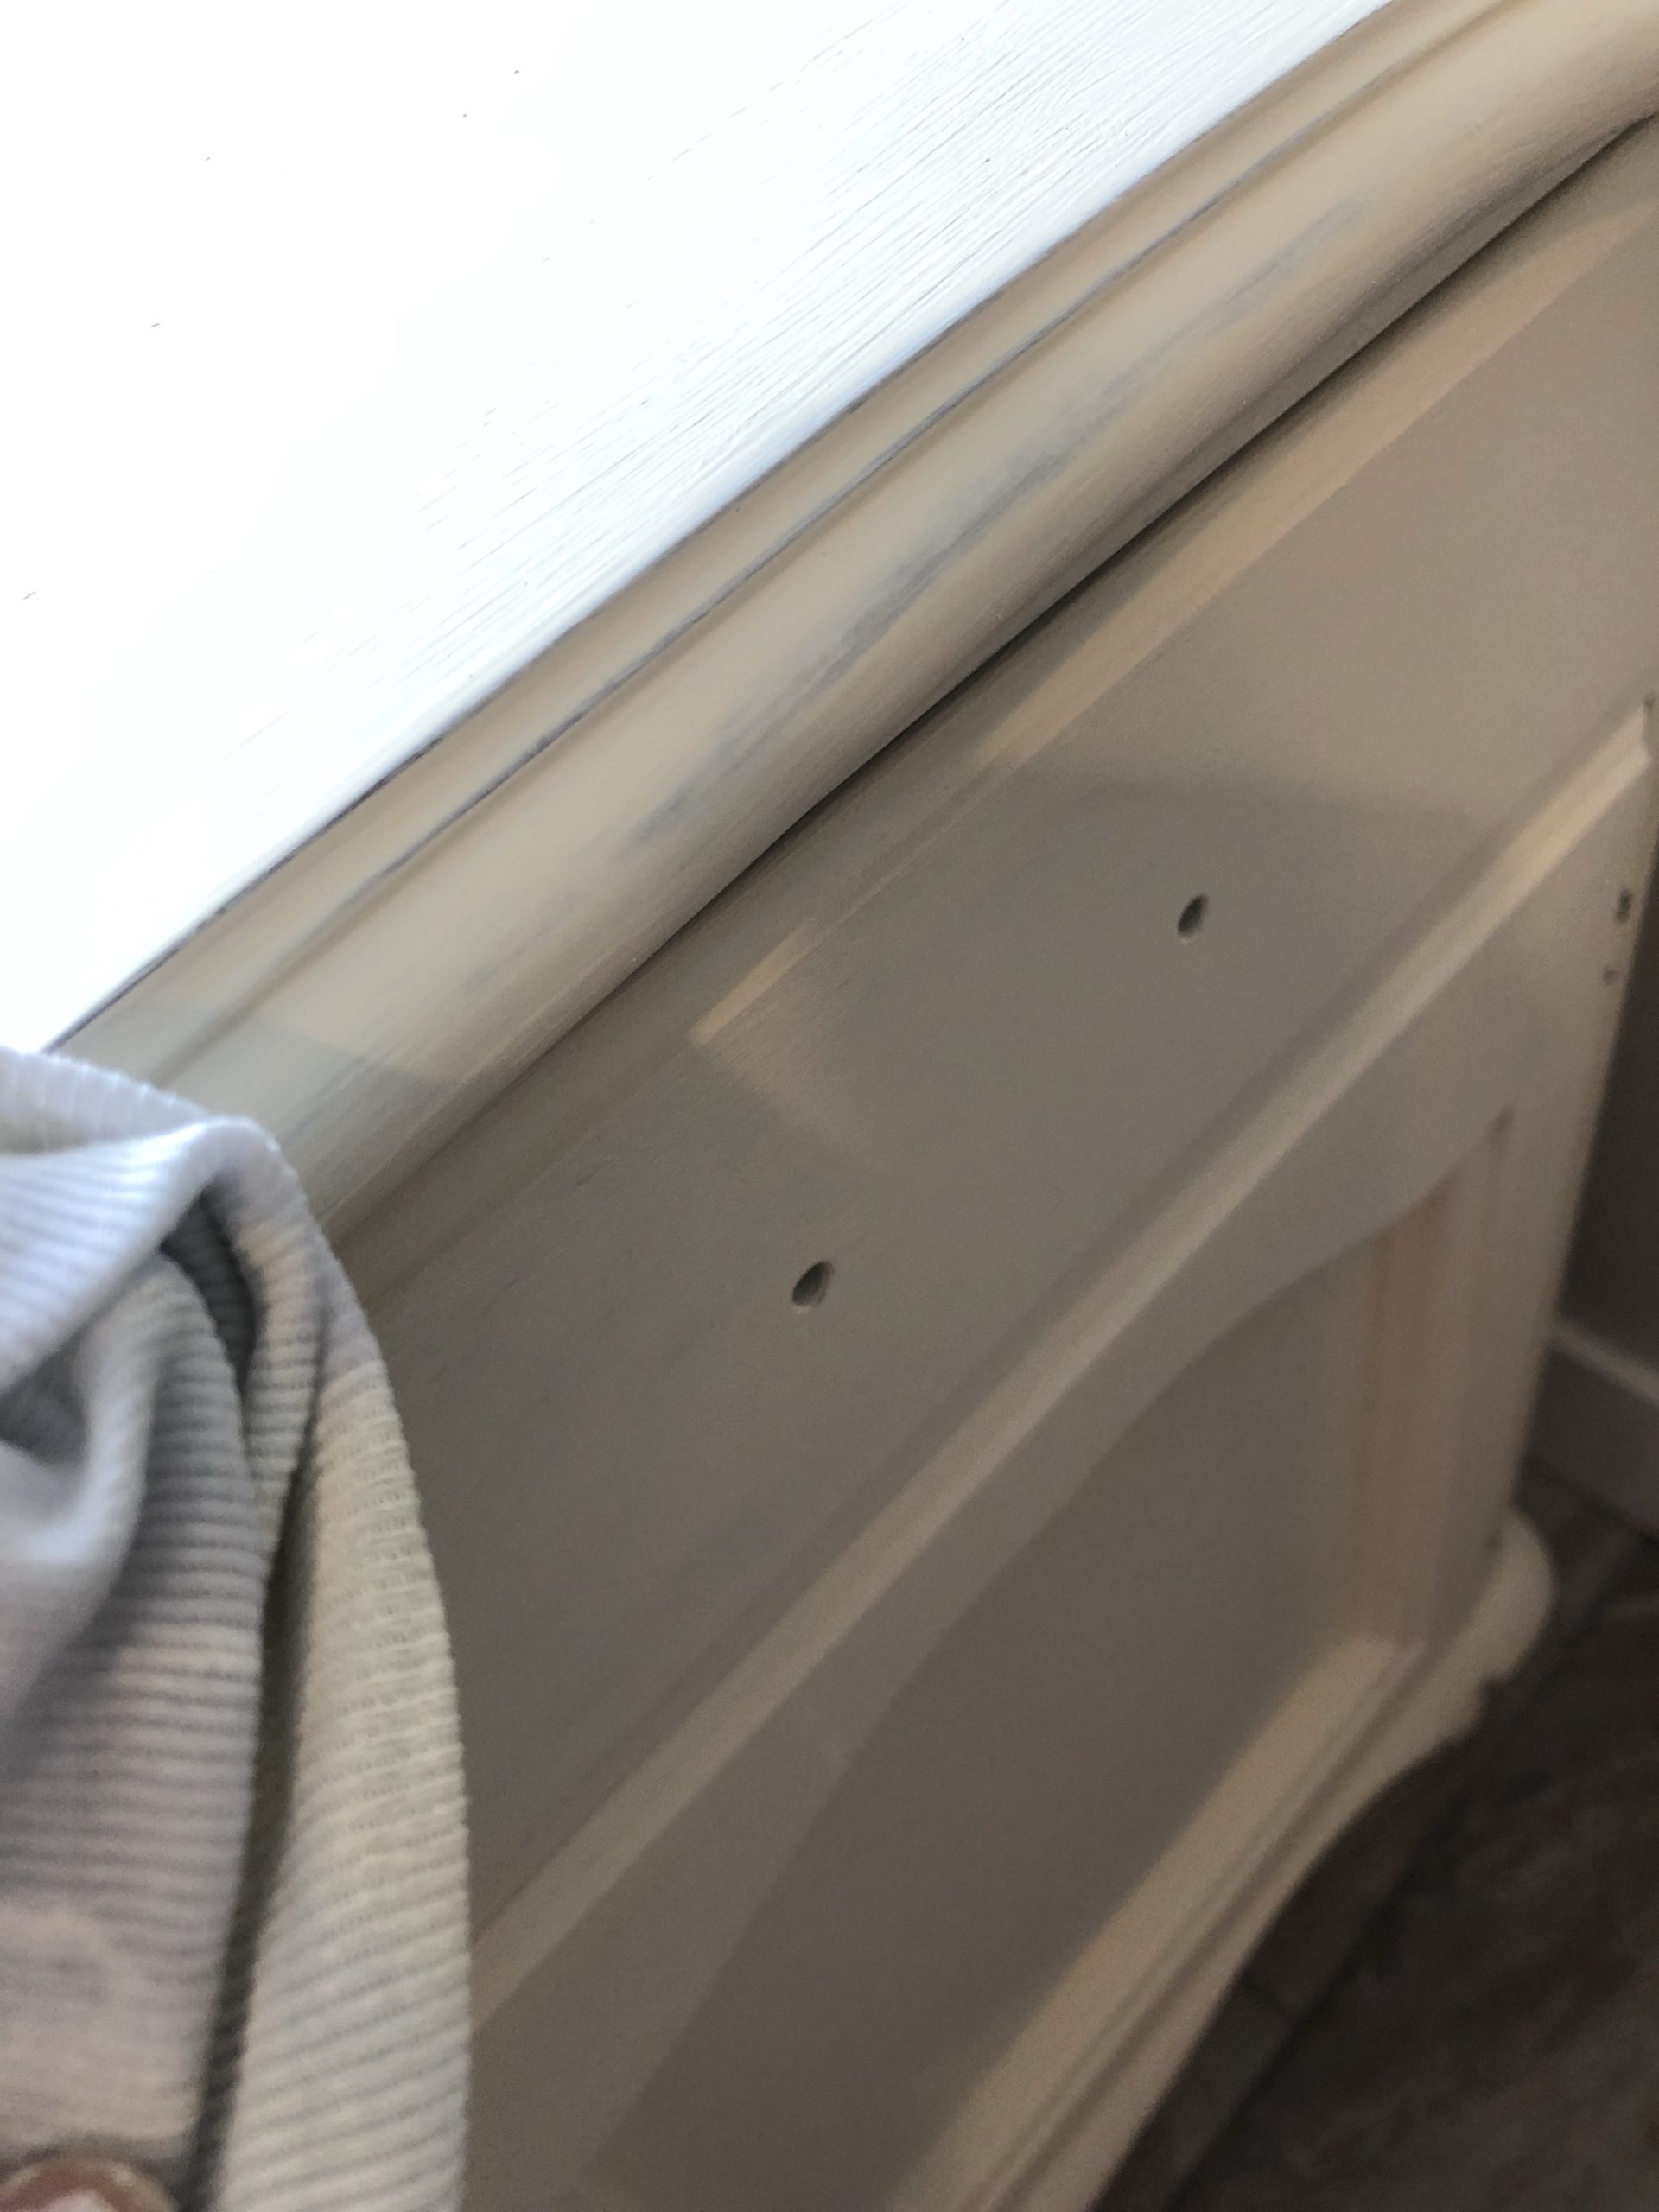
- I simply wet the shop rag, which I love as they are nice and soft cotton and wet it, not too wet and not too dry and start distressing.
- I find if I do this step right after the paint has had a chance to cure, it is much easier for the paint to wipe off.
- I wouldn’t attempt this after say 2 weeks of leaving the paint to cure.

Furniture Transfers
This was the lovely transfer I opted to use for this piece. Such a beautiful transfer you can find here; l made by Re Design with Prima.
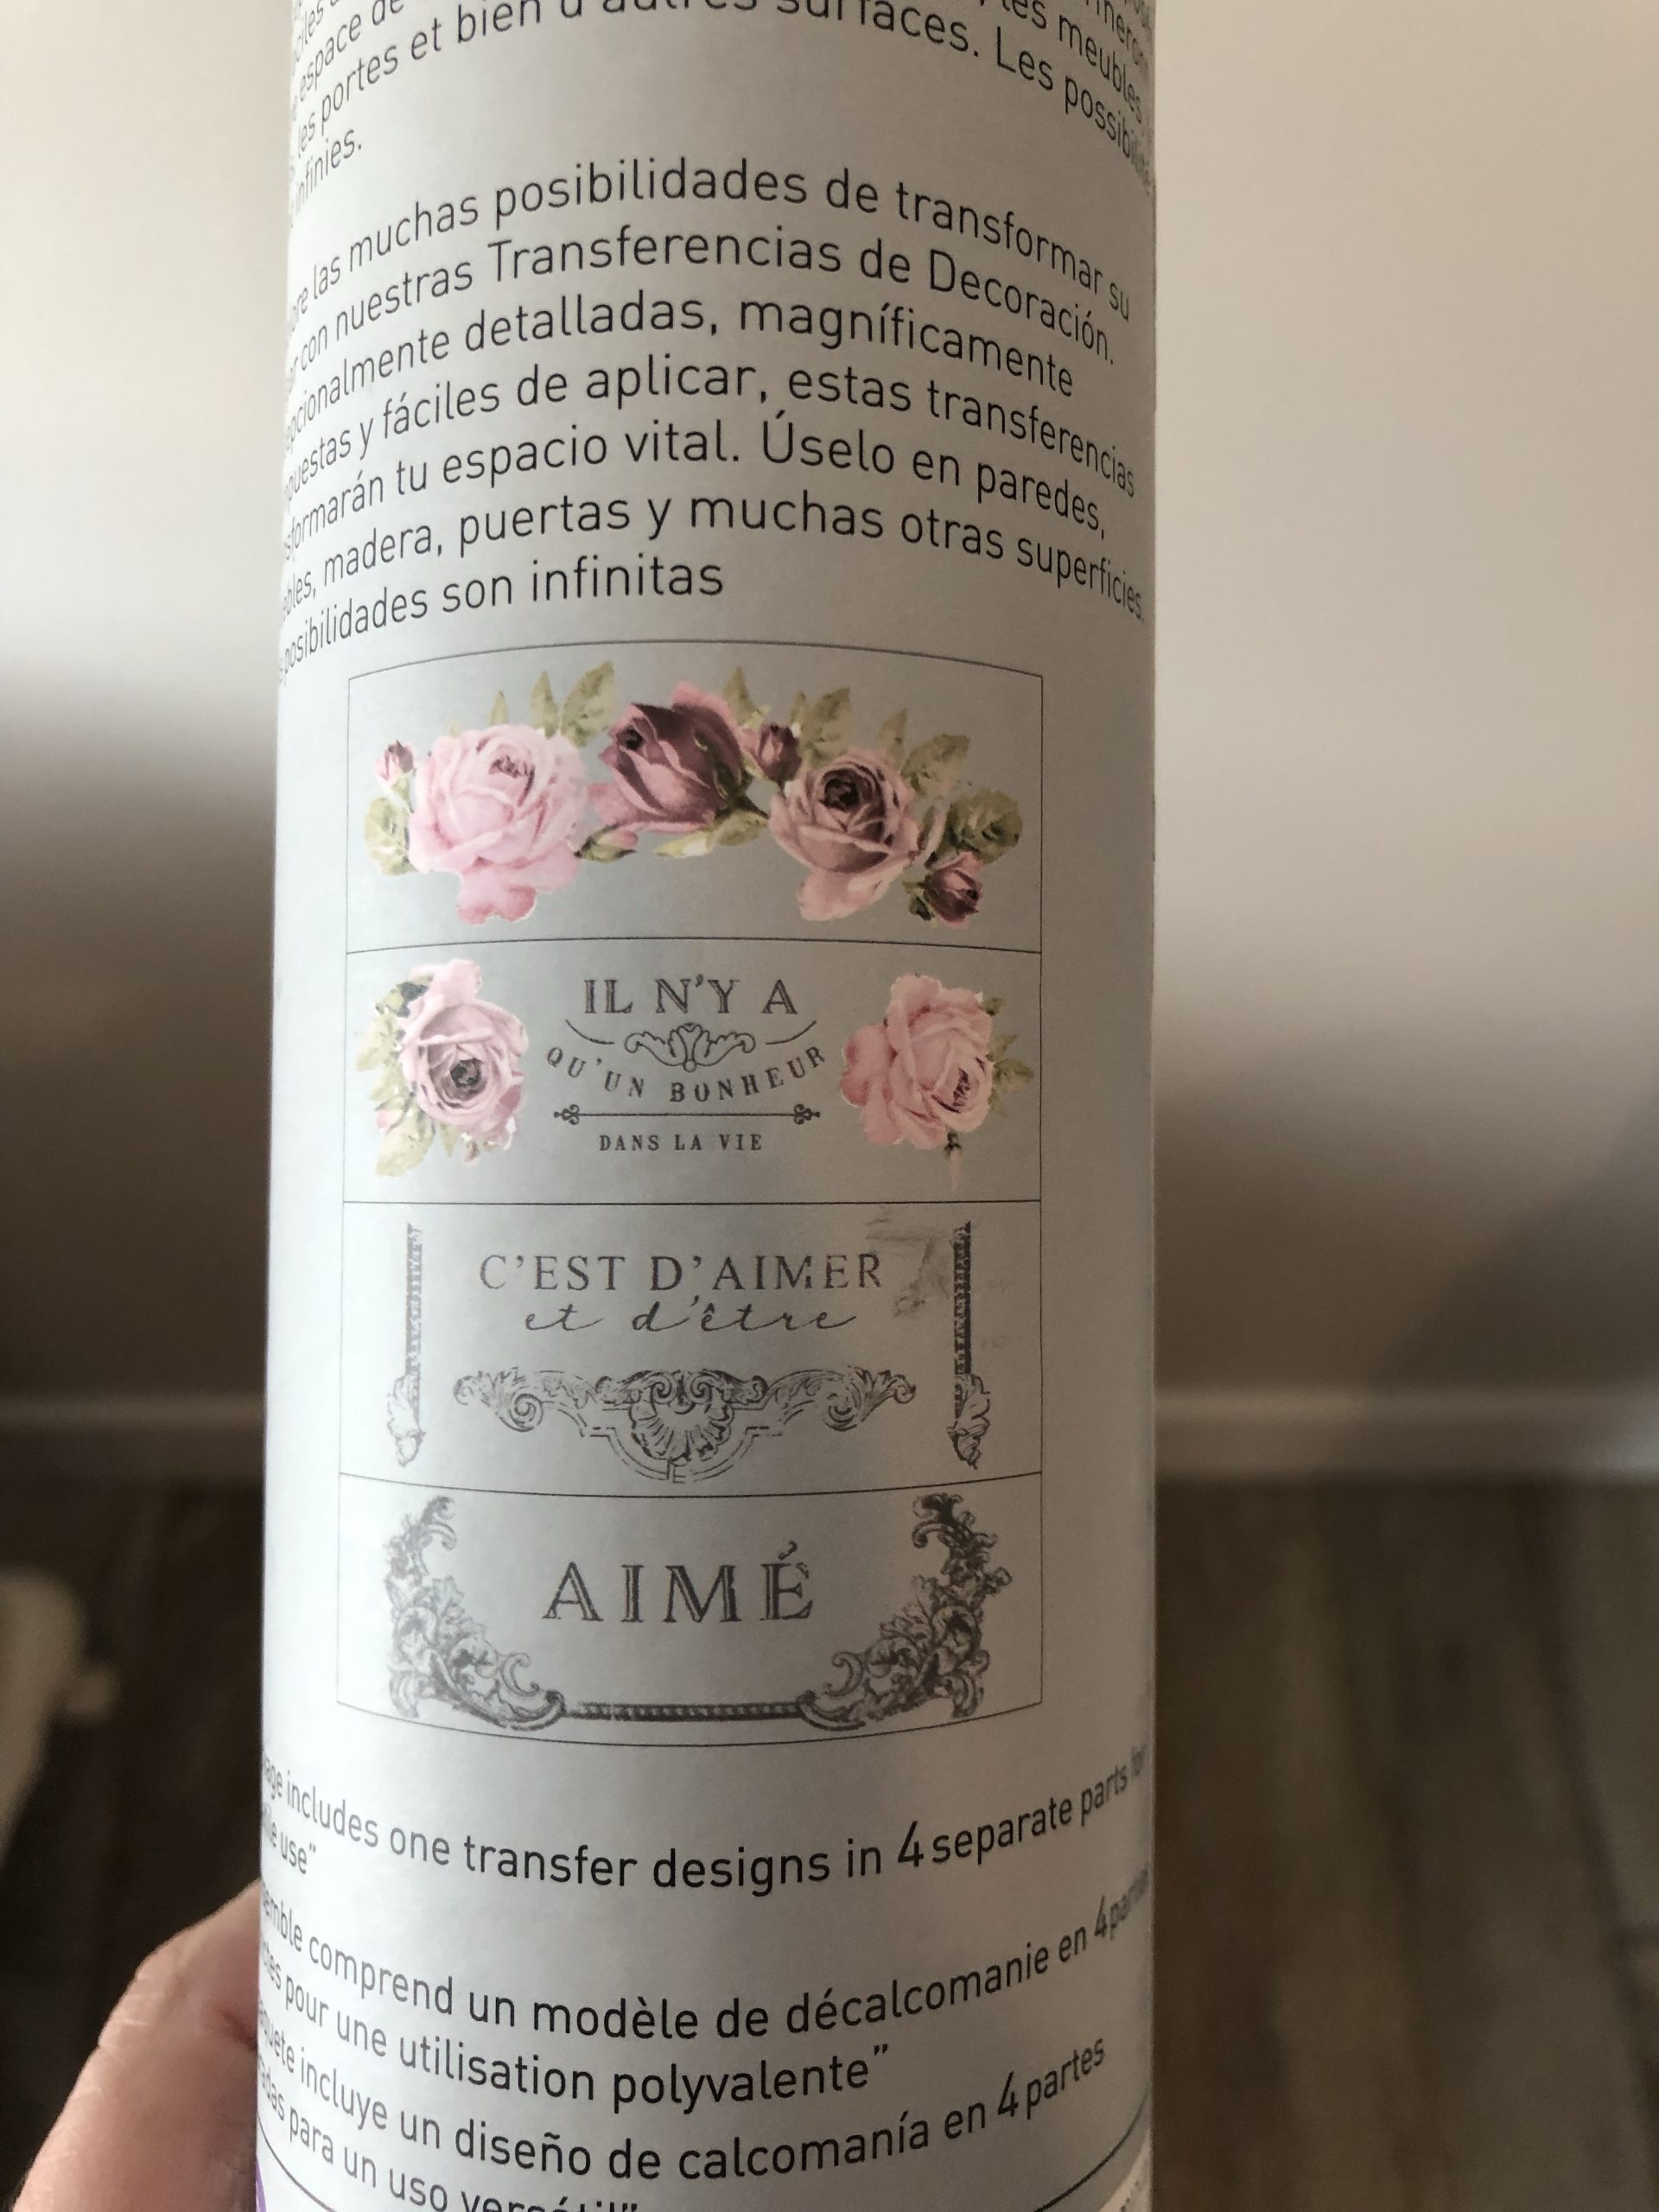

As you can see, when you take the transfer out of the tube, there are 2 layers, the transfer itself and the backer page.
Be sure to keep these pieces together until you are ready to place your transfer.

Depending upon how much distressing you are wanting to do, it still may require a soft sanding block to help distress parts that hard to get to with the rag.
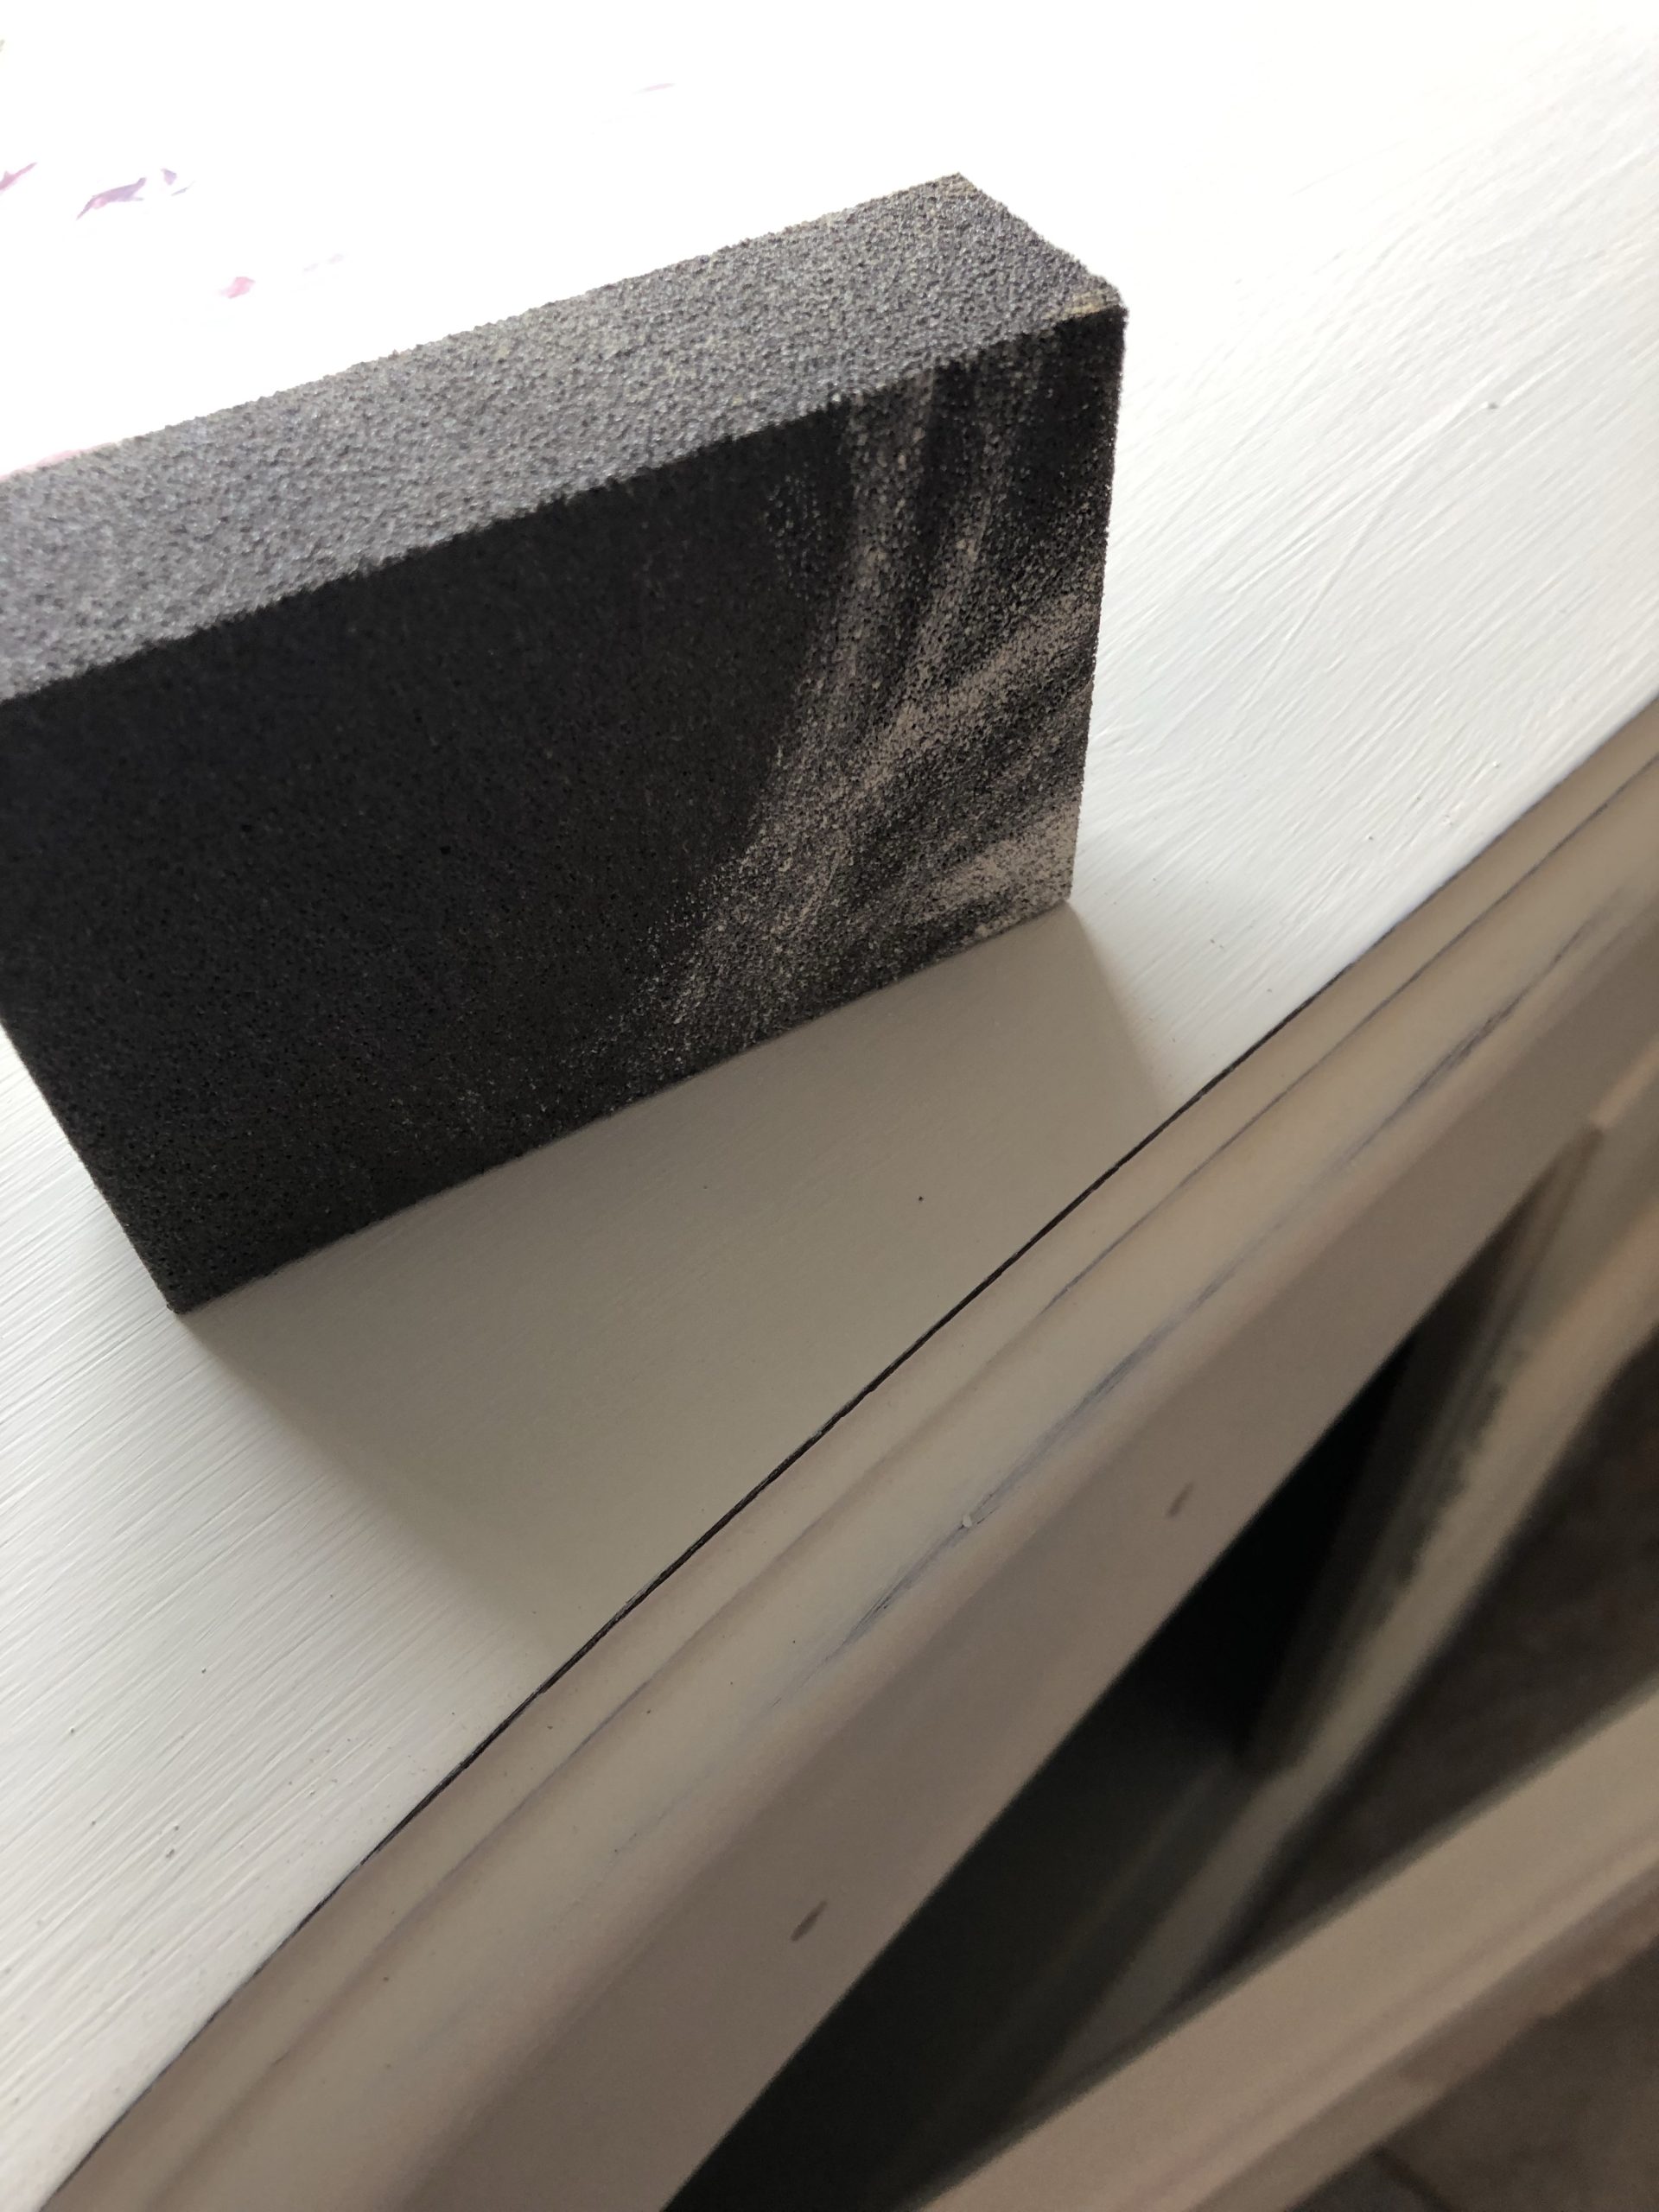
In the end I opted to use a very light sanding block to help with some of the tougher places to have distressed to my liking.
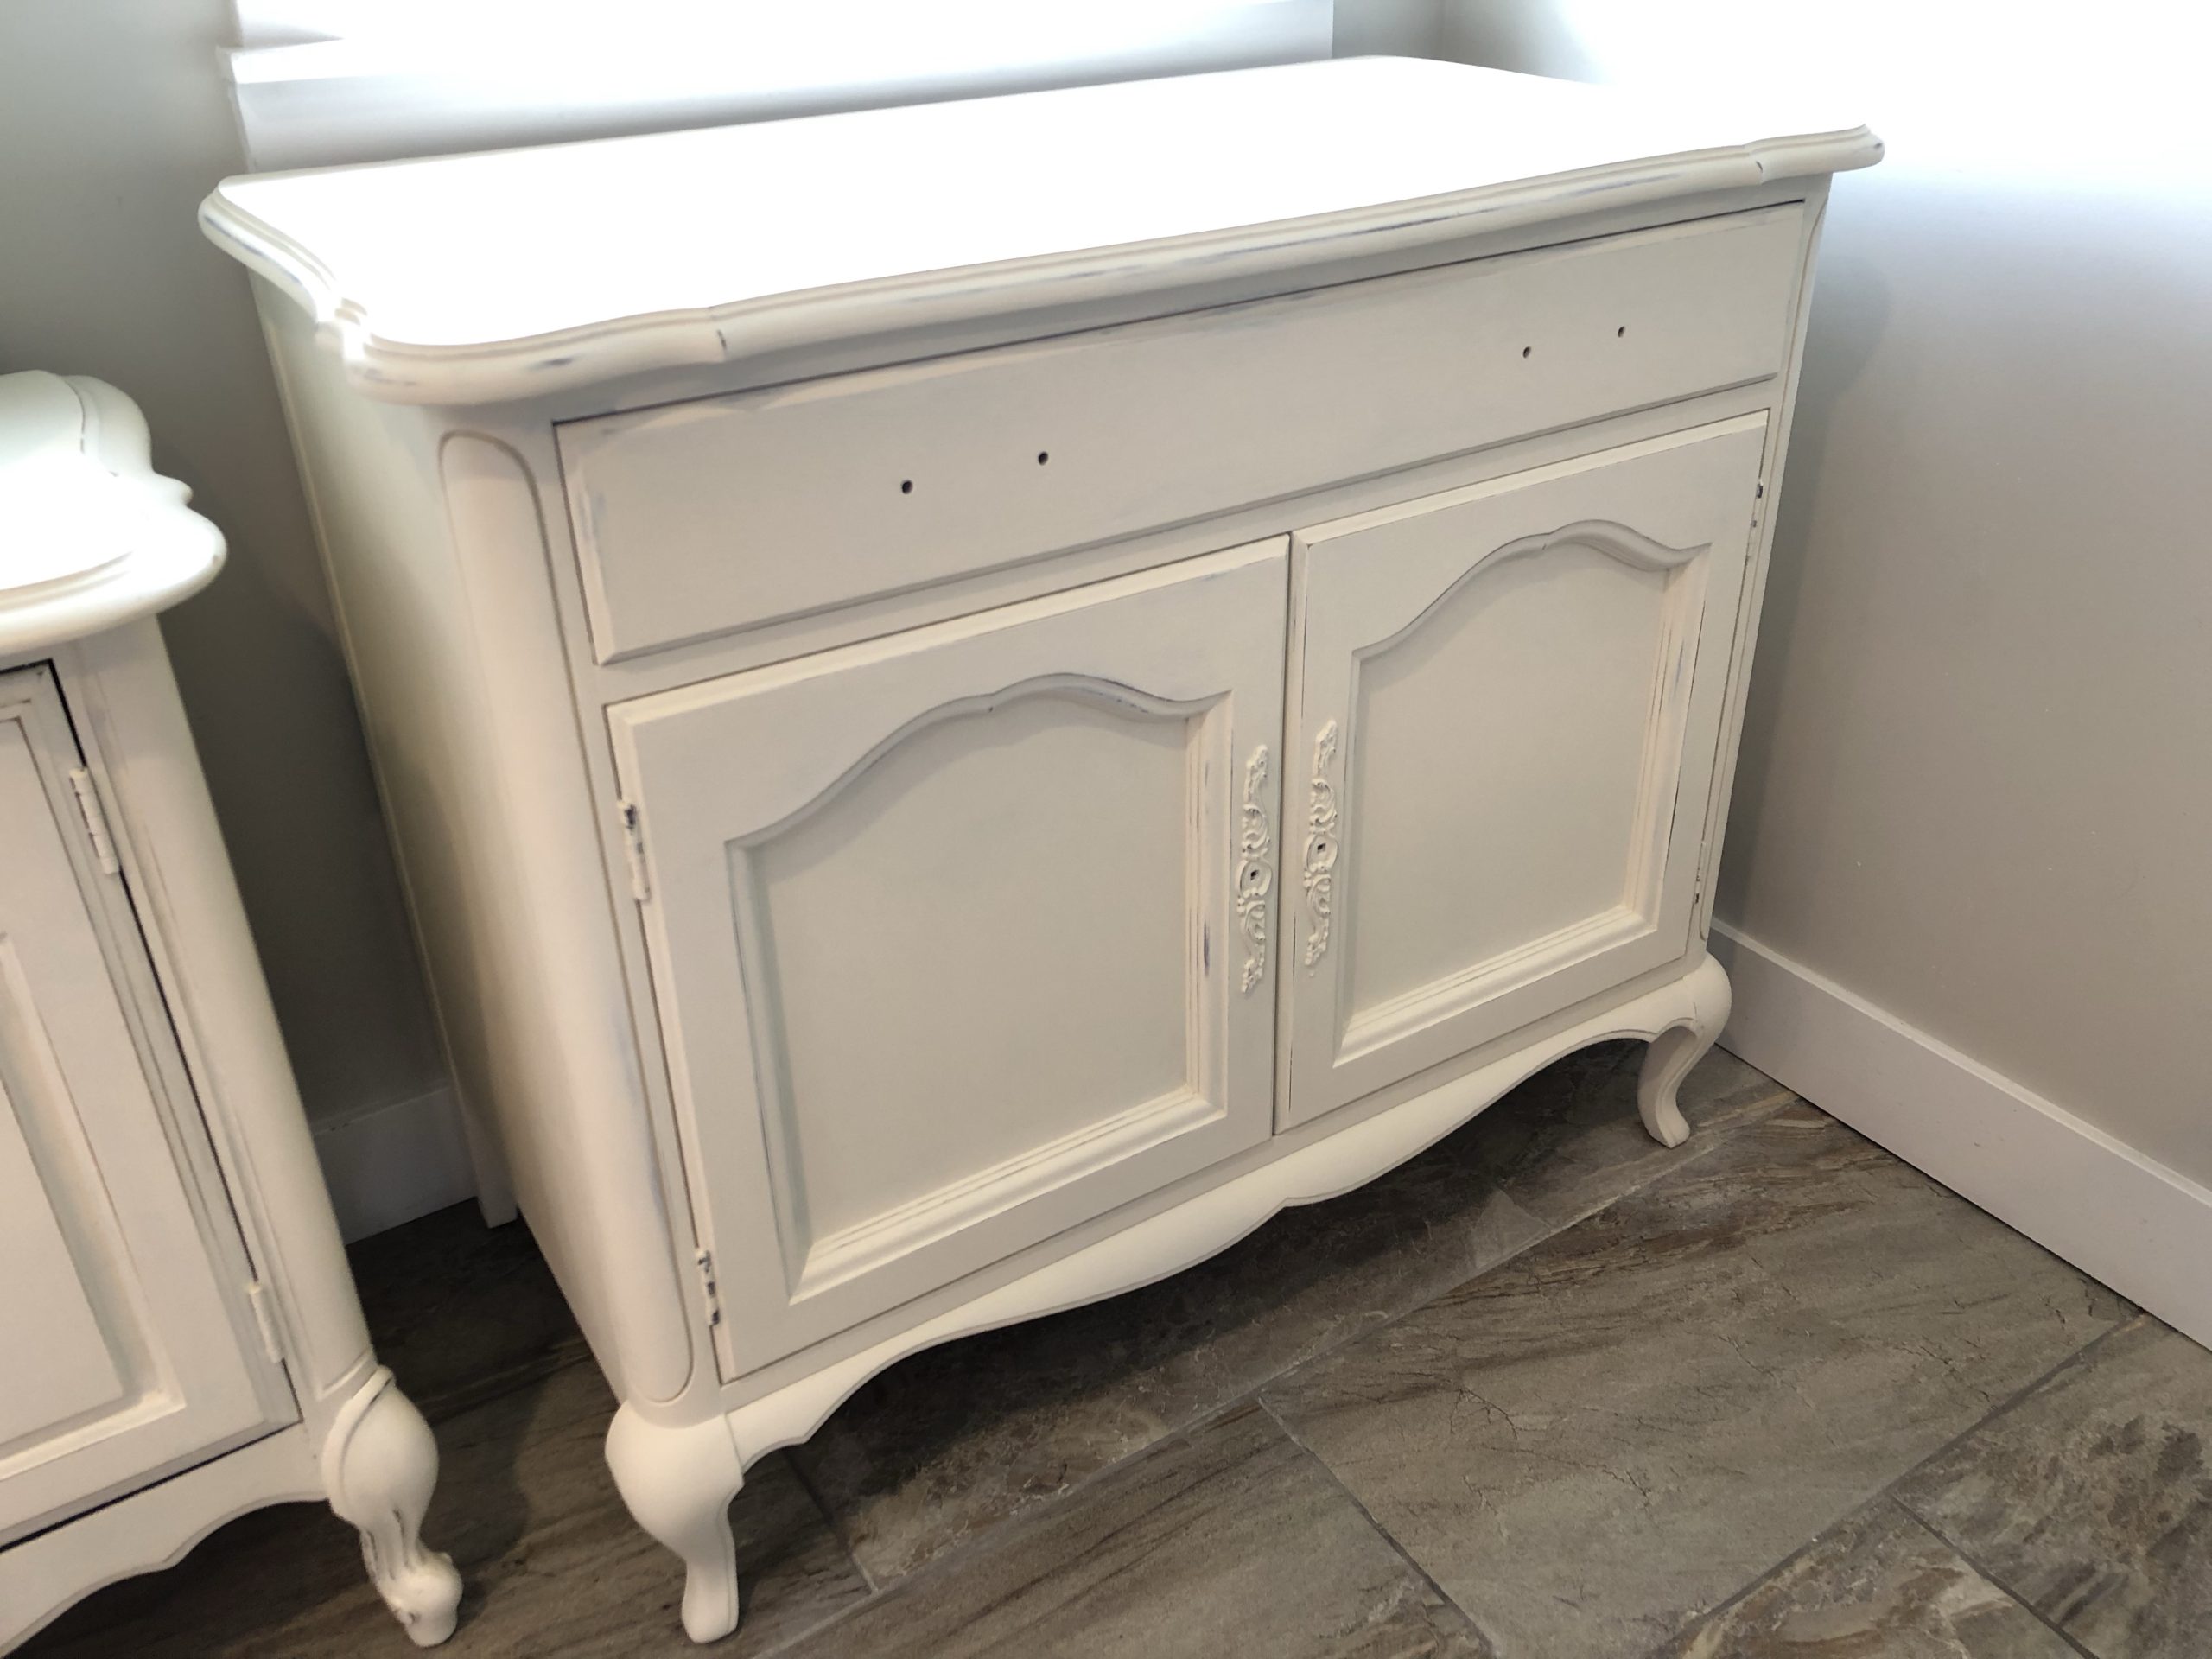
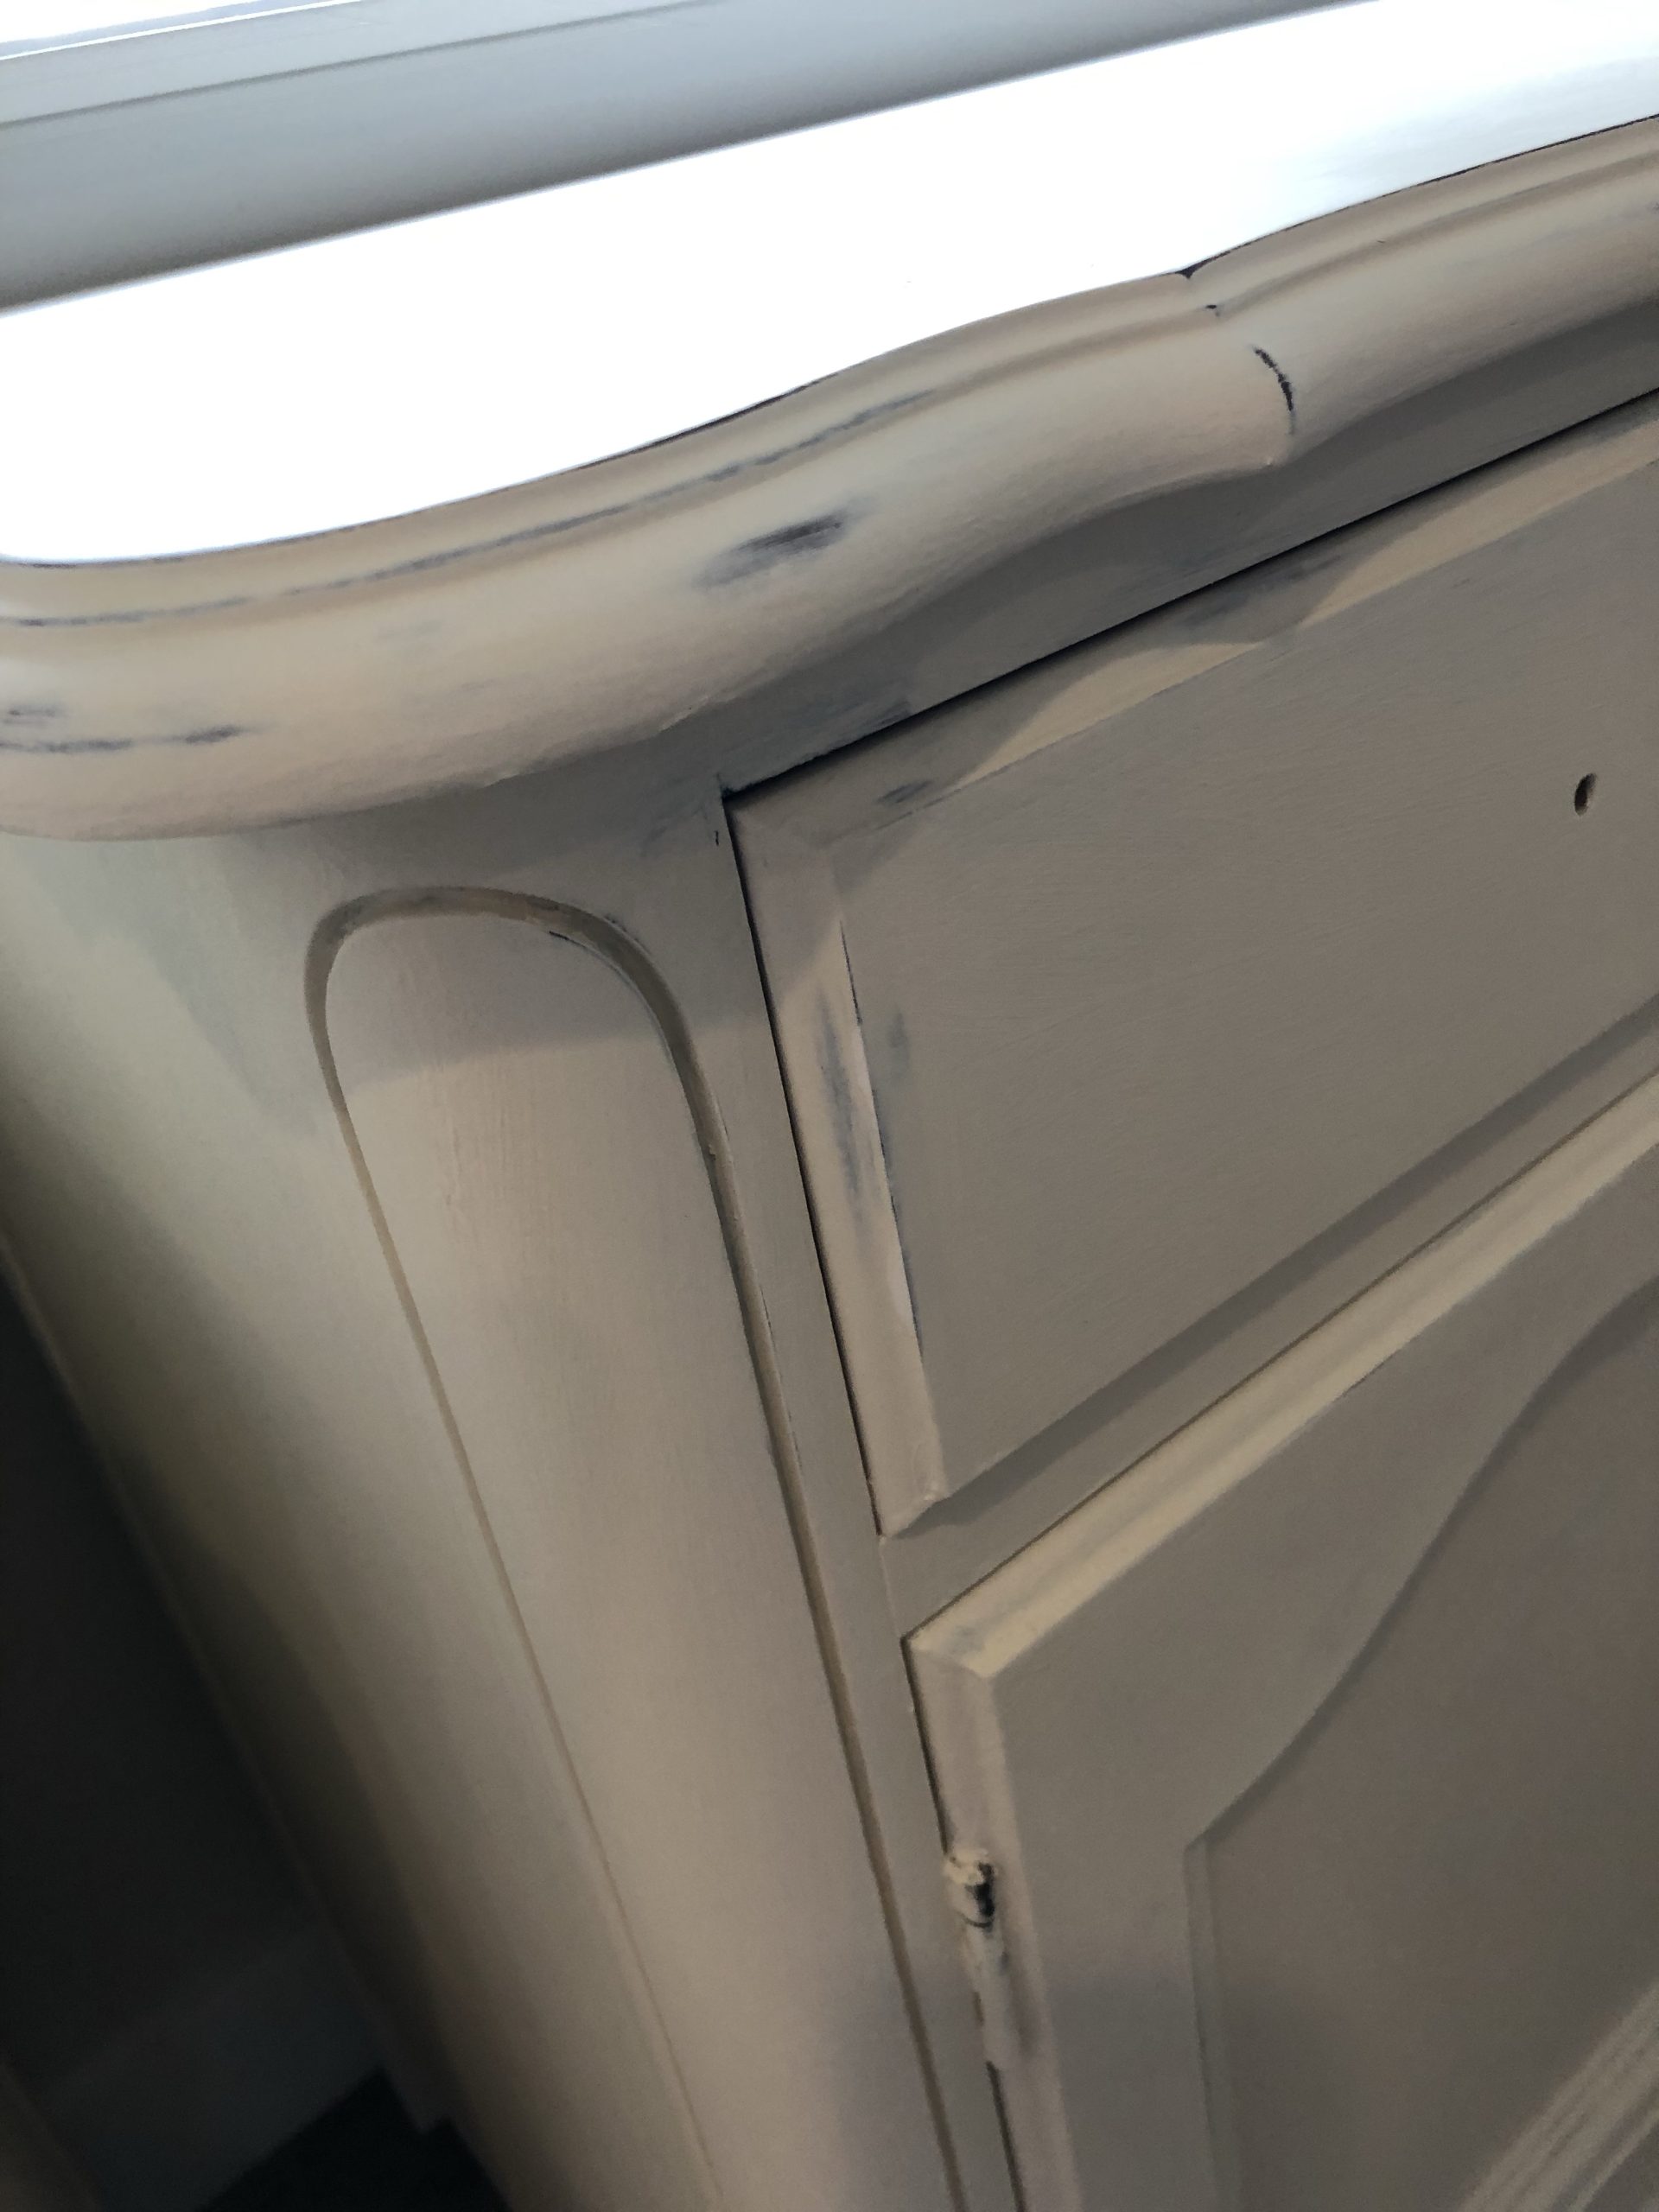
I am personally very happy with a light distressing and not too keen on the harsh distressing that some people prefer. This is really all up to personal preference.
Adhering and placing the Transfer

The next step is to cut out the design and place it on the furniture in the way I had envisioned.
I take painters tape to tape the pieces down and stand back to decide where I would like placement.
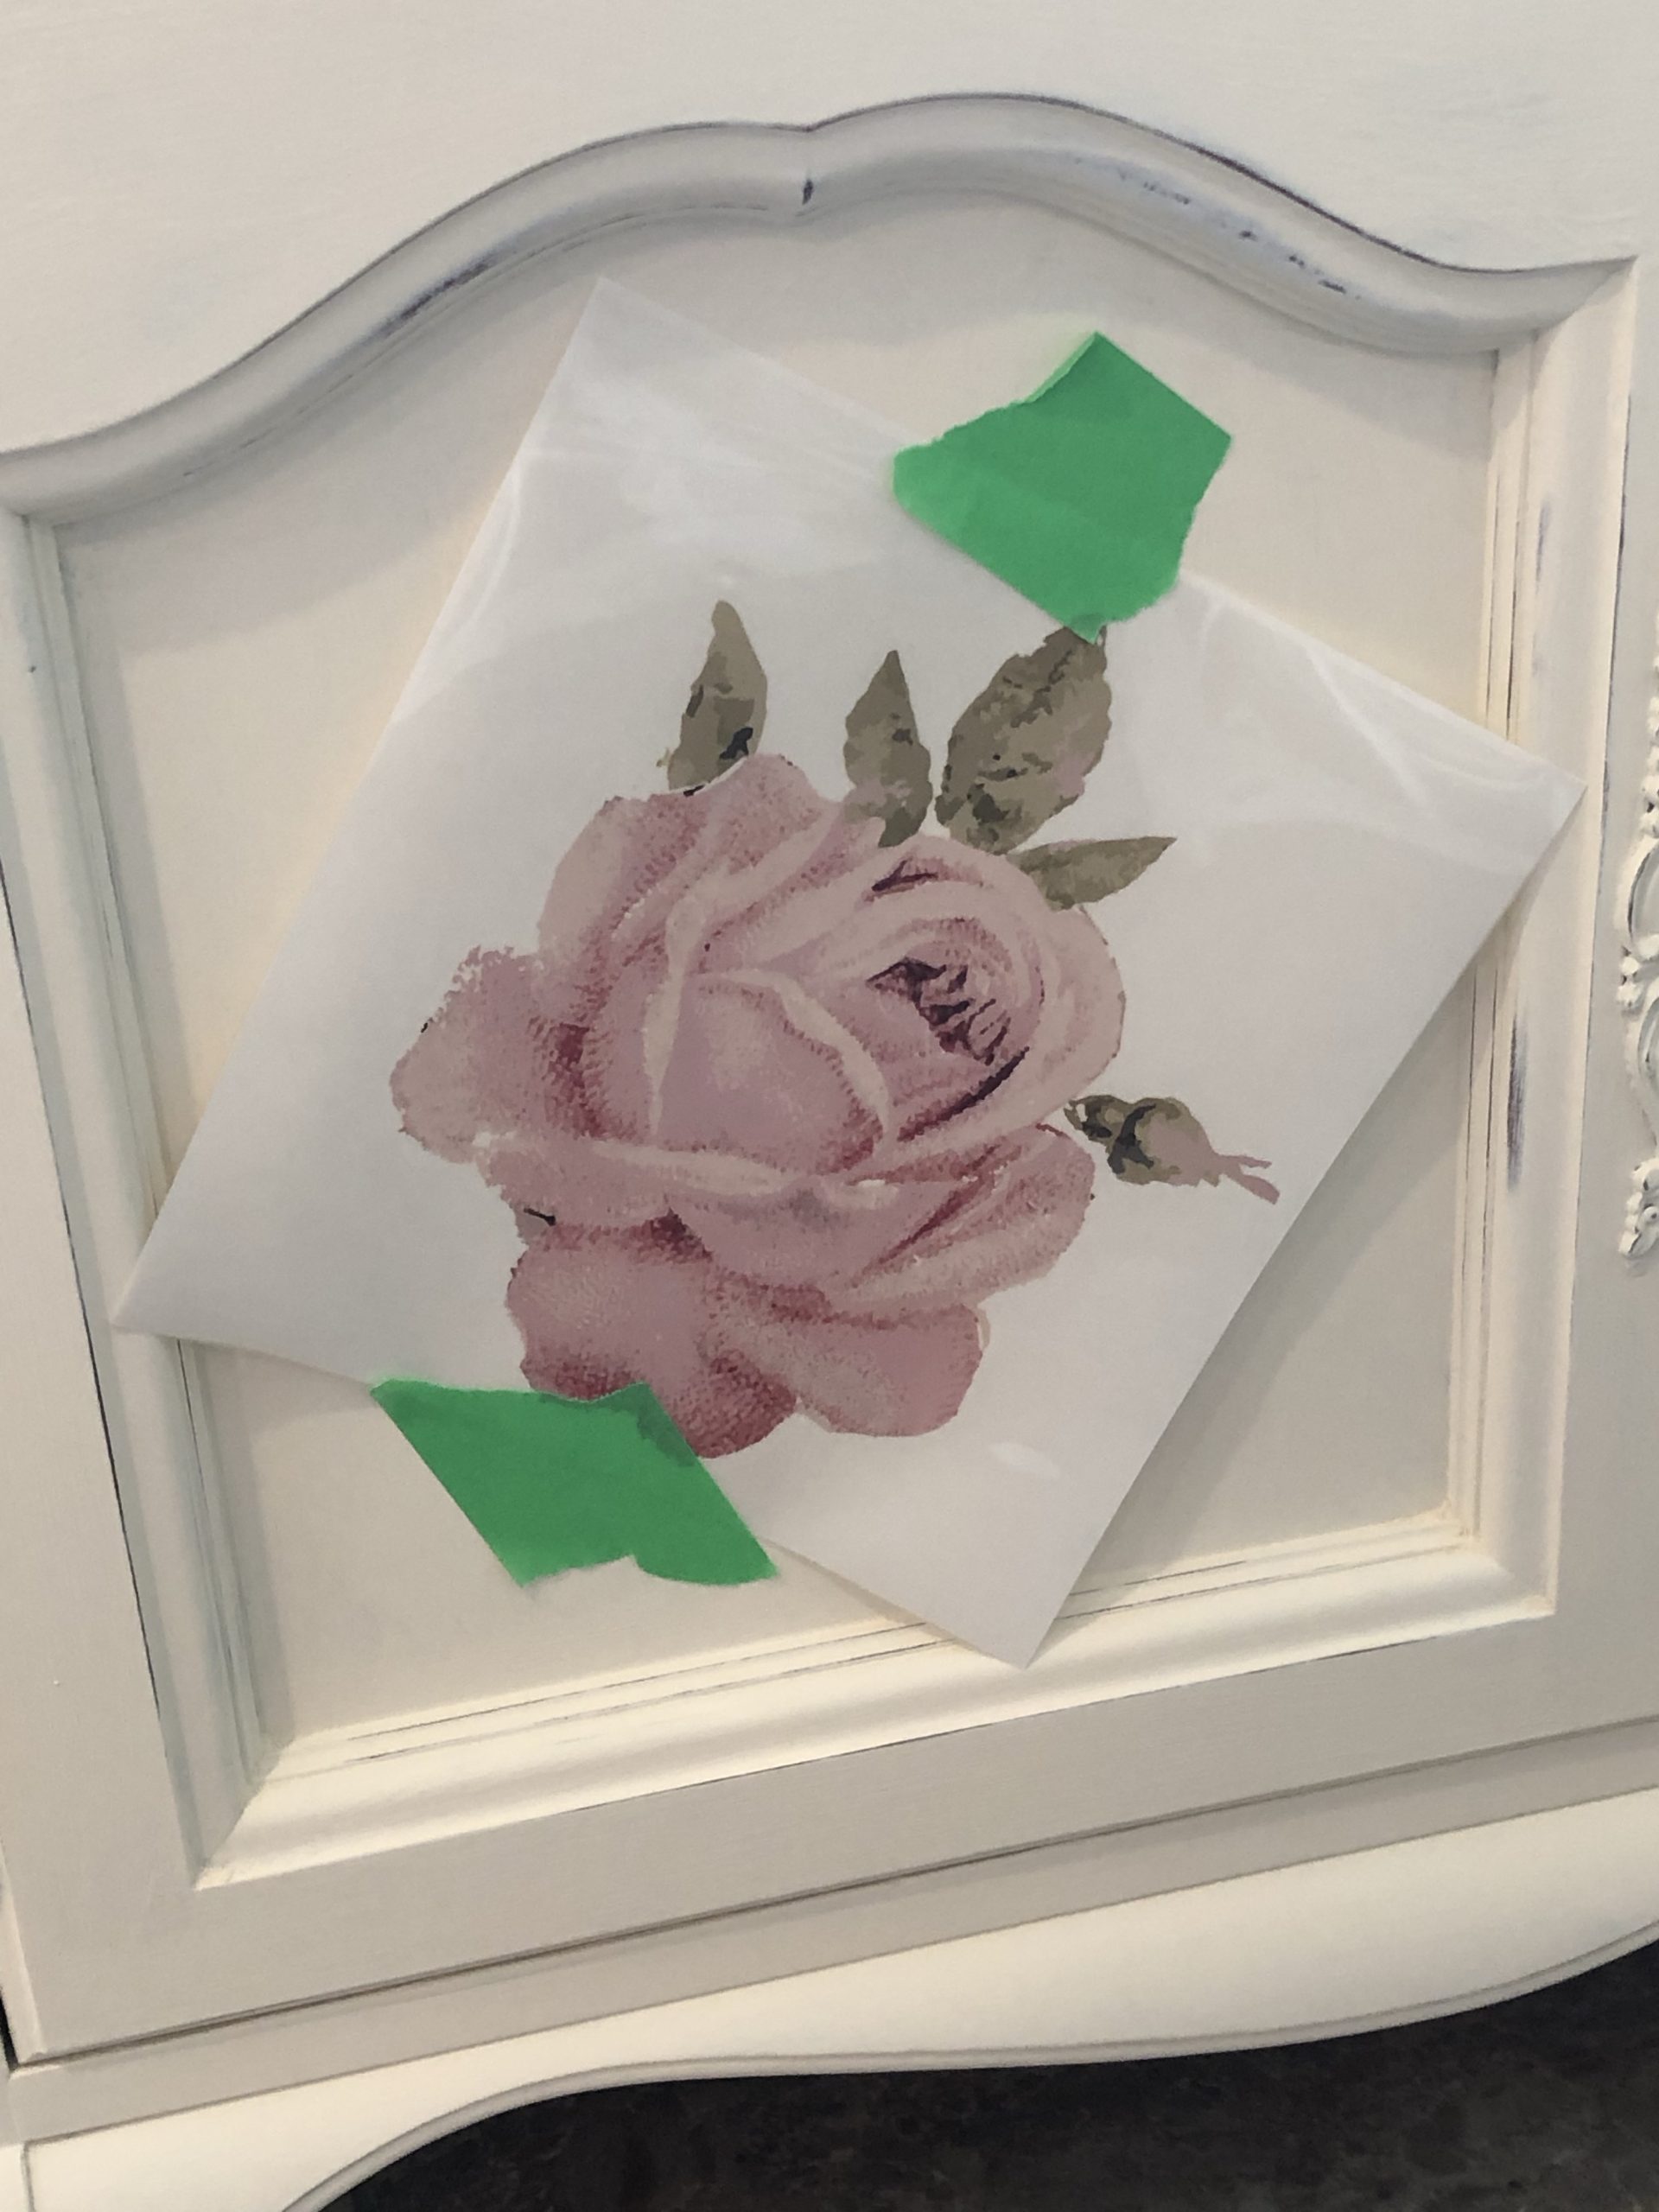
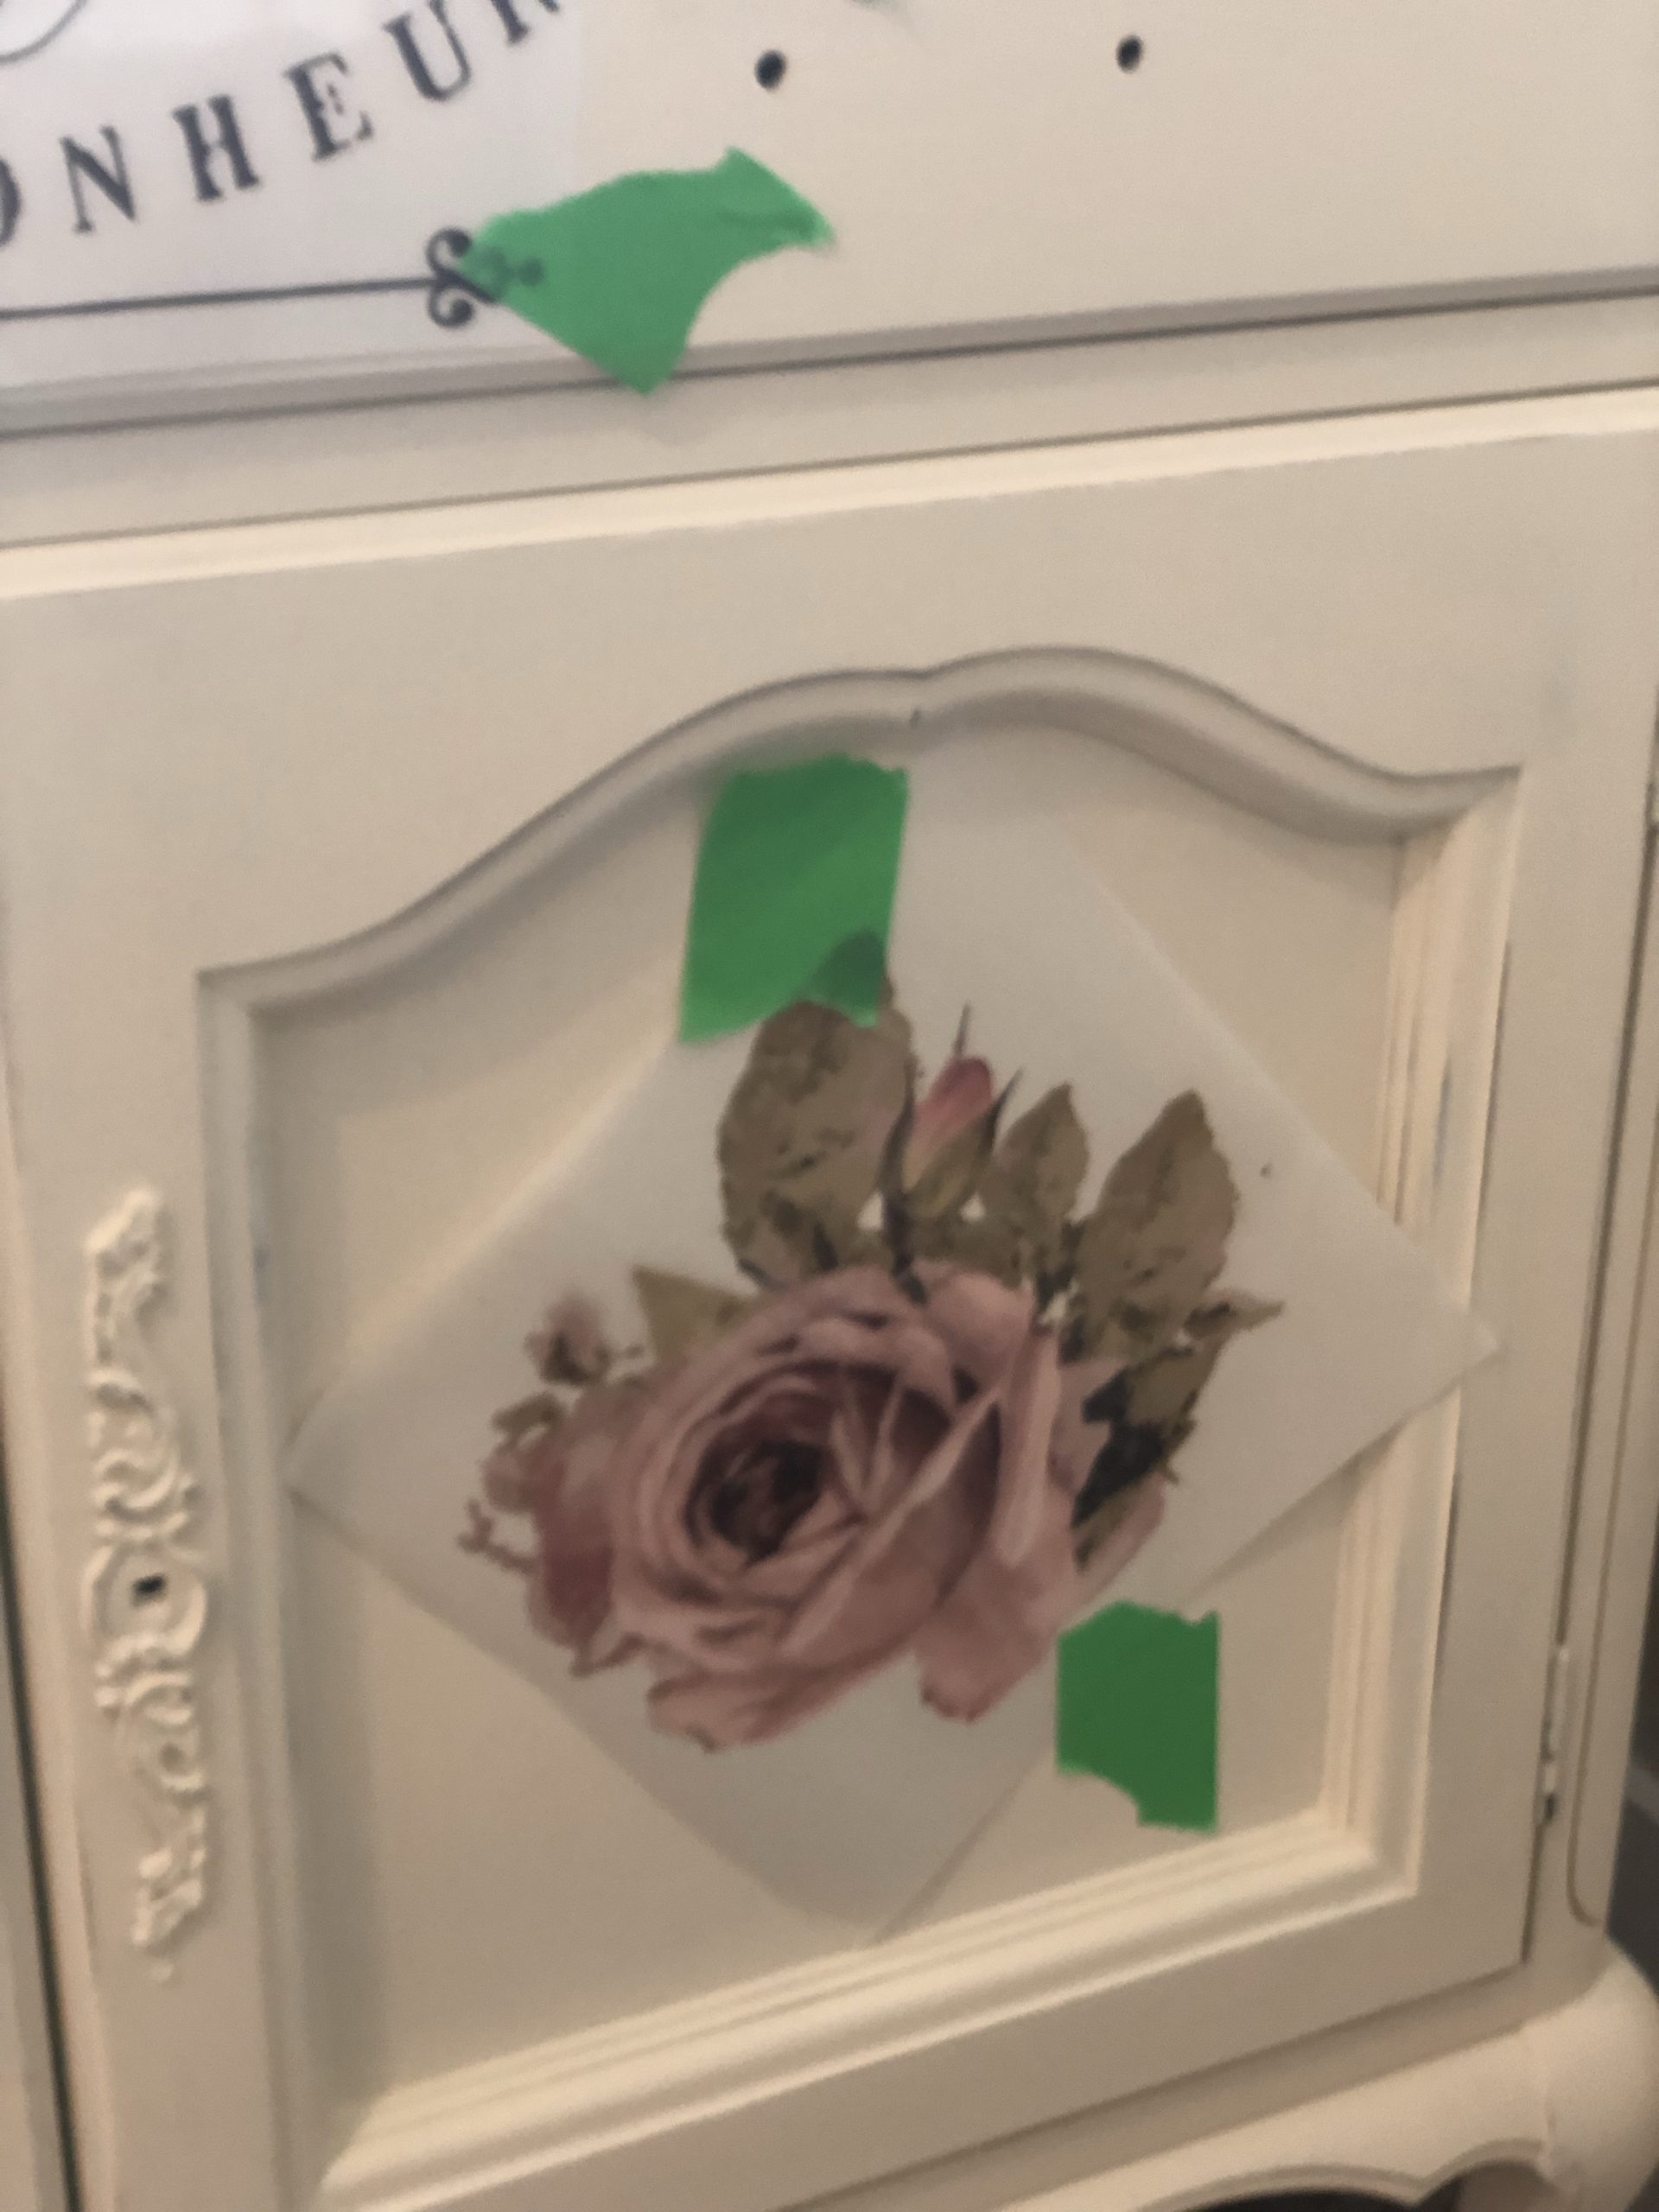
Such beautiful vintage roses in this transfer set!

When you are happy with the placement of your transfers, you can begin adhering them to the surface by removing the backing paper and burnishing them onto the surface.
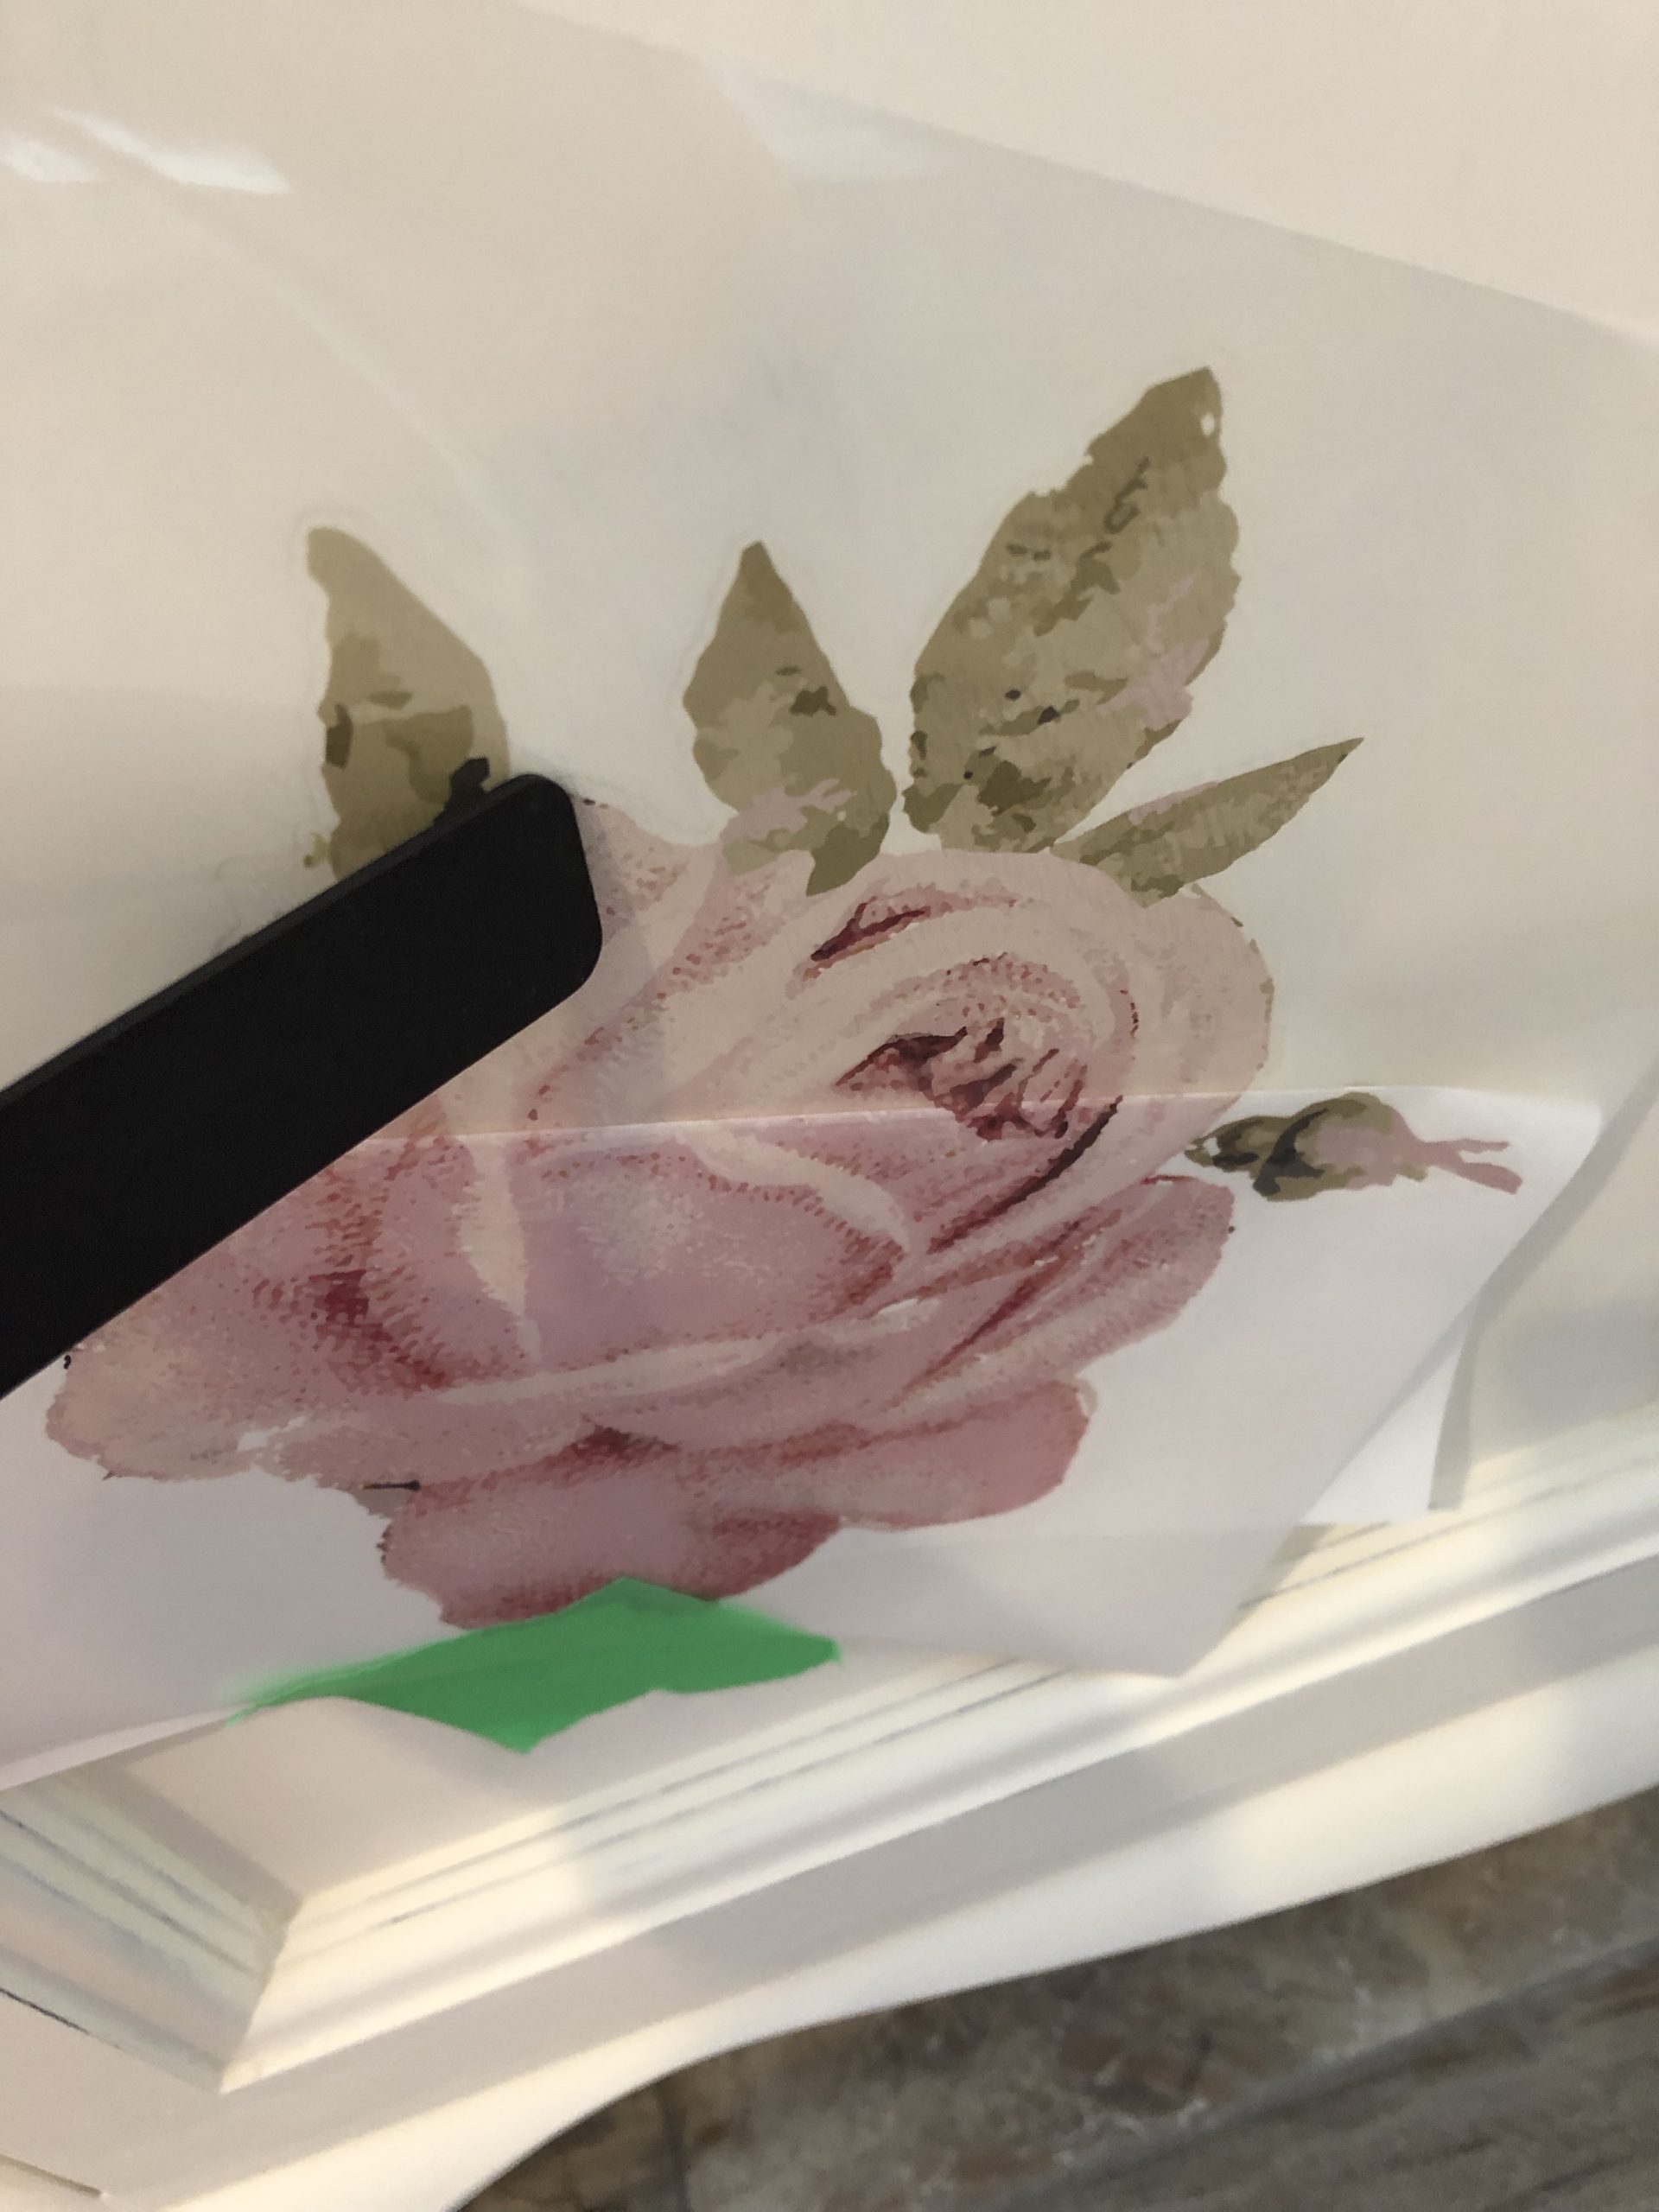
- There is a white backer sheet that comes with the transfers to protect them until you are ready to use them.
- The package comes with a burnishing tool.
- Be sure to lay your transfer down as flat as possible and in the place you wish to burnish as once this step is completed, there is no way to remove if you should change your mind!

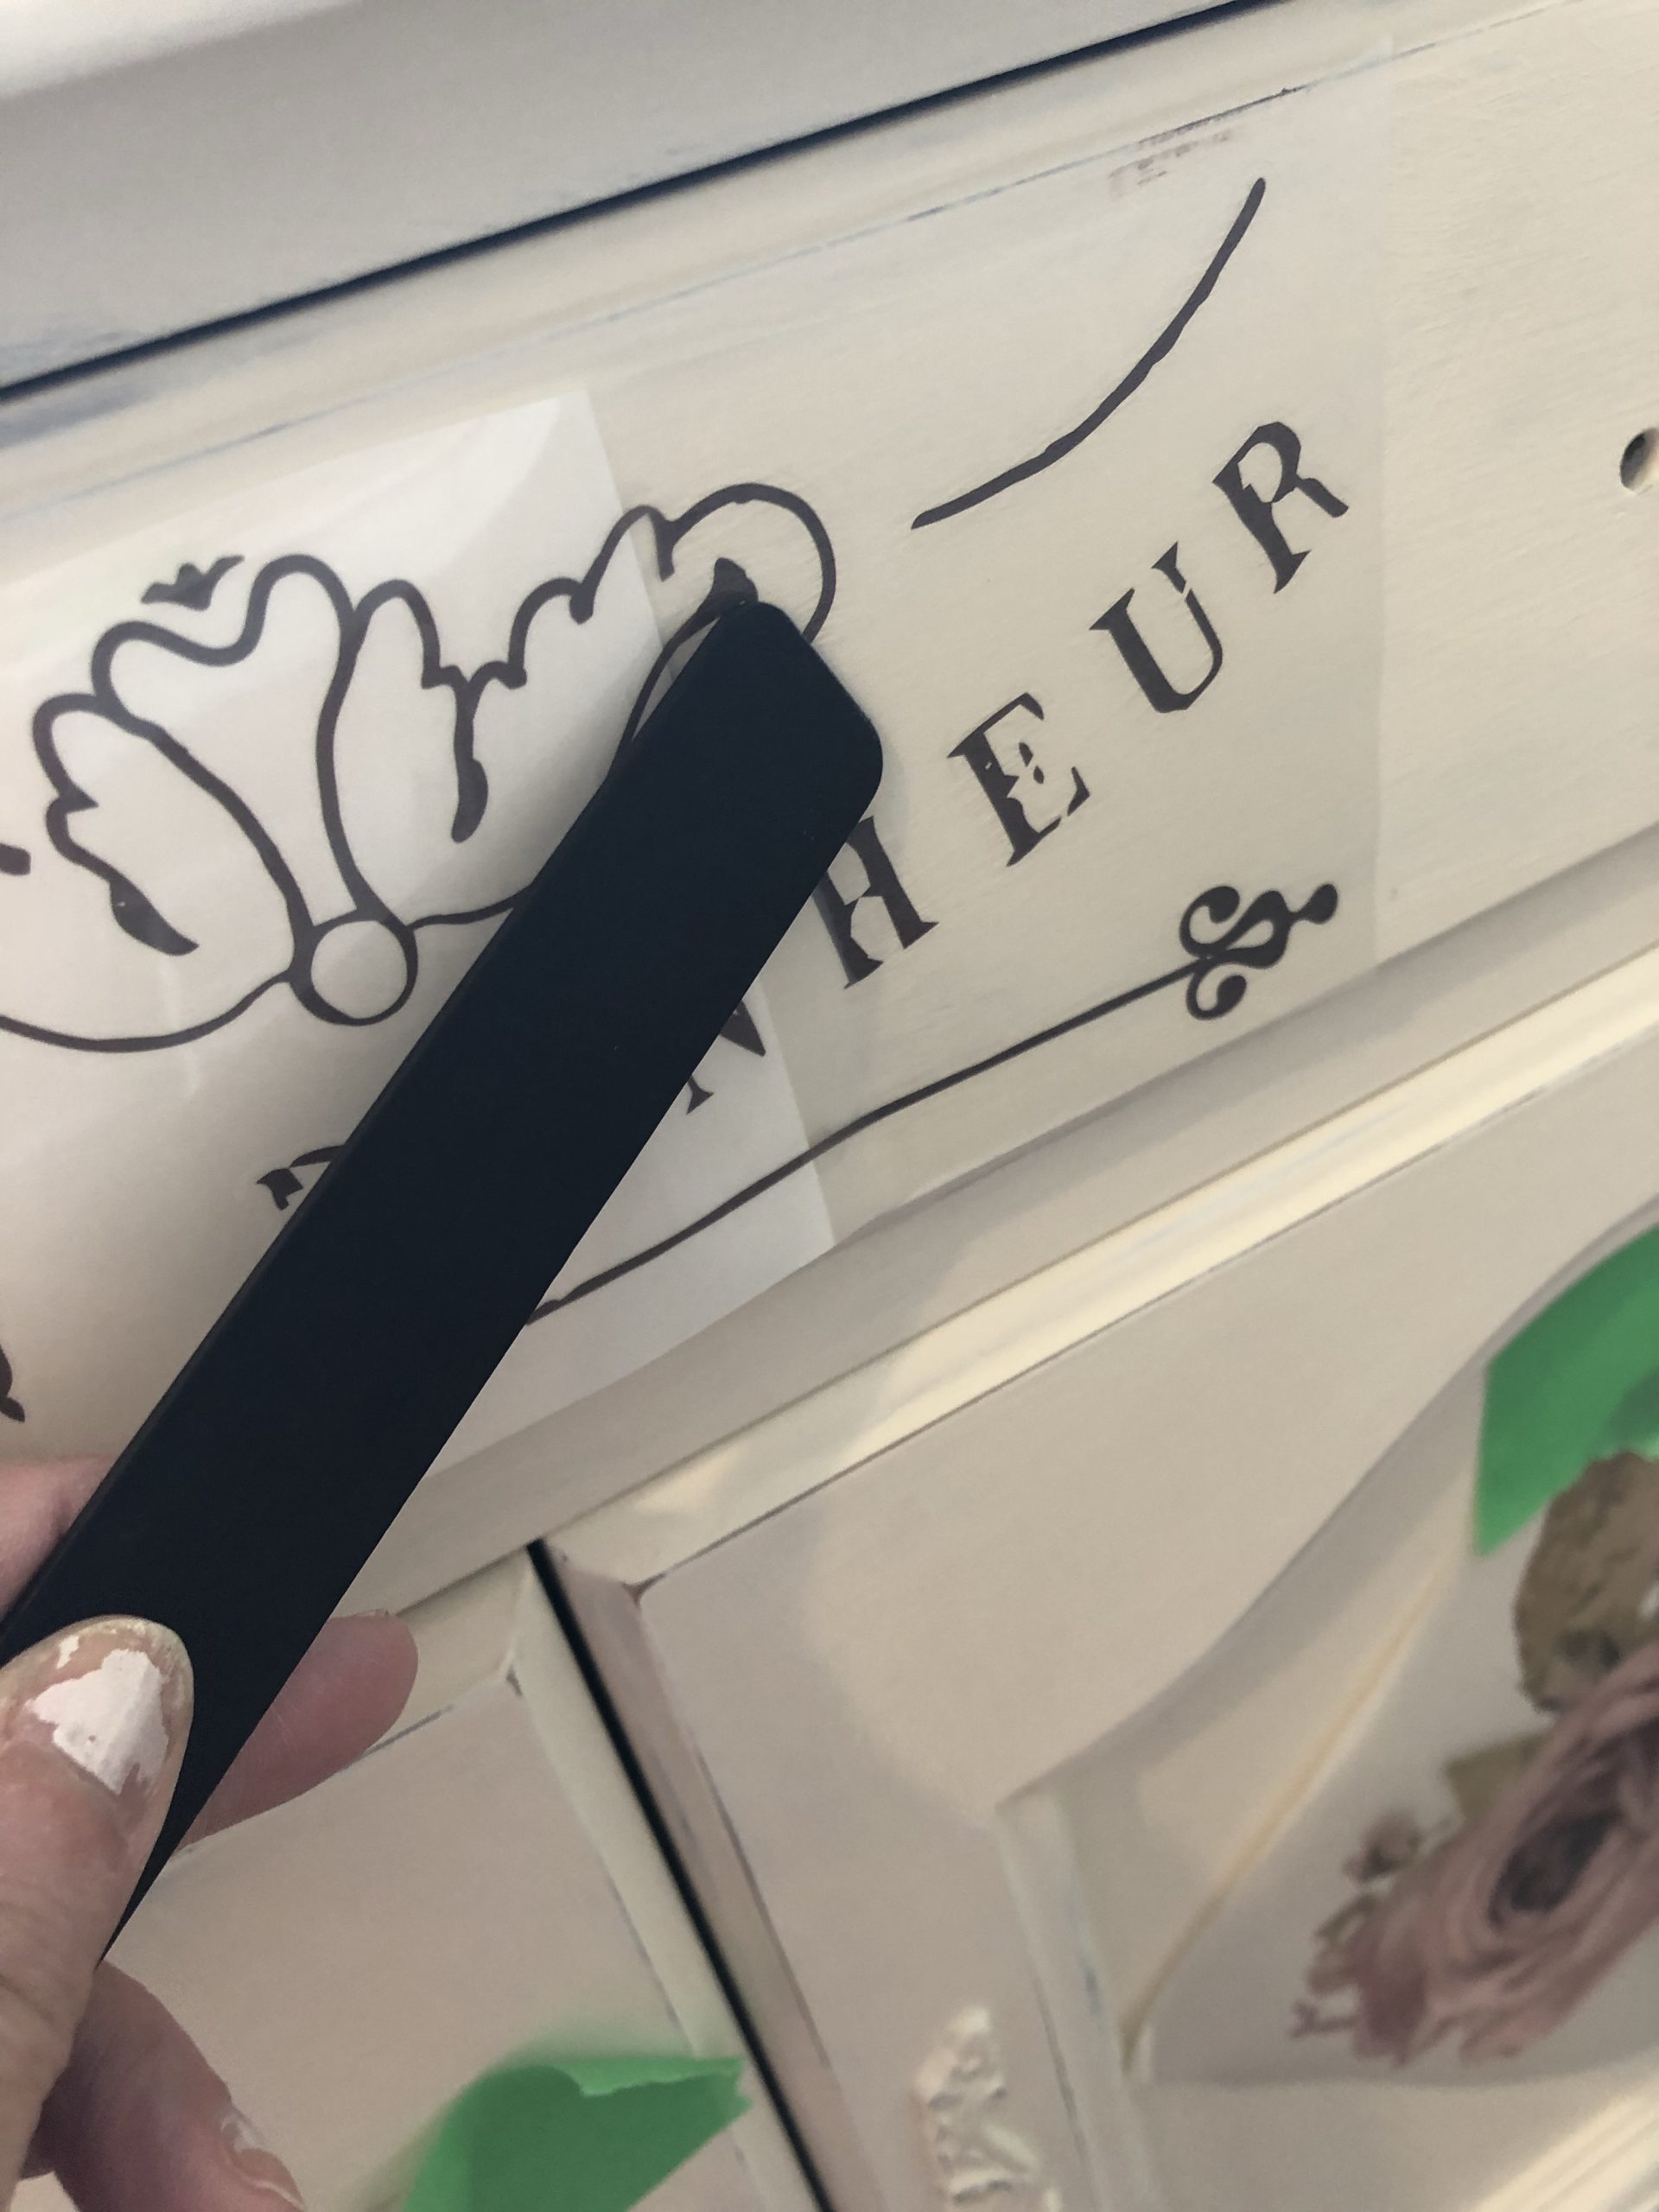
Lightly burnishing with the tool is all that is needed to adhere the transfers!
Painting the Hardware
I washed the hardware in soap and water and in this instance,
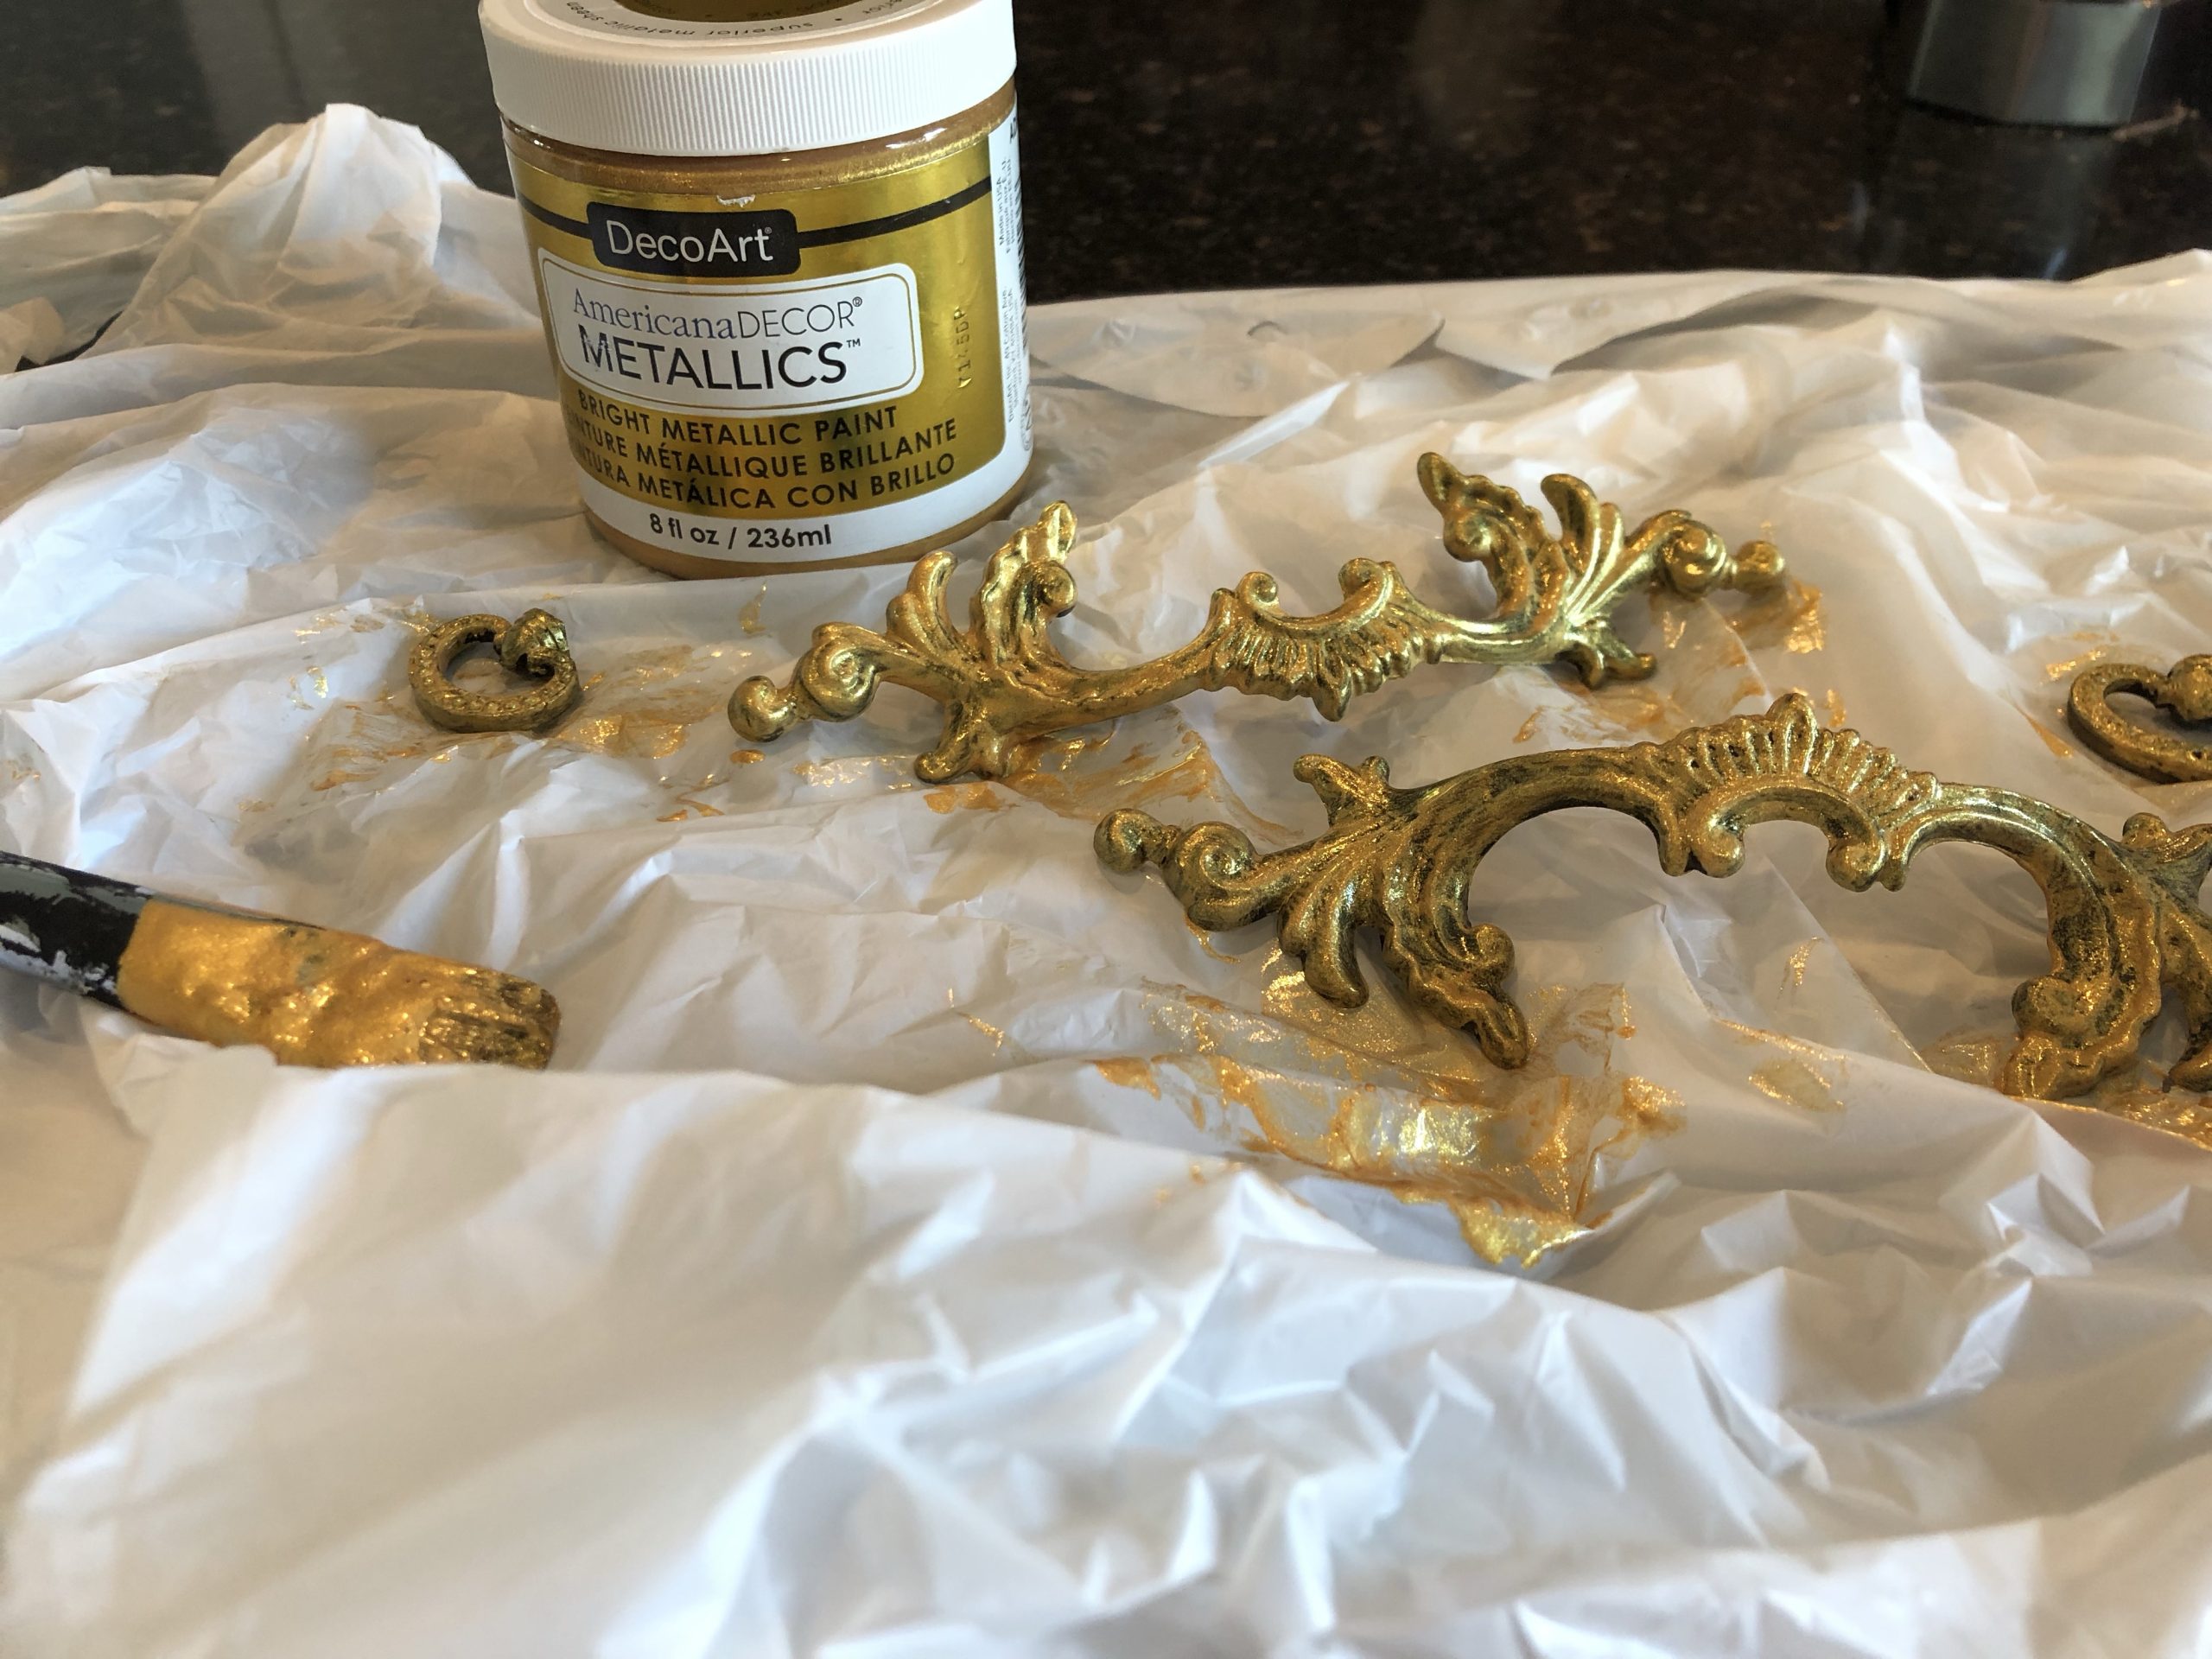
I wasn’t happy with how clean the hardware came out and I also felt I needed the hardware to have some gold glimmer.
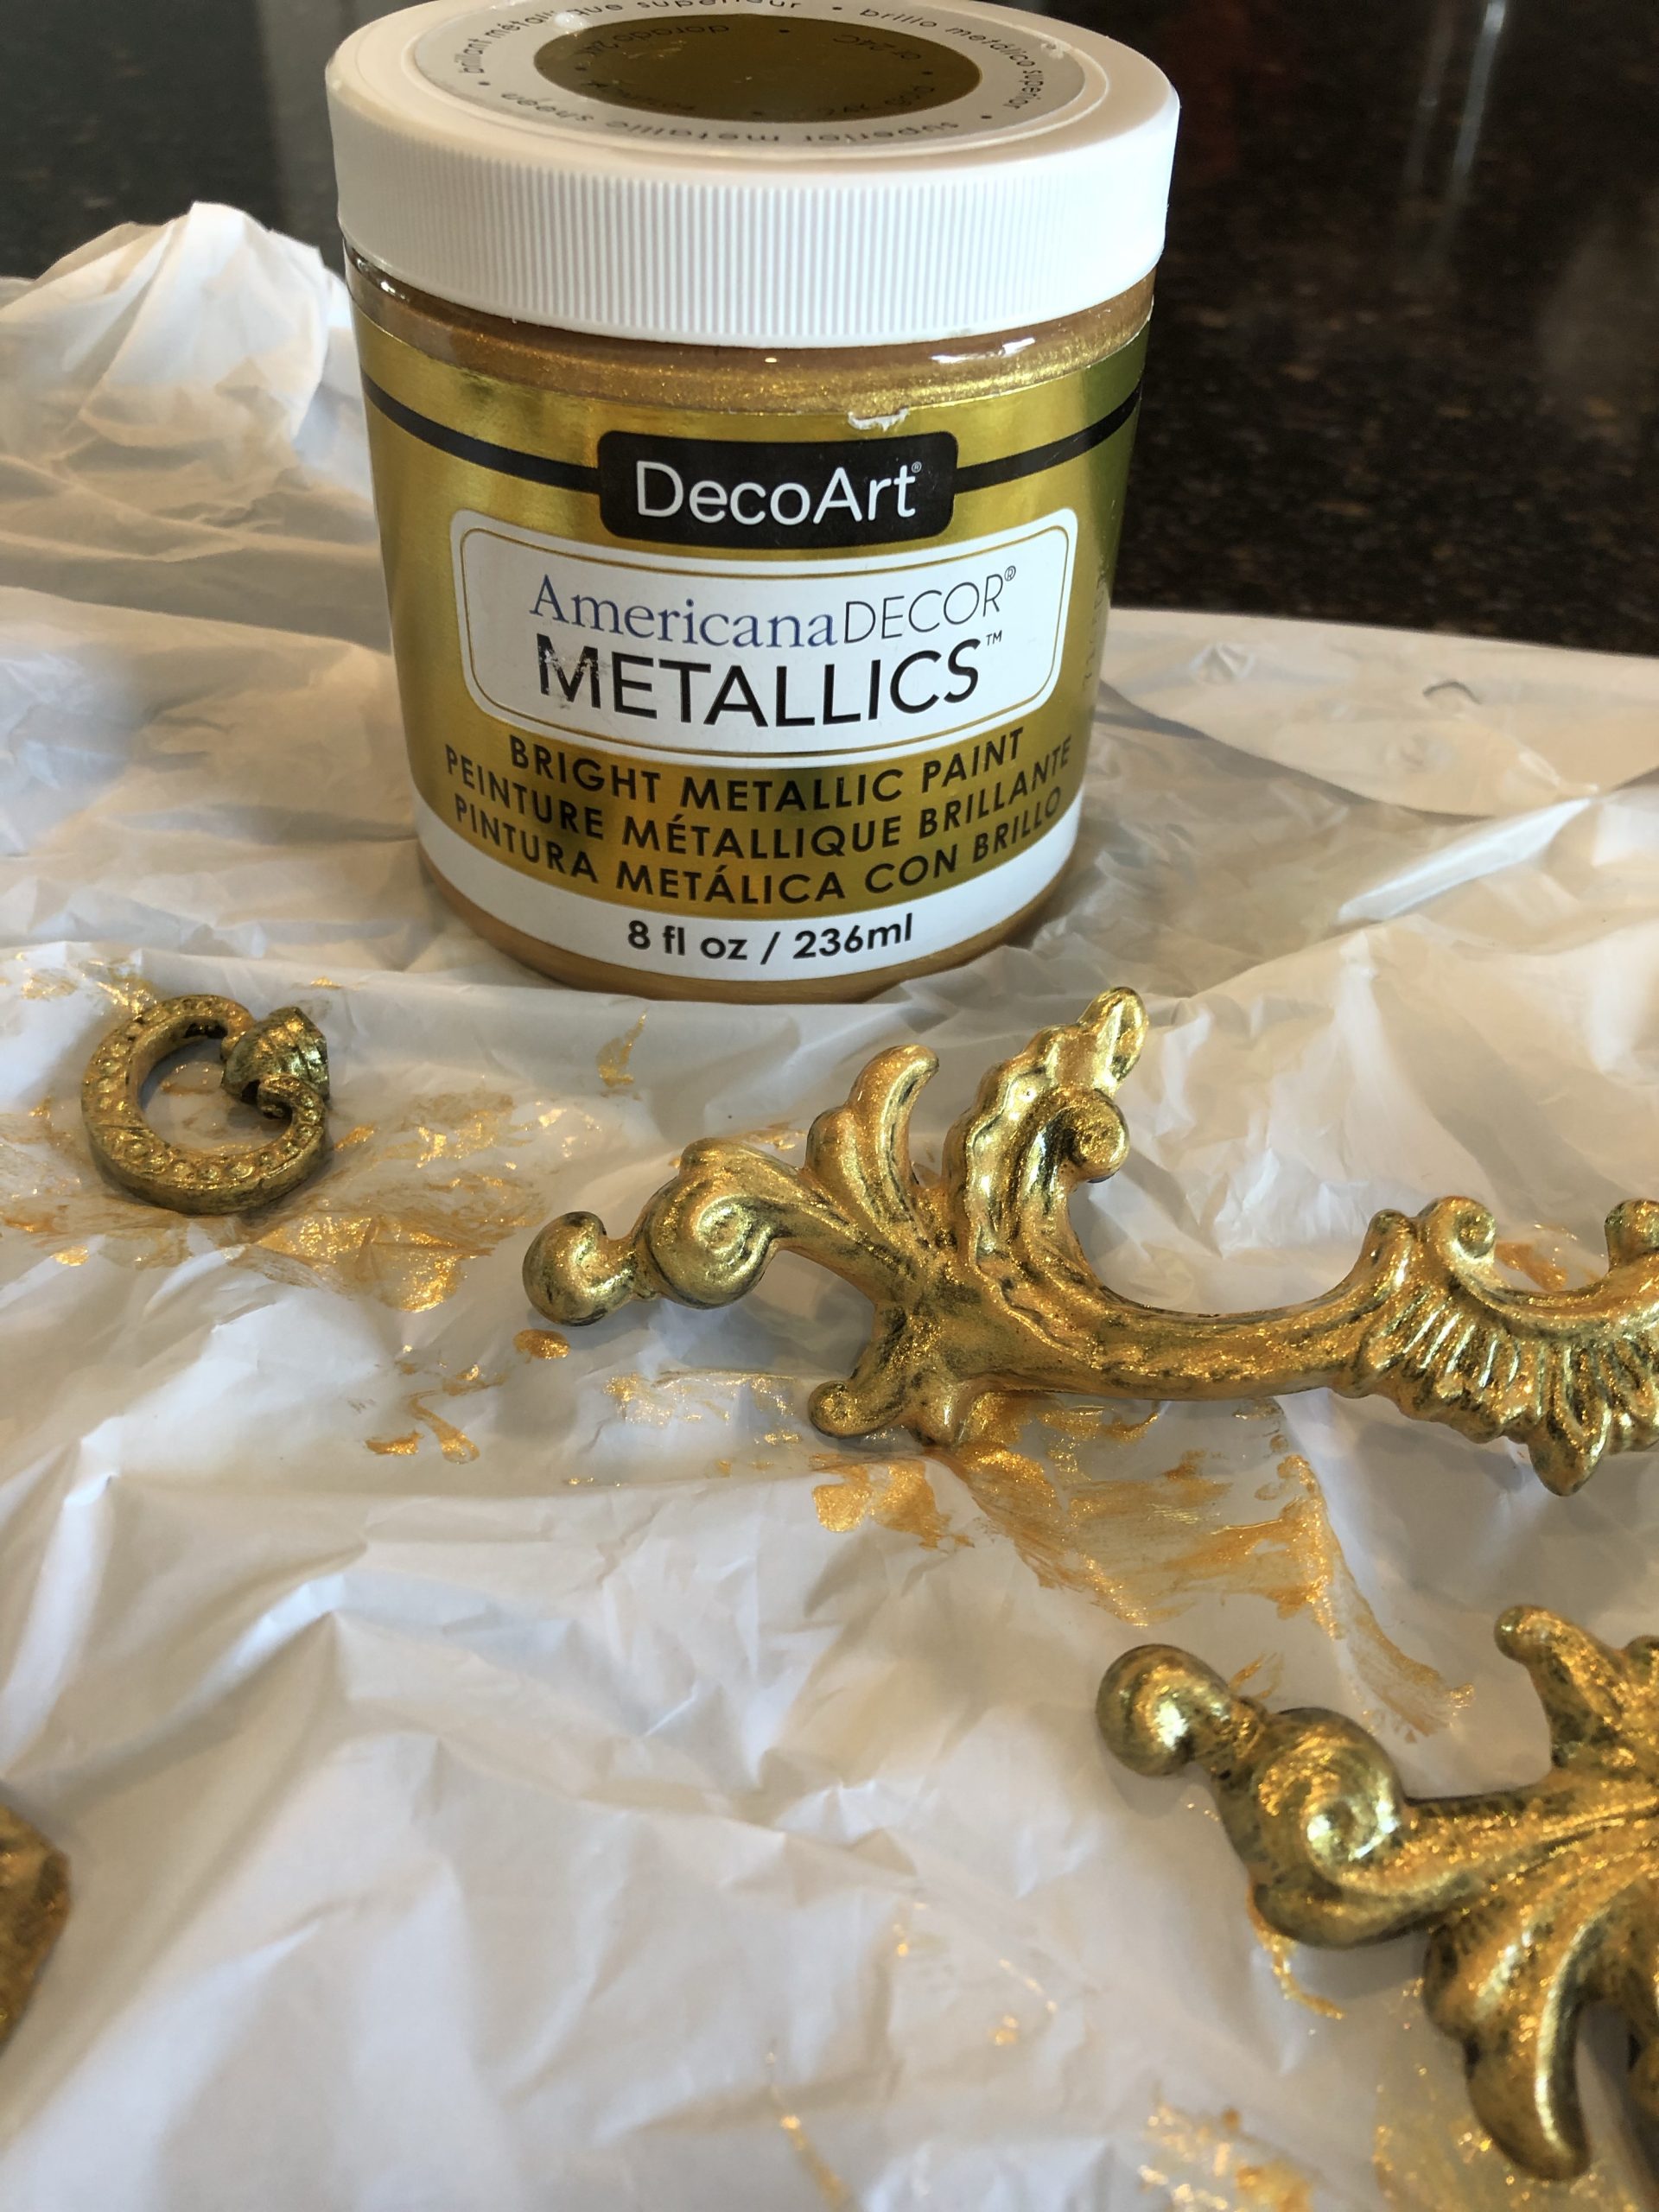
I opted to paint out the hardware with DecoArt Metallics which I was able to find HERE.
I do really love the coverage this metallic paint has.
Some metallic paints are quite thin and it takes several coats to get good coverage.
Gold Leafing Steps

- Next I opted for applying some gold leafing on the sides and placed in decorative spots in the corners.
- I started with the adhesive.
- Any brand of adhesive will work but I used Marth Stewart. You can find a similar brand HERE.
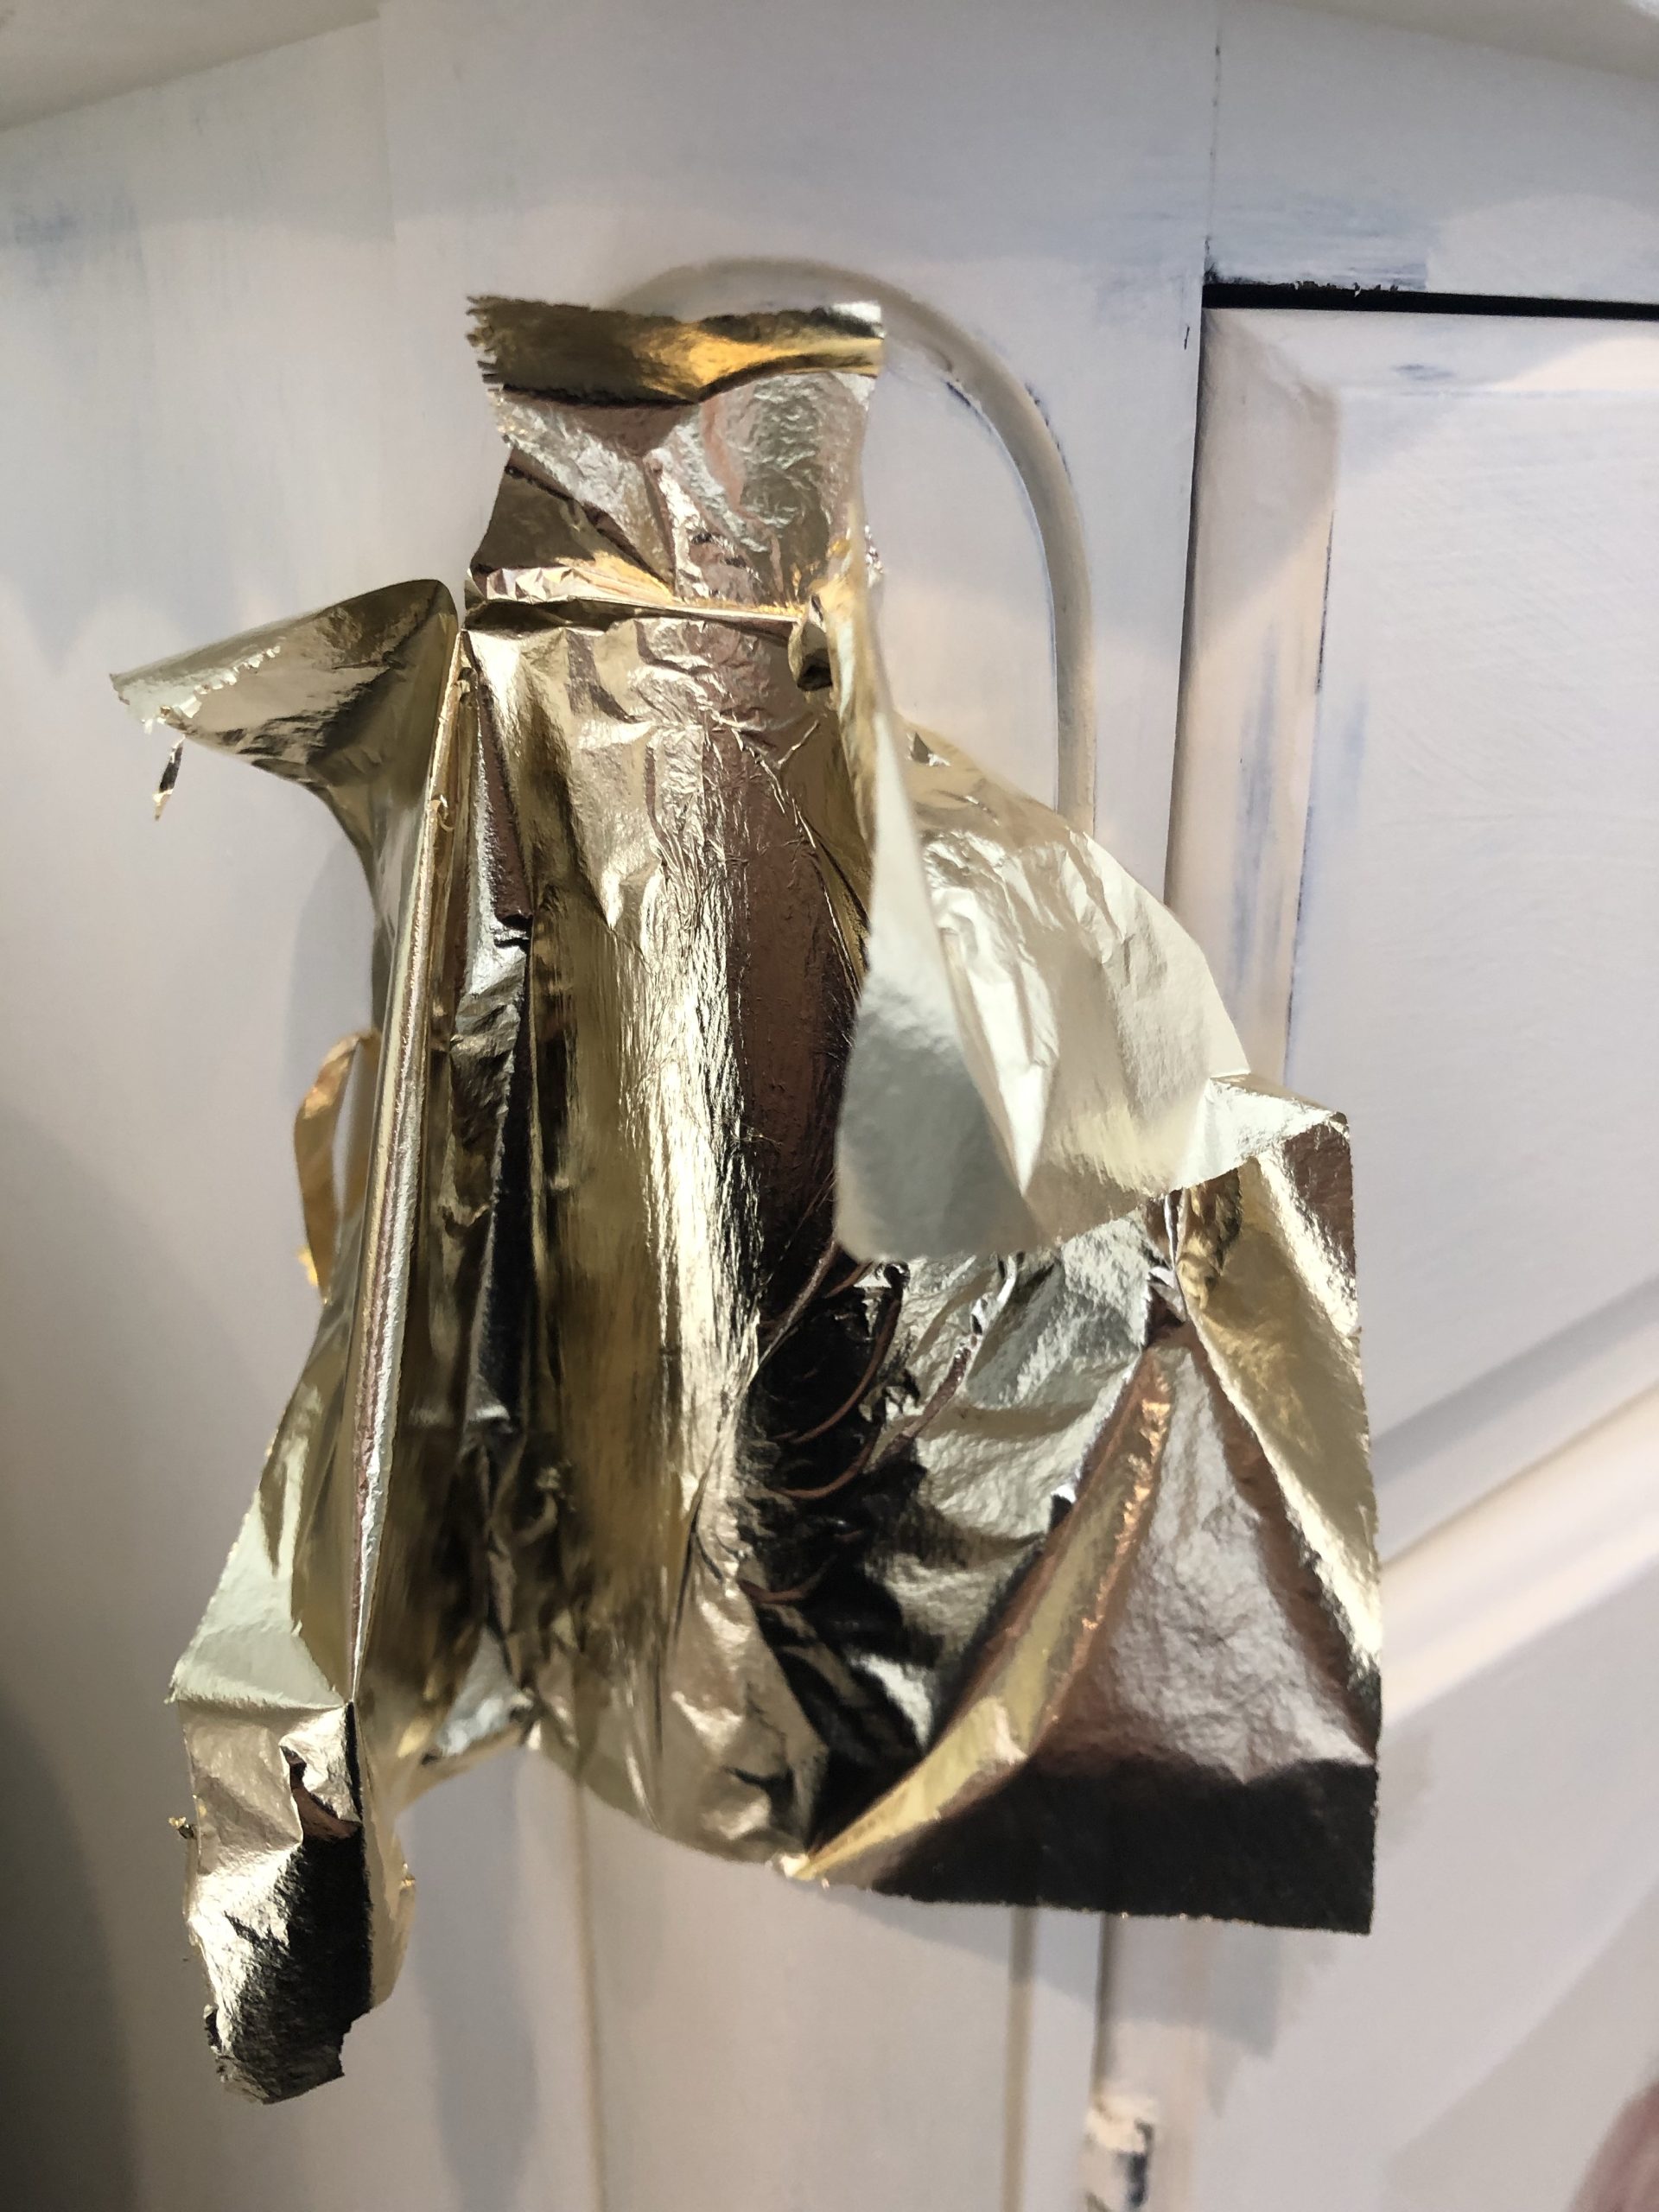
- The leafing comes in small sheets and is very easy but messy to apply!
- Make sure you apply your glue quickly and put the sheet down quickly as well.
- You will want to wait a second or two for the glue to become tacky. You can find gold leaf sheets HERE.
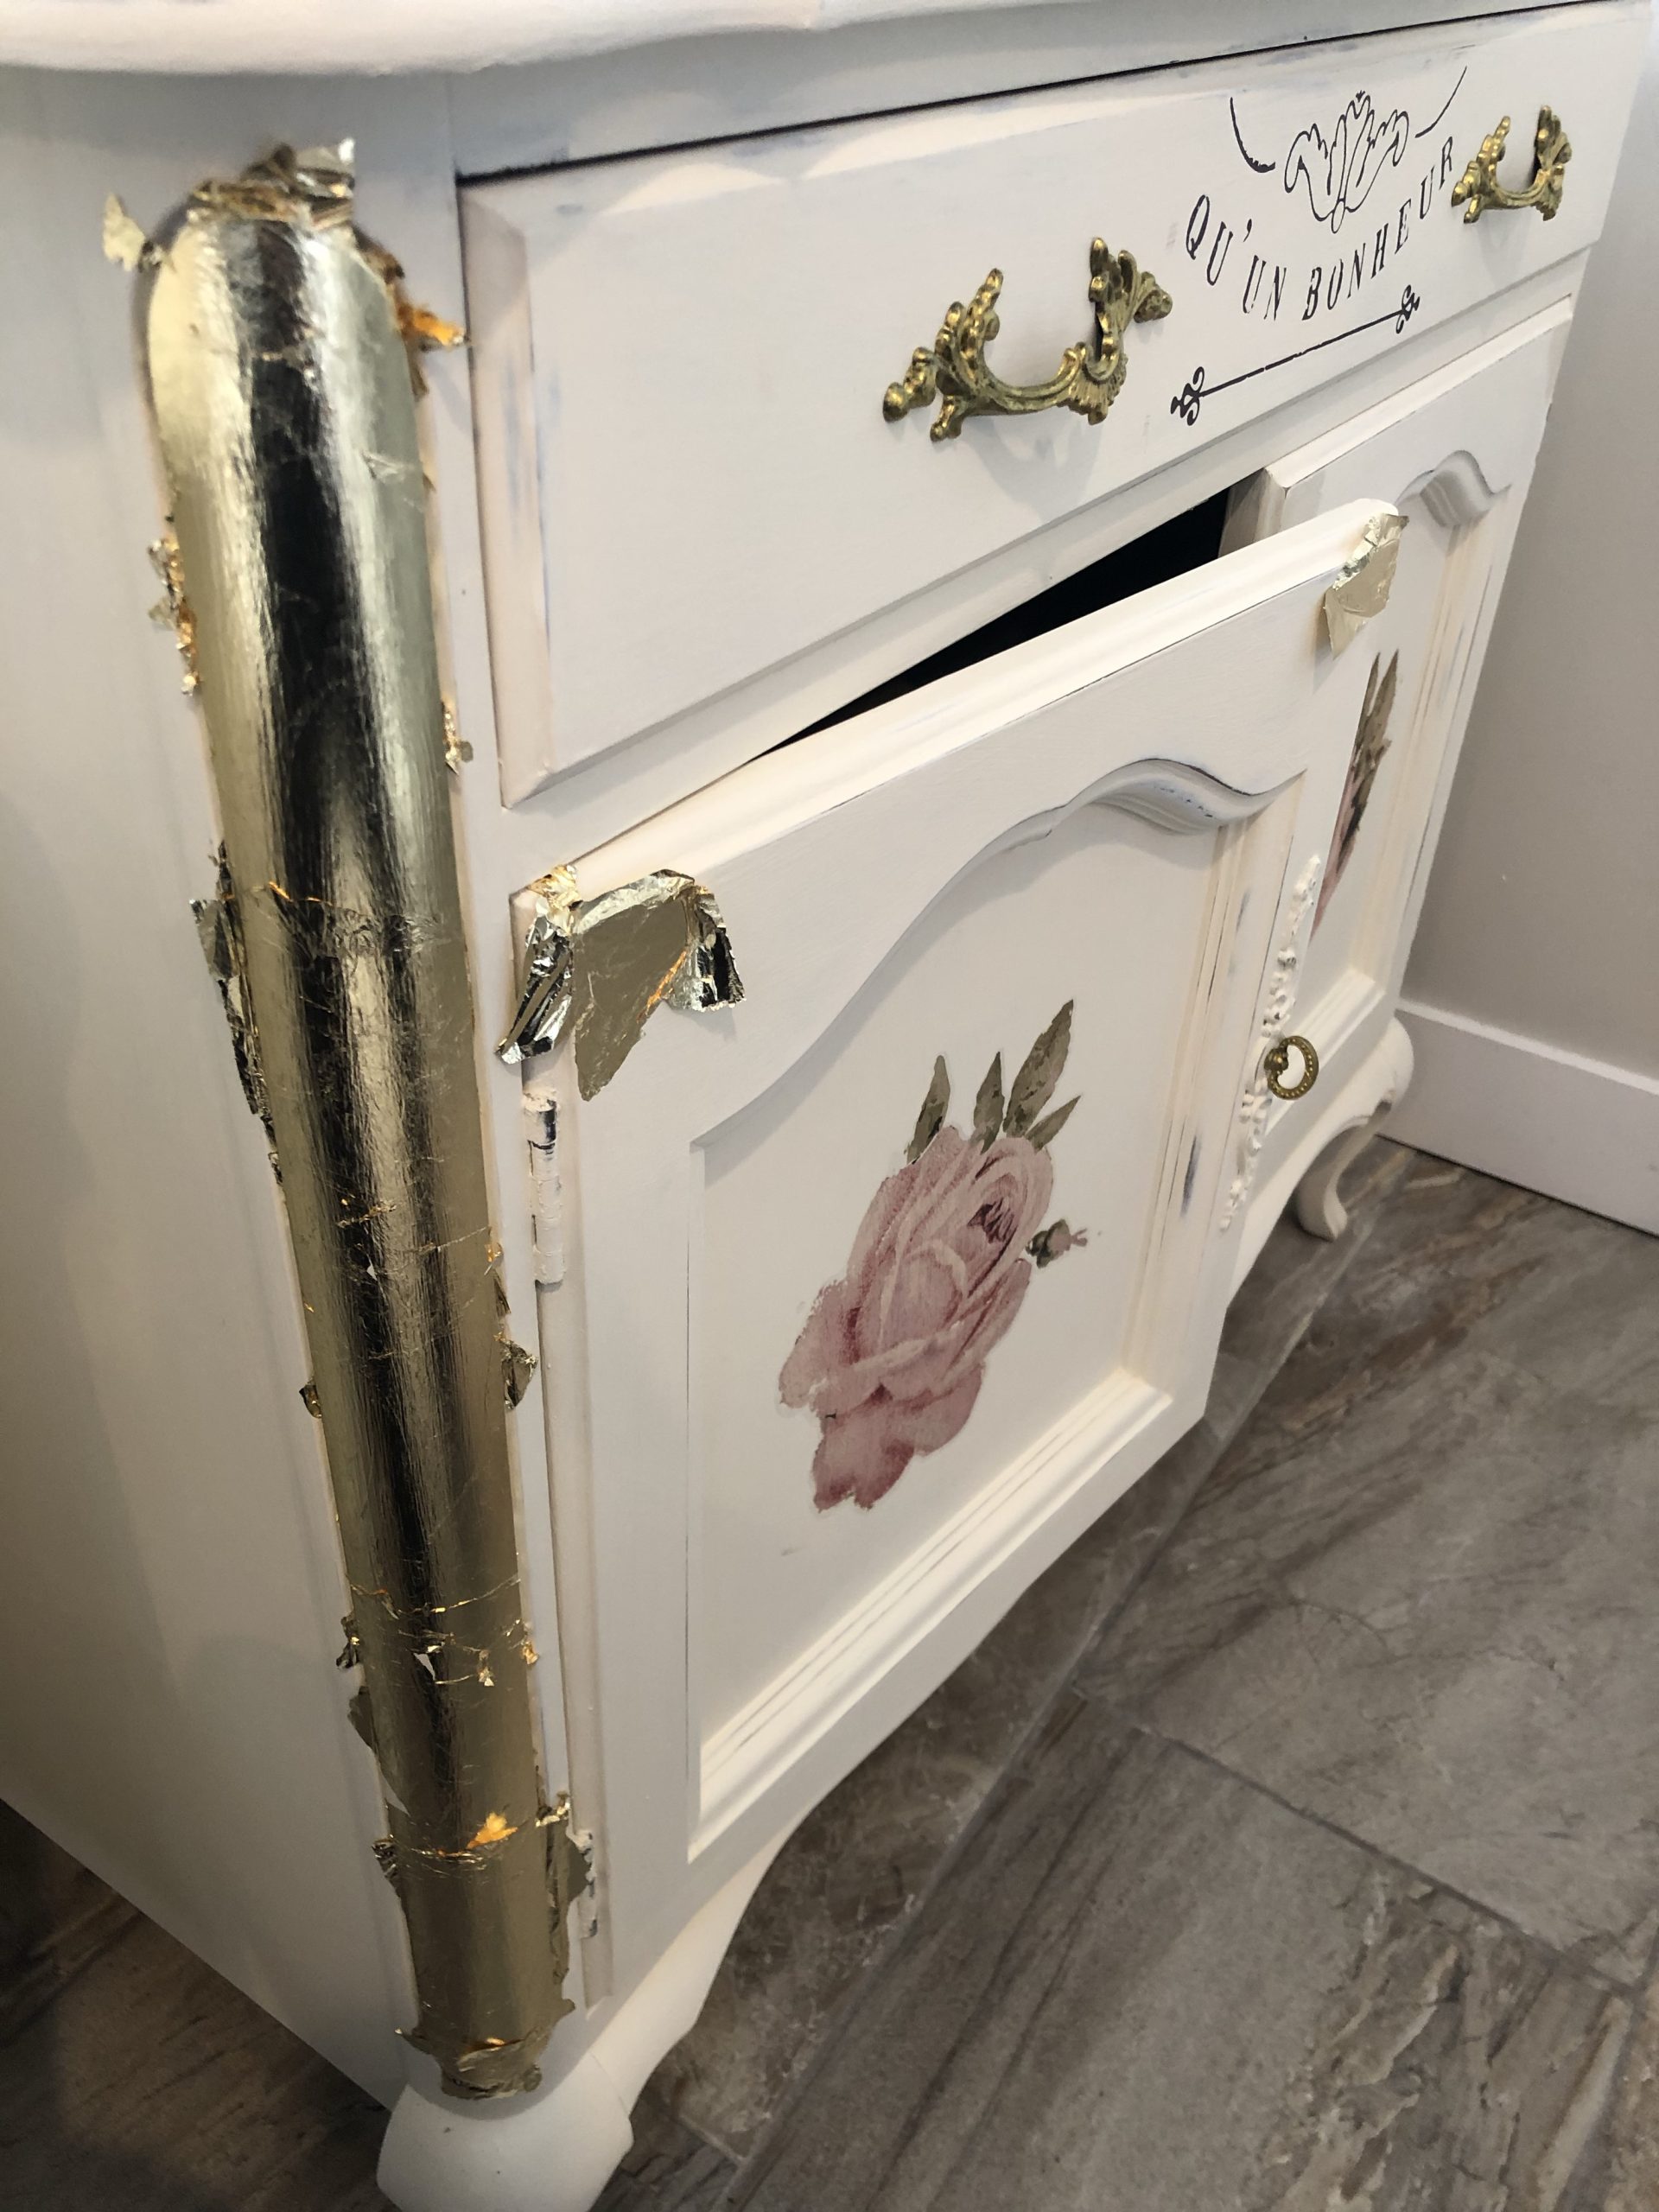
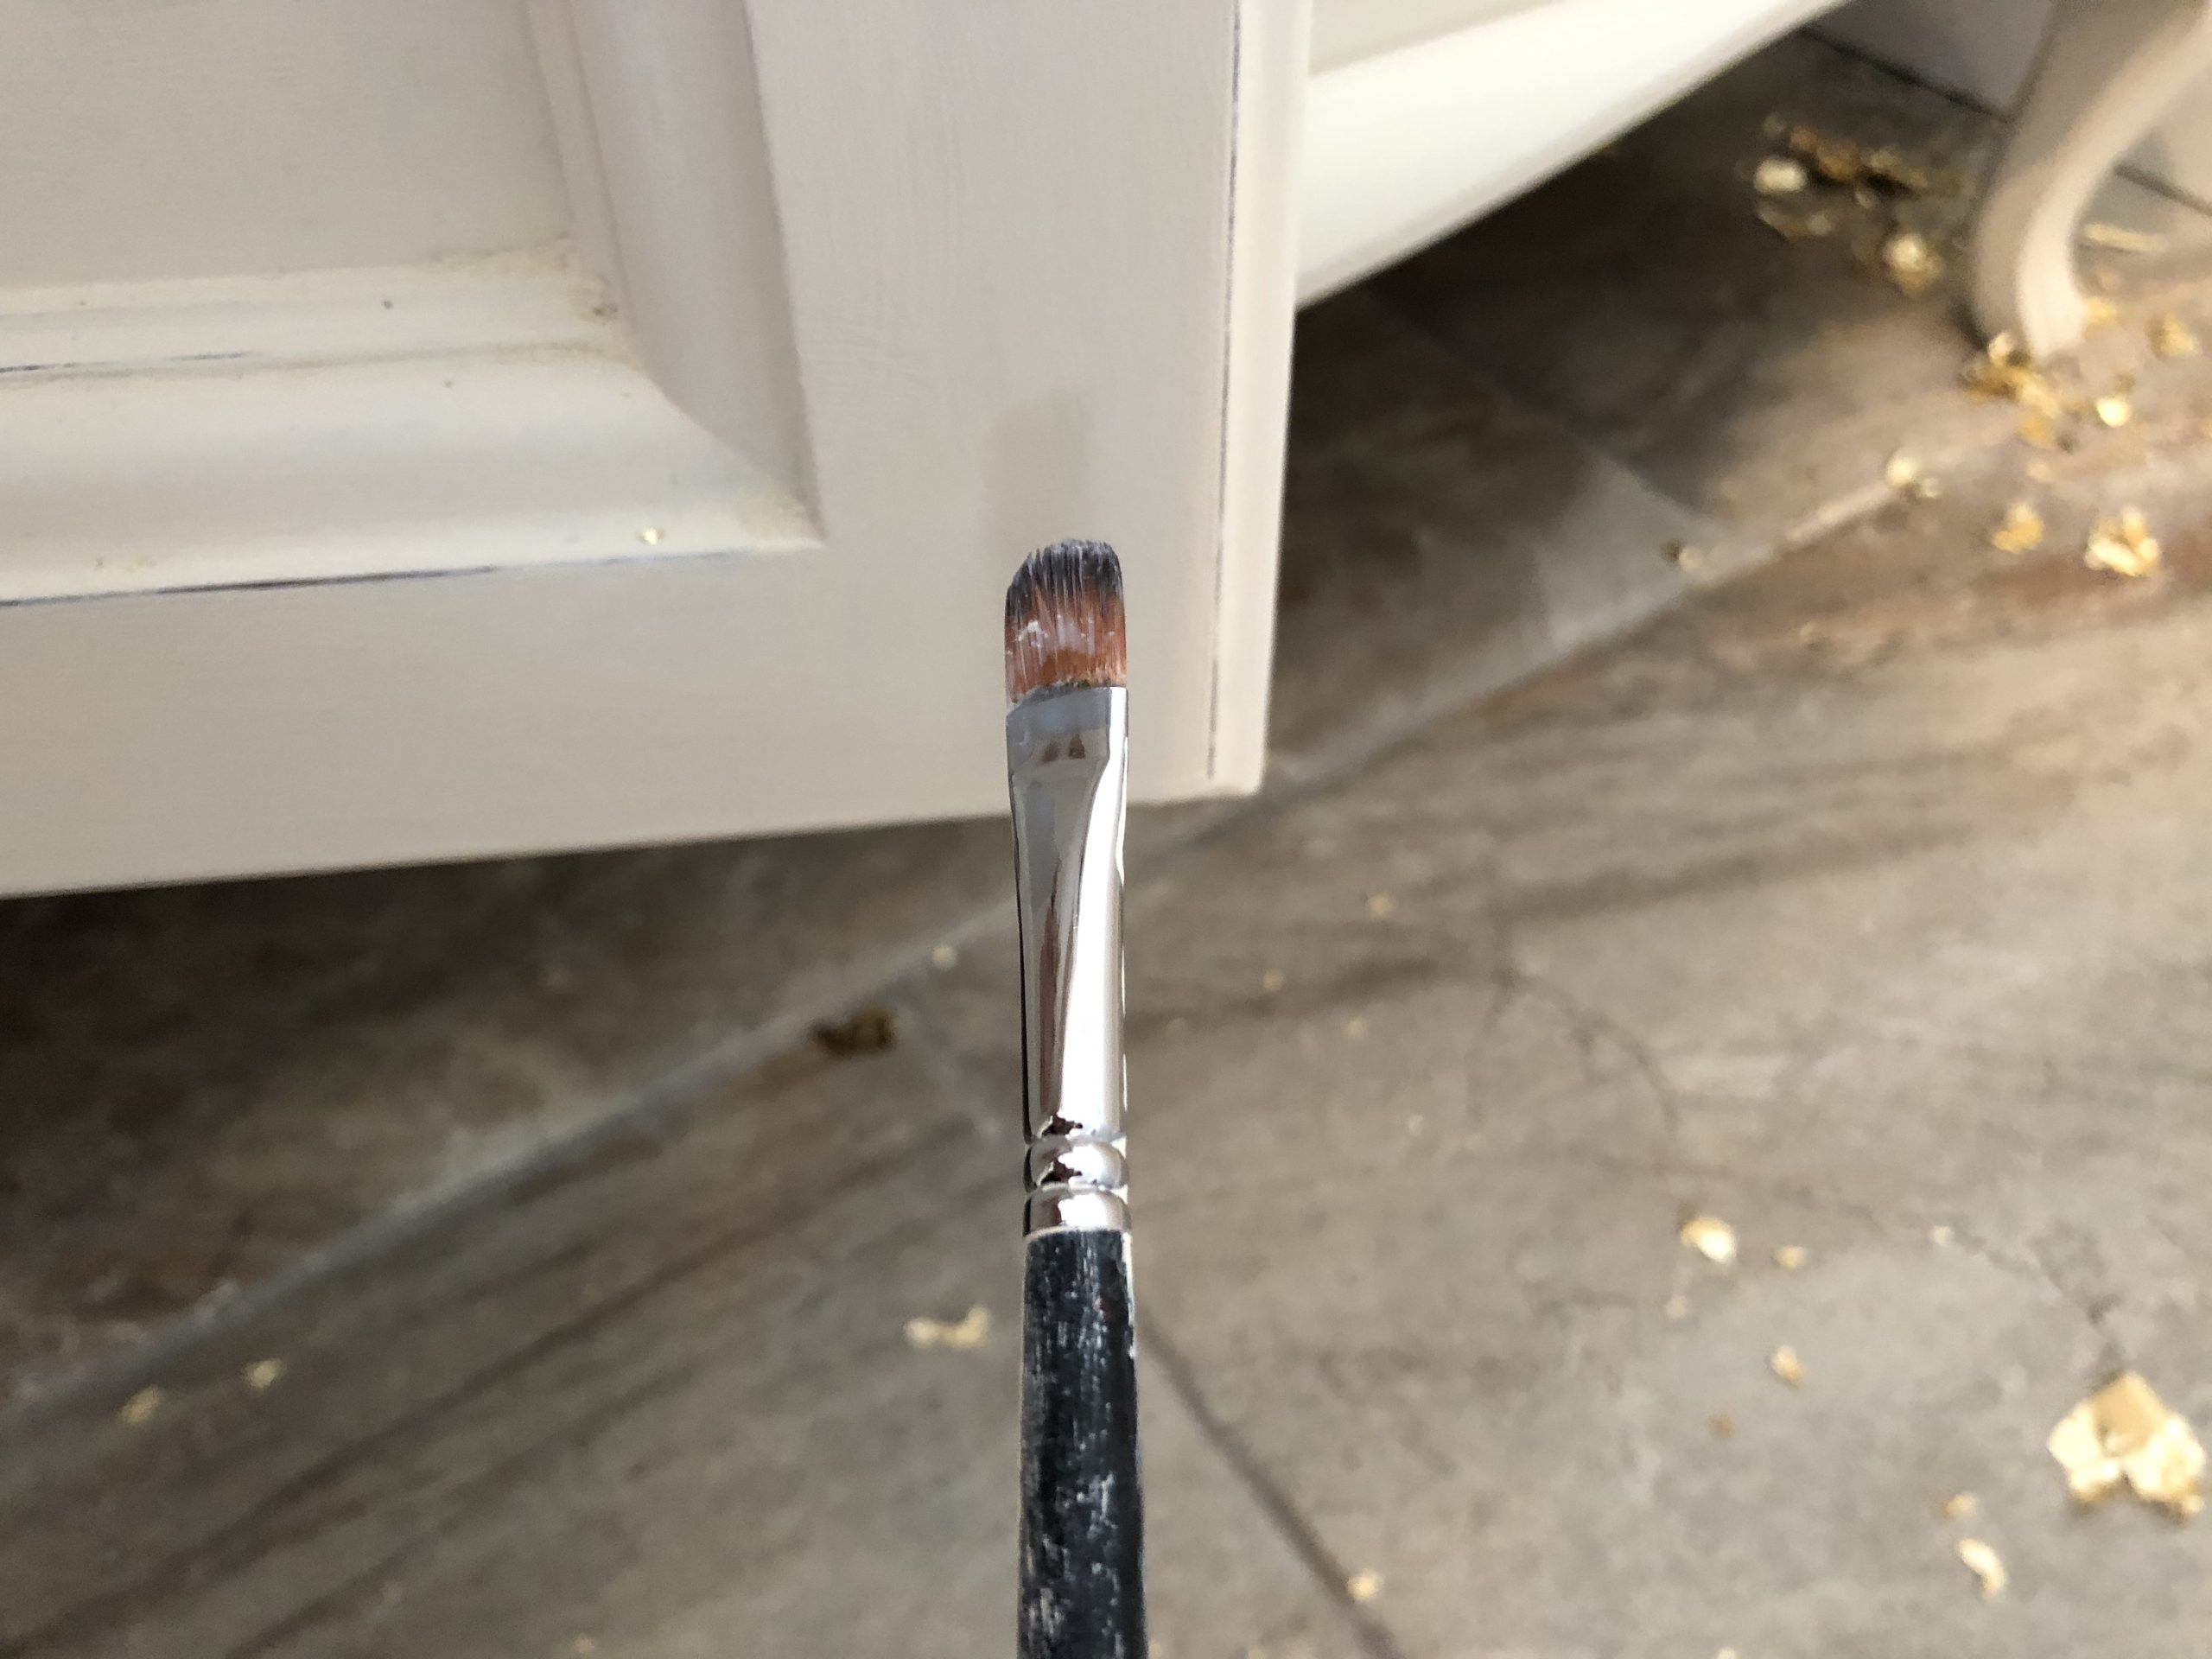
- I used a craft brush I found at my dollar store to apply the adhesive in the spots I wanted the gold leaf.
- Then placed the gold leaf sheets quickly on the glue.
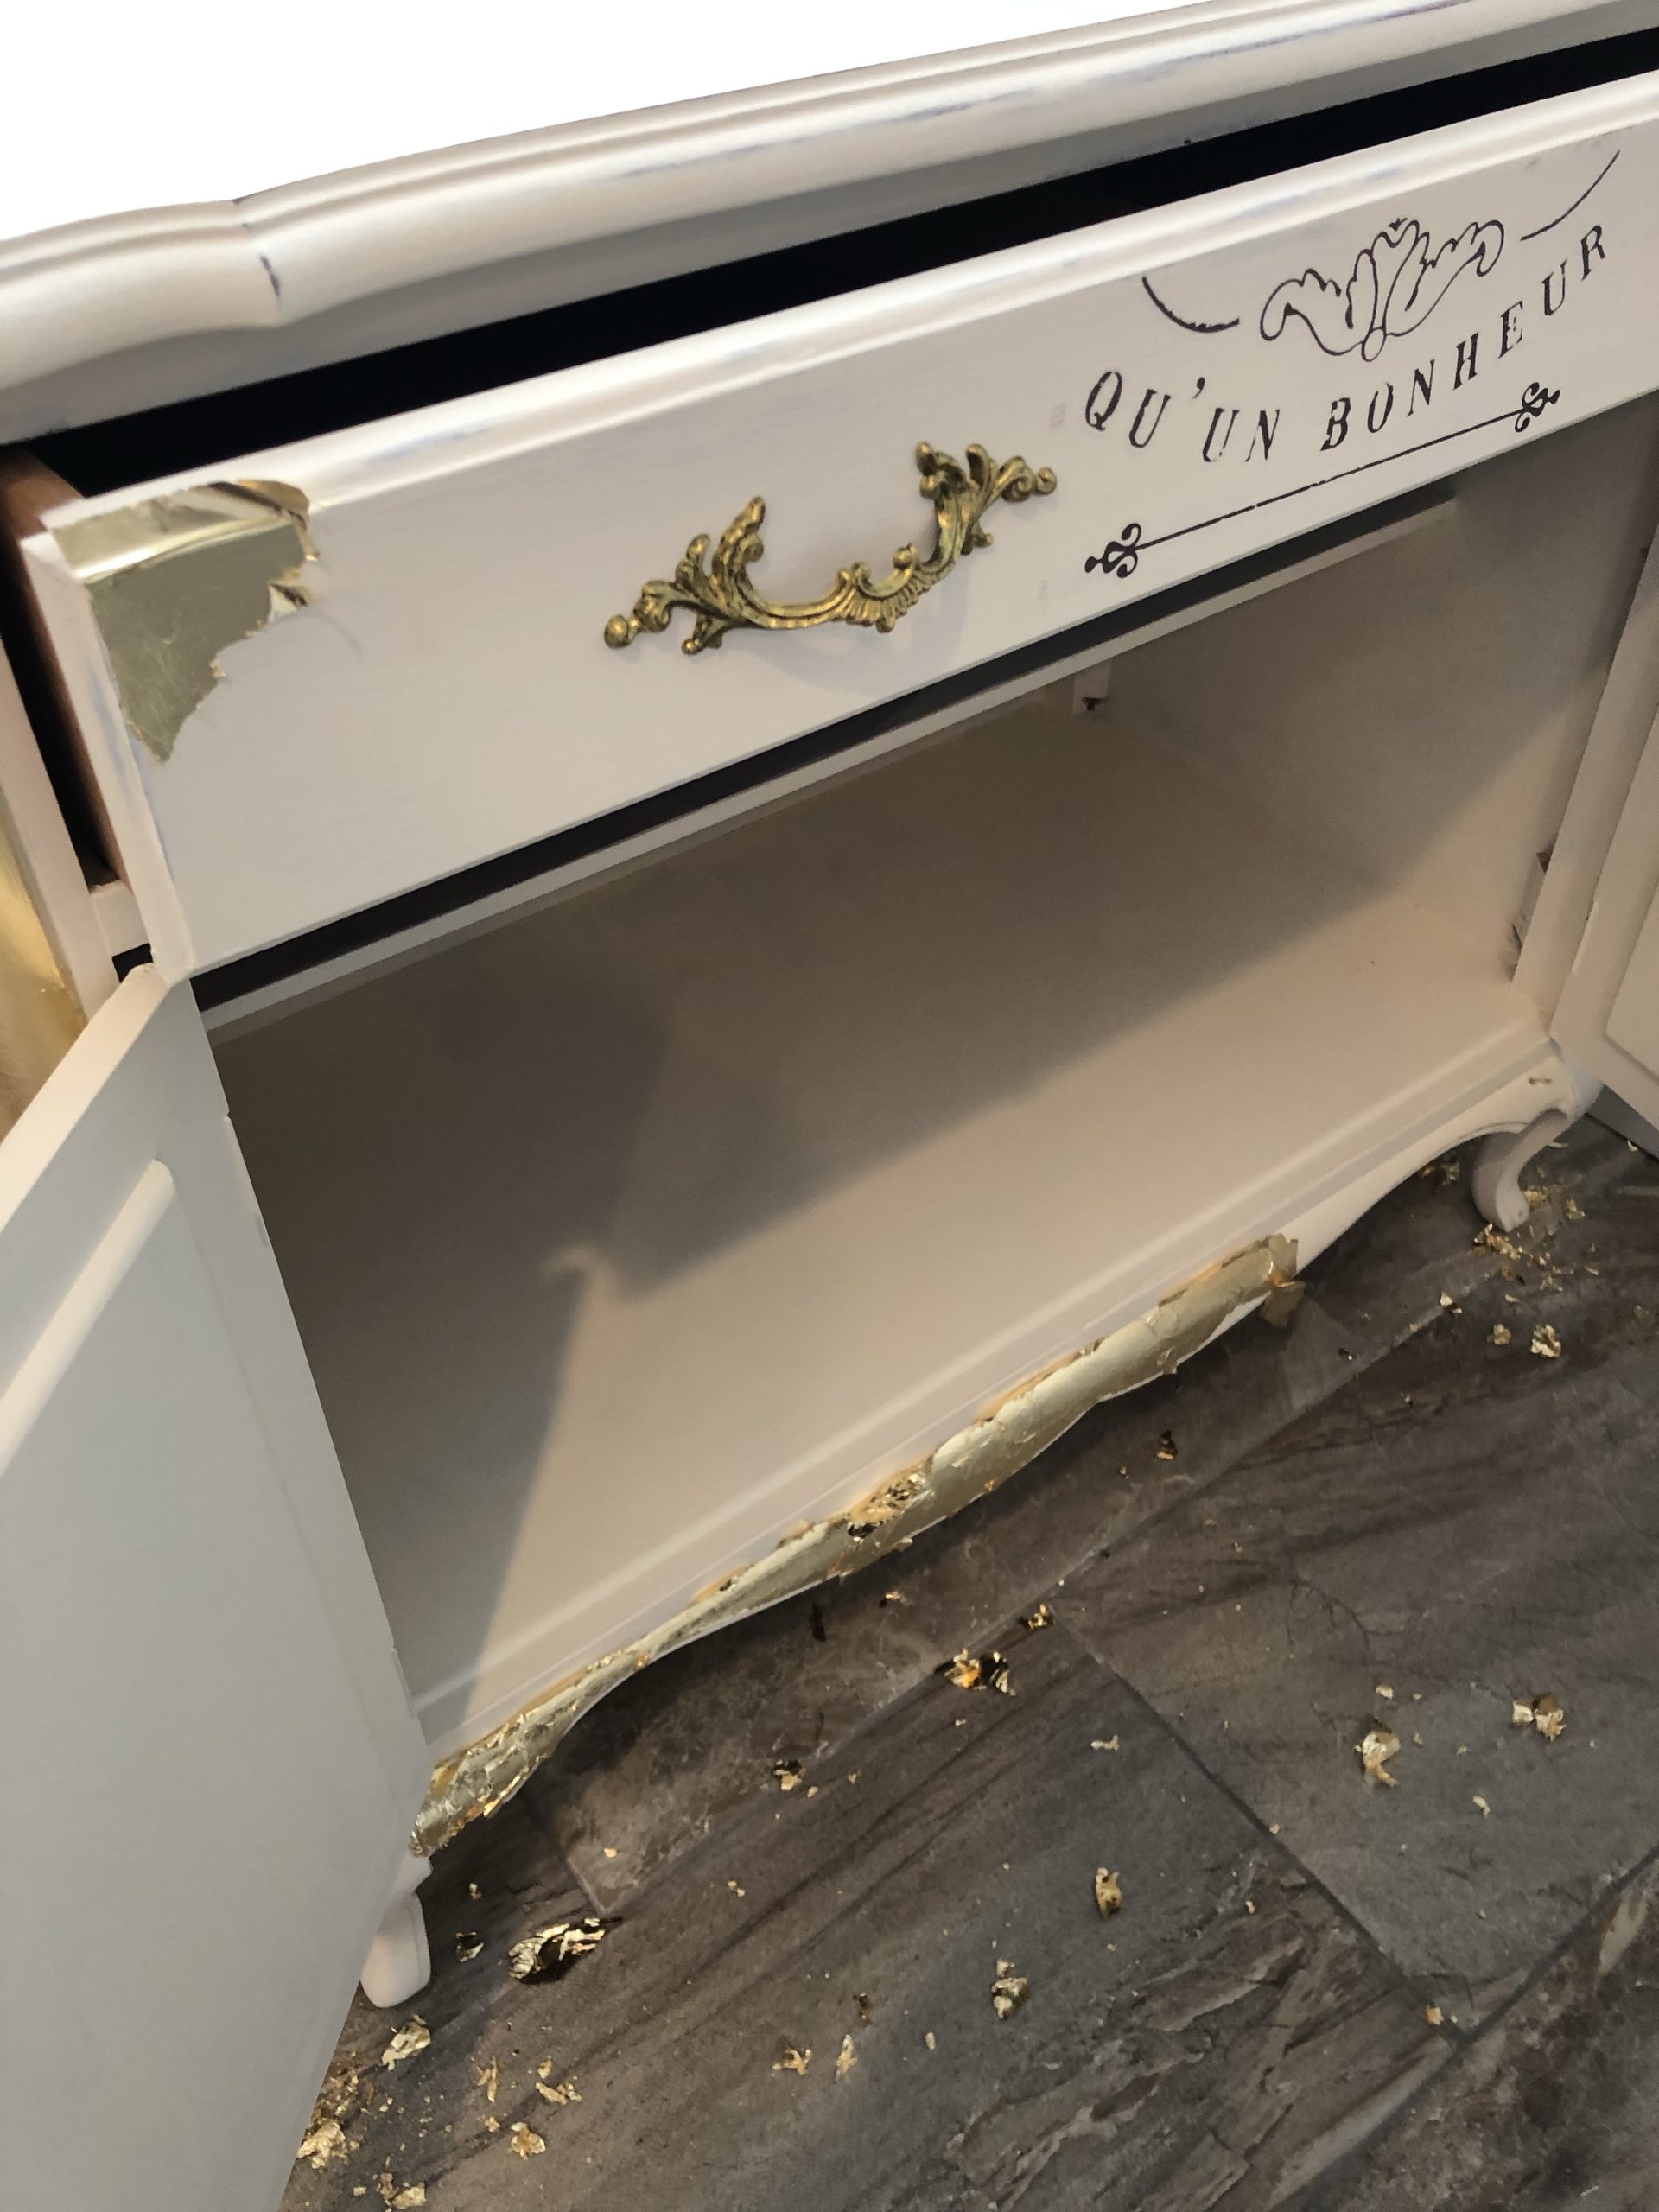
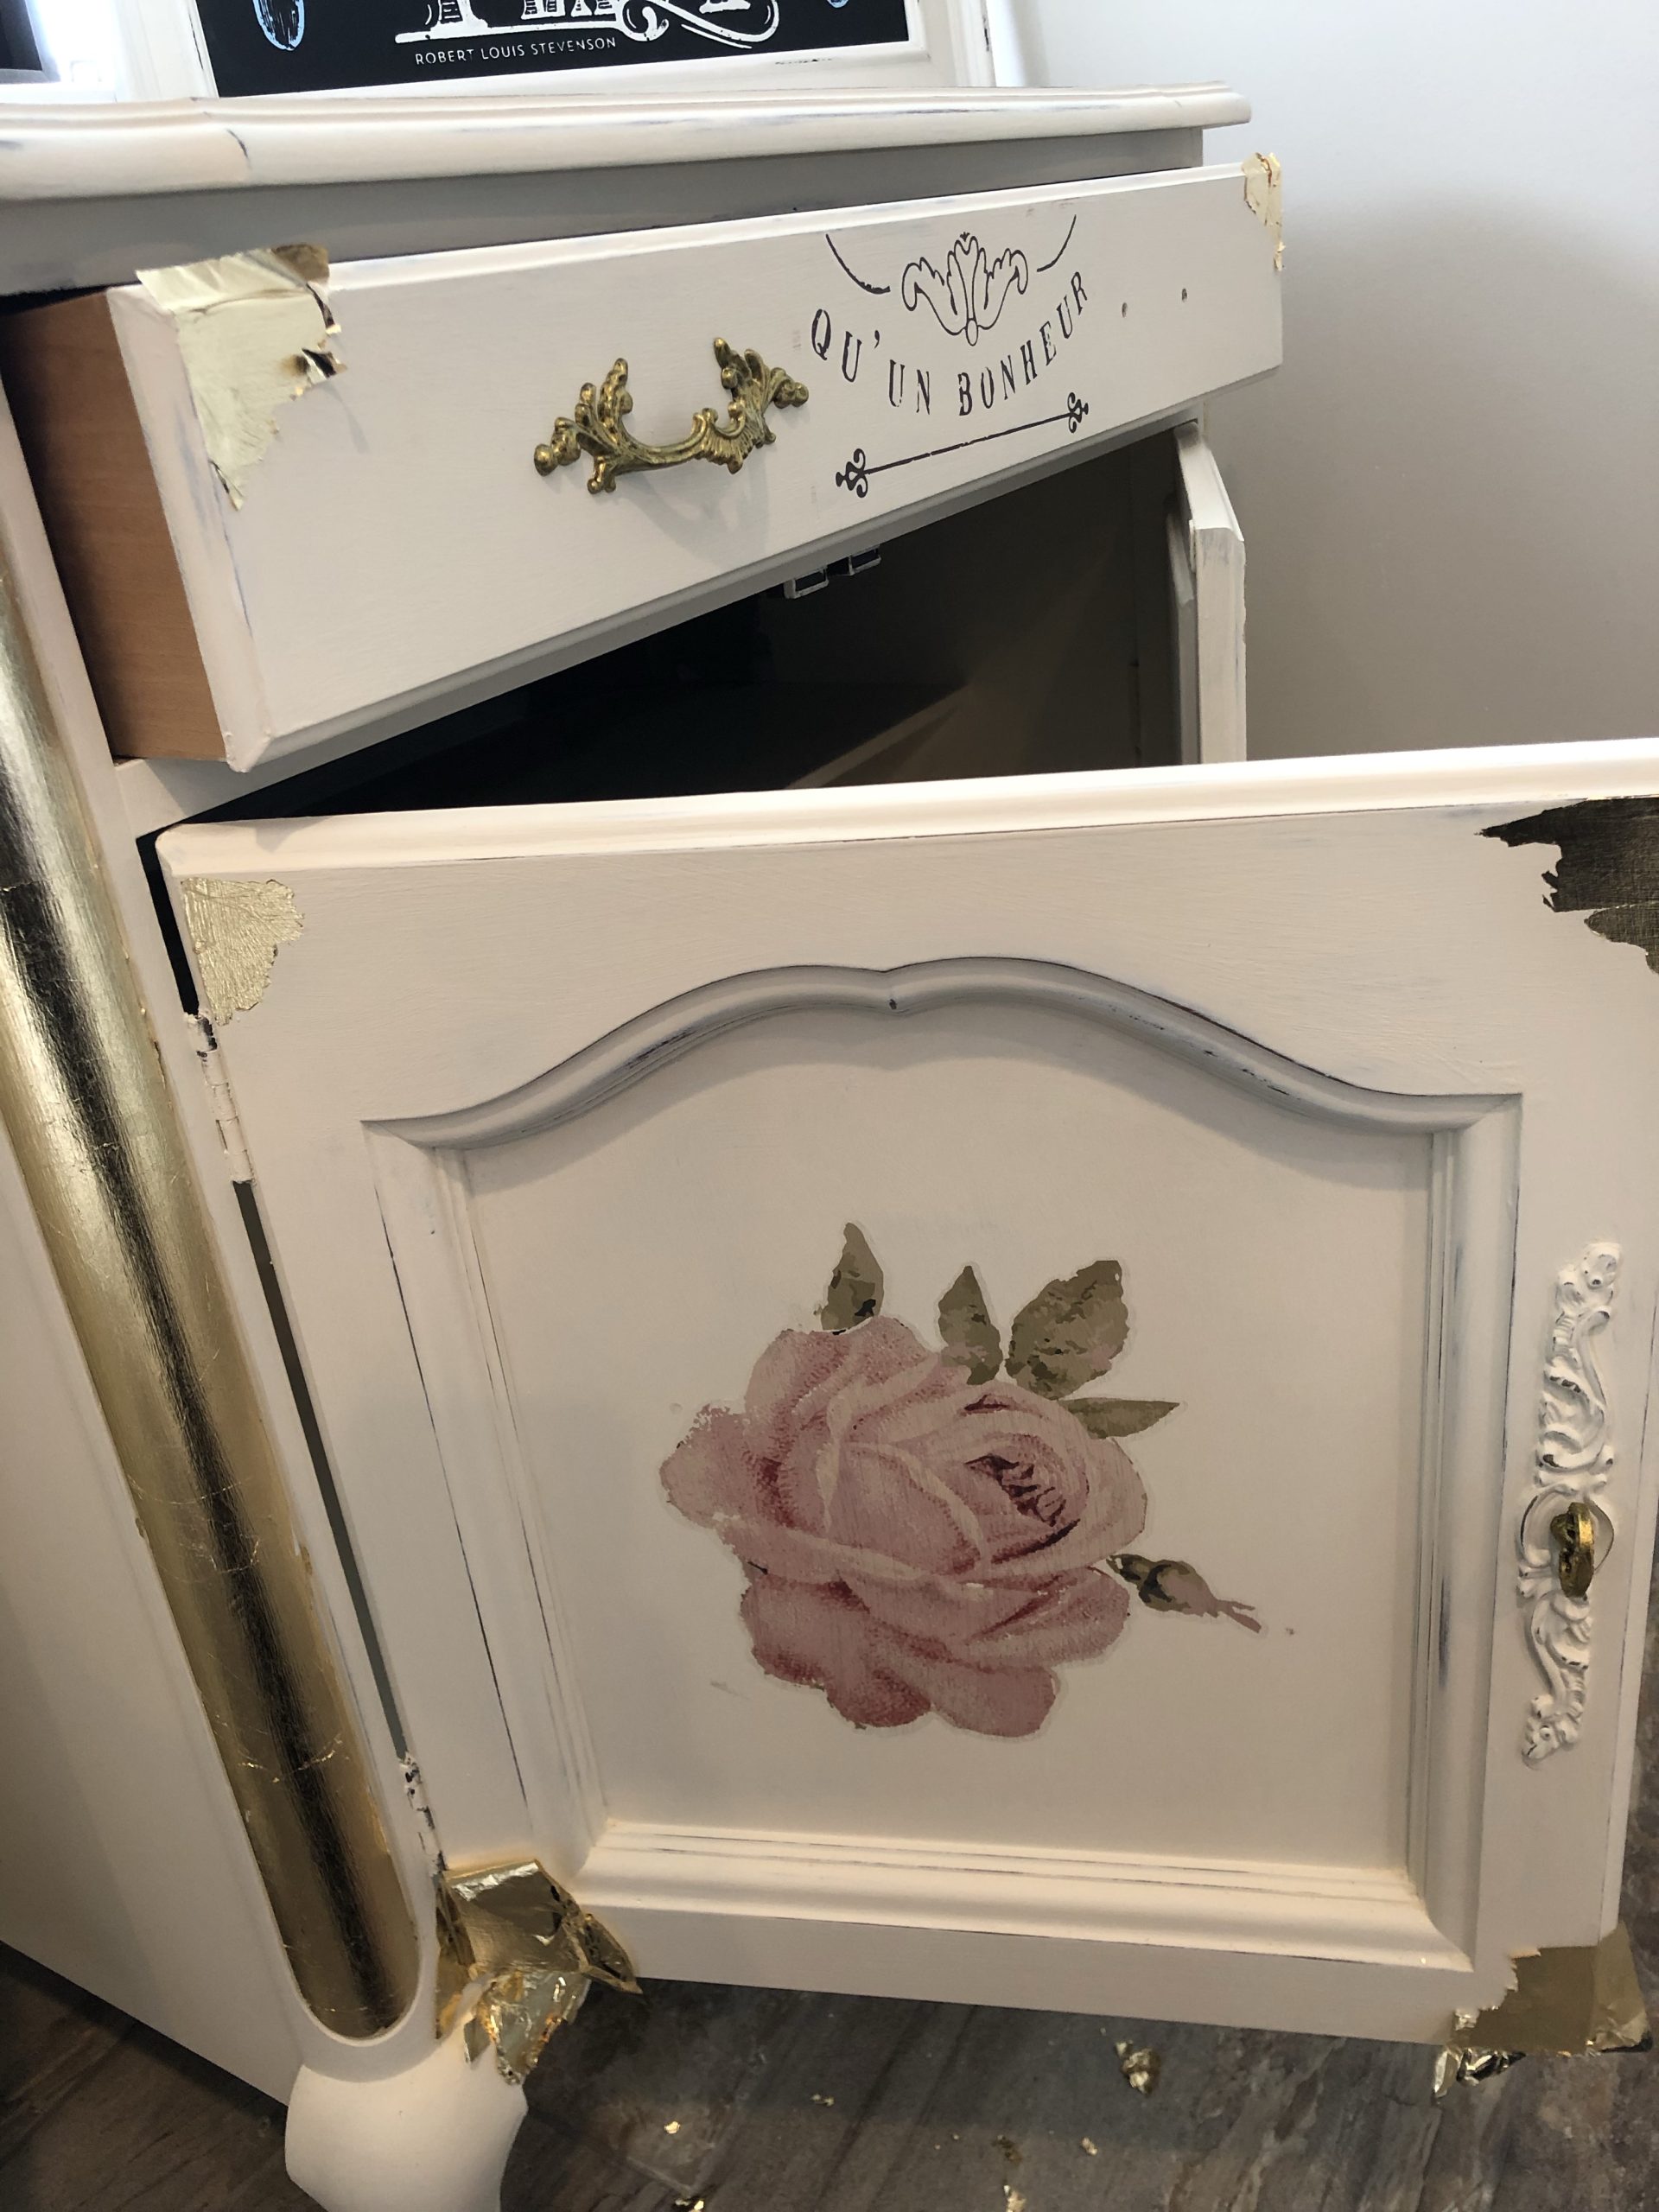
- Then I take a dry craft brush and remove all of the excess gold leafing.
- If you end up missing any spots, you can go back and add more adhesive and foil.
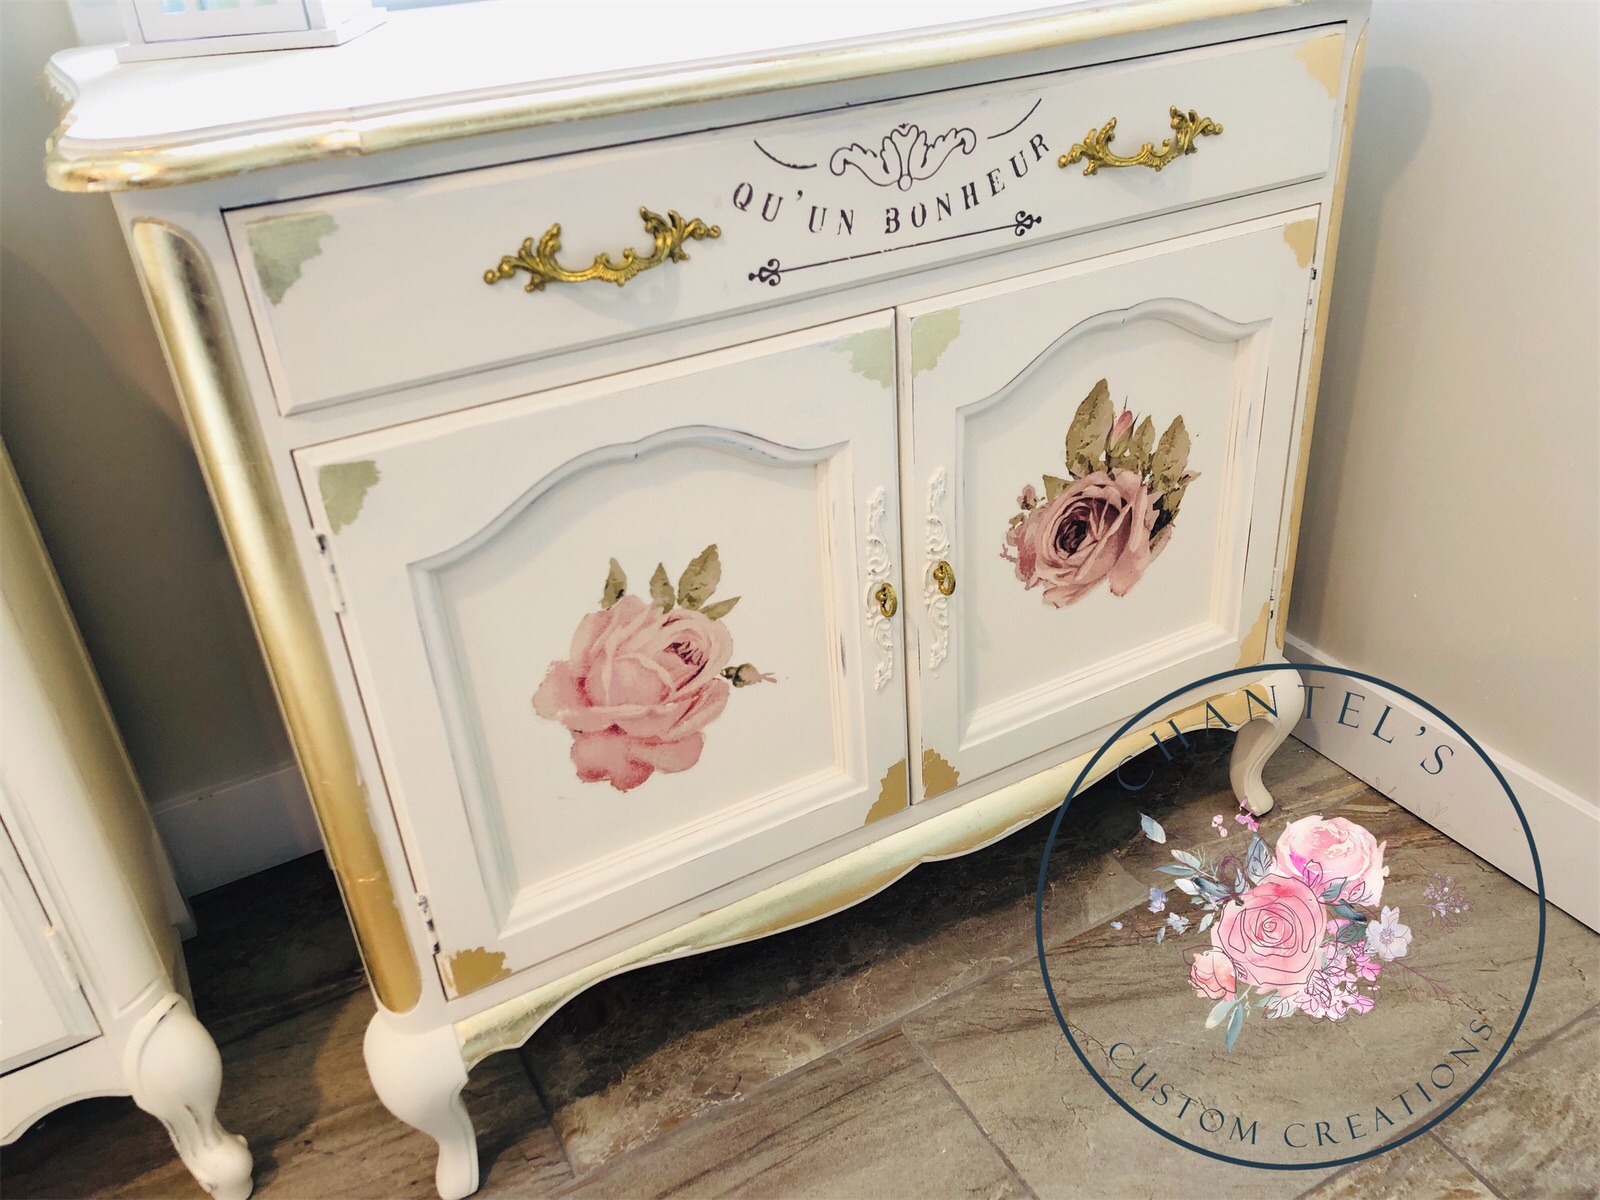
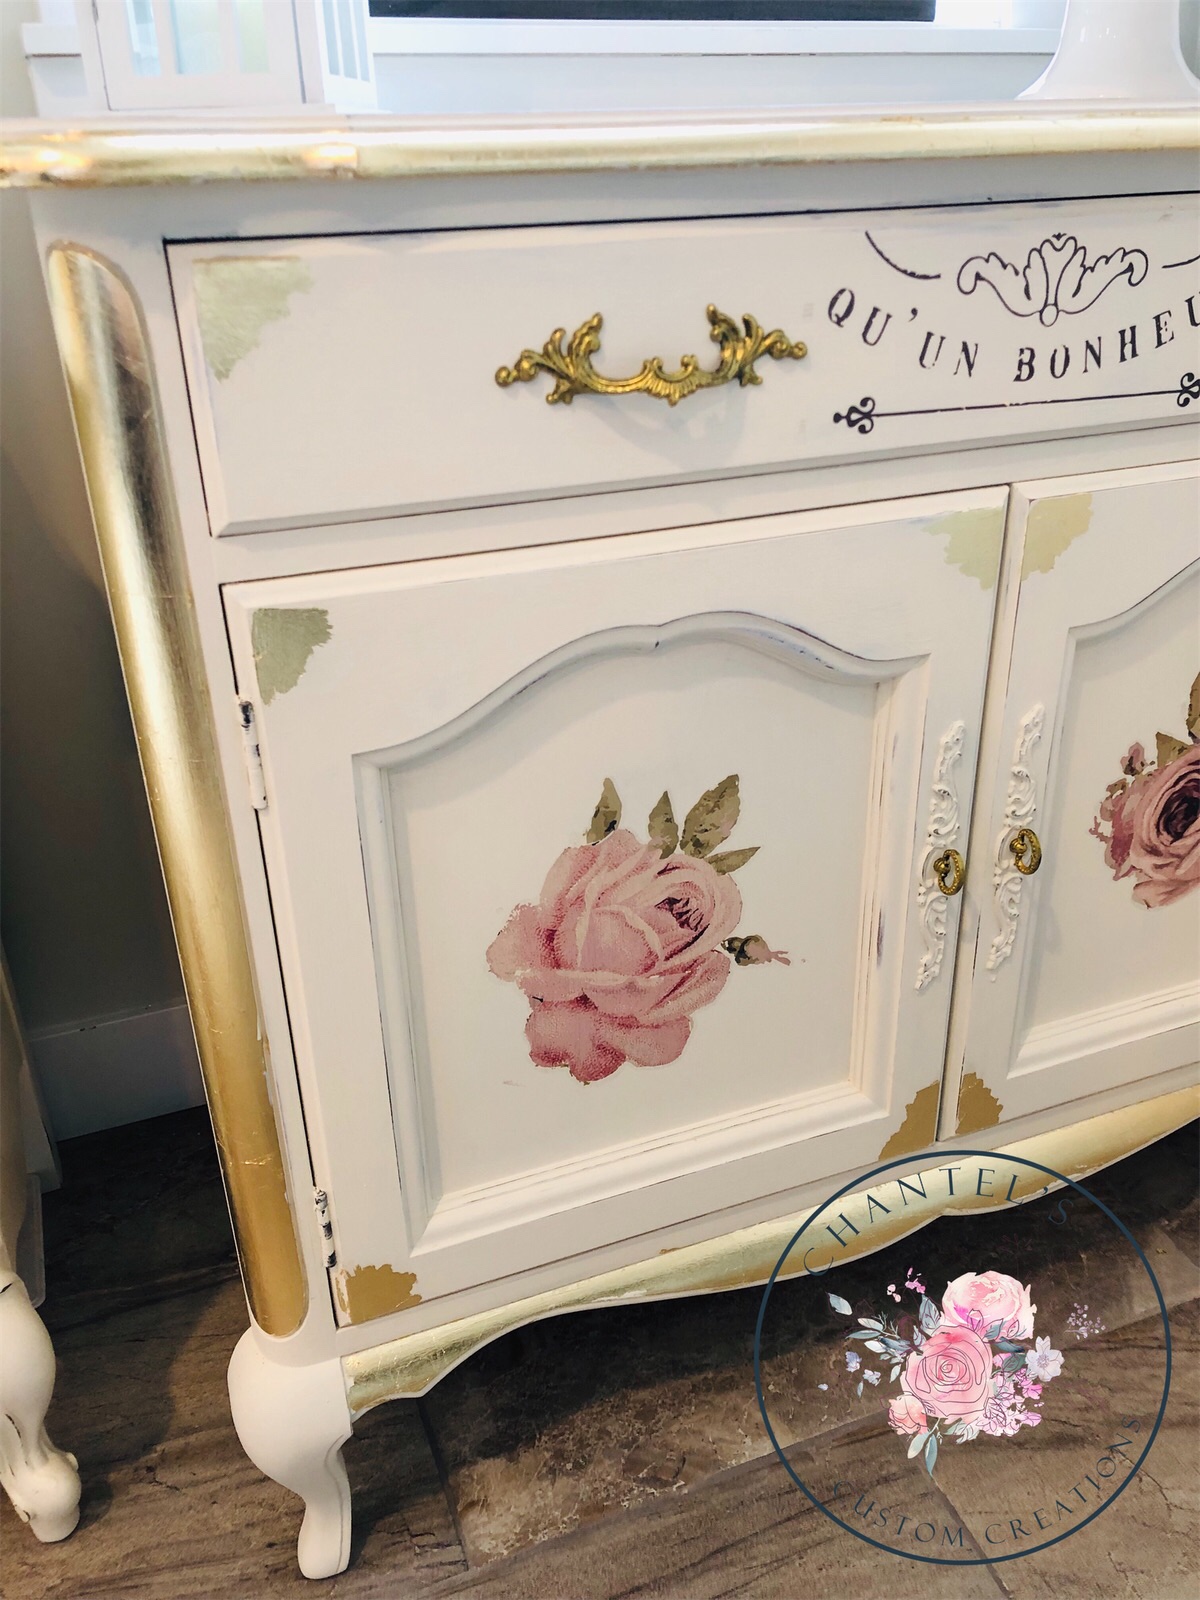
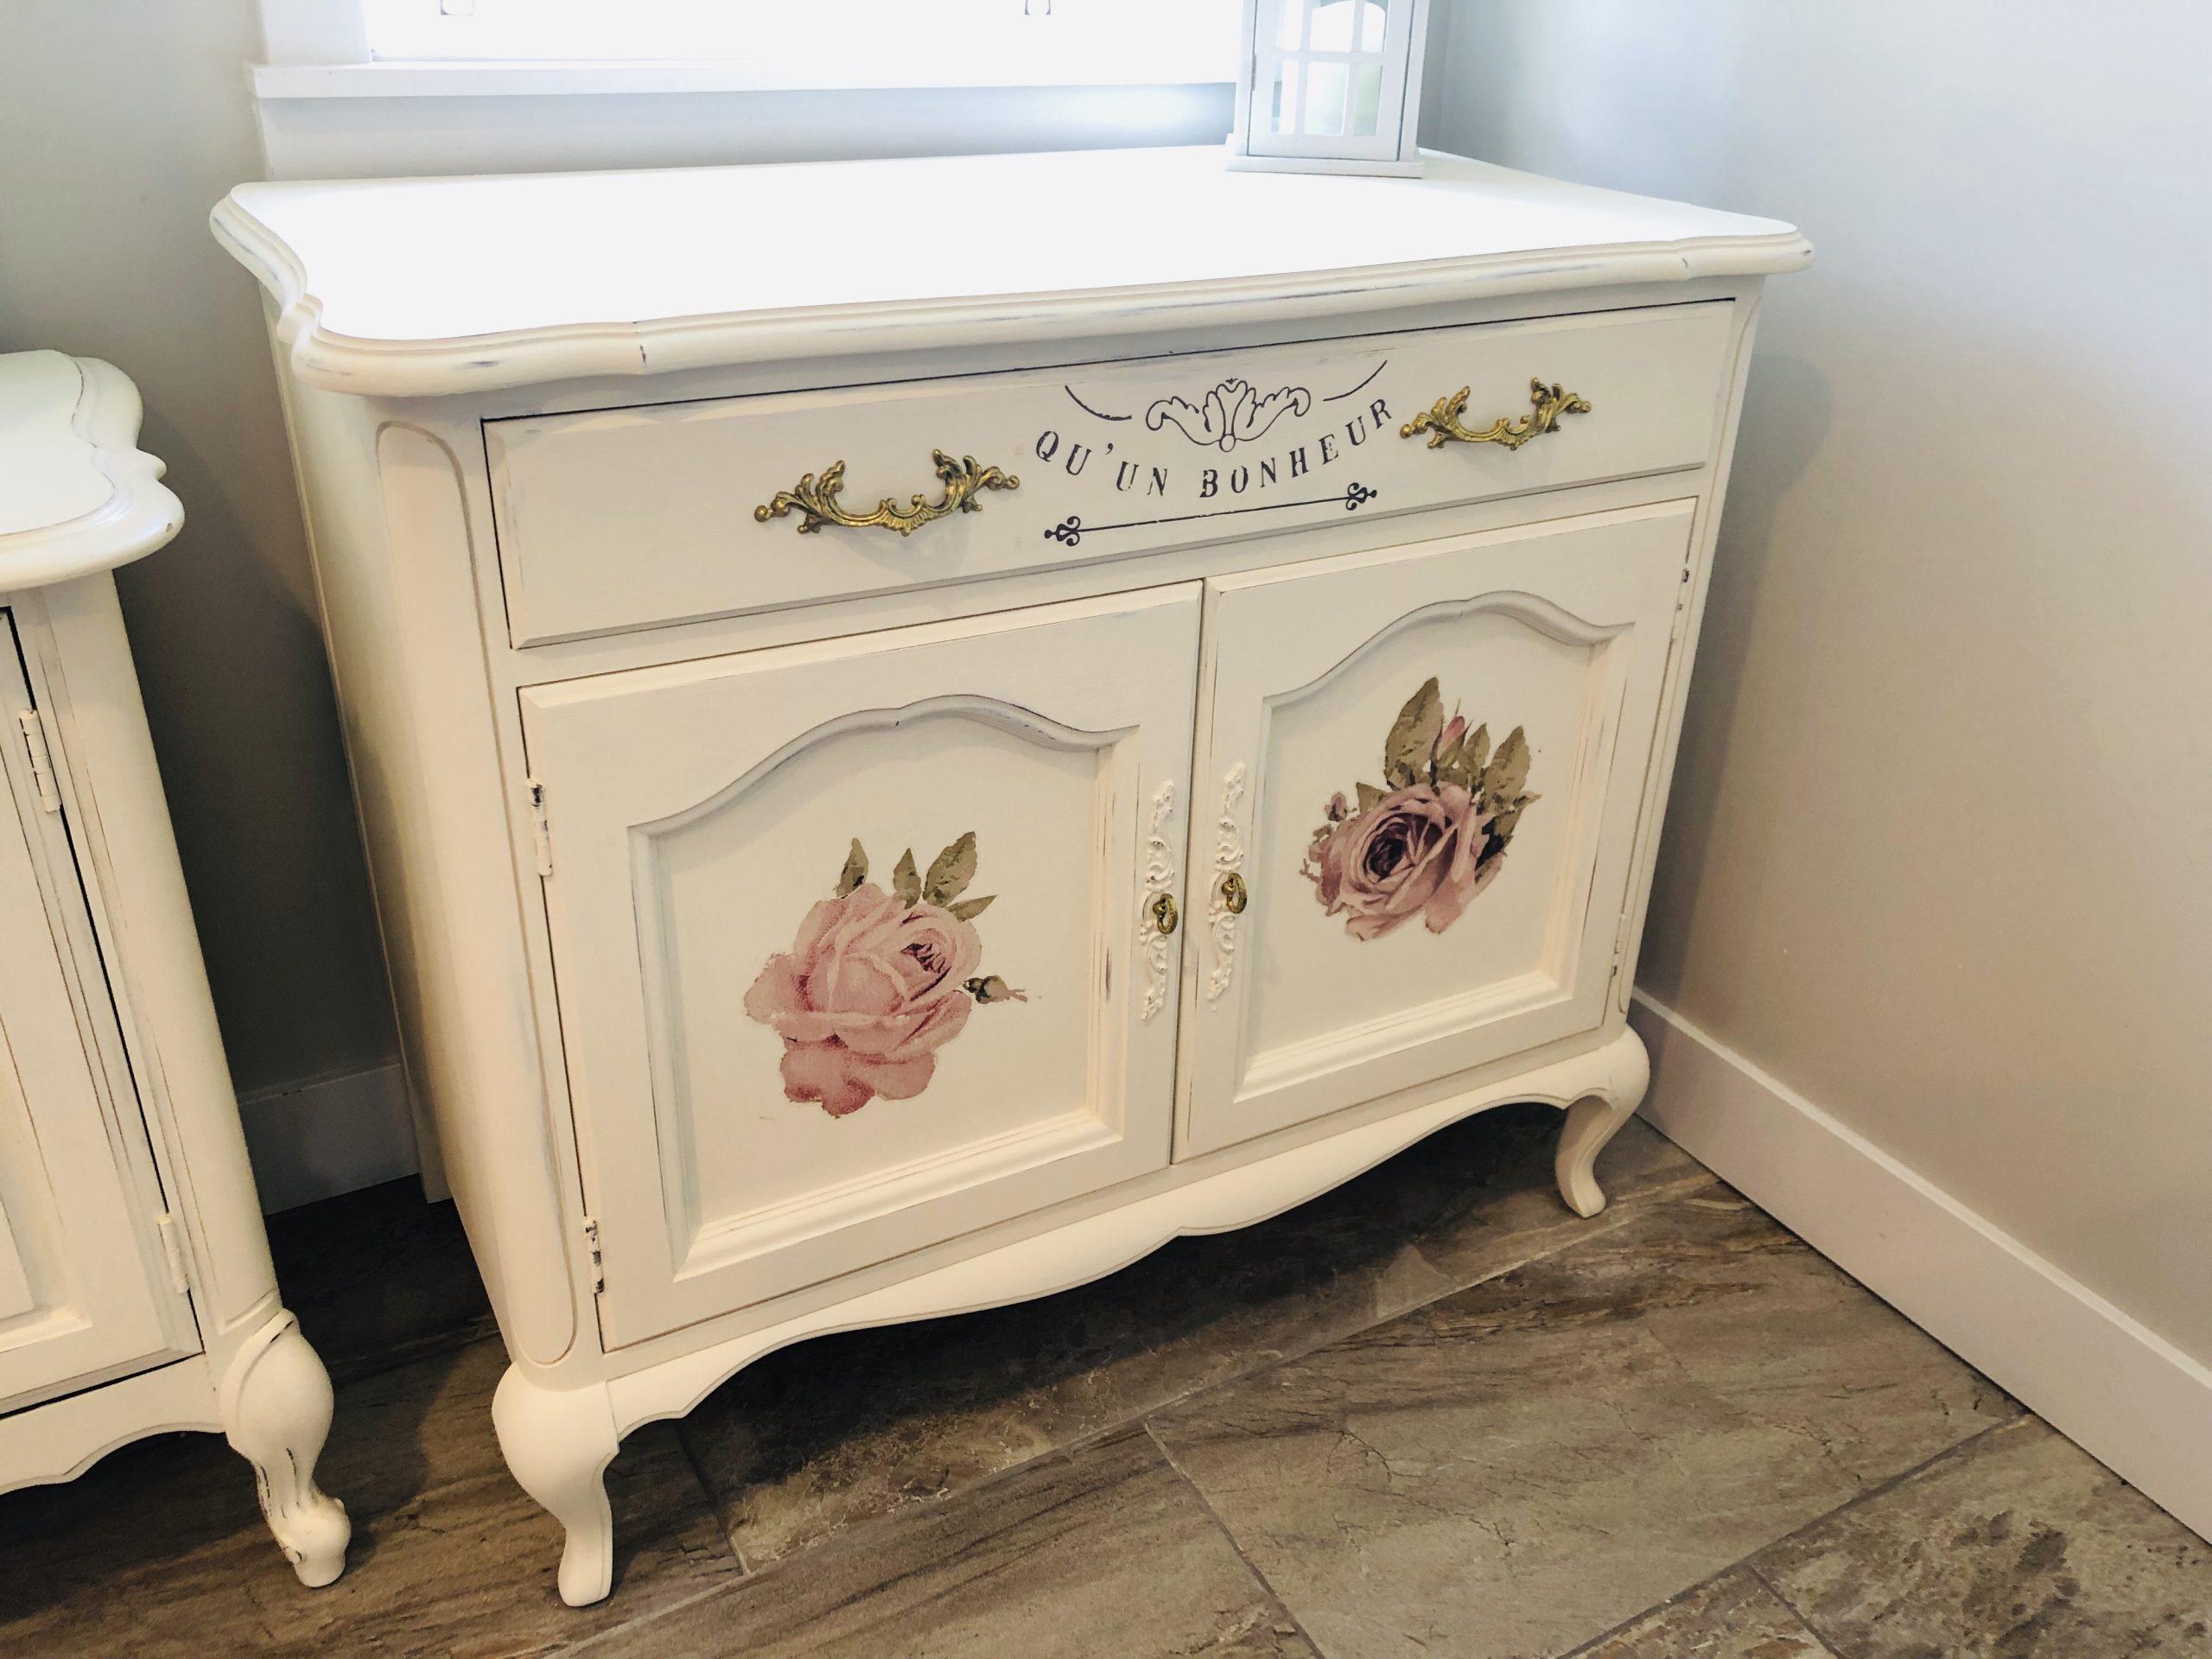
I was very happy with the results of my buffet and adding the gold leafing just elevated the decor on the piece!
After
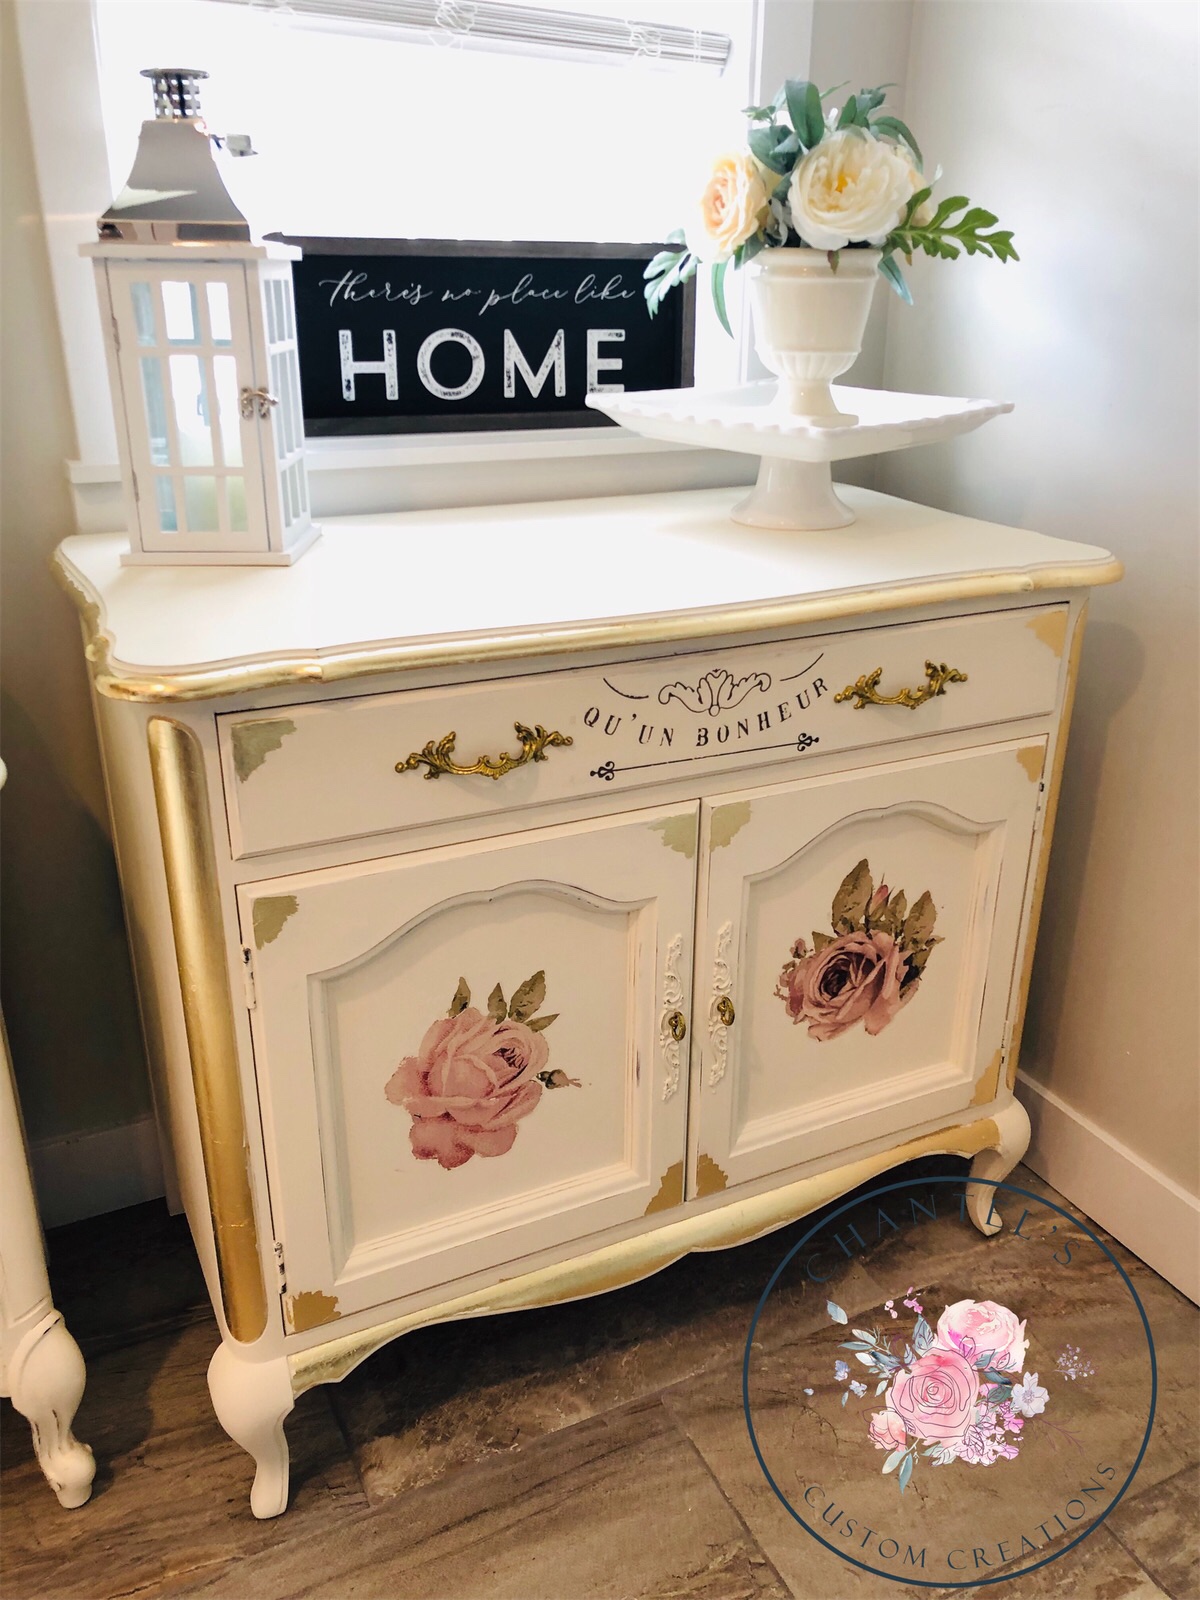
The results were spectacular! I love my new sideboard/buffet and it fits perfectly into my small dining area. Please let me know what you think of the transformation!
Before you Go….more before and after painted furniture transformations:
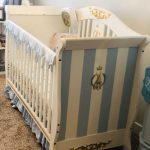
- Nursery Dresser Painted with Chalk Paint
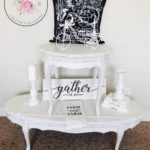
- Vintage Nesting Tables Painted with Chalk Paint
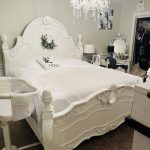
- King Size Headboard Makeover
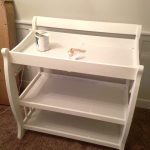
- Painting a Baby Changing Table Reveal
- Vintage Cart Makeover with Furniture Decor Transfers!


Leave a Reply