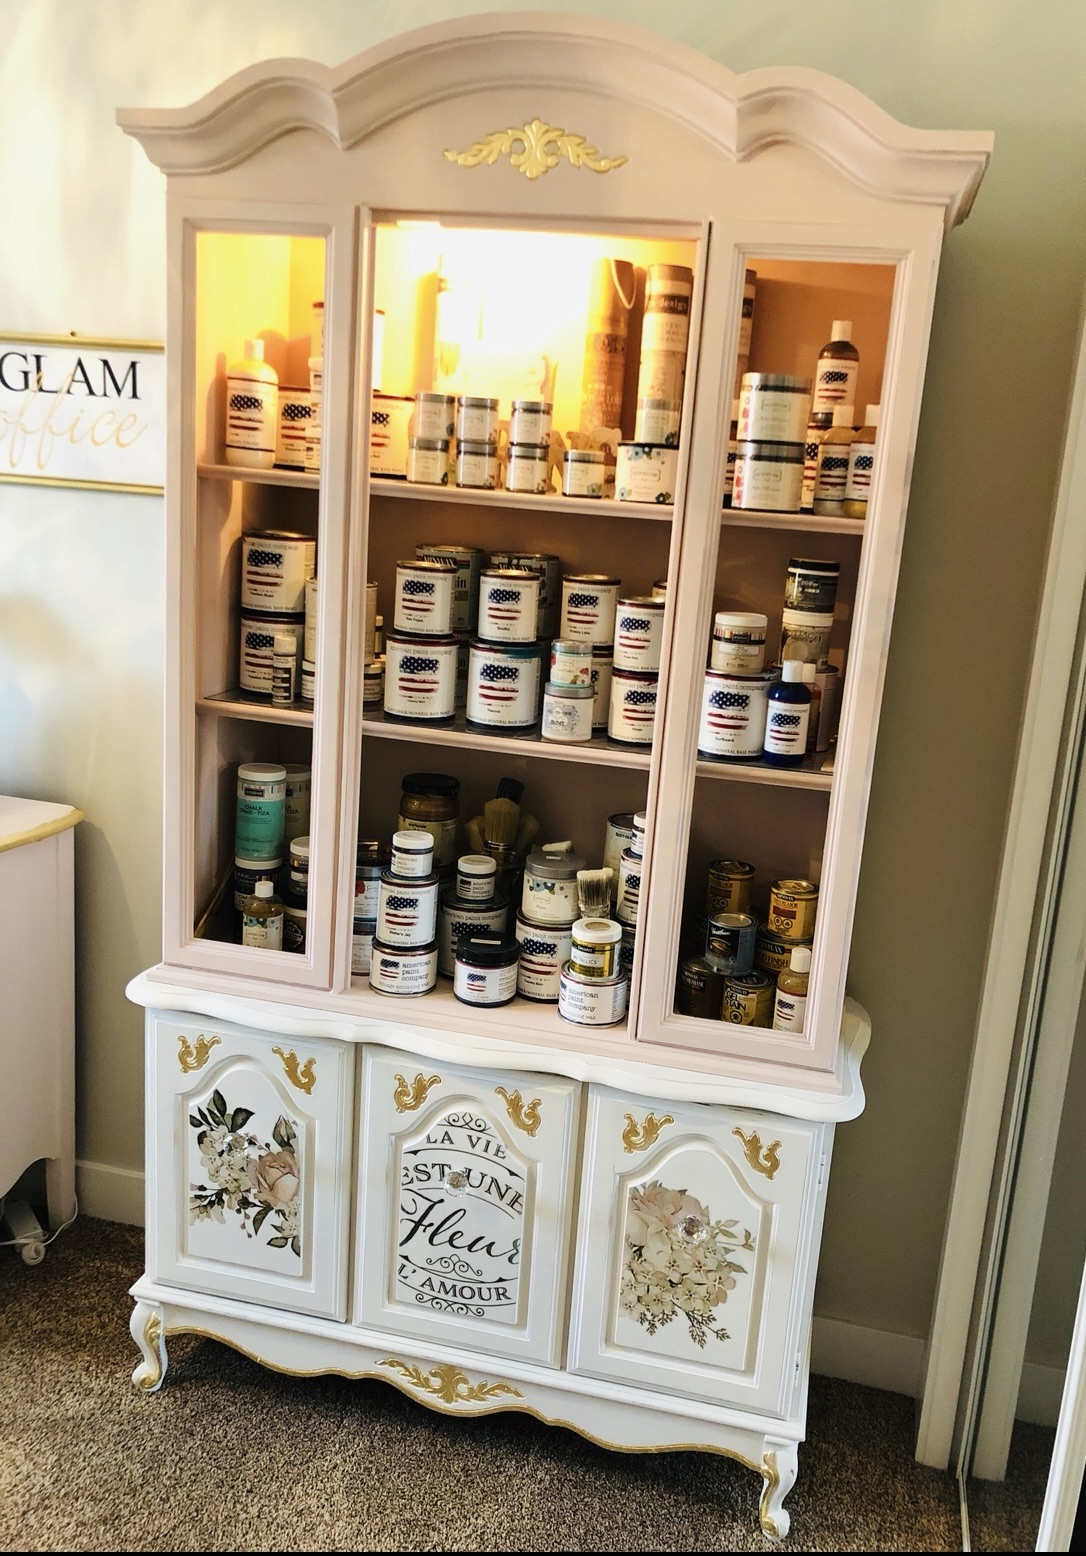
I am so excited to reveal my china cabinet makeover. This cabinet houses my many many chalk paints and stains in my craft room!
This one was so fun to makeover ! I chalk painted, gold leafed and added furniture transfers. Here is how I did the makeover.
This post contains affiliate links; here is a link to my Disclosure Policy
Before
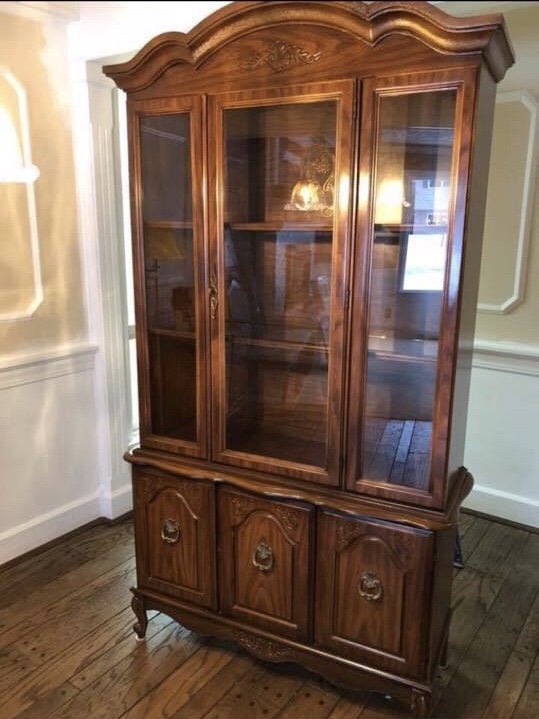
I found this traditional China hutch on my local Marketplace page and I absolutely fell in love with the character and the design at the top of the piece and I am so in love with the Queen Anne style legs!
Not to mention all of the storage capabilities this piece has!
Open storage on the top piece and closed storage on the bottom. This unit comes in two pieces, which made painting it so much easier!
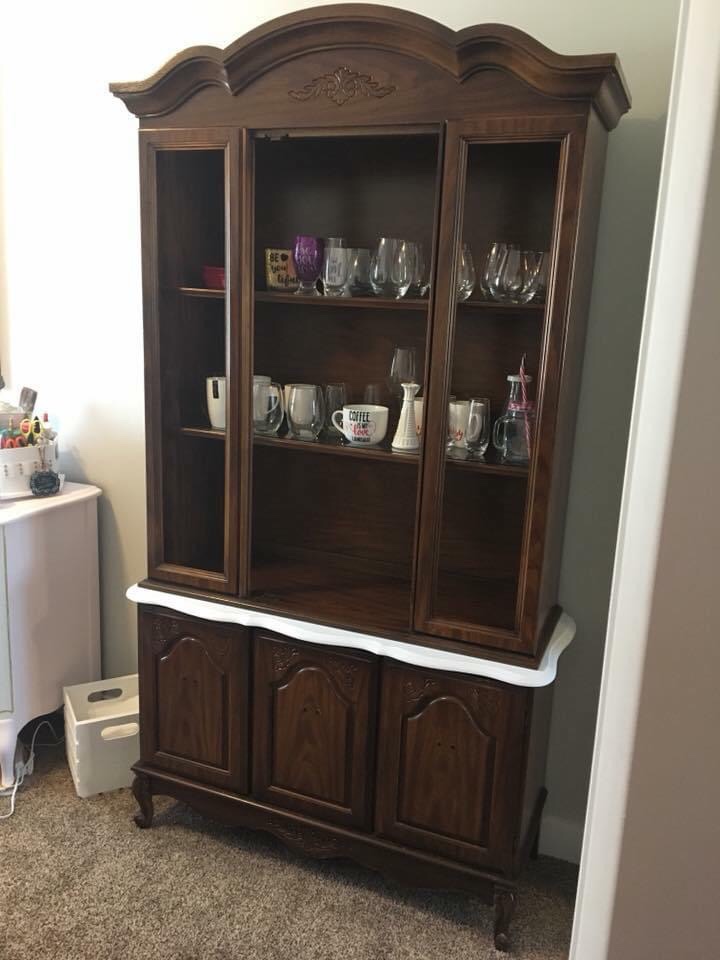
Step 1
- I began by removing the awful glass on the top piece and removing all of the old handles for ease of painting.
- I always recommend to clean down your furniture piece very well of oils, dust and debris before painting which is what I did here.
- Make sure the wood is dry after doing this before applying paint. I used any shop rag and water and dish soap in this case as the piece was not that oily and dirty.
- Luckily for me this piece did not need any repairs to the wood as it was in very good shape when I purchased it.
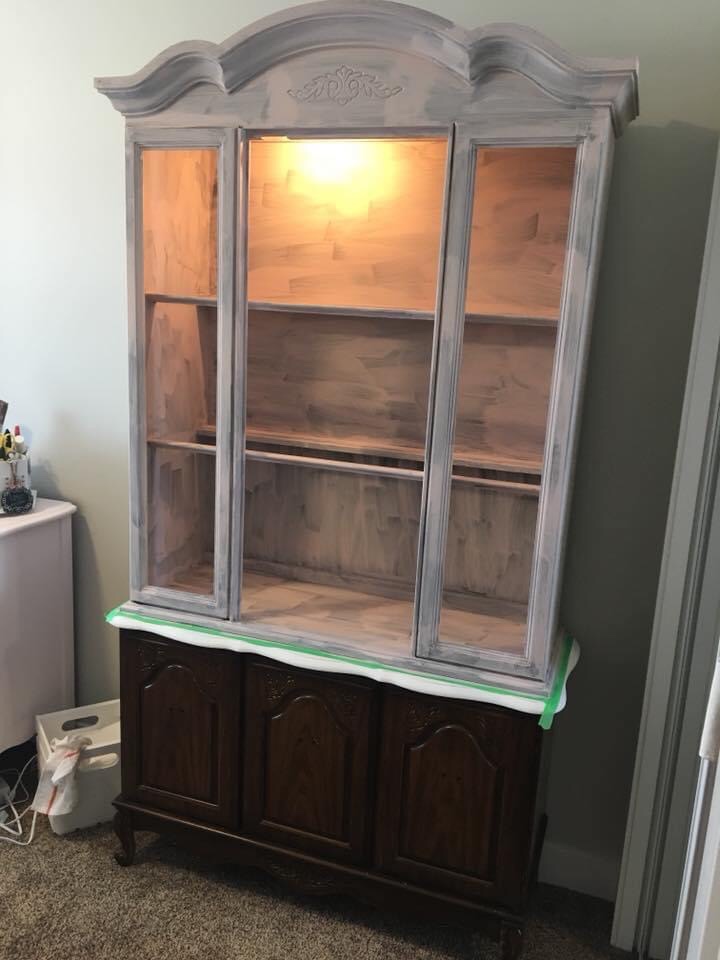
Step 2
I always recommend if you are painting a very dark wood into a light color, its best to go ahead and prime the furniture first.
This step will save you time and money in the long term as you will end up needing less of your expensive high quality chalk paint in the end. I recommend using a white primer when starting with a very dark piece as in this case.
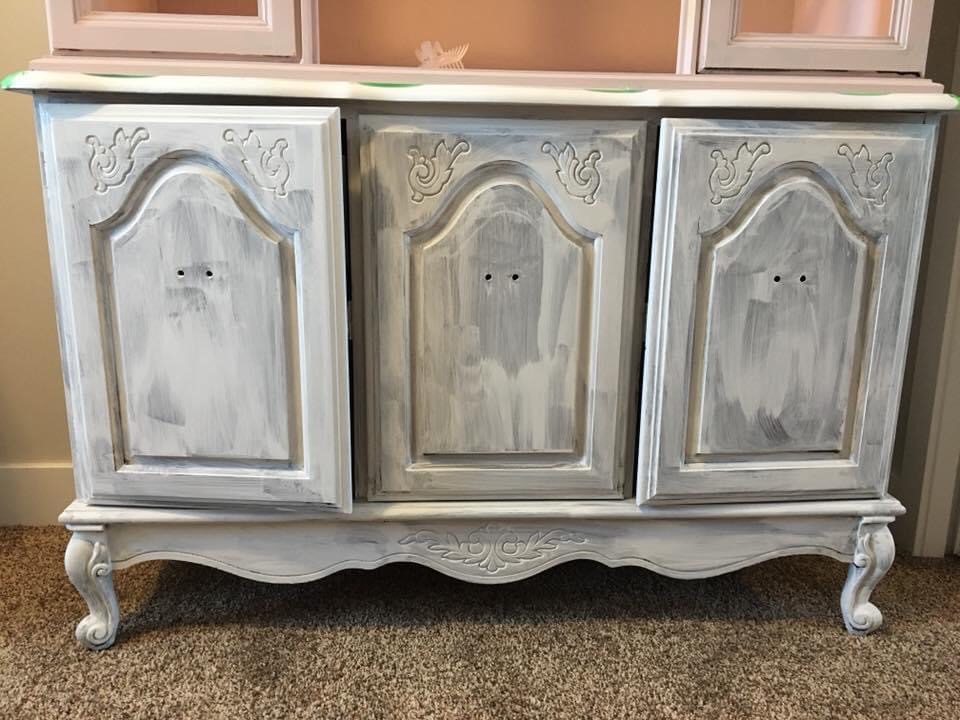
In terms of paint color, I wanted to have two distinct colors on this piece.
I opted for a pretty pink on the top and a crisp white on the bottom.
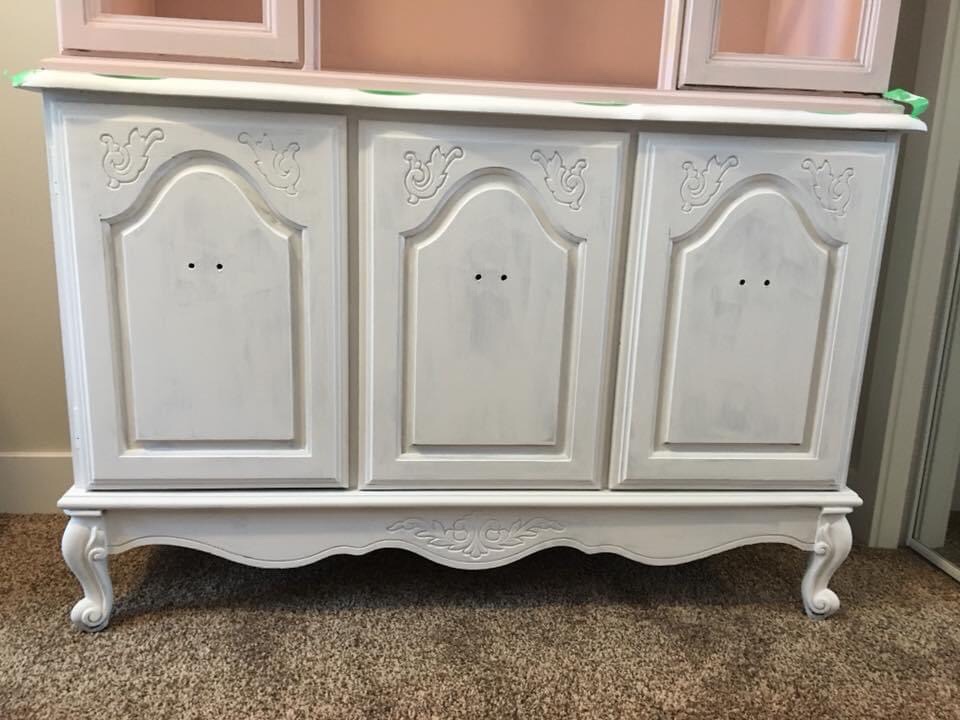
I began by painting out the top and the bottom pieces and started with 2 light coats, letting each coat dry in between.
Painting
Step 3
As you can see, after each coat, the coverage becomes nicer and nicer. The pink color I ended up using on the top portion is Rustoleum Chalked Blush Pink.
I am so in love with this pink! It’s probably my most favourite Rustoleum paint color ! I also used Rustoelum Chalked Linen White for the bottom portion.
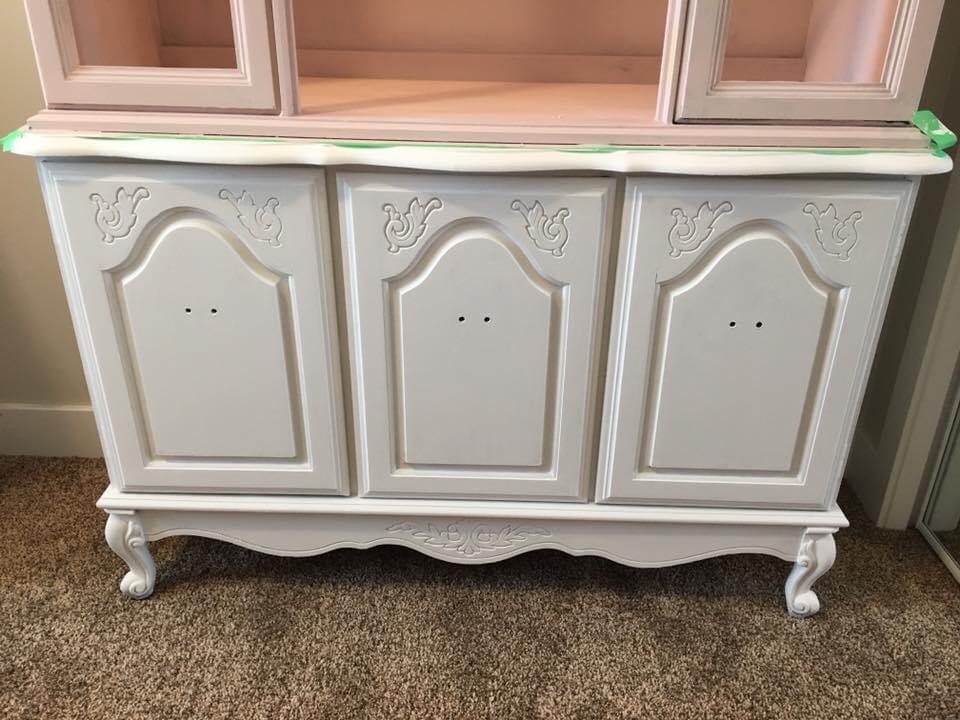
So excited with the transformation and finally the hutch is starting to take shape!
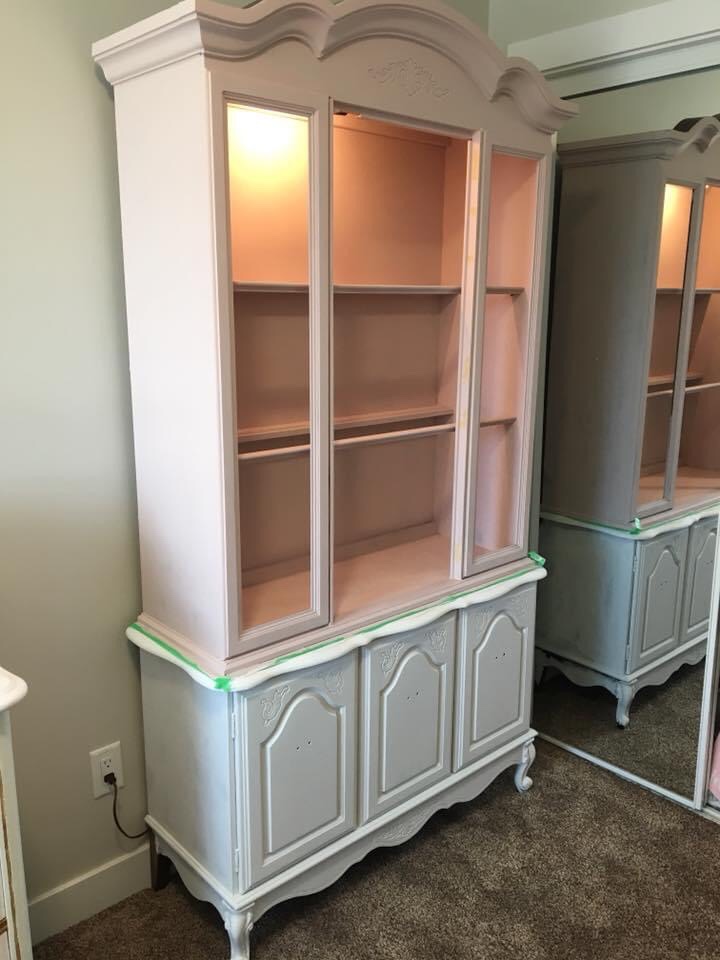
Step 4
Now comes the fun part, adding my paints into the cabinet and deciding on which faux crystal knobs to put back on!
Here are some options that I used to decide which way to go! These are just so fun and I can always find them at a great price especially if I buy a 10 pack.
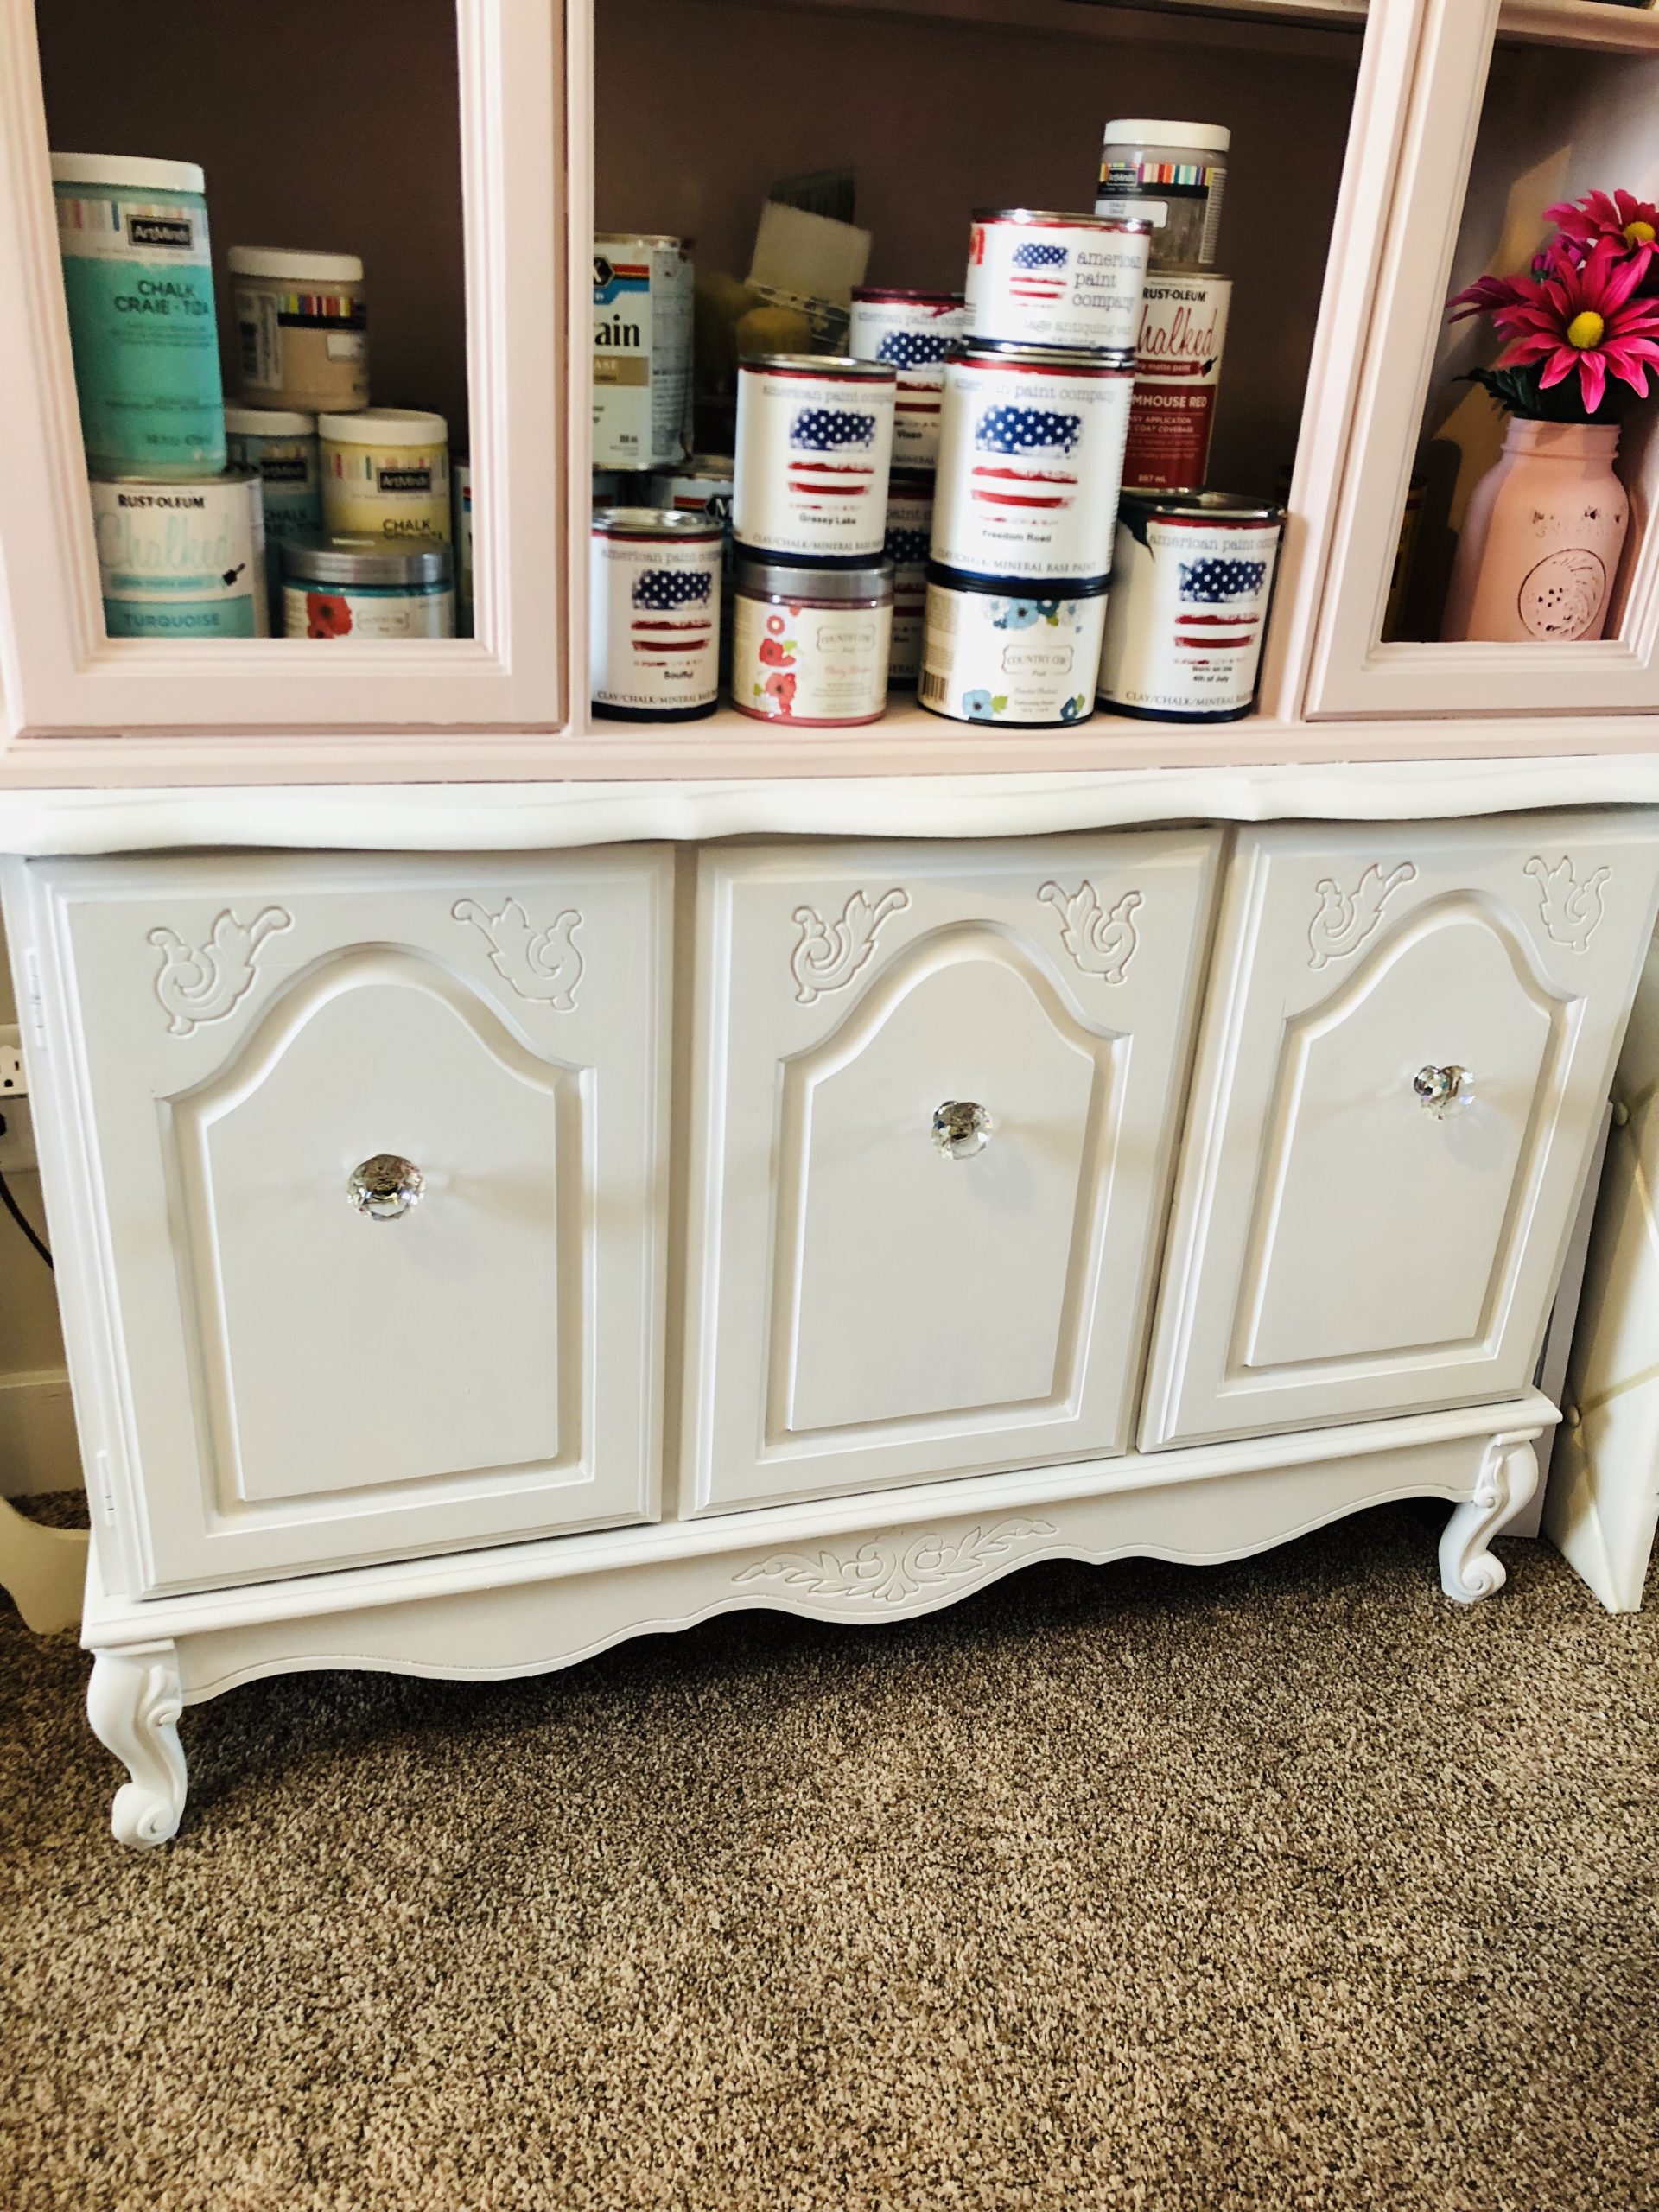
After I added crystal faux knobs, my hutch was starting to look so pretty!
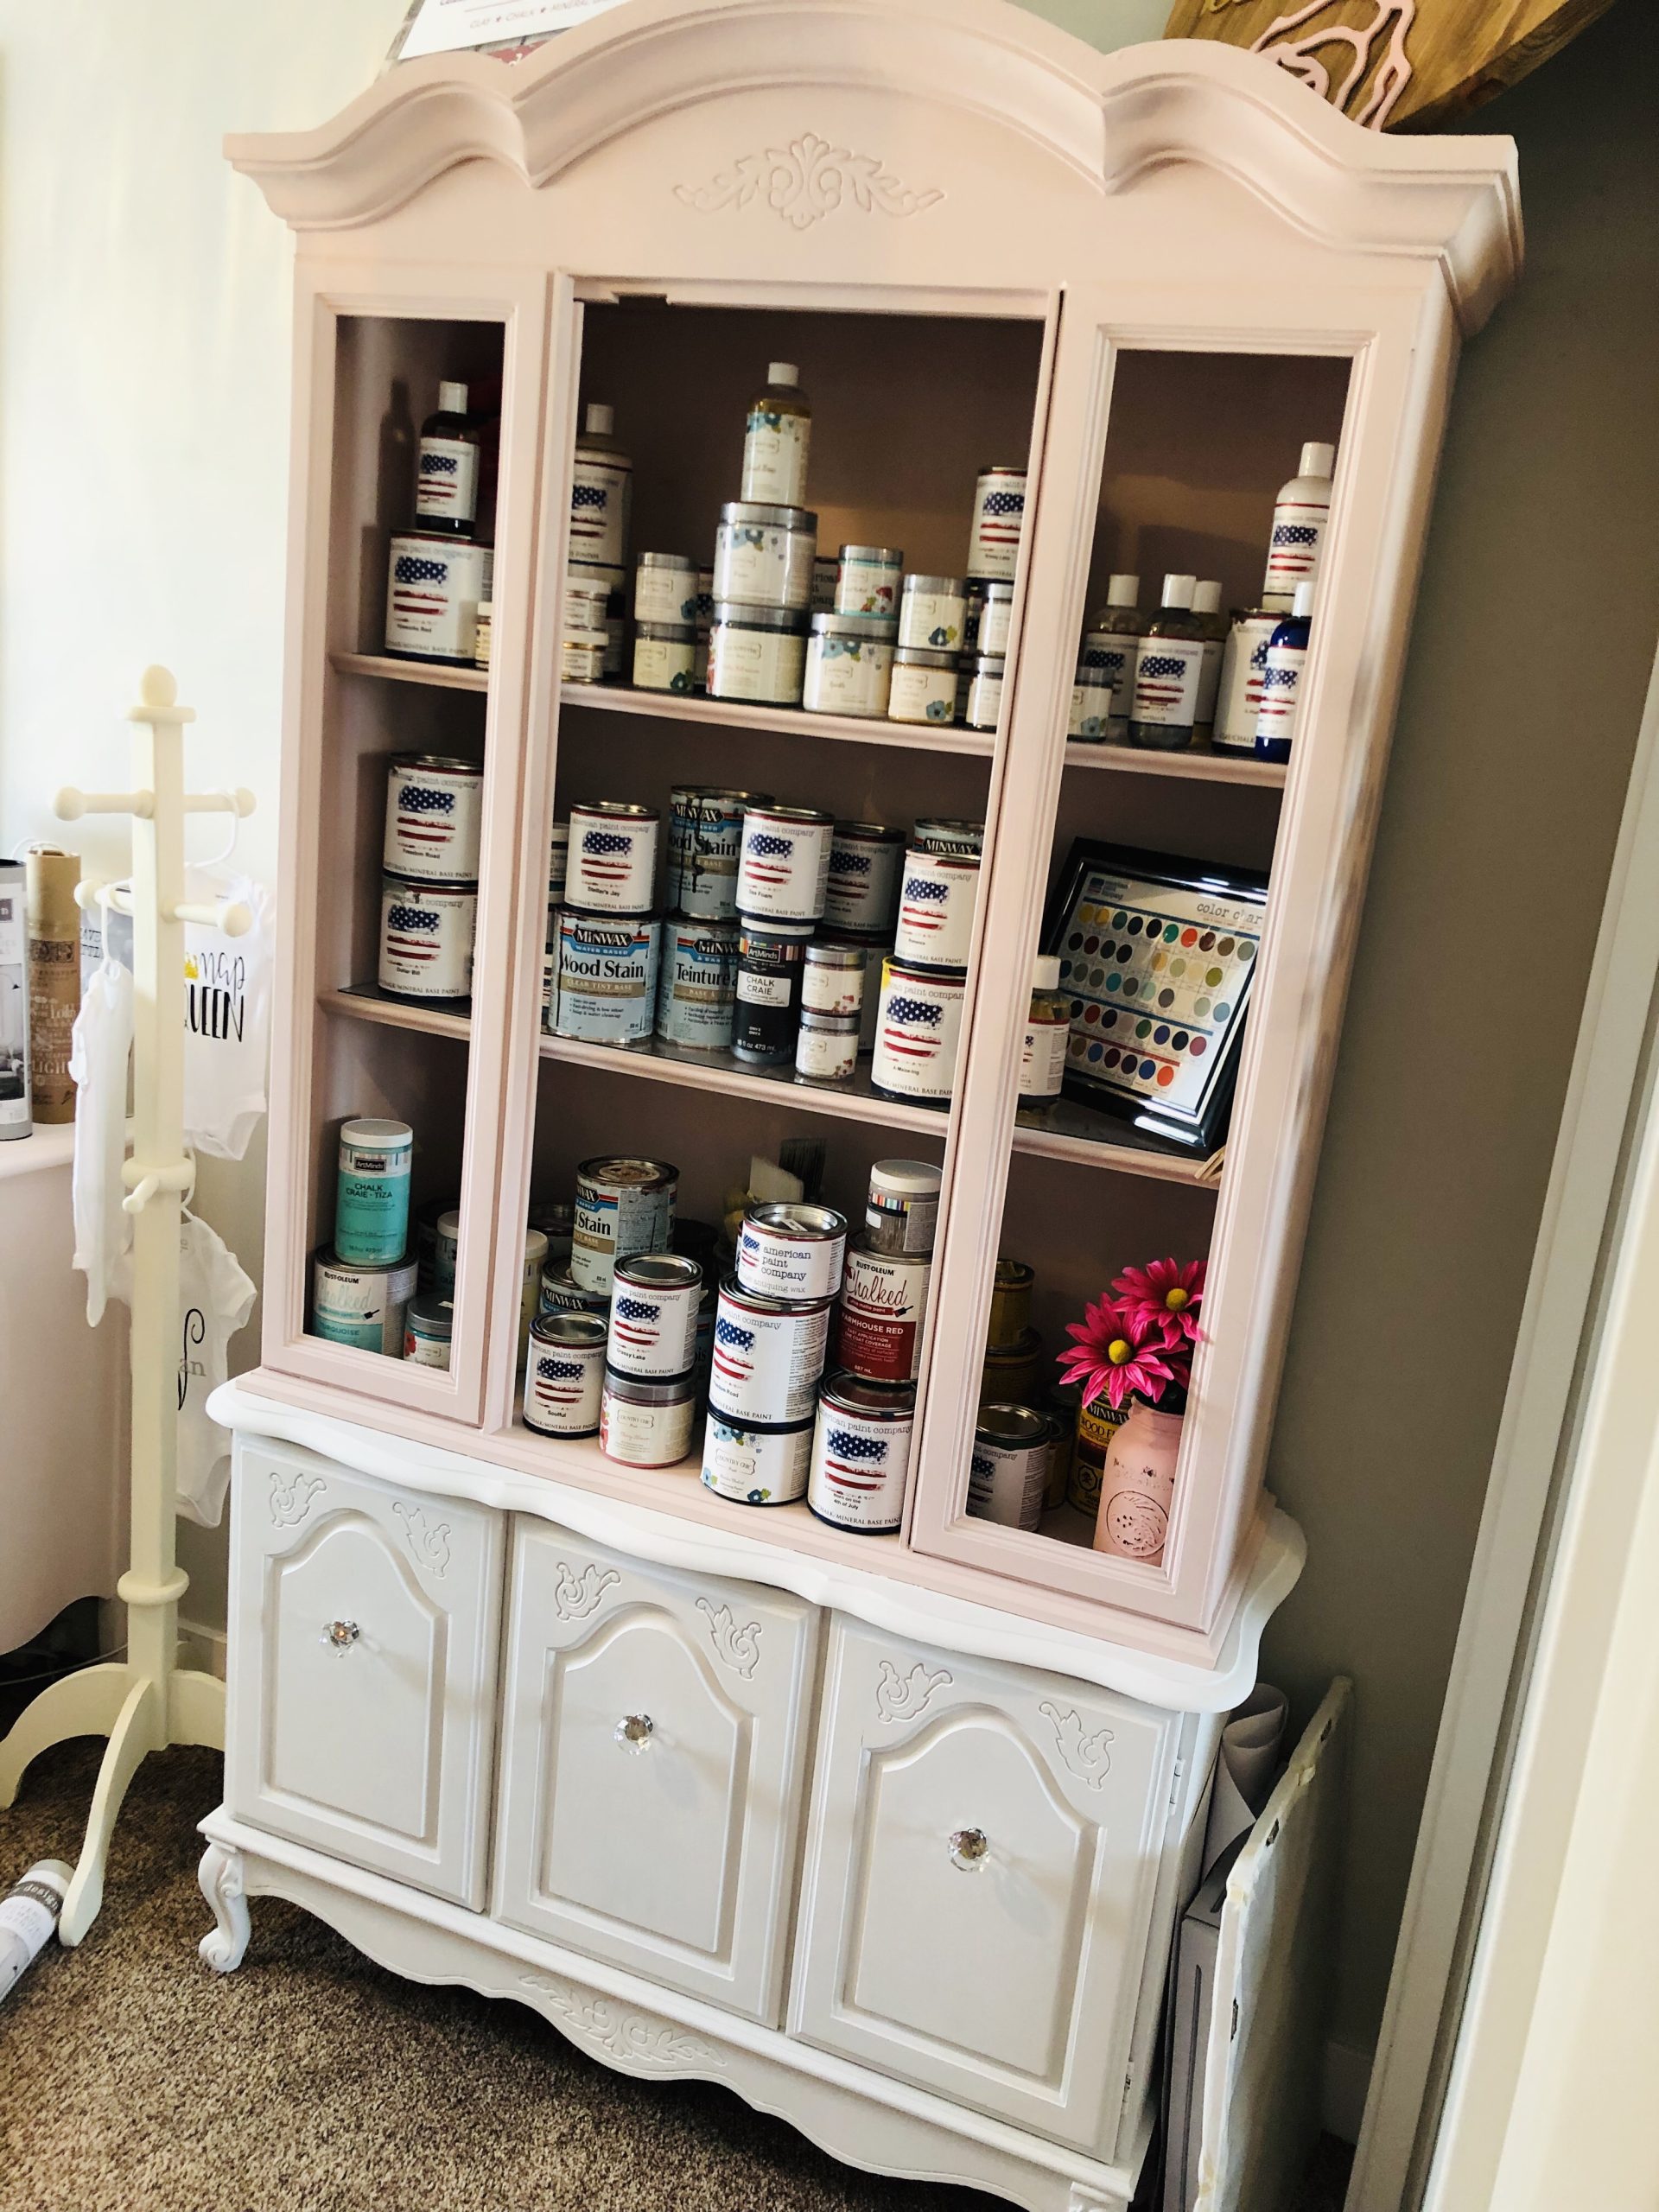
Now that the piece is all painted up and the knobs have been put back on, it’s time to focus on adding more details!
Furniture Transfers
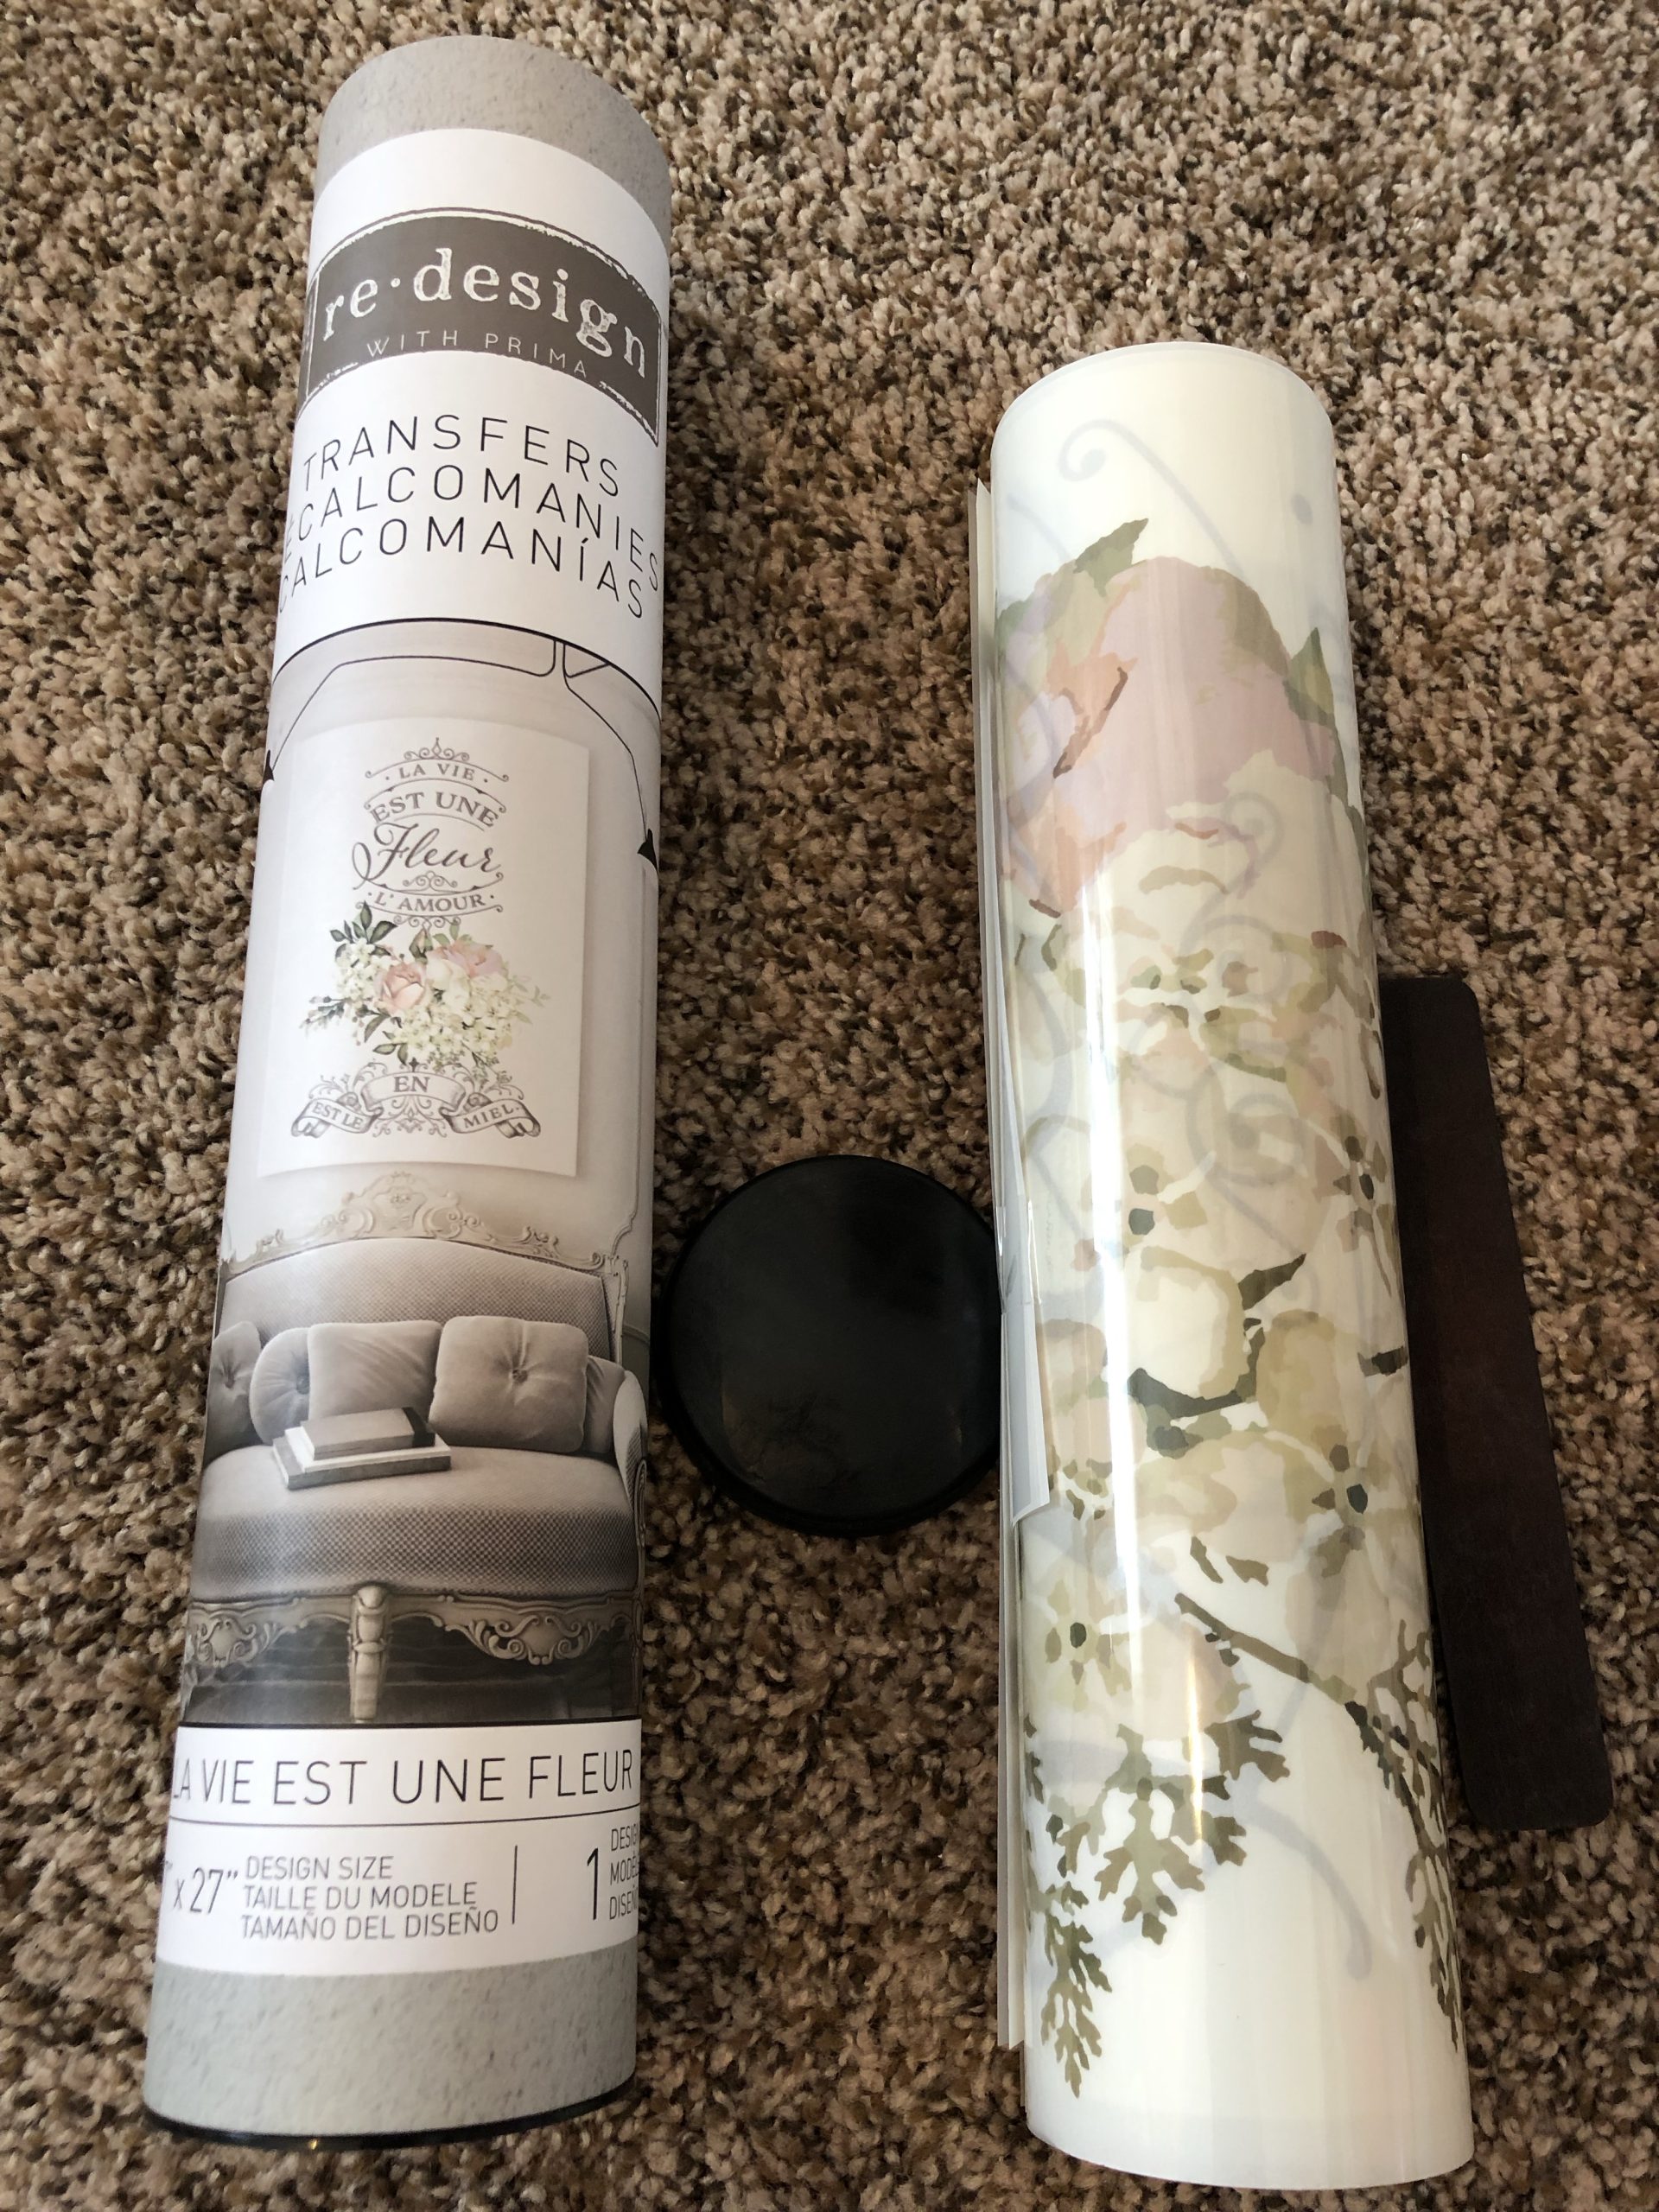
Step 5
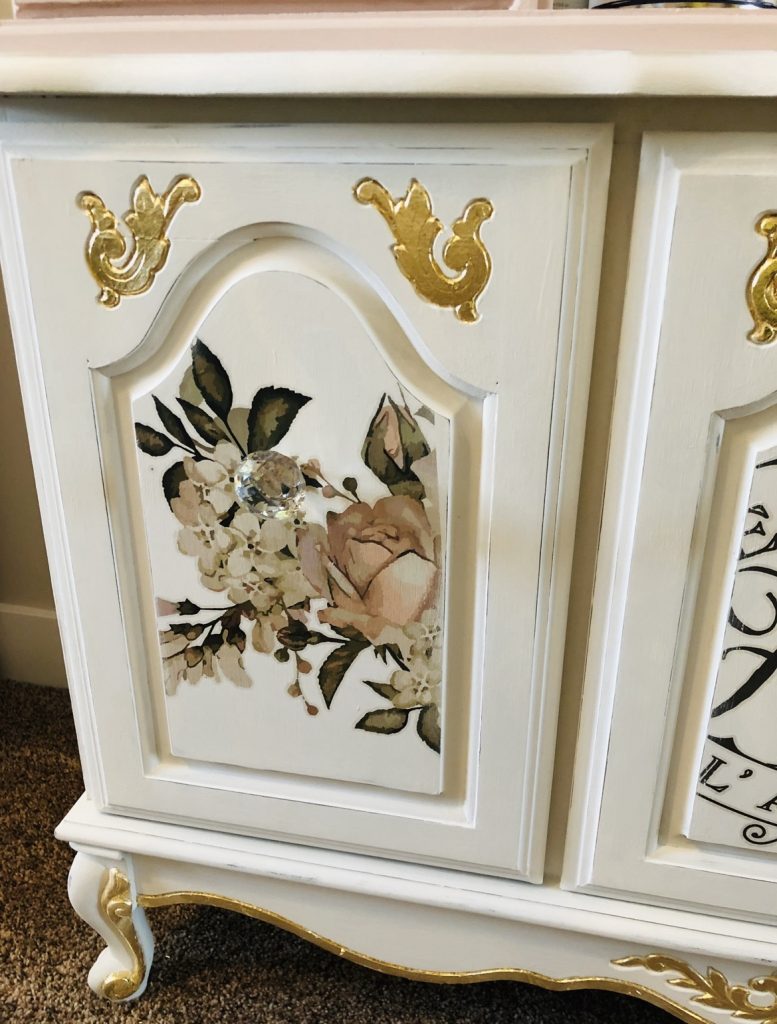
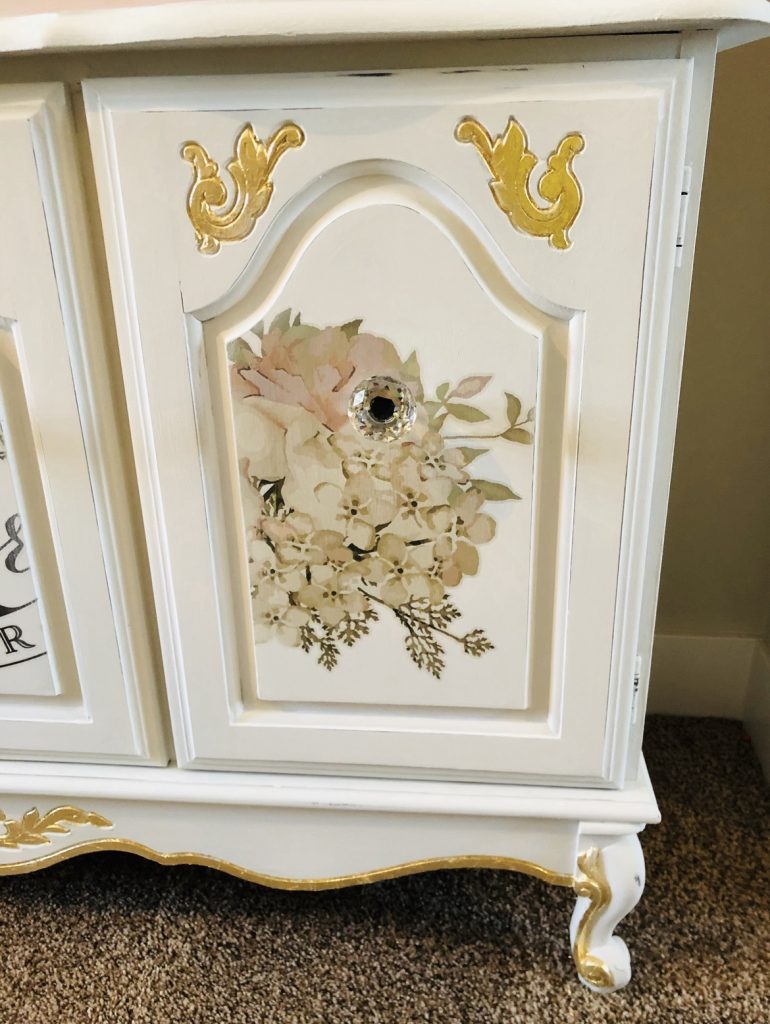
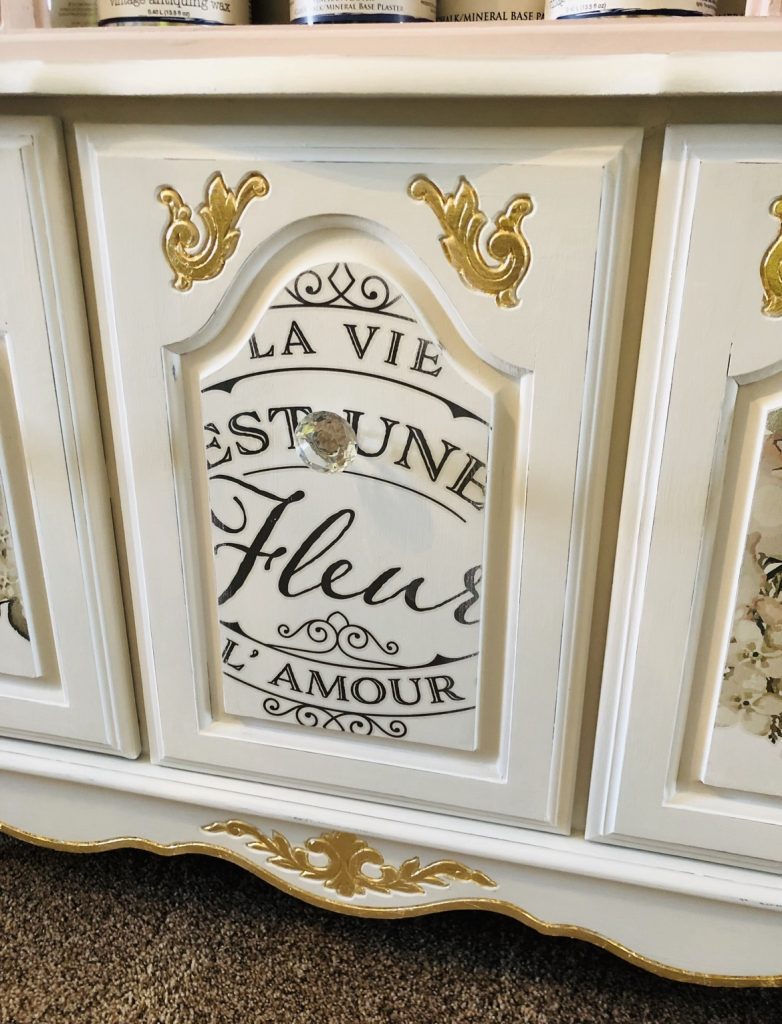
Adding a furniture transfer! I found this transfer and just fell in love with the floral details on it. You can find it HERE if you are wanting a similar transfer.
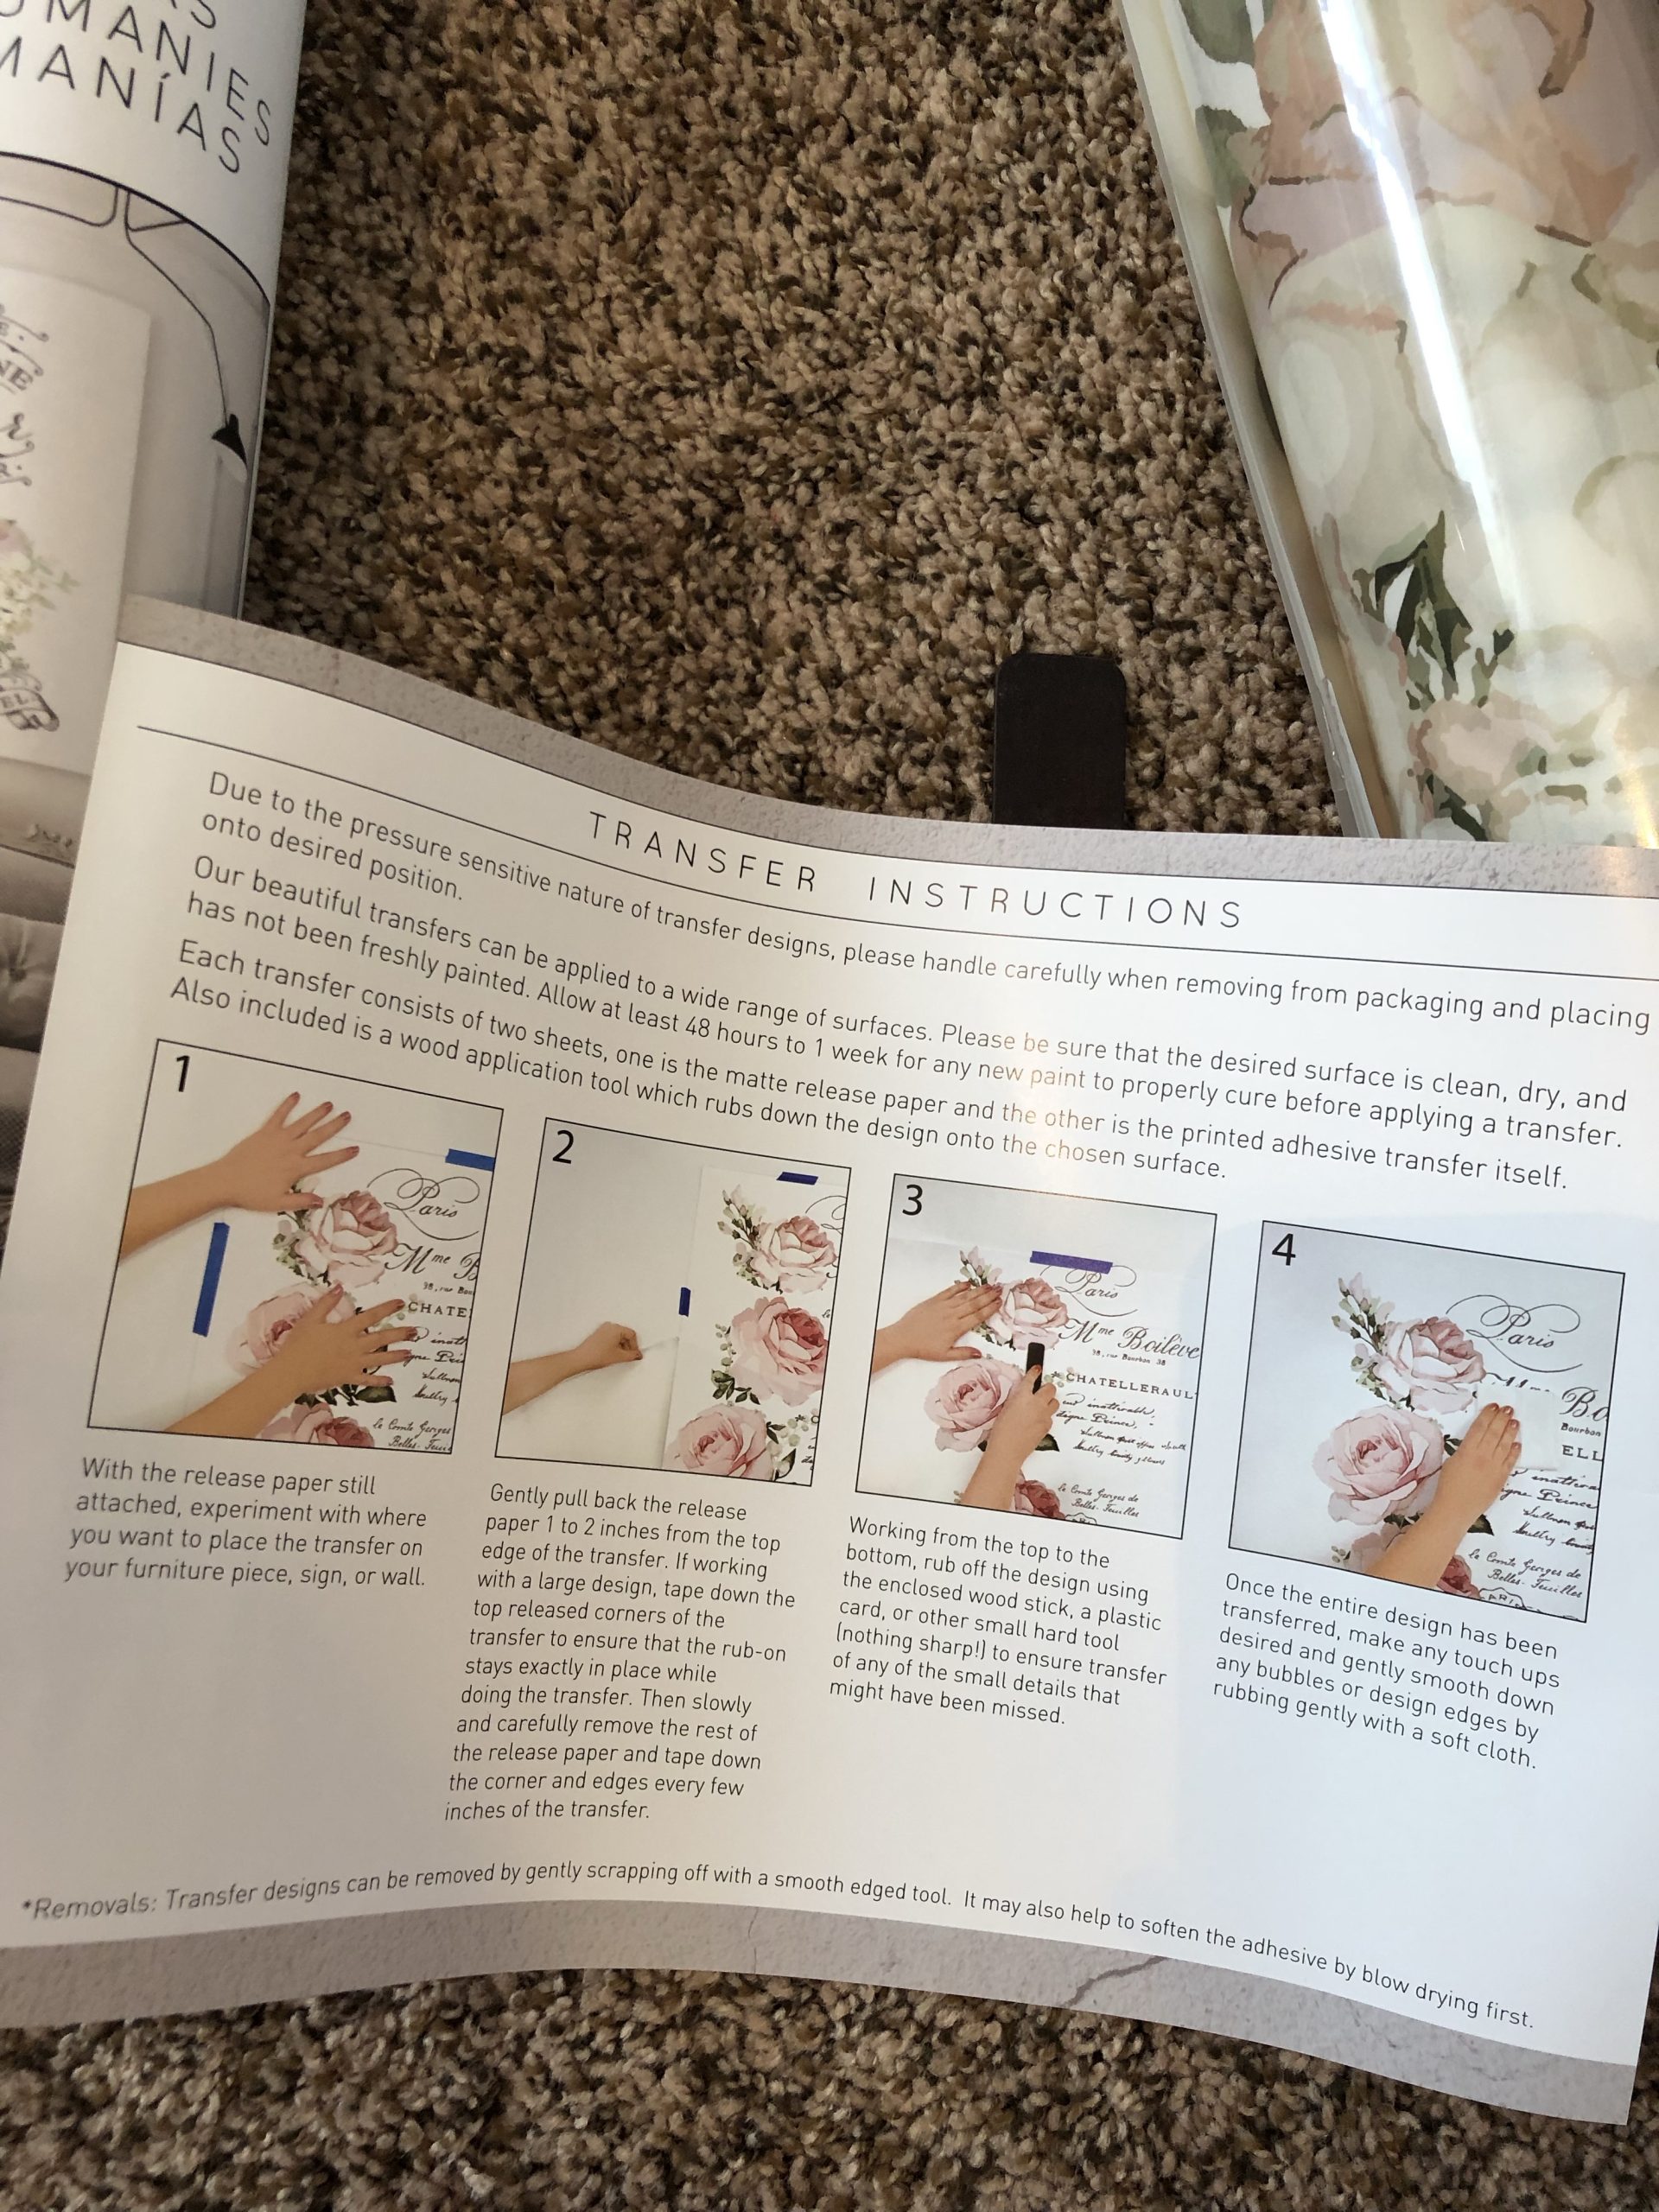
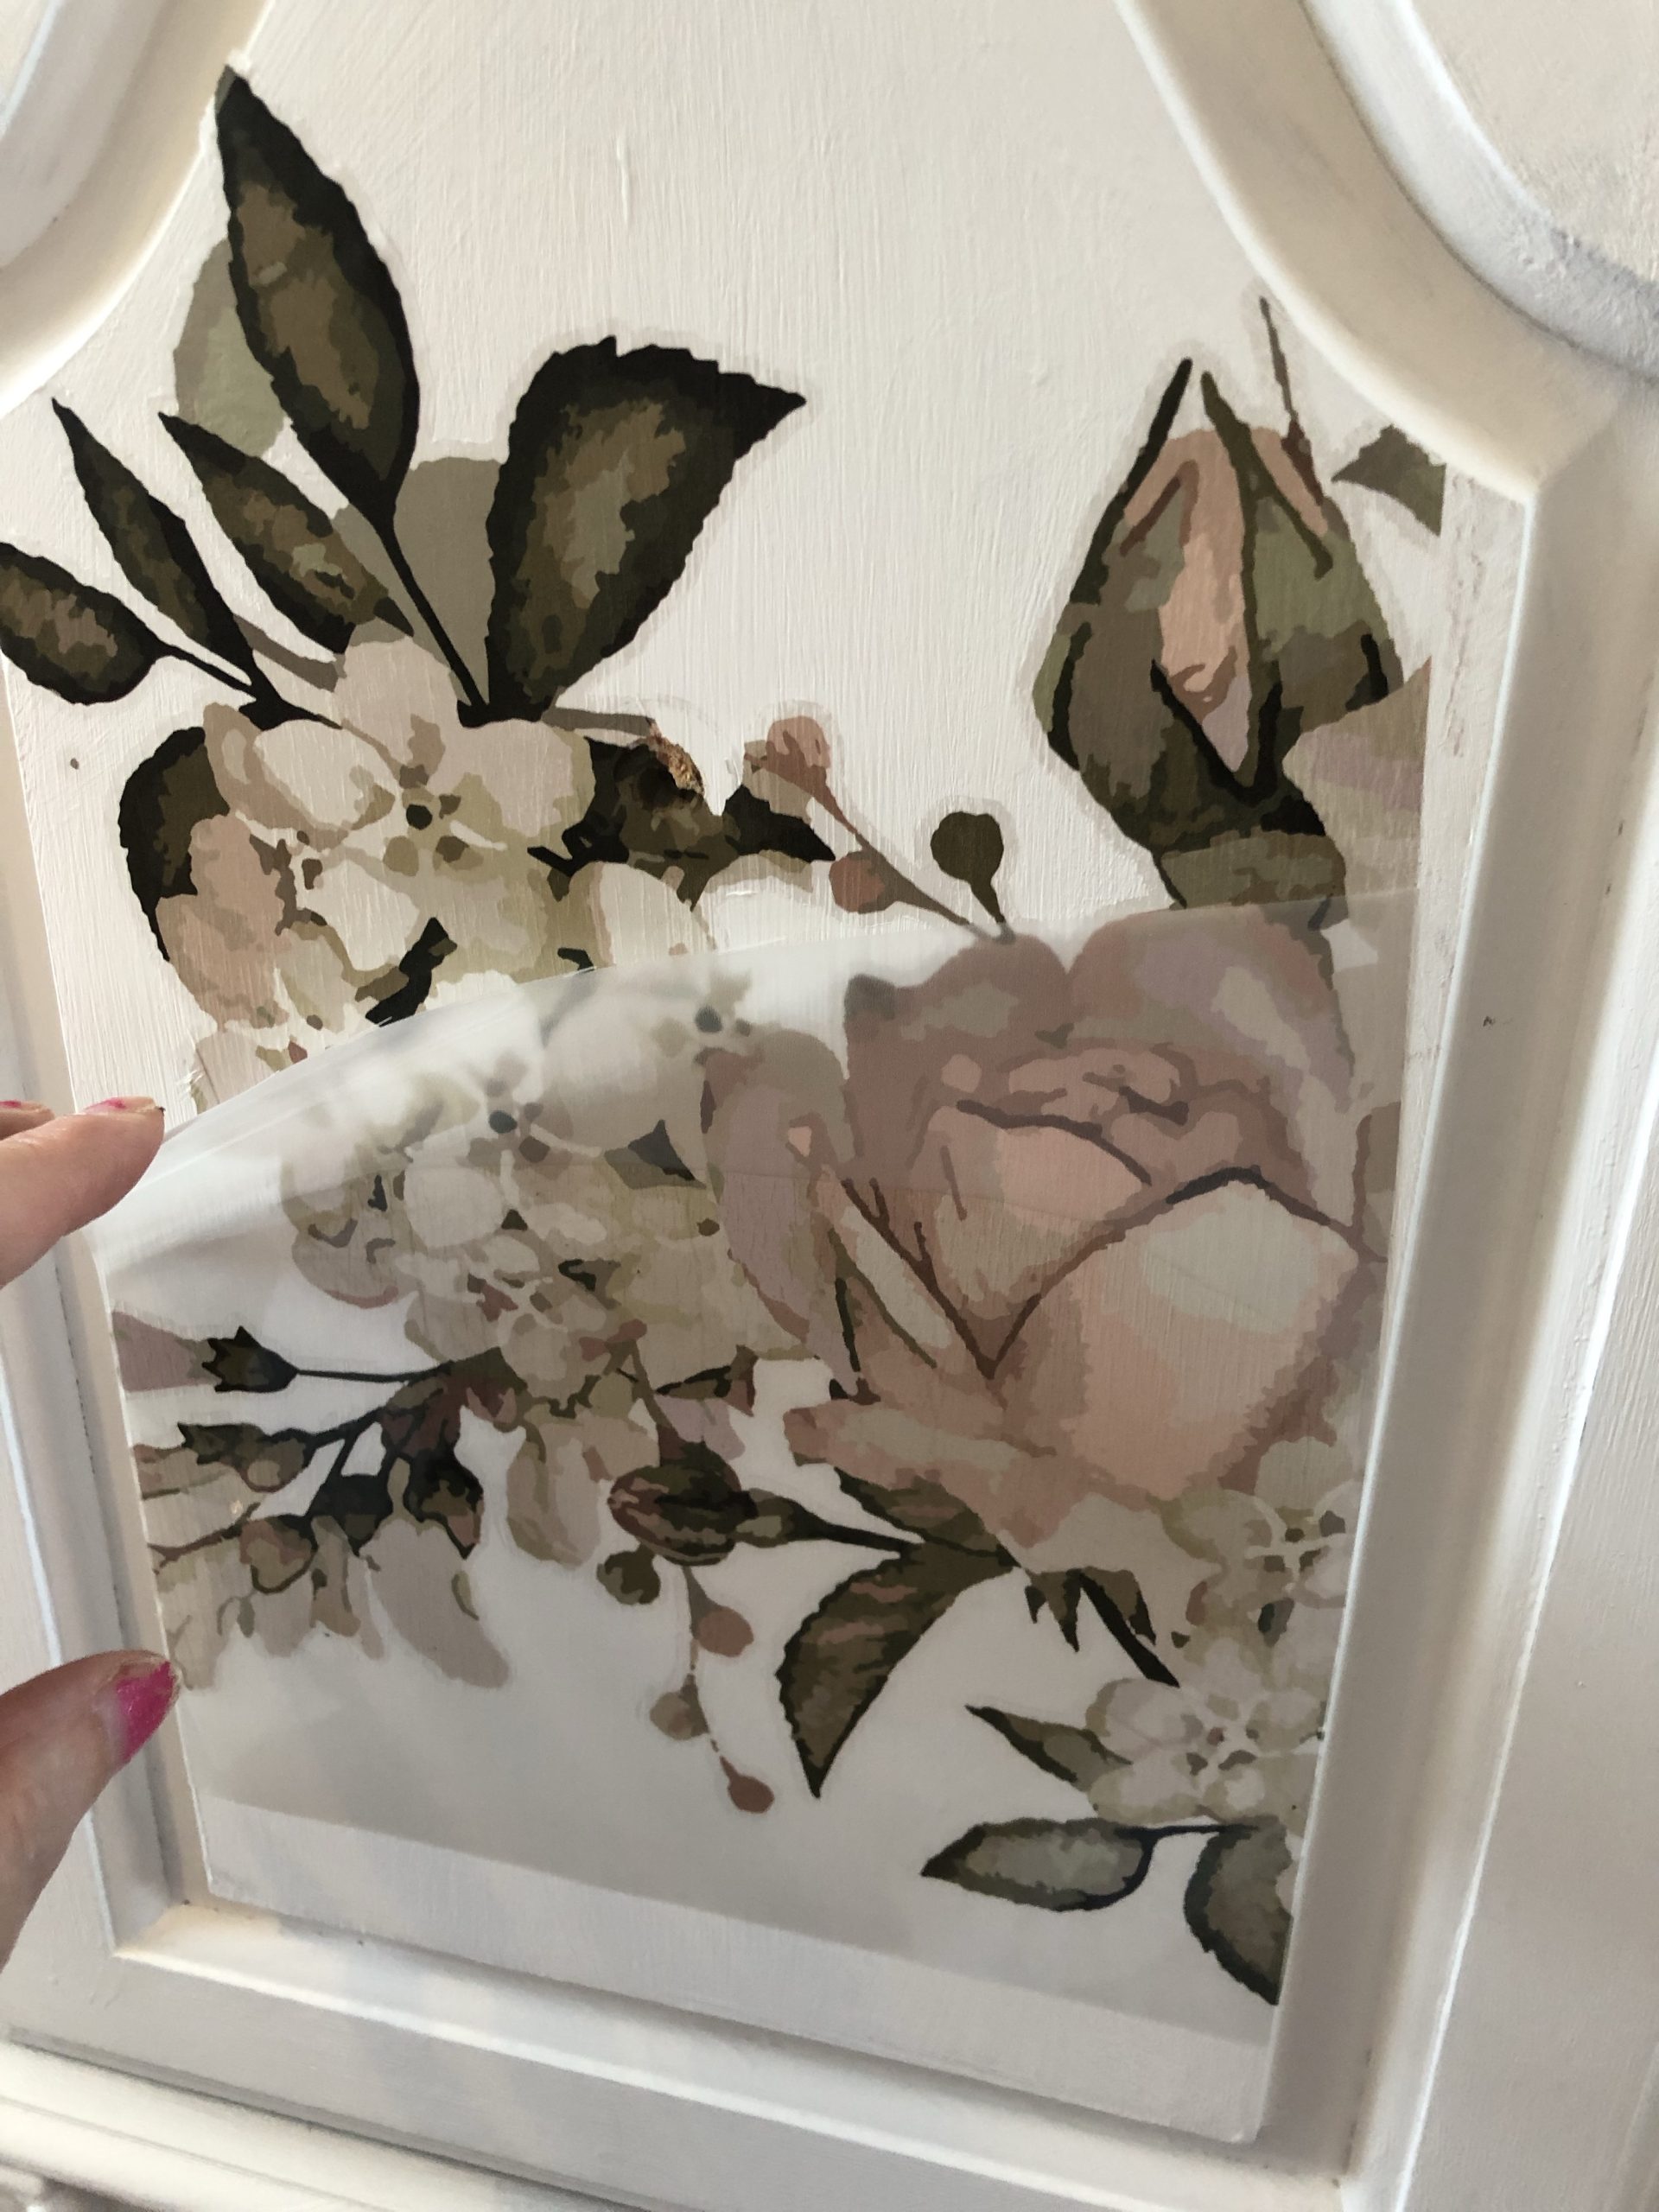
Inside the tube you will find the transfer and instructions. Be very careful with the transfer as it is very fragile and easy to ruin. I know this from experience!
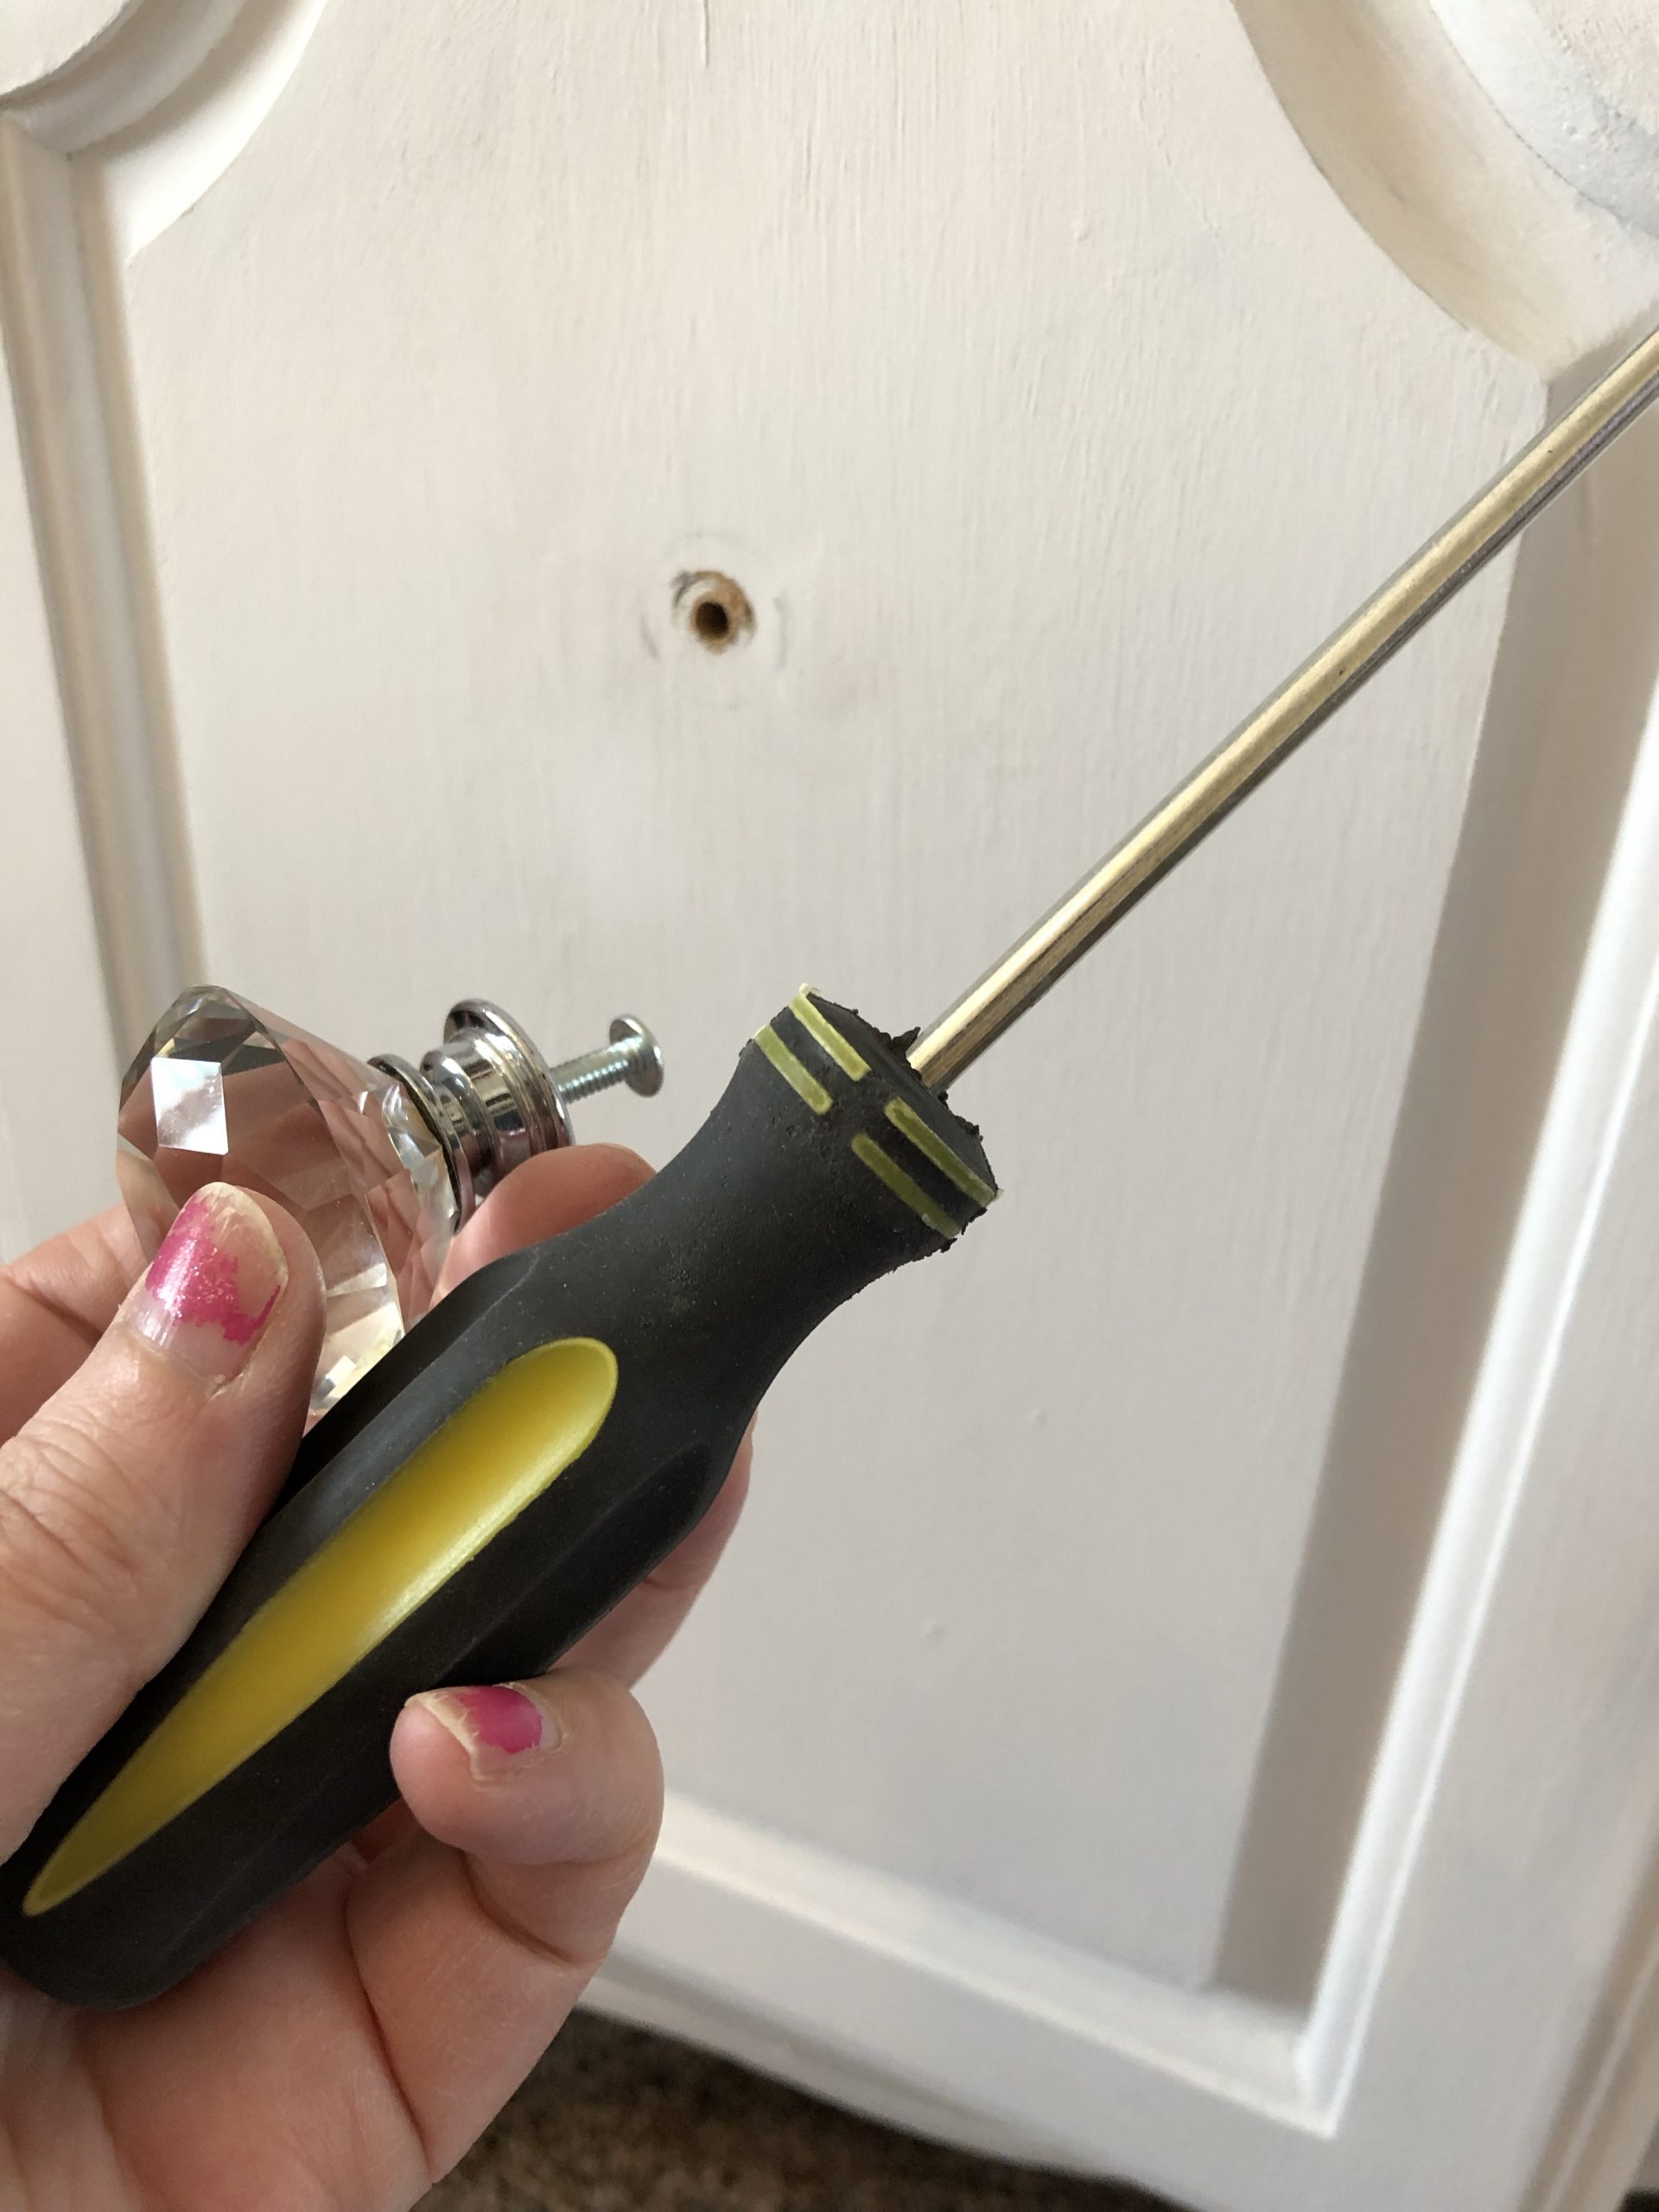
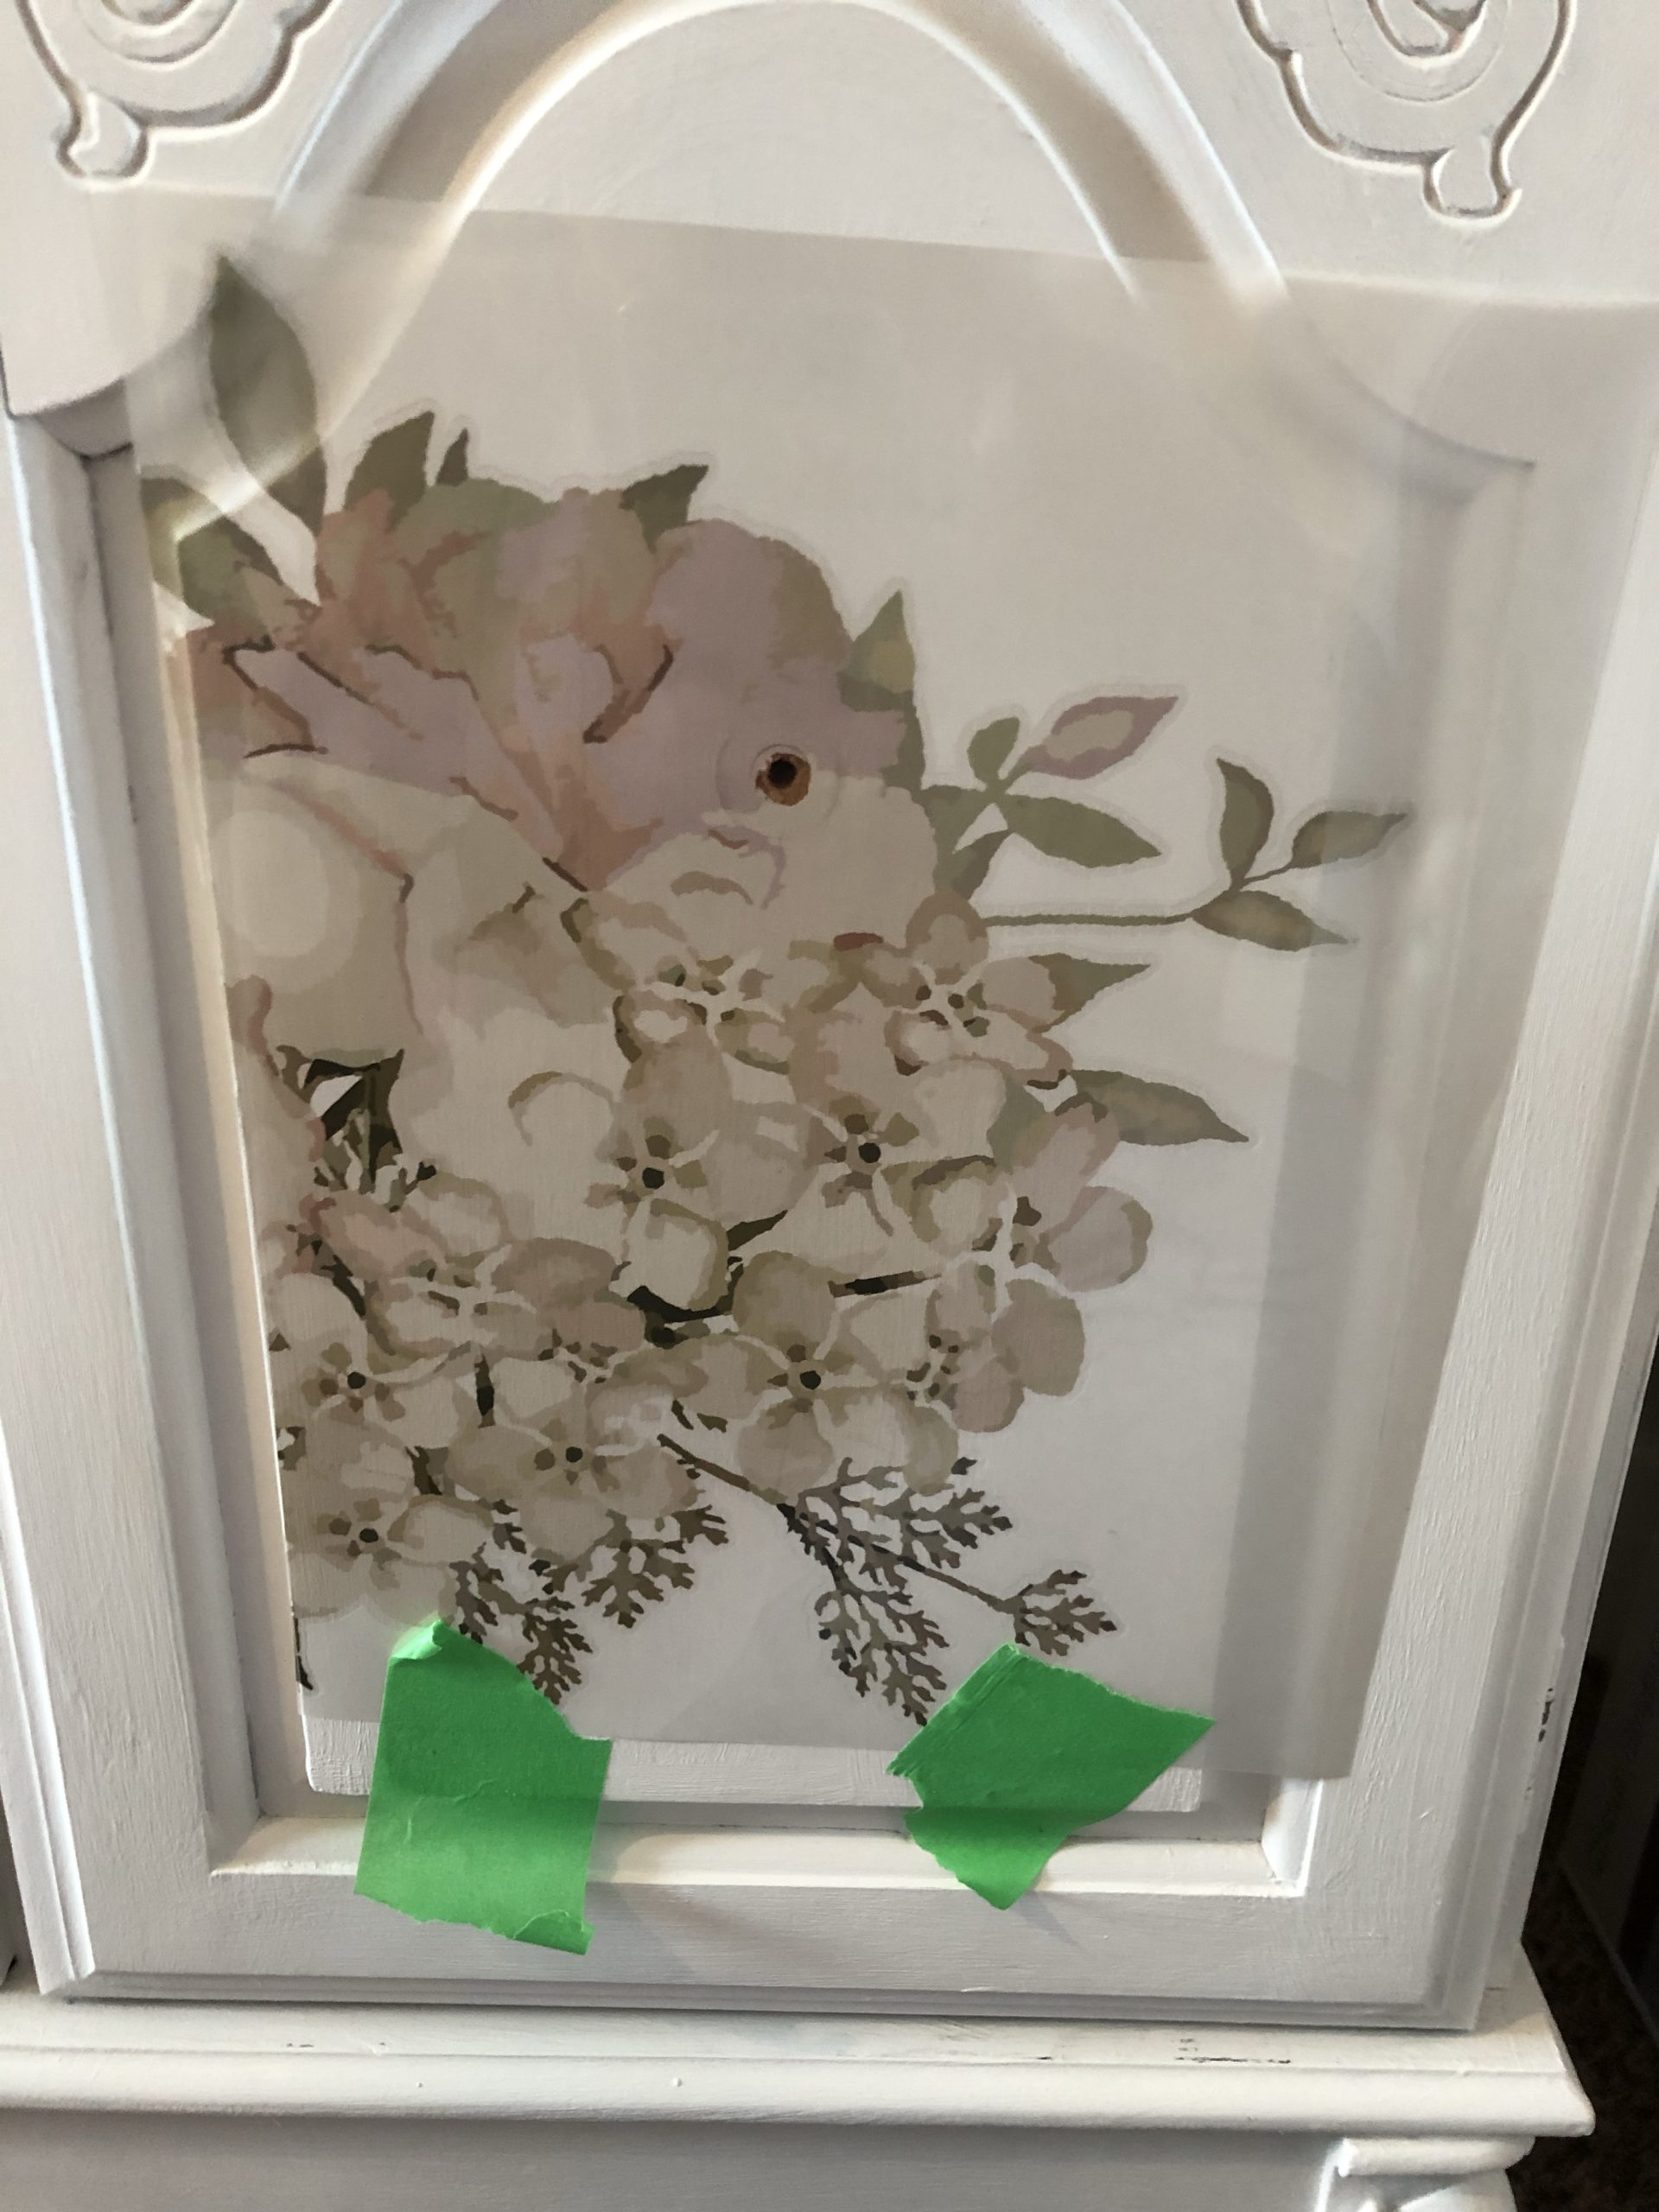
Start by removing the handles and cut the transfer into the pieces you envision for the furniture. I always cut mine out and use painters tape to stick it up on the furniture and stand back to have a look before I adhere the transfer.
Applying the Transfer
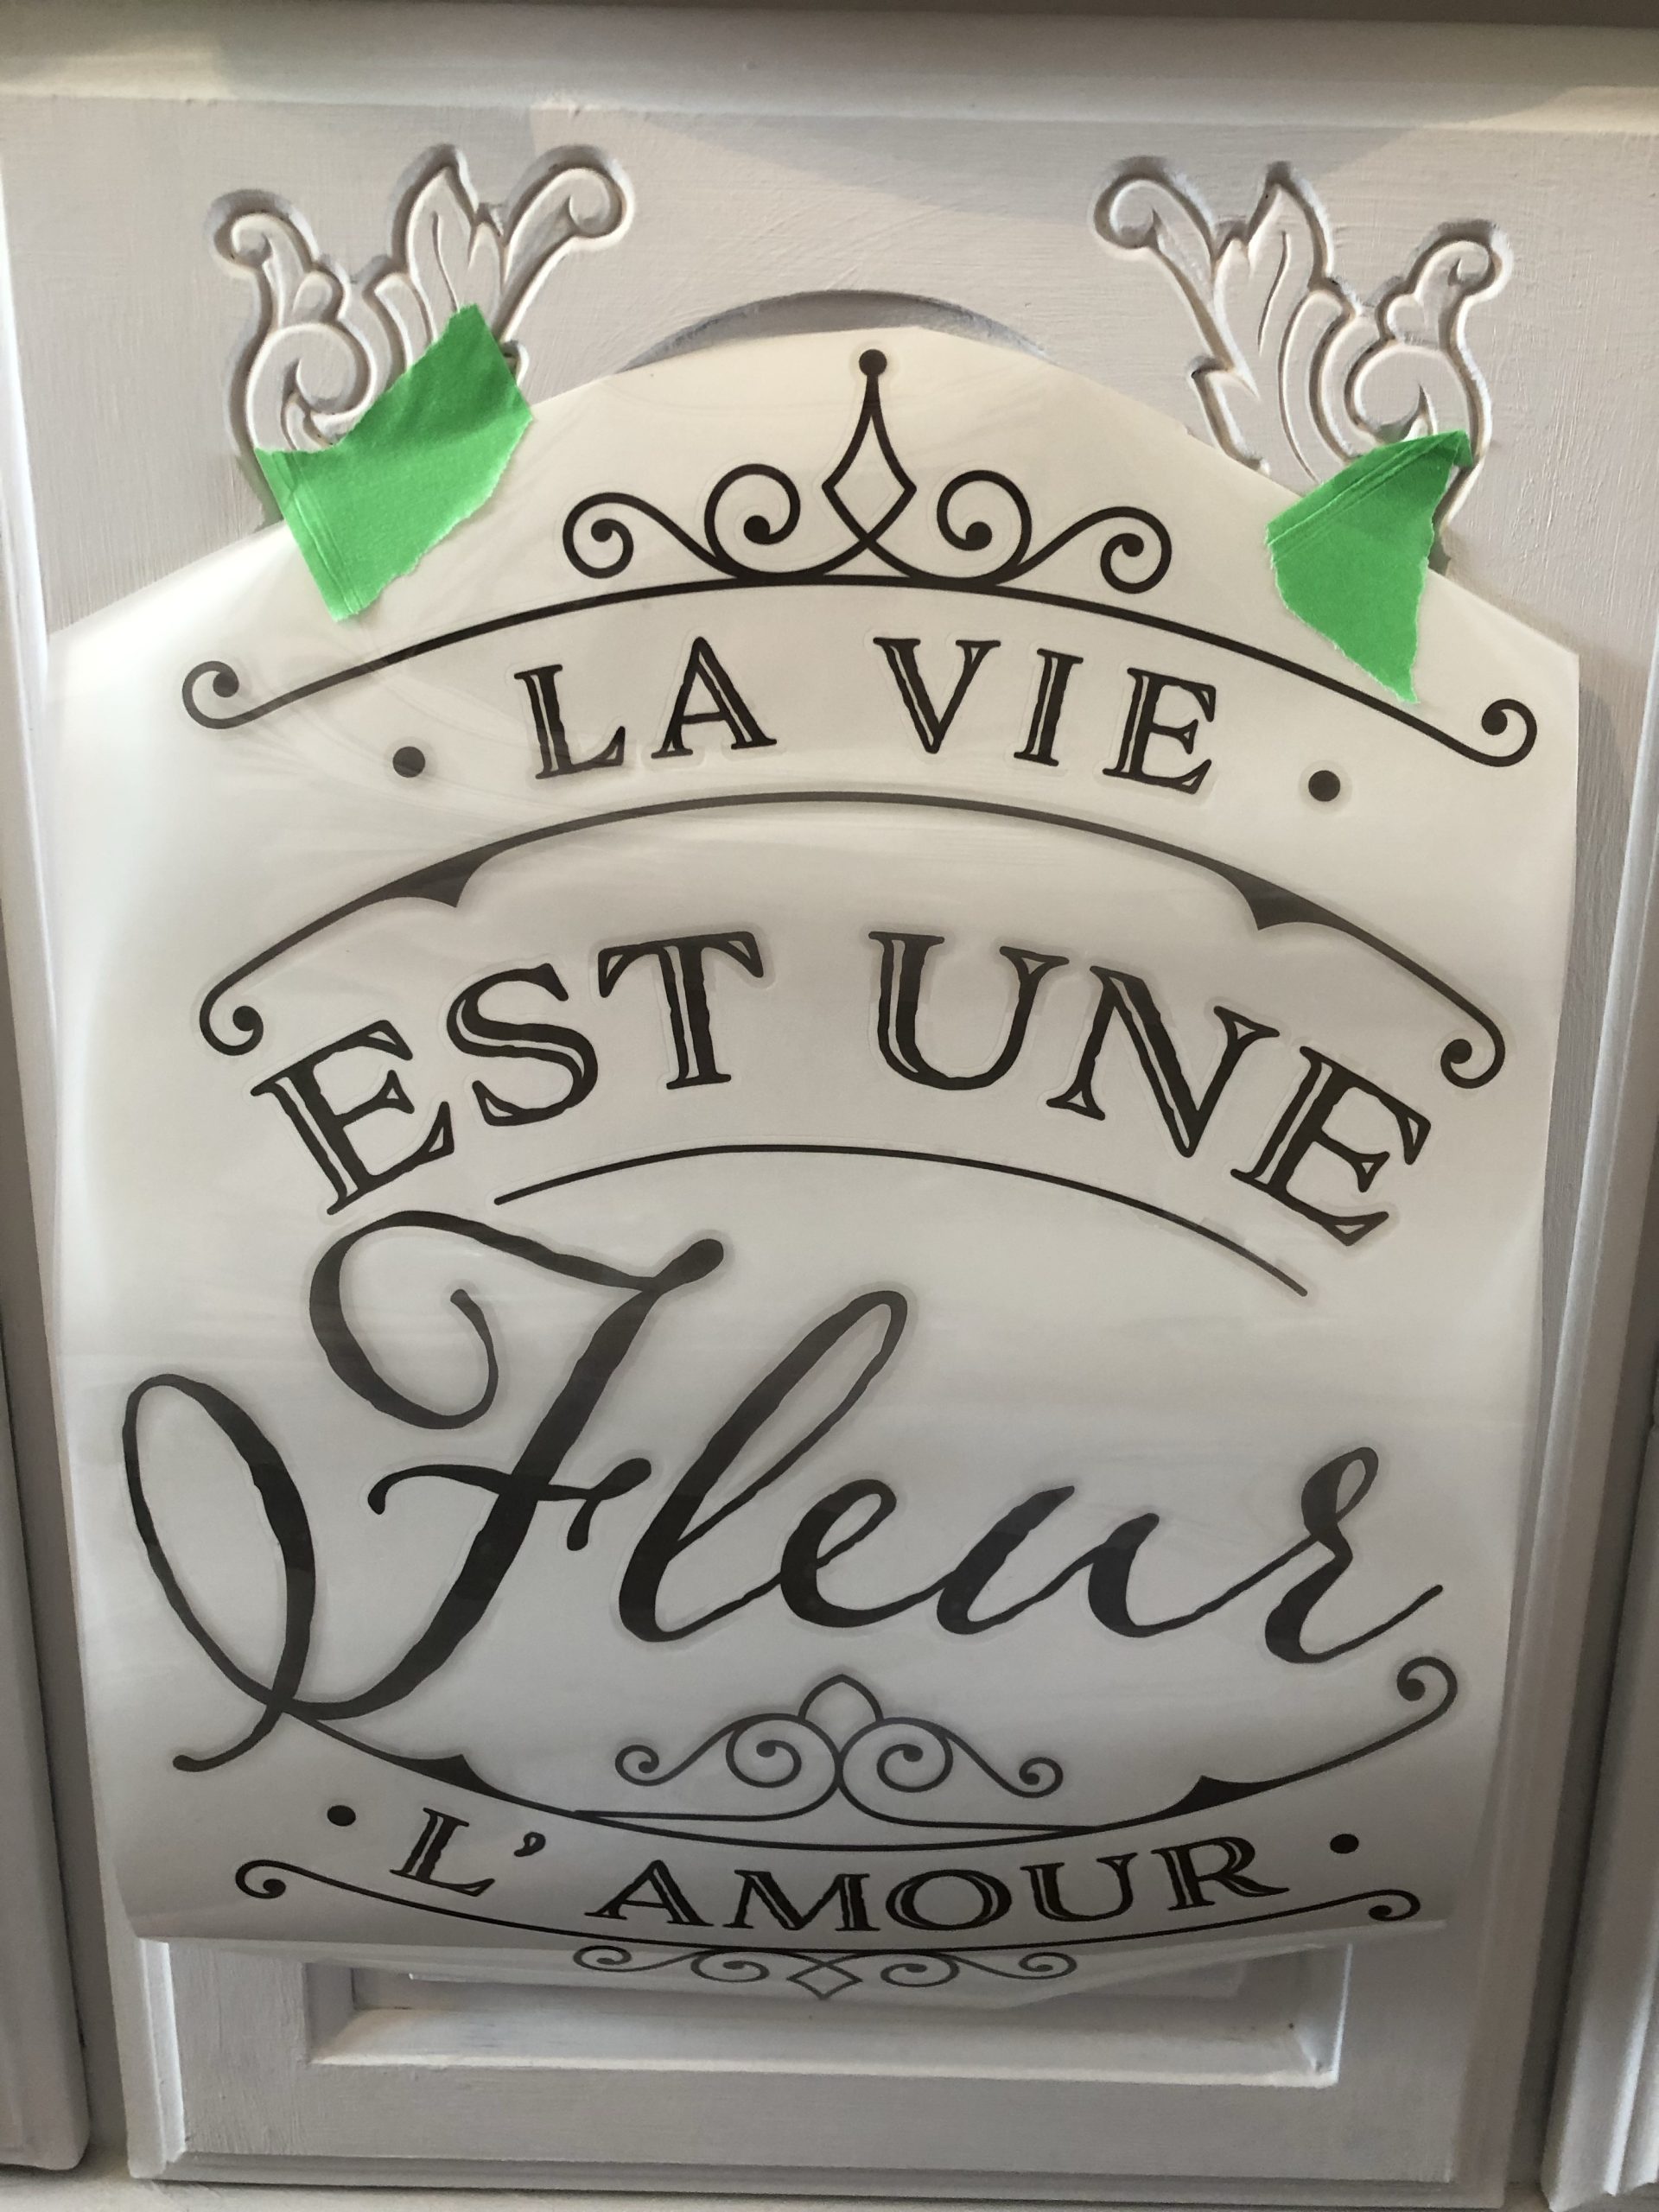
Please know that once you remove the backer sheet and place it on your furniture, it will not be possible to change your mind, so be sure before you apply it!
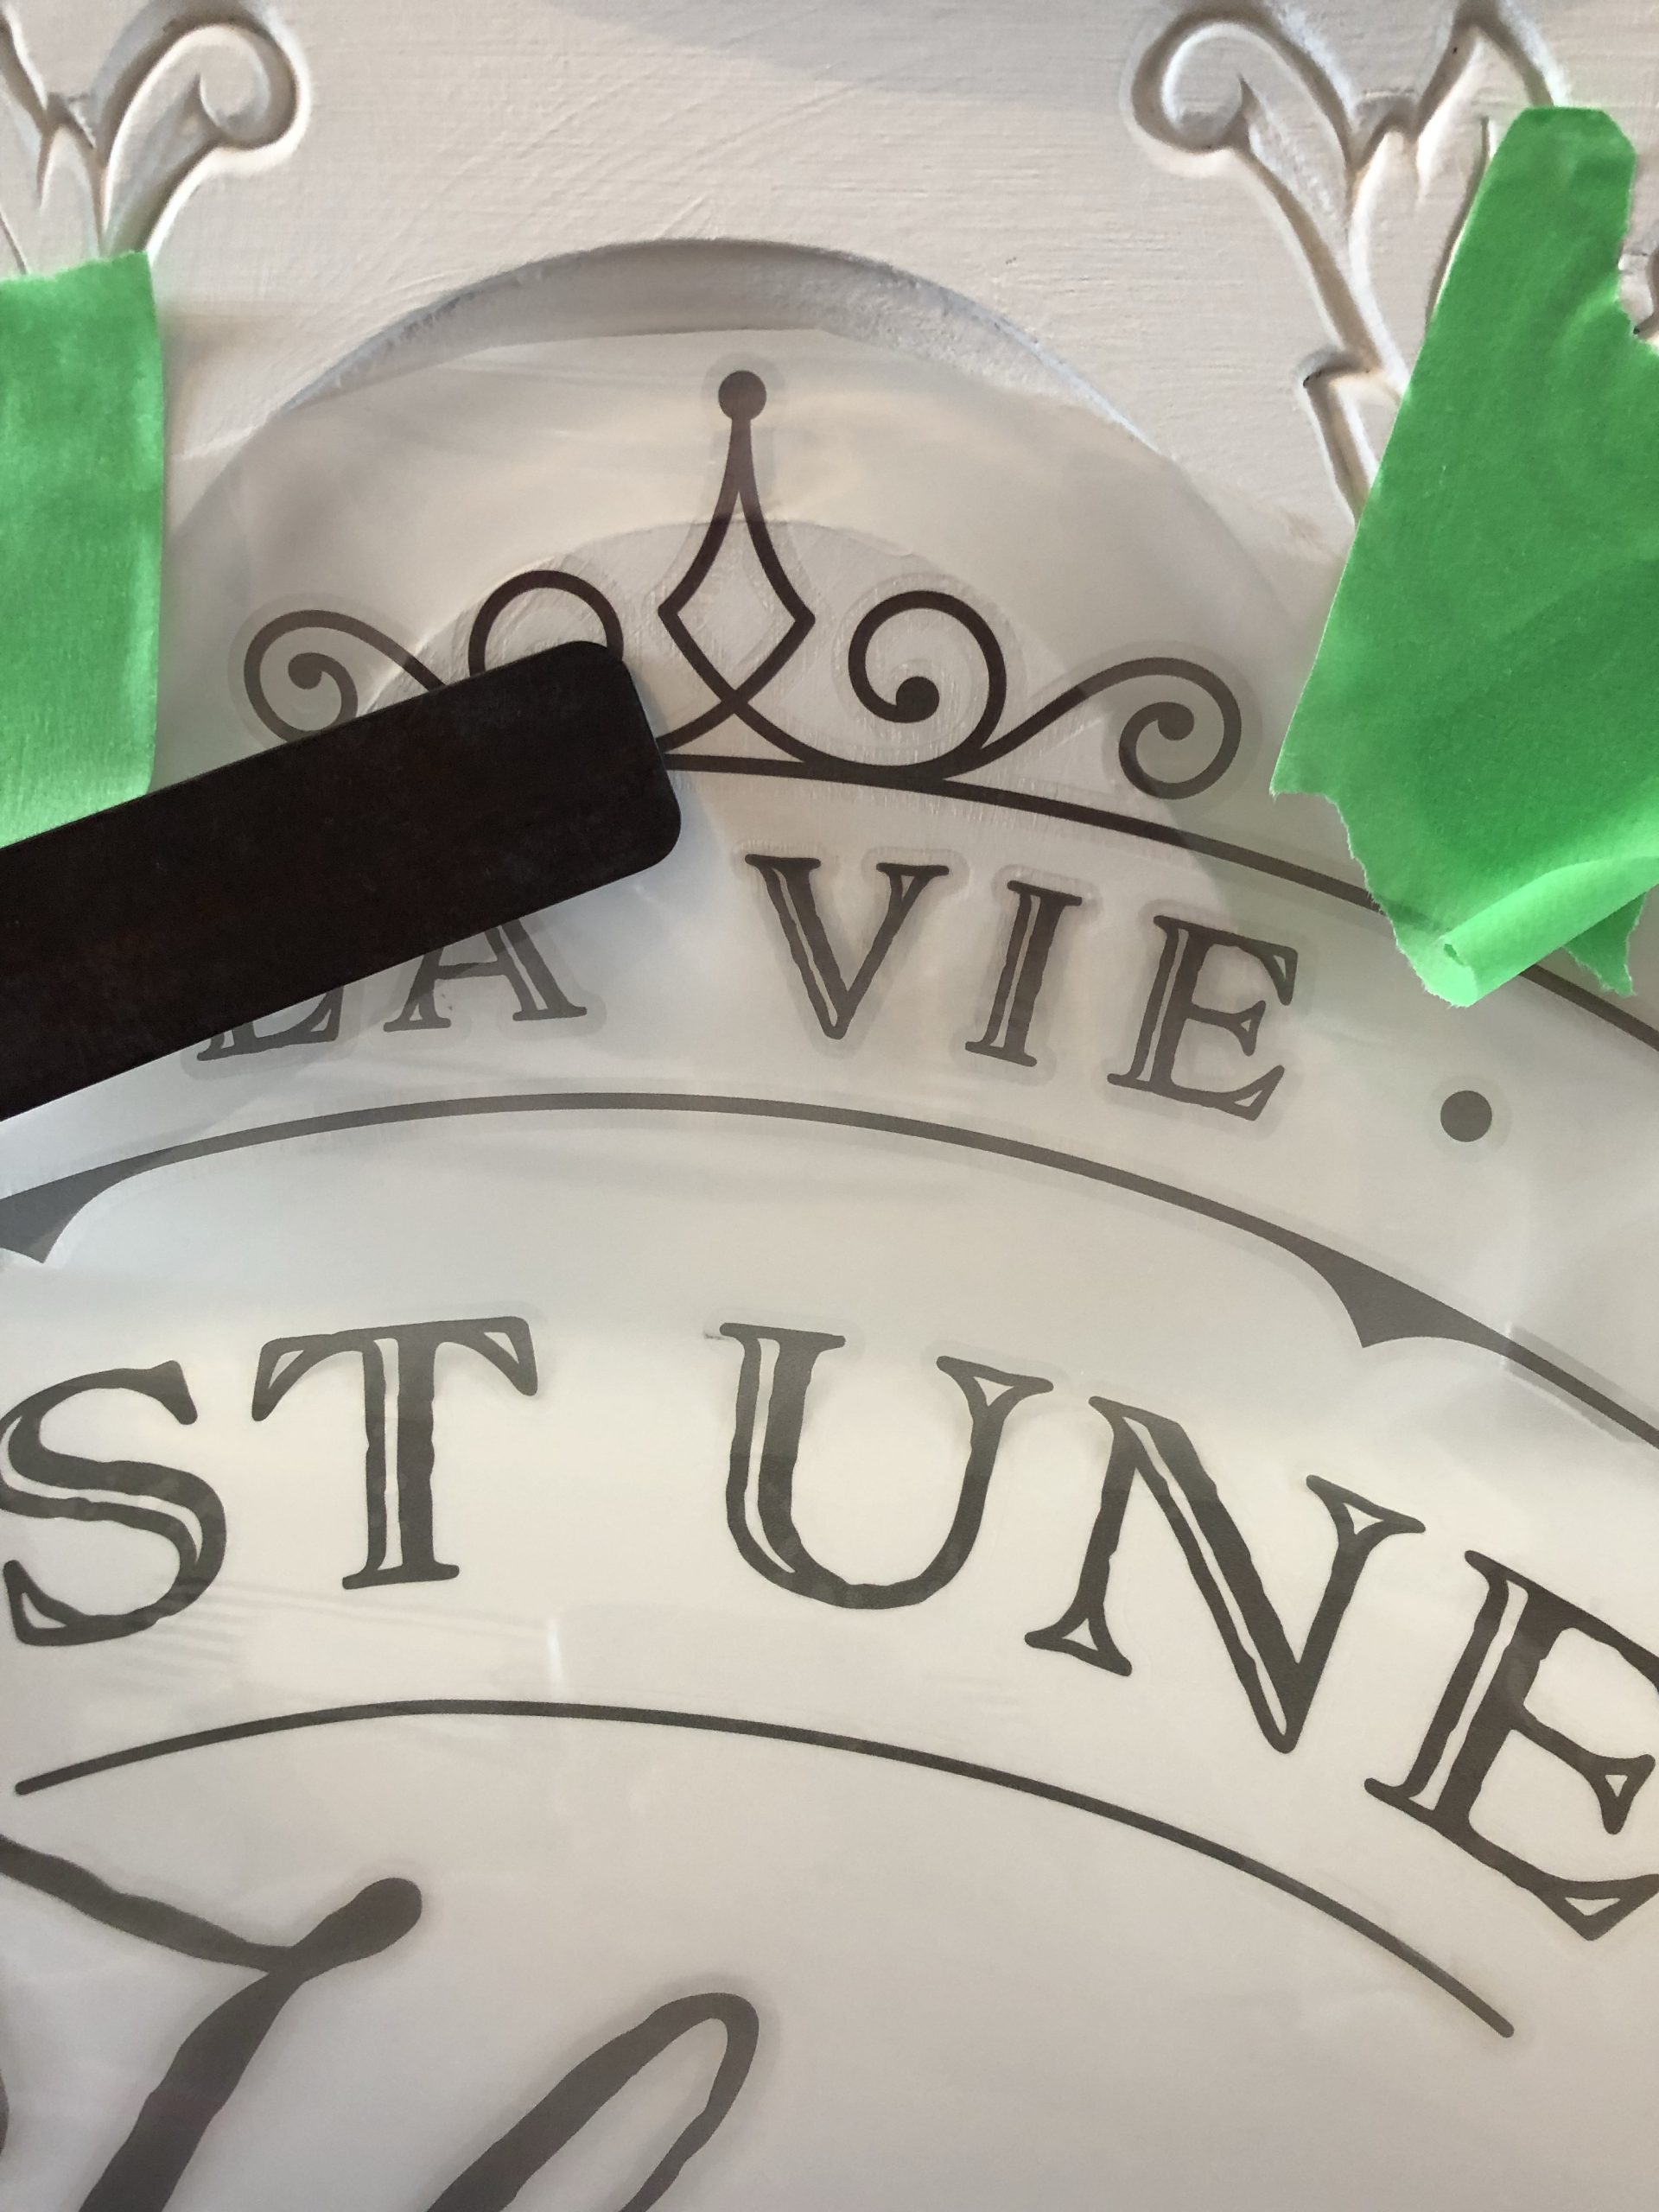
The tube comes with a brayer (something to burnish it down onto the furniture).
Start by slowly removing the backing sheet and start using the brayer to apply even pressure on top of the transfer to place it permanently on the furniture.
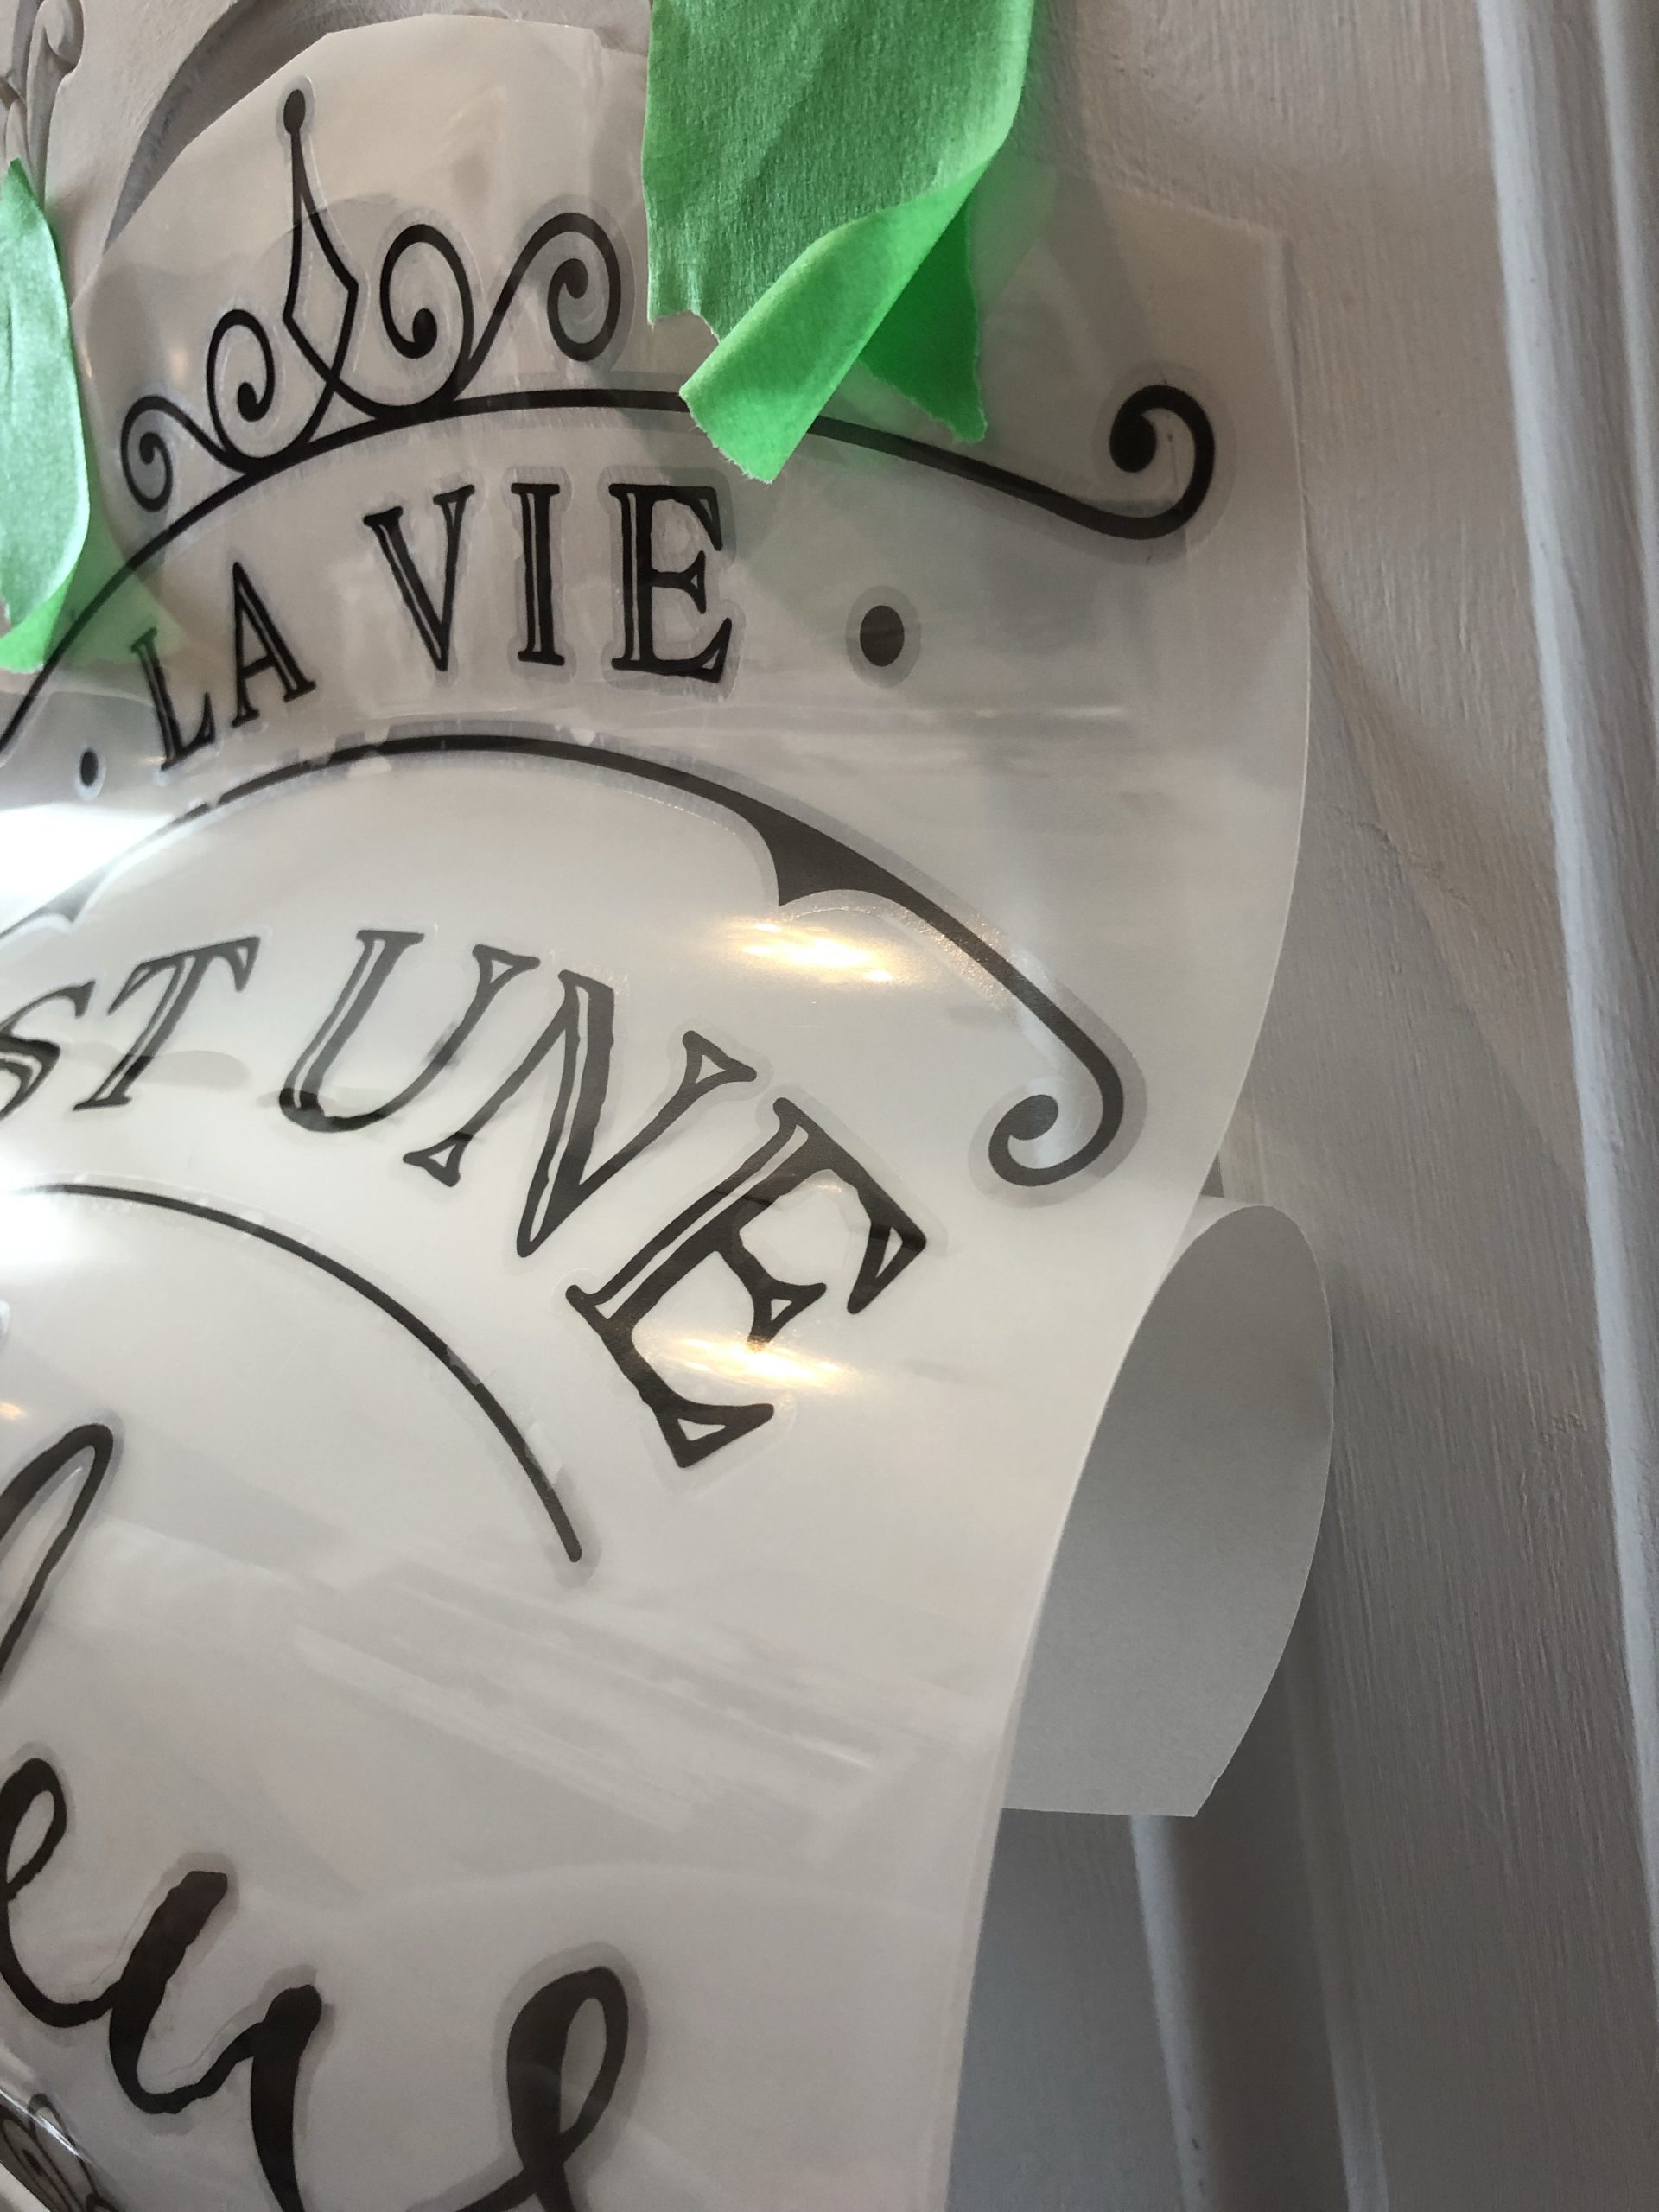
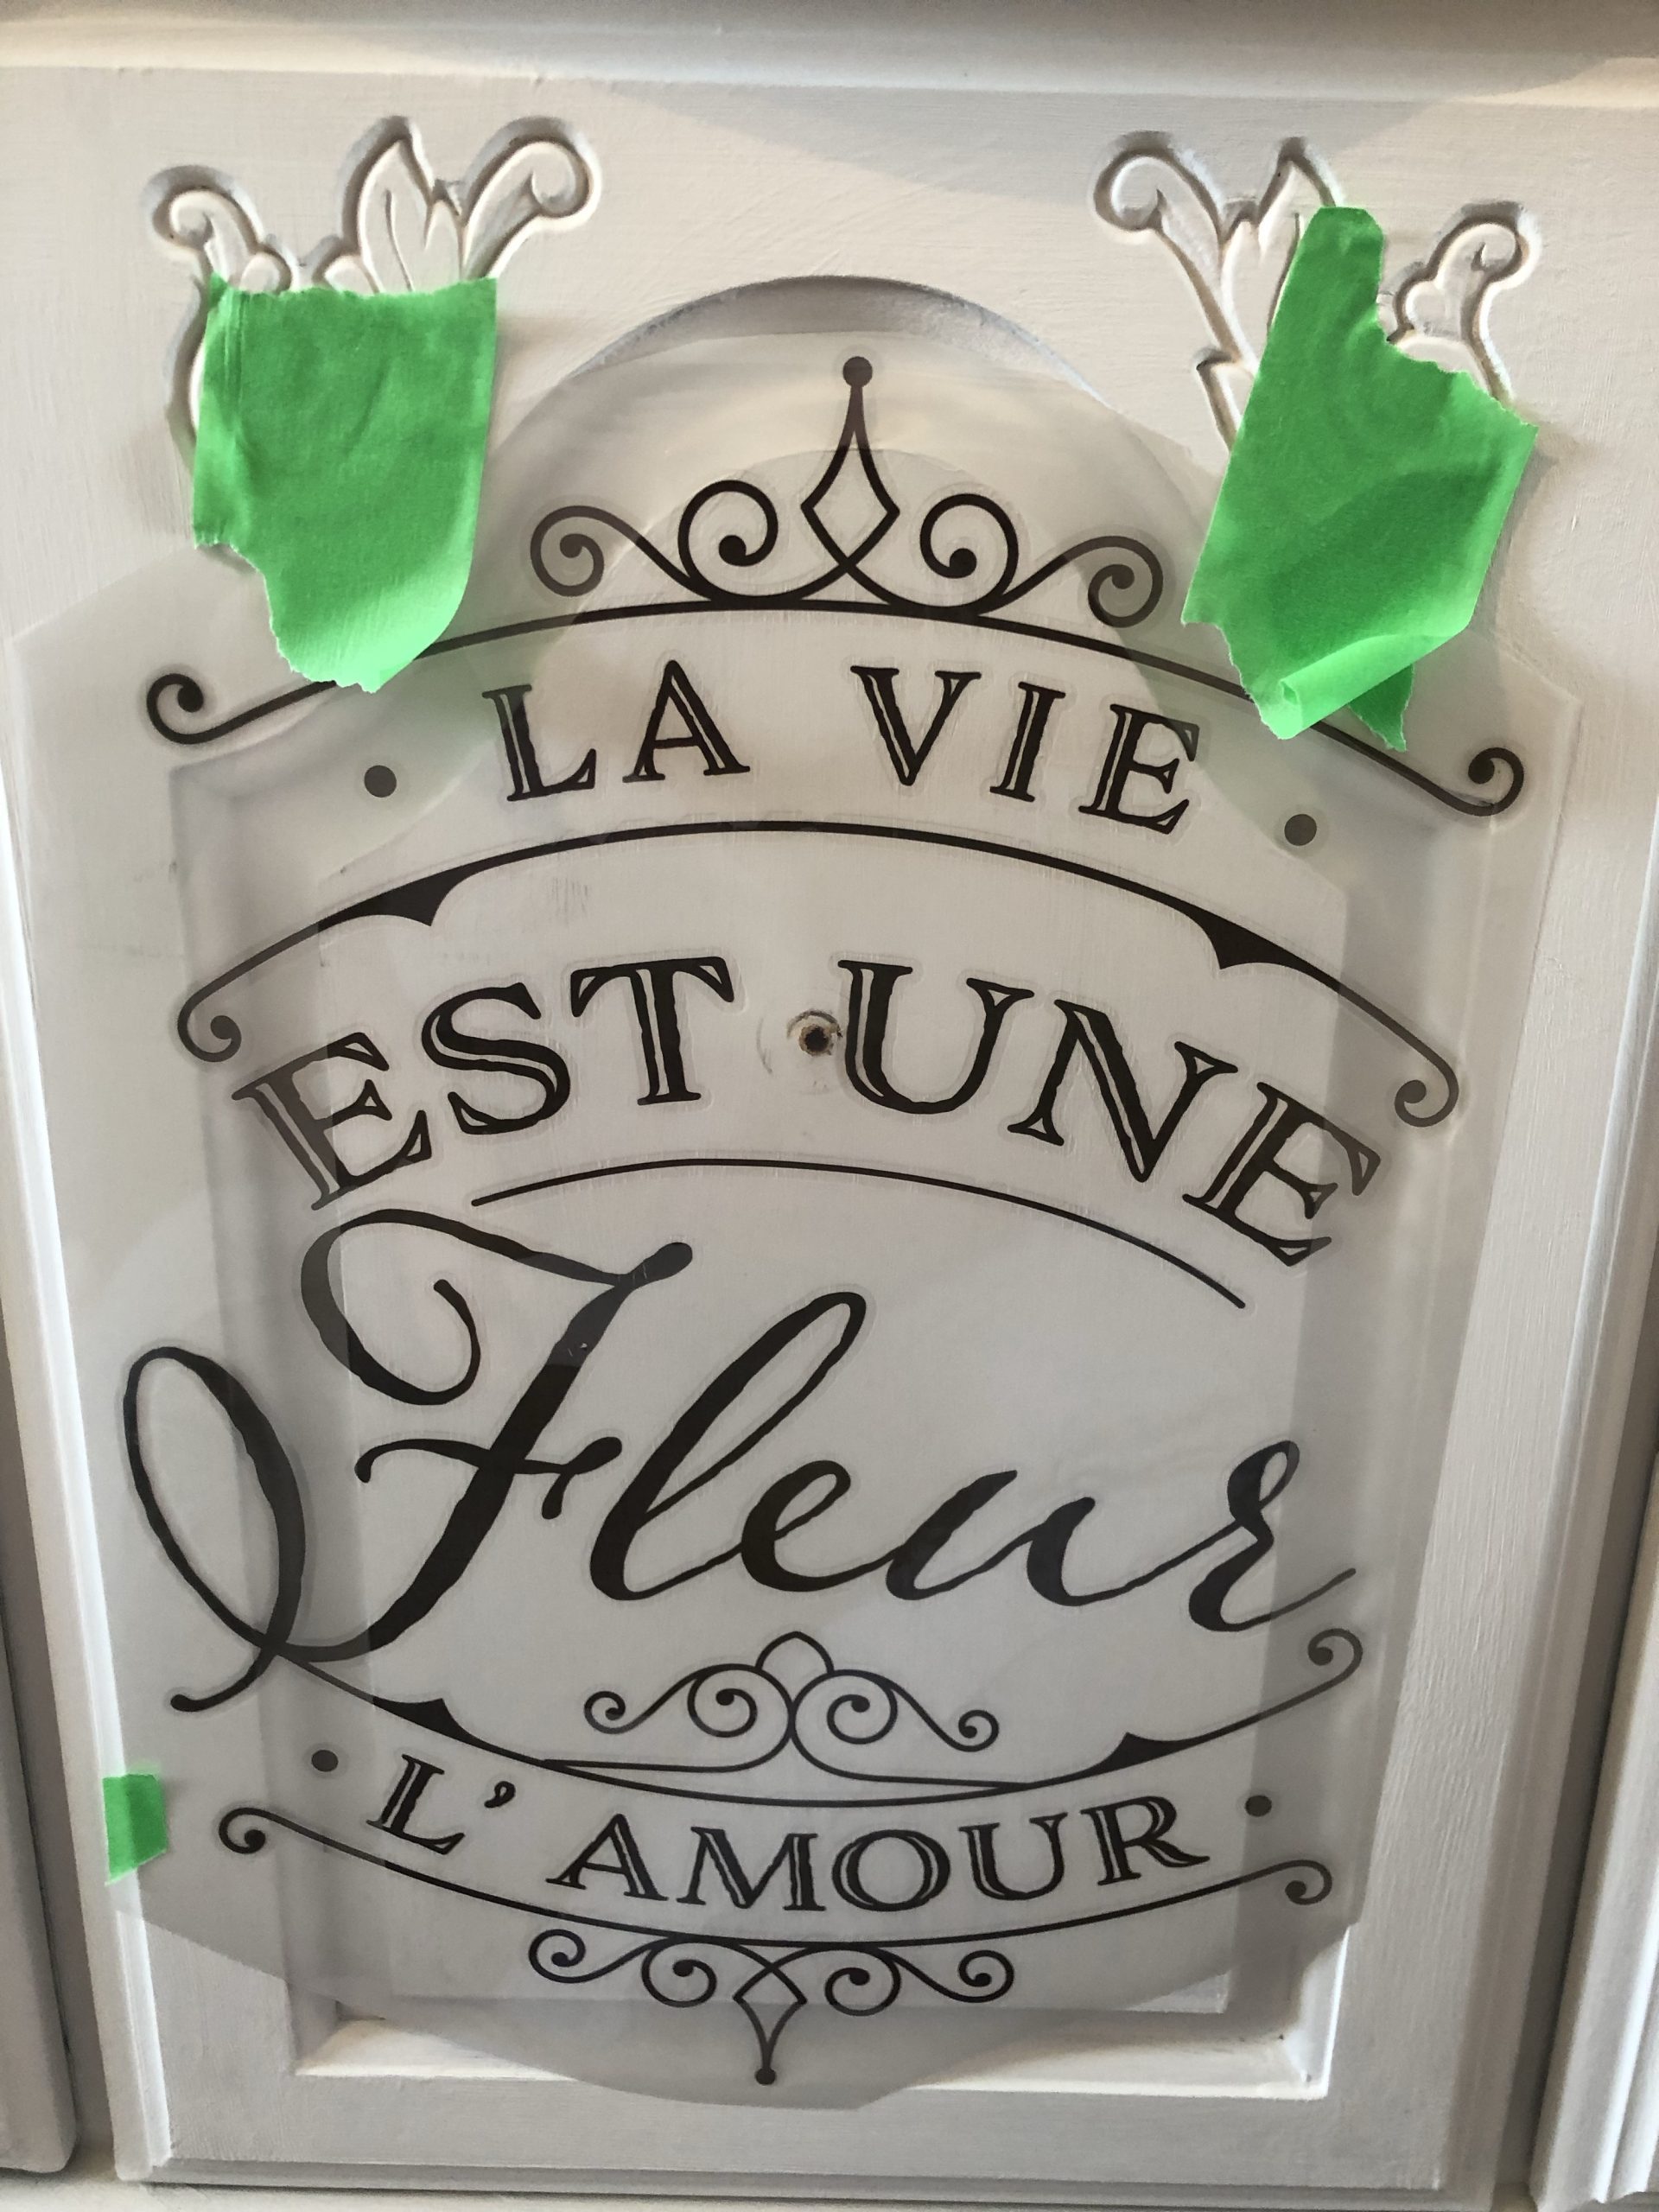
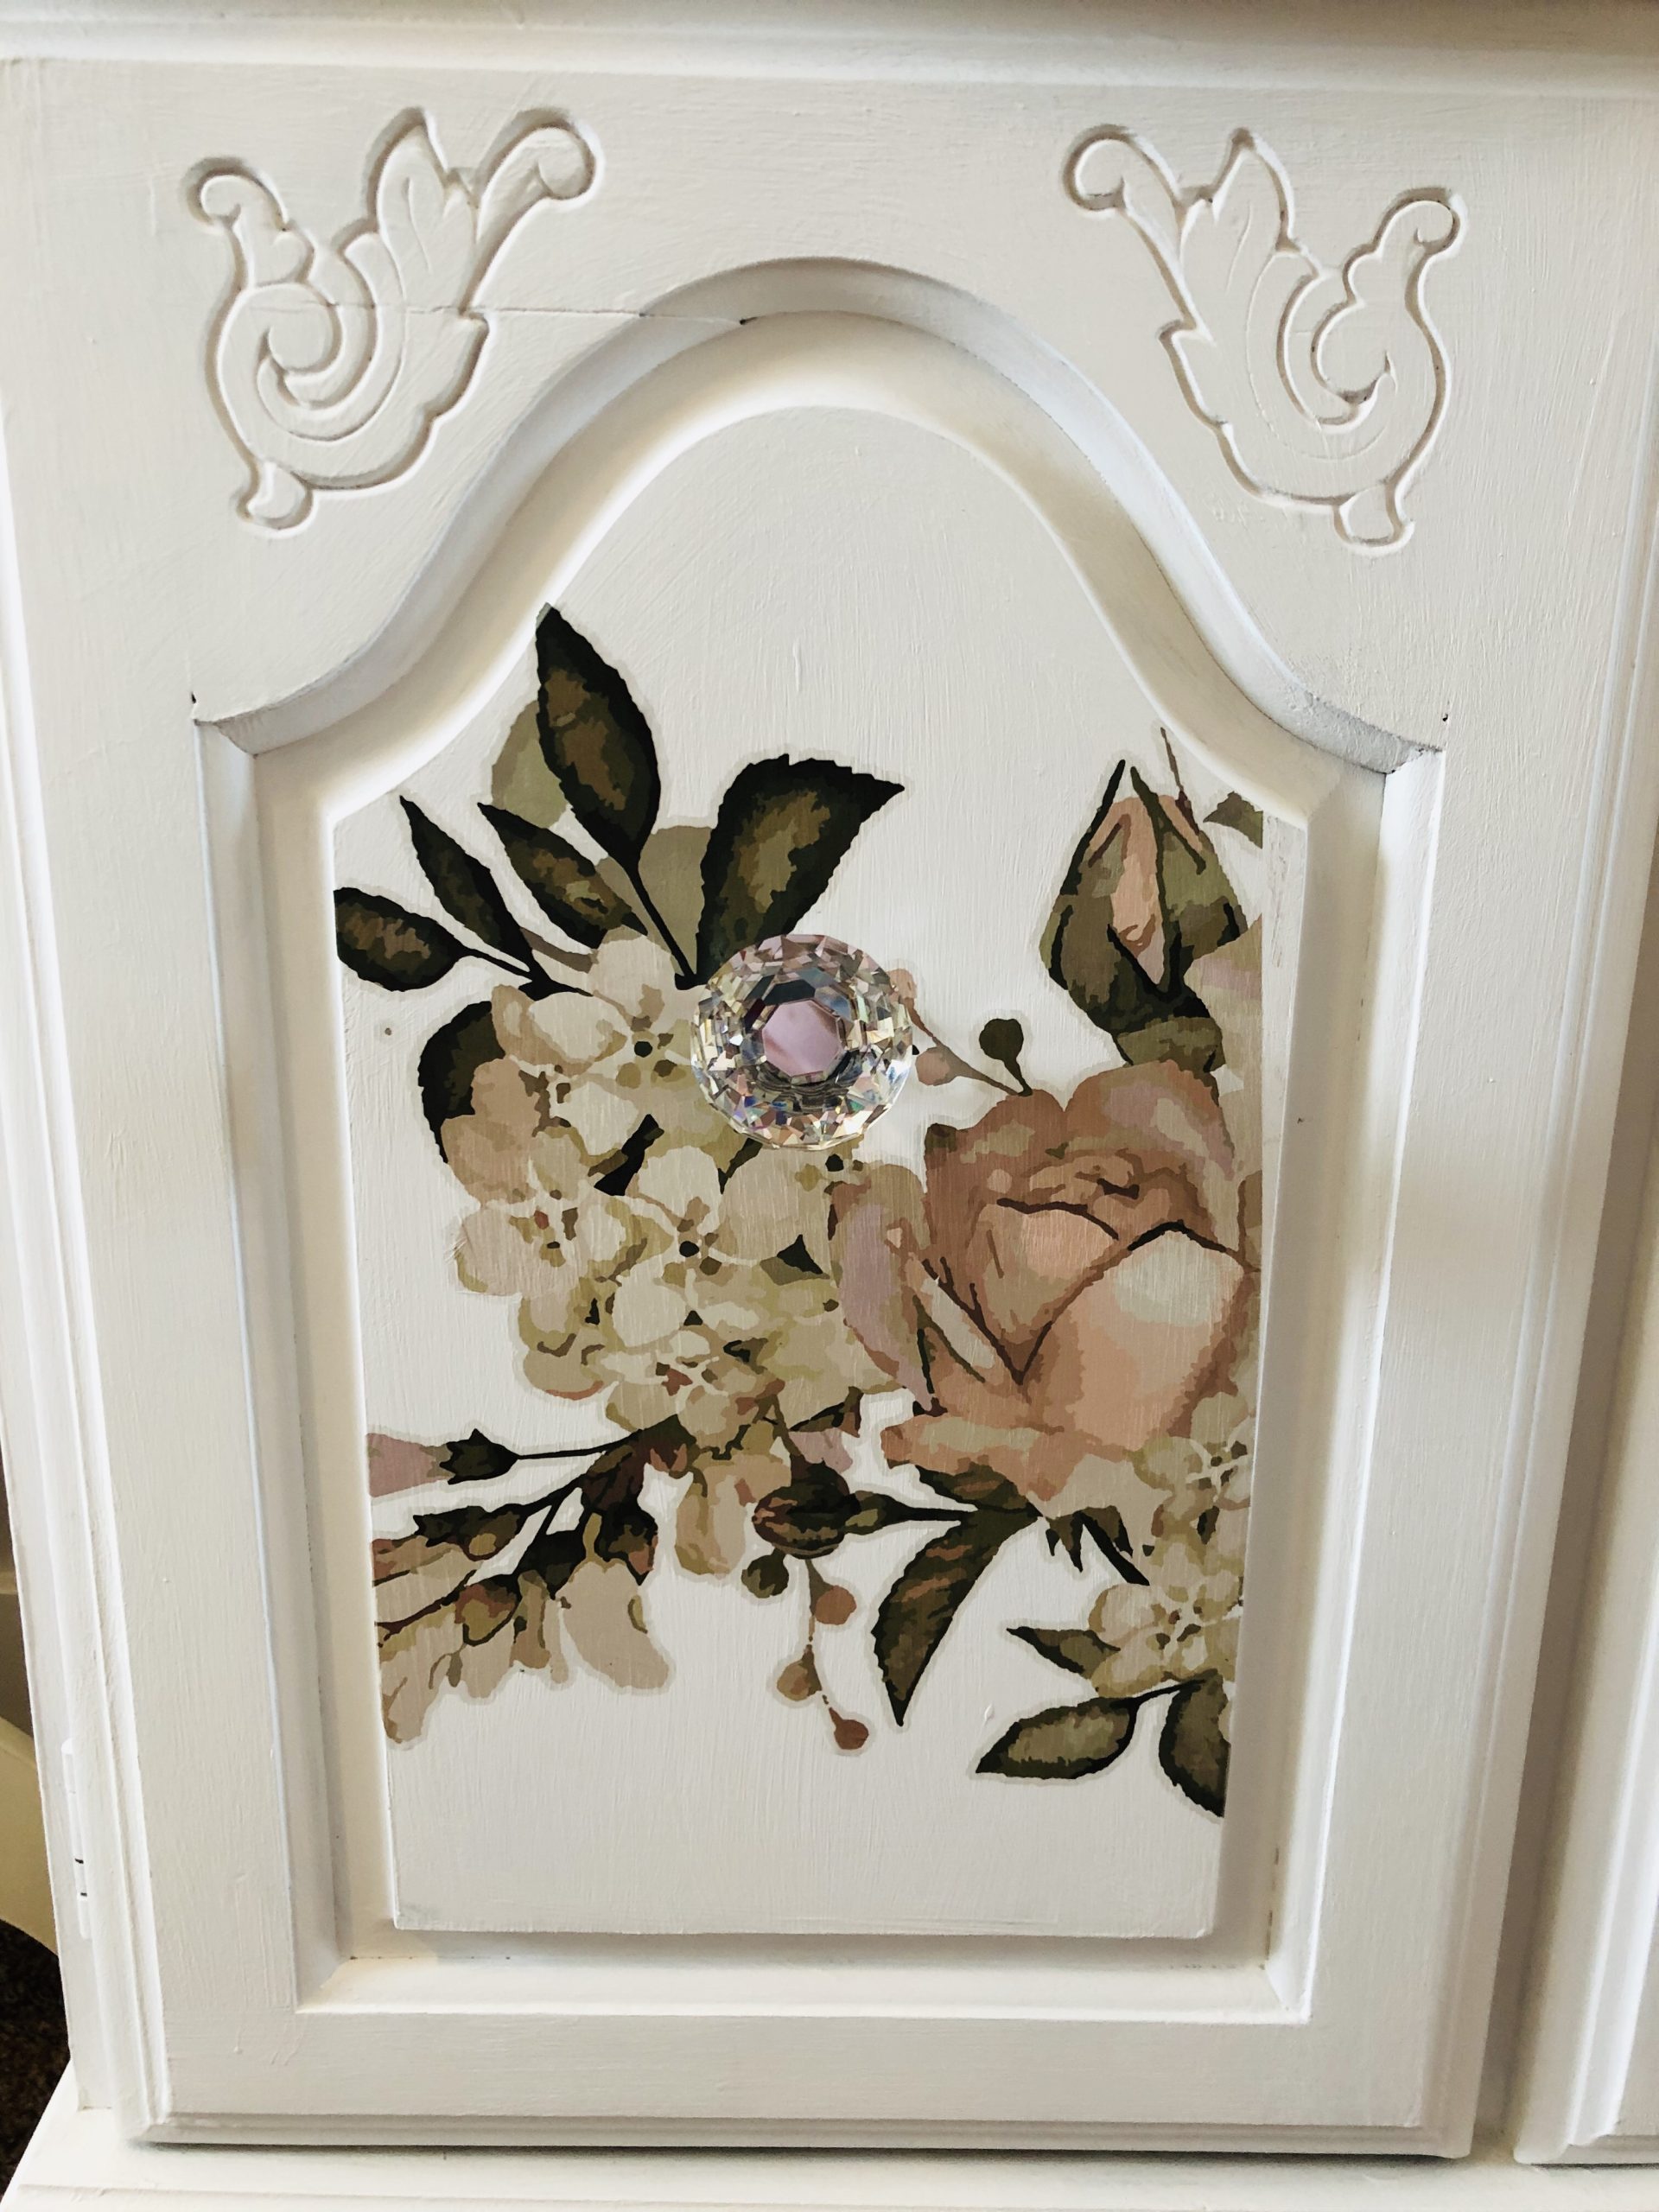
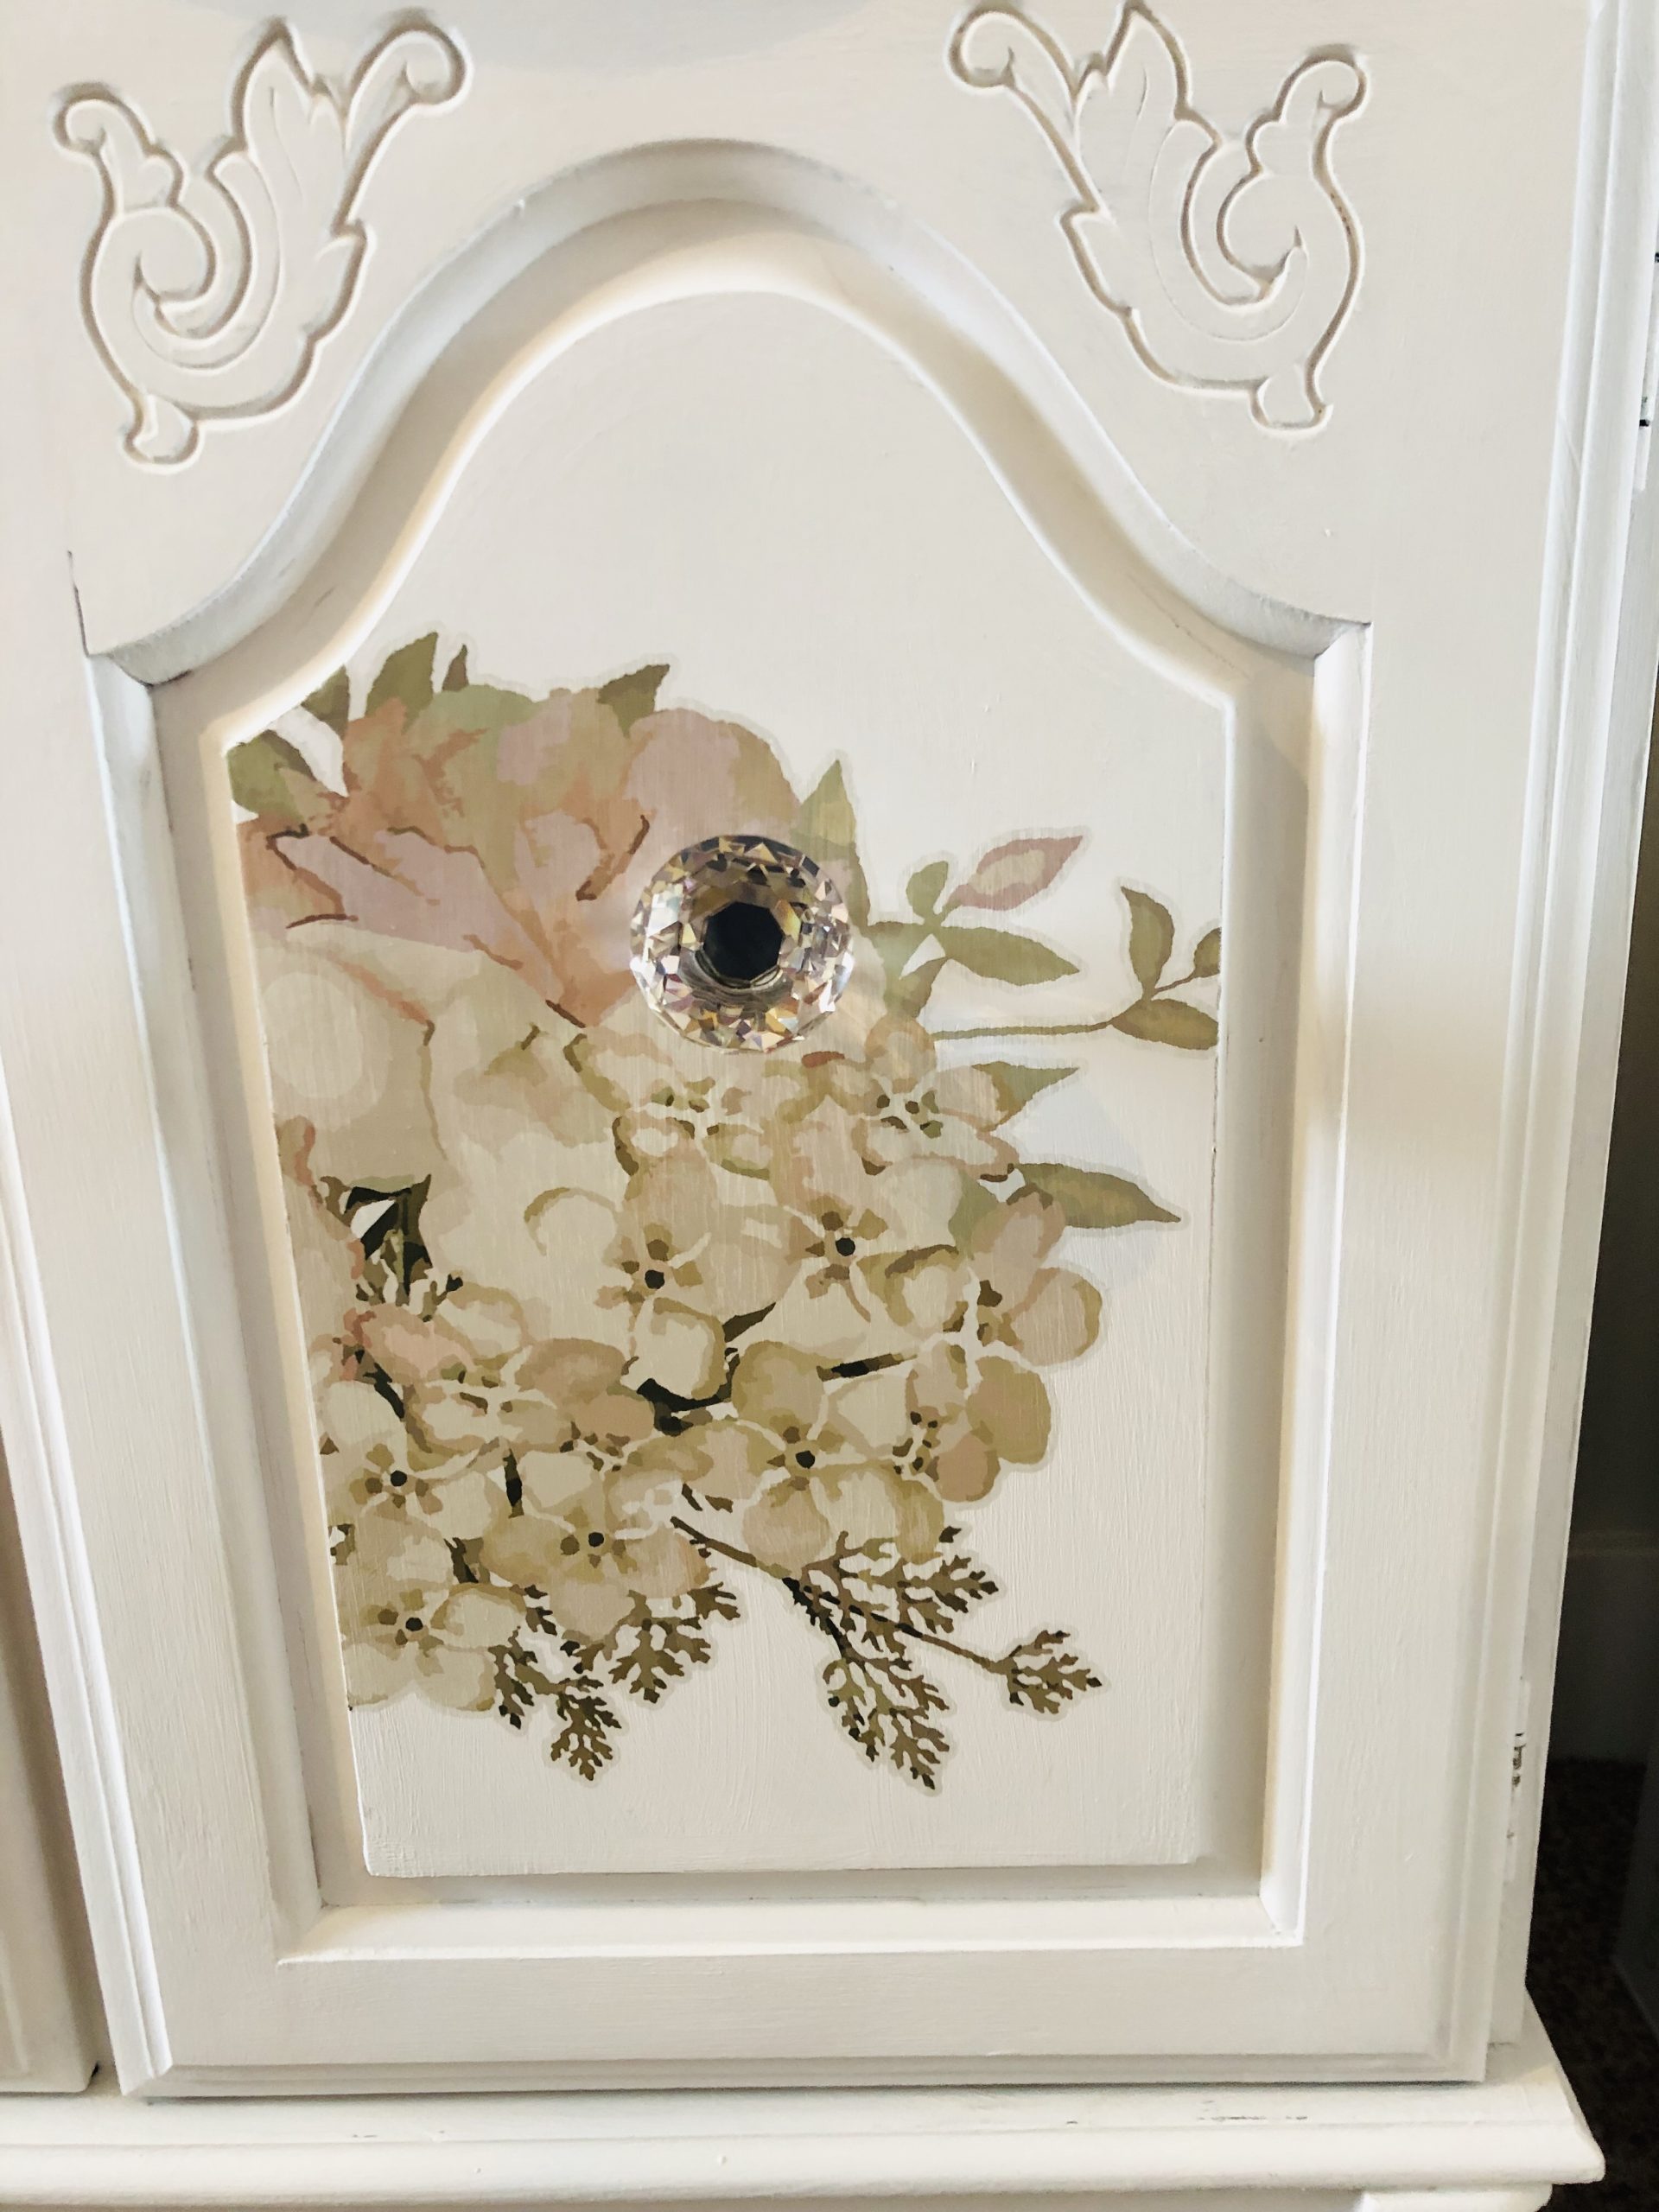
Once you have burnished the design and removed the front clear piece, it is time to put the knobs back on.
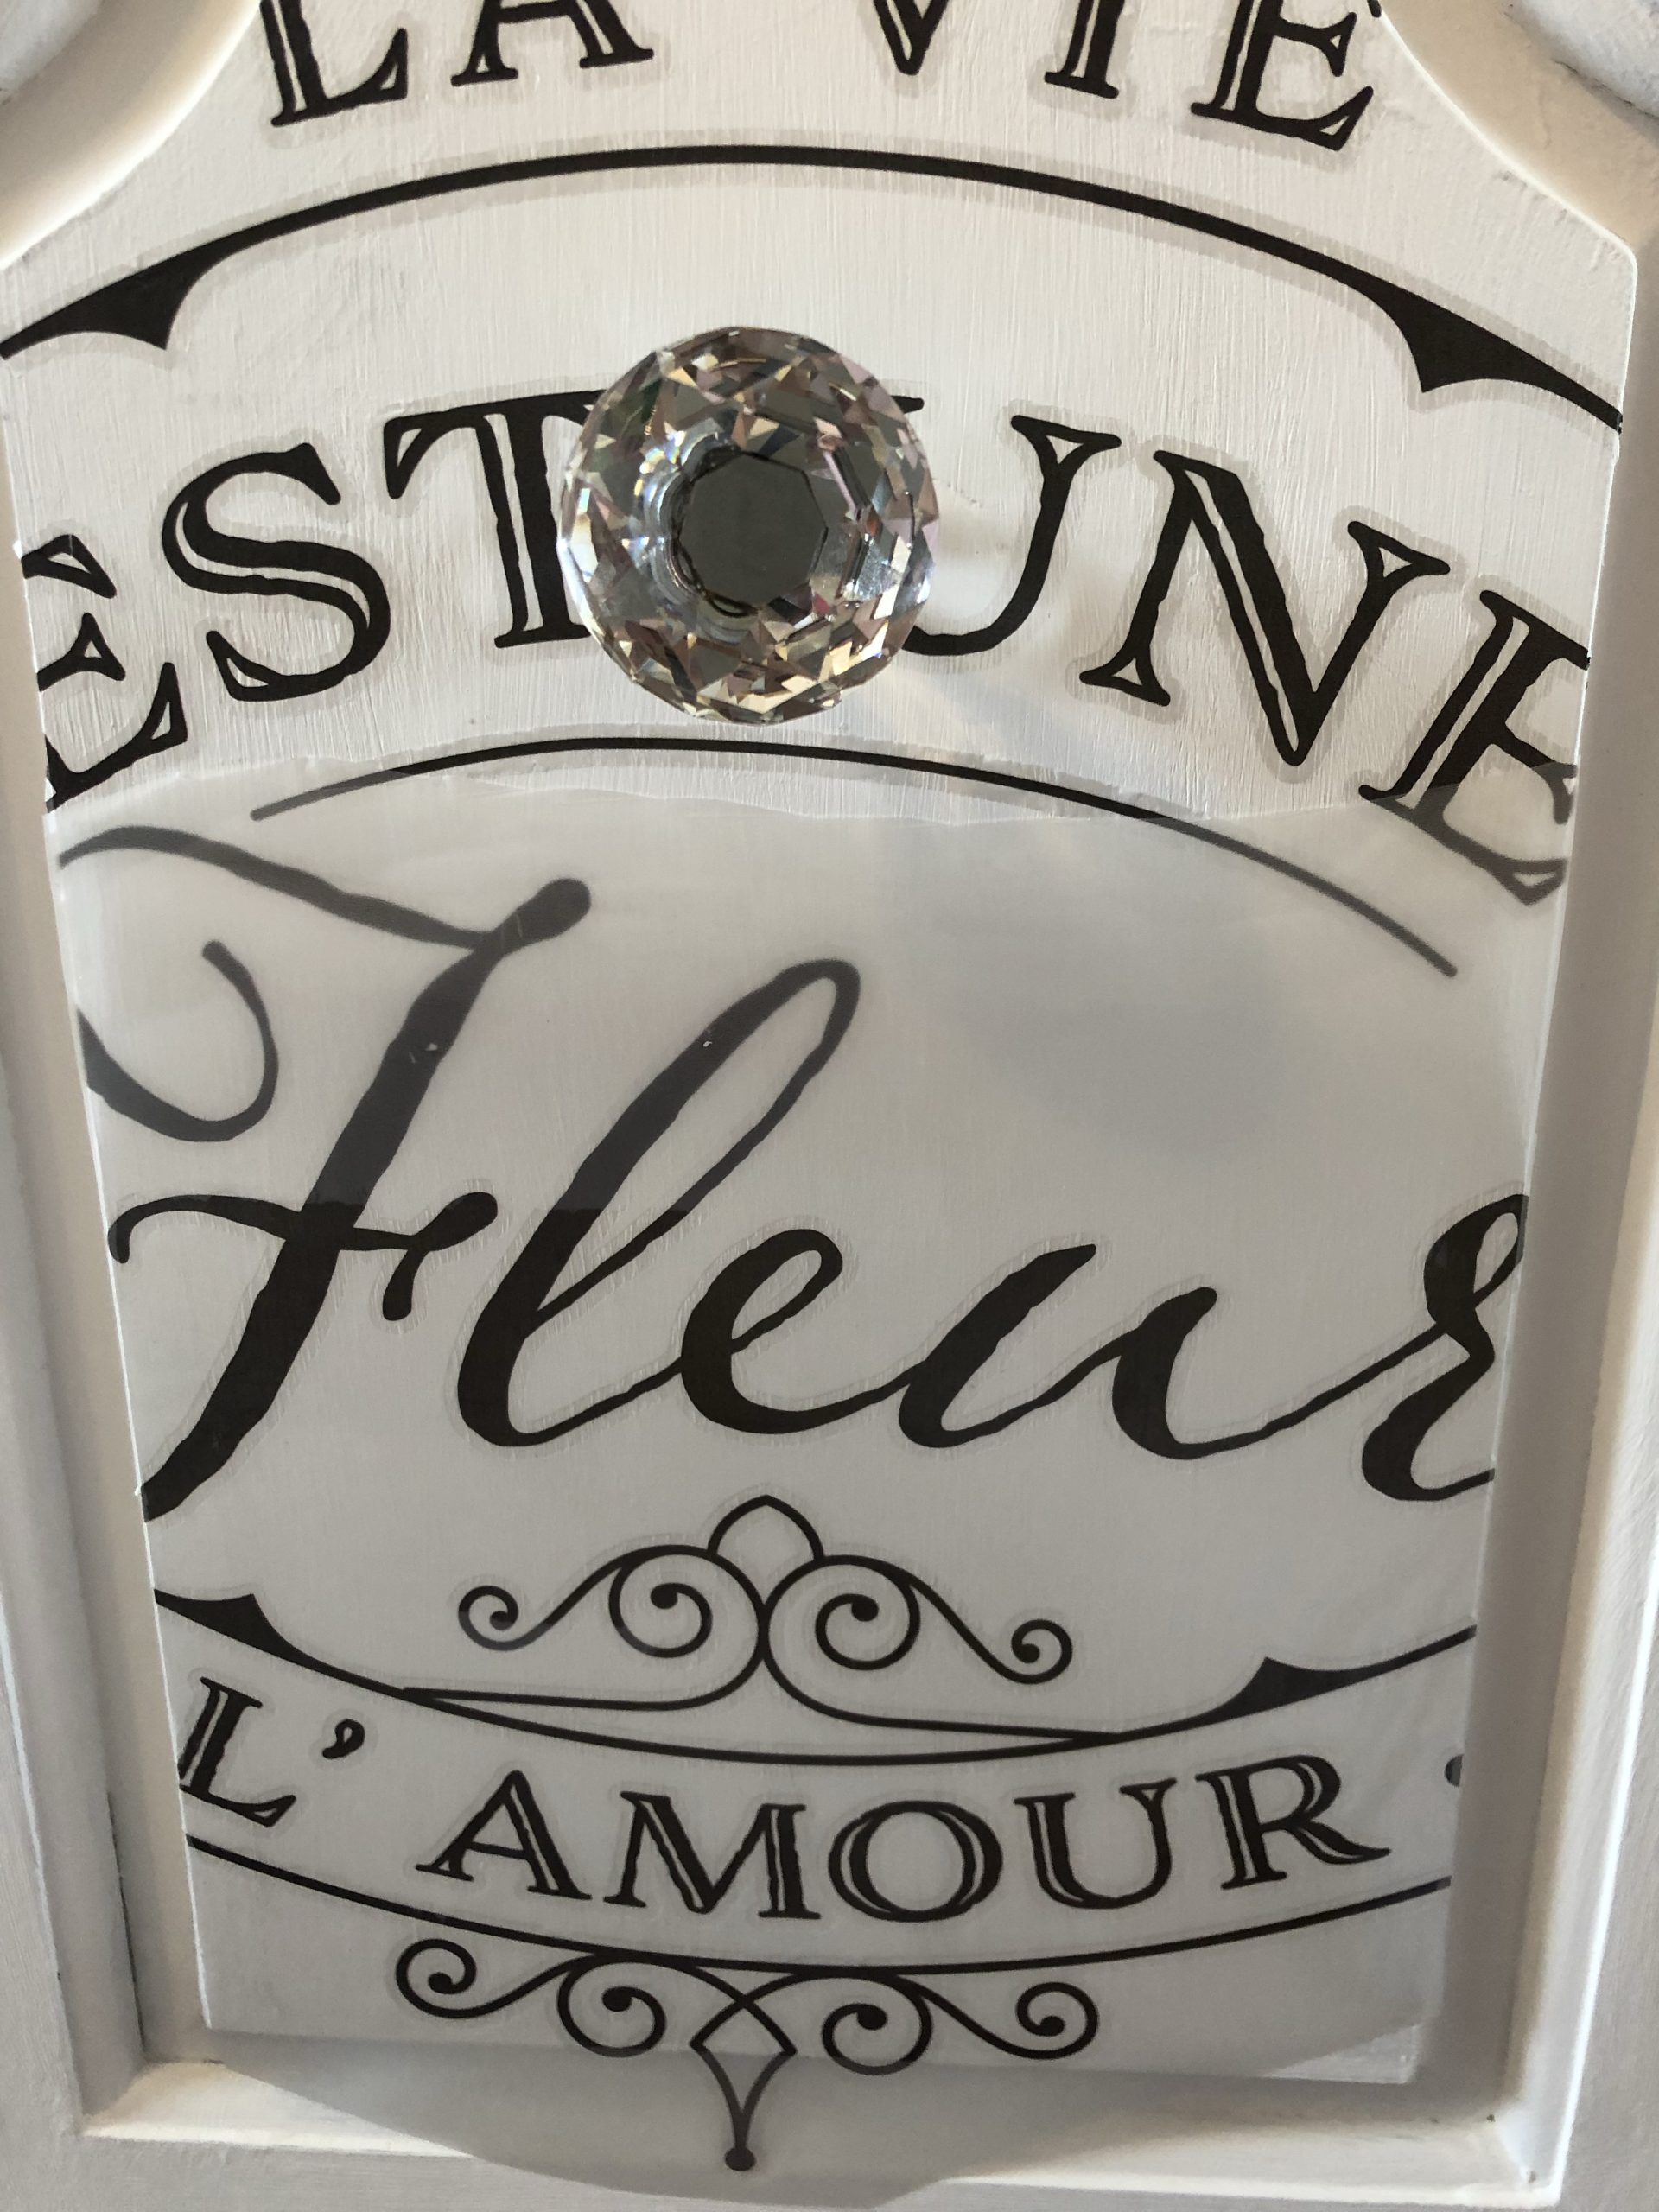
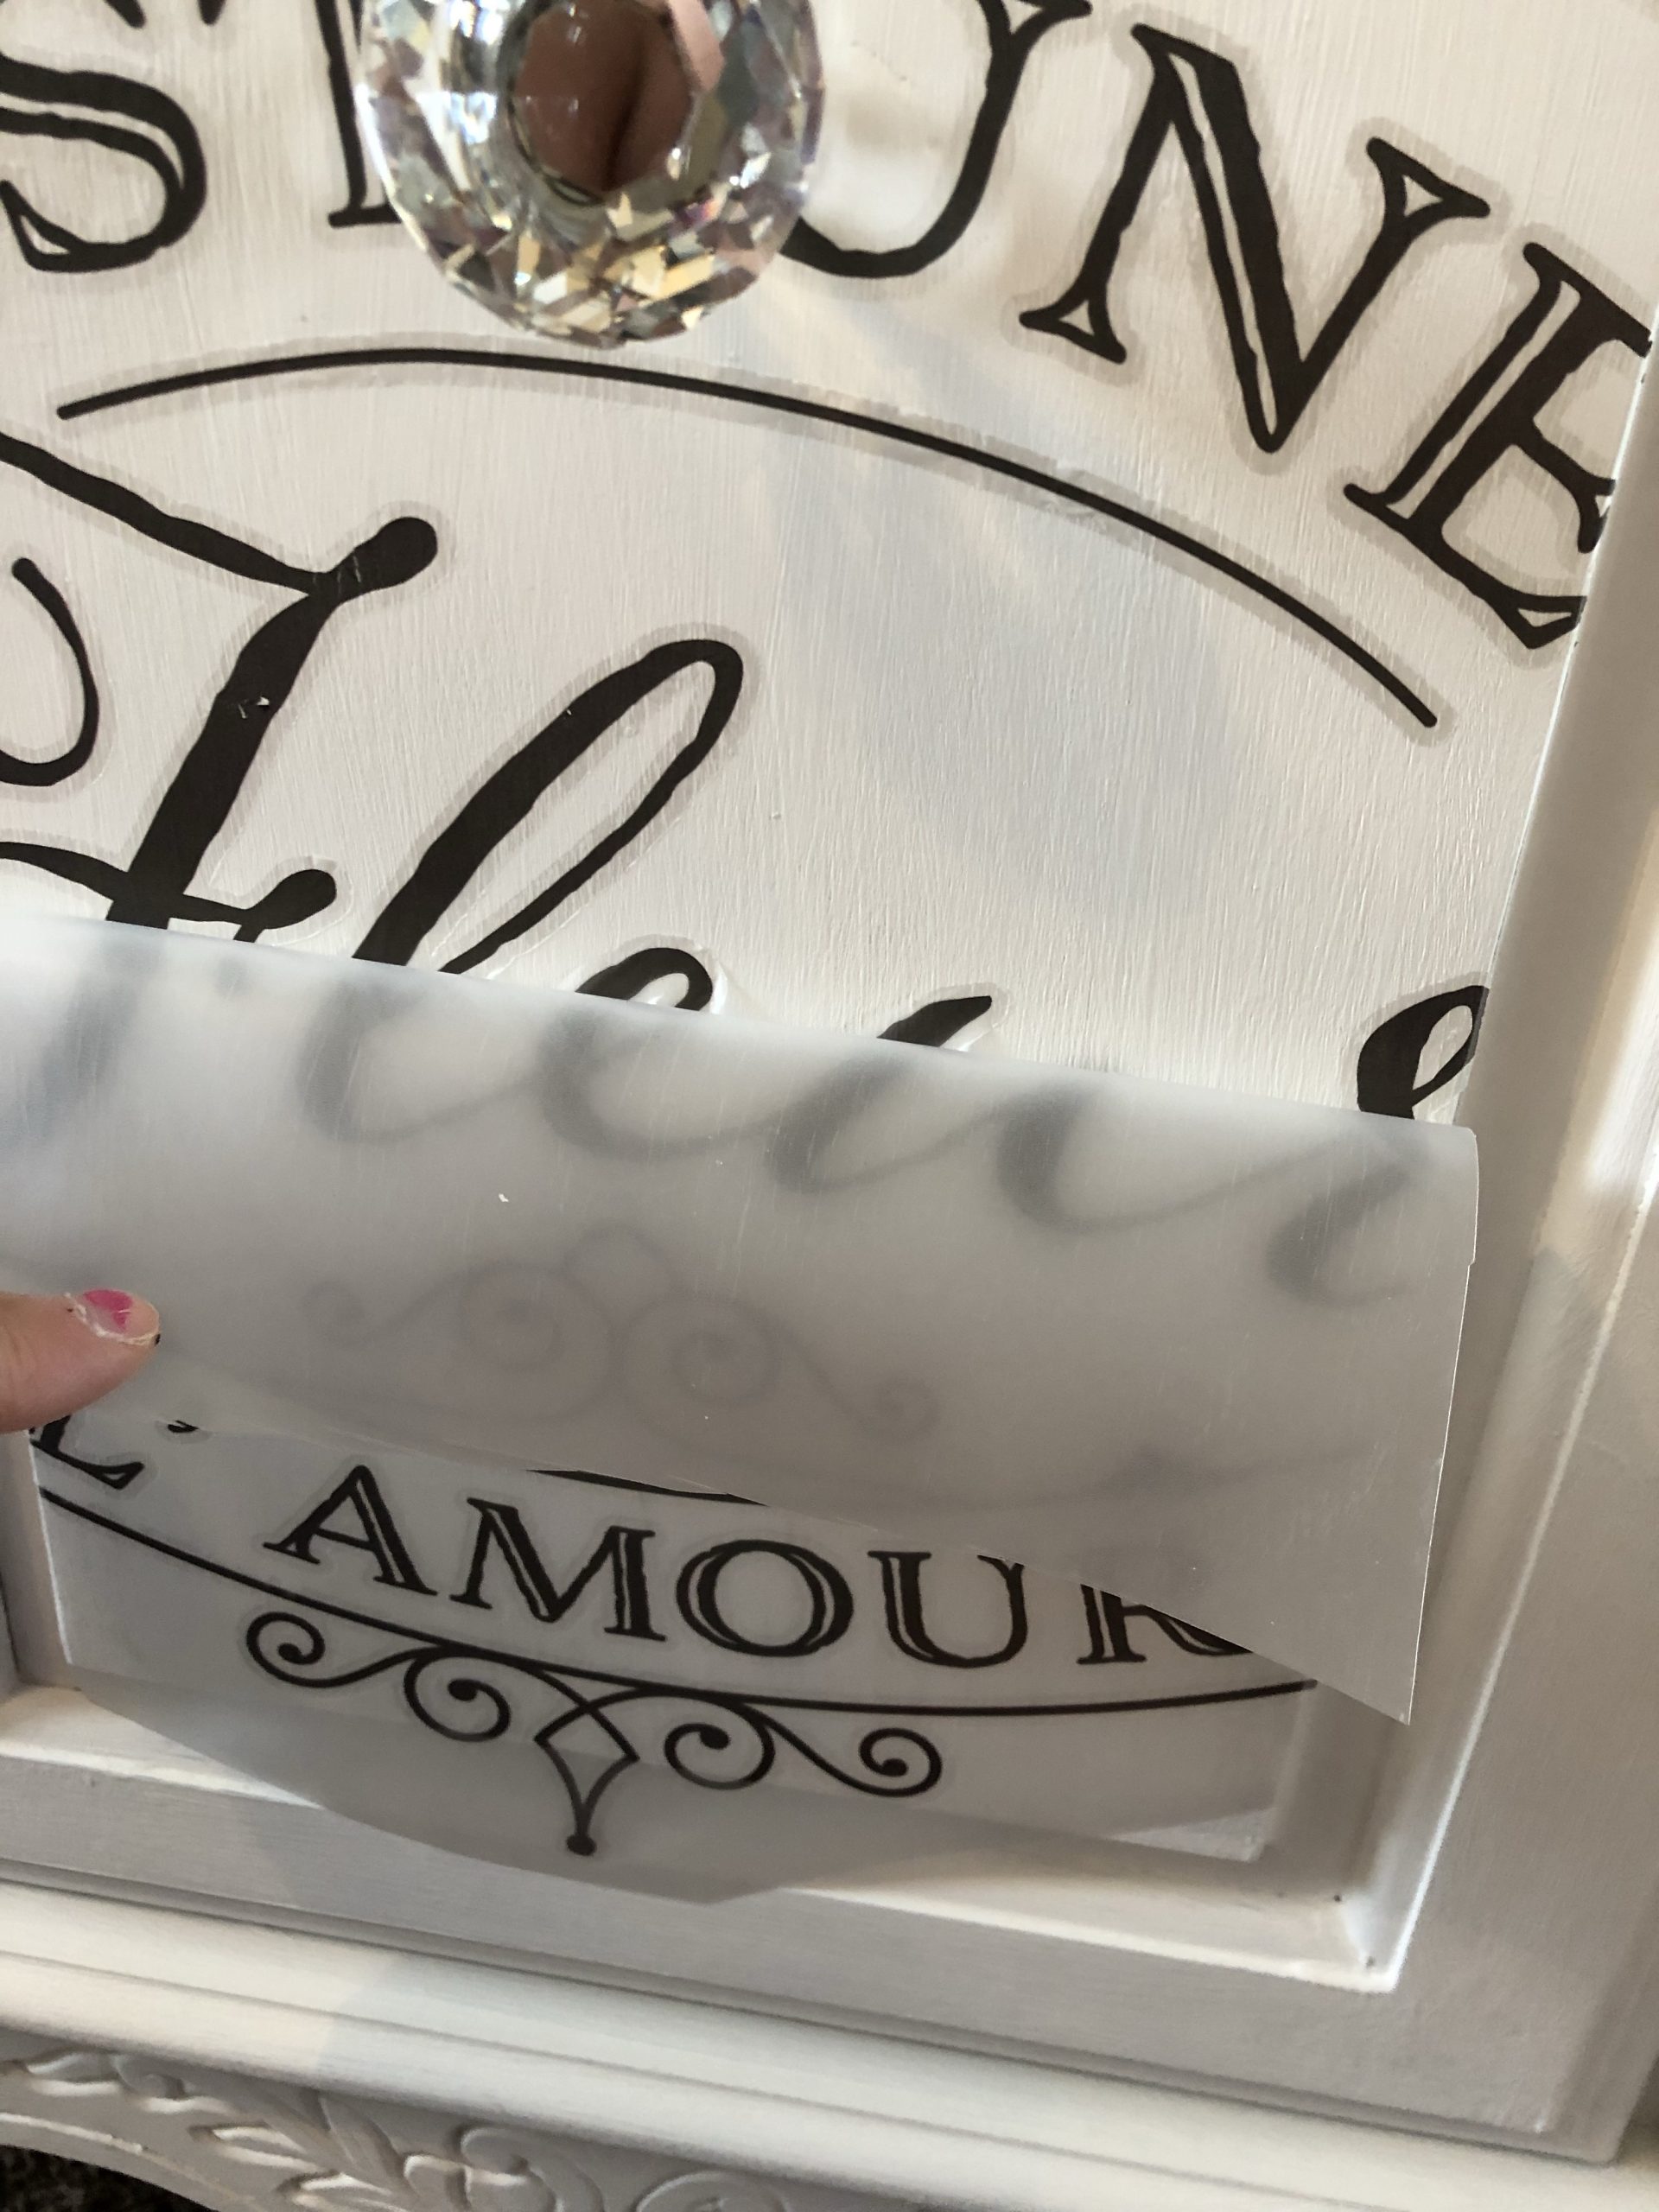
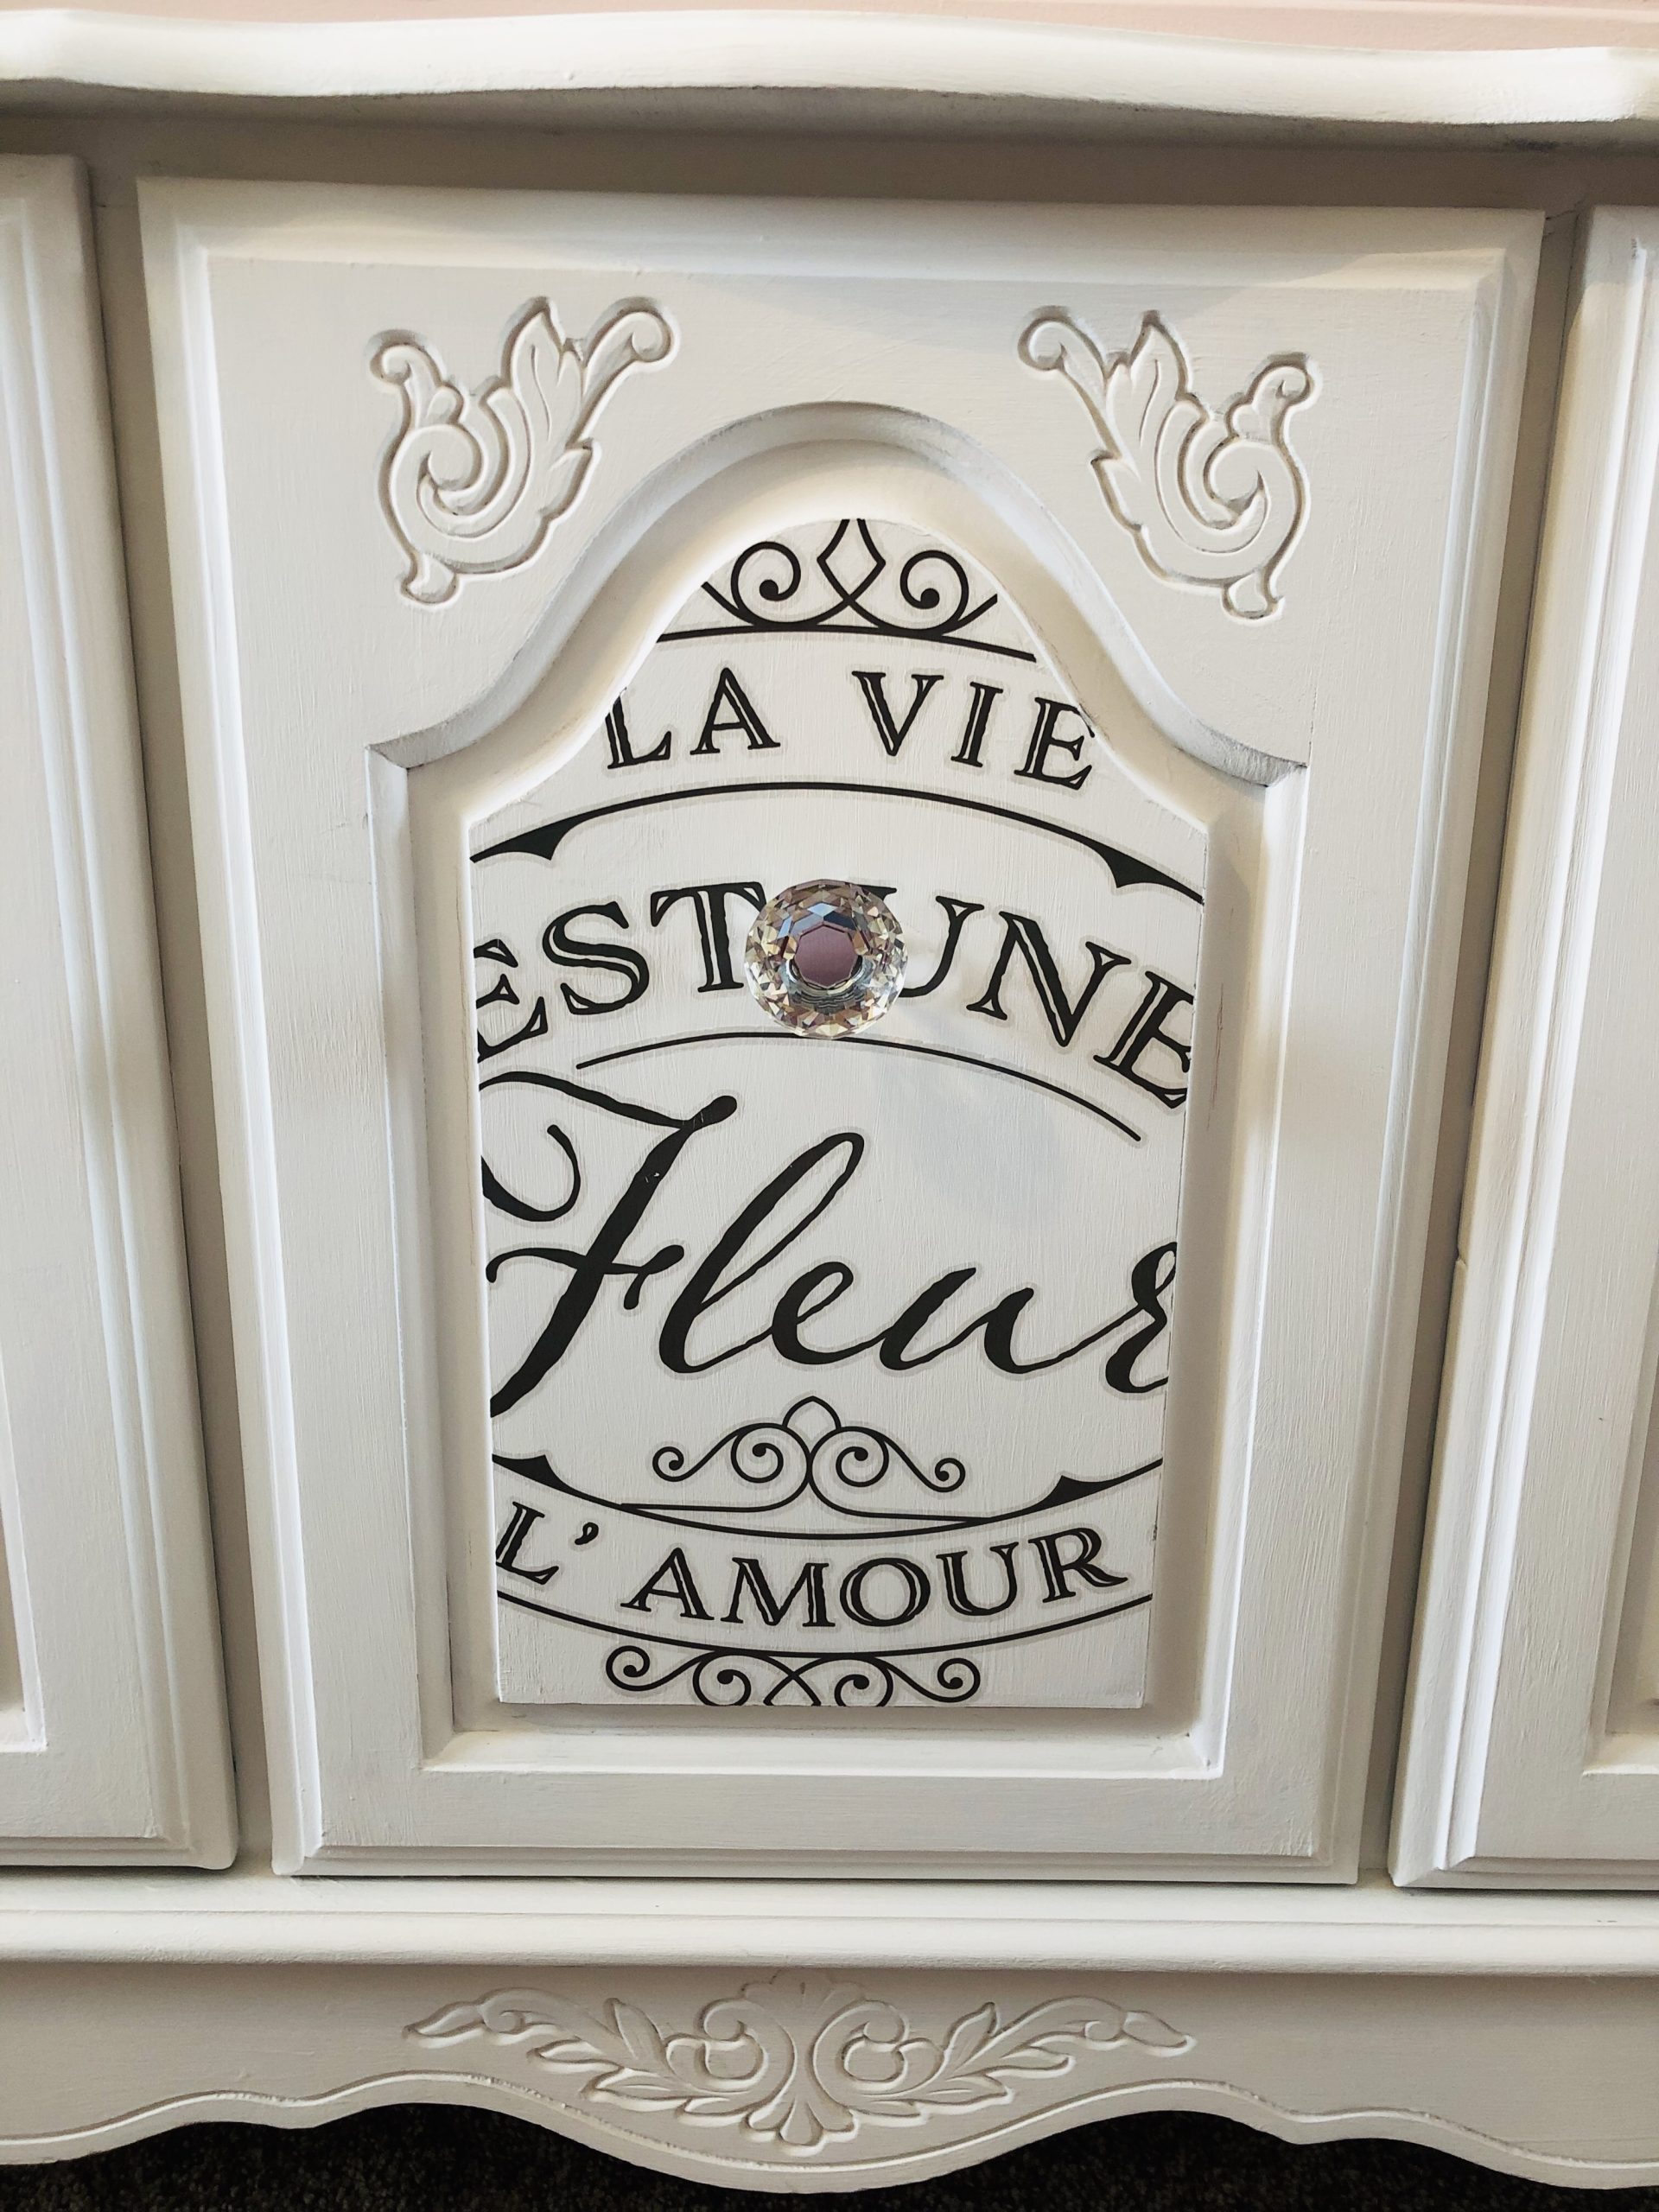
So very excited with the way the transfer looks with the knobs put back on!
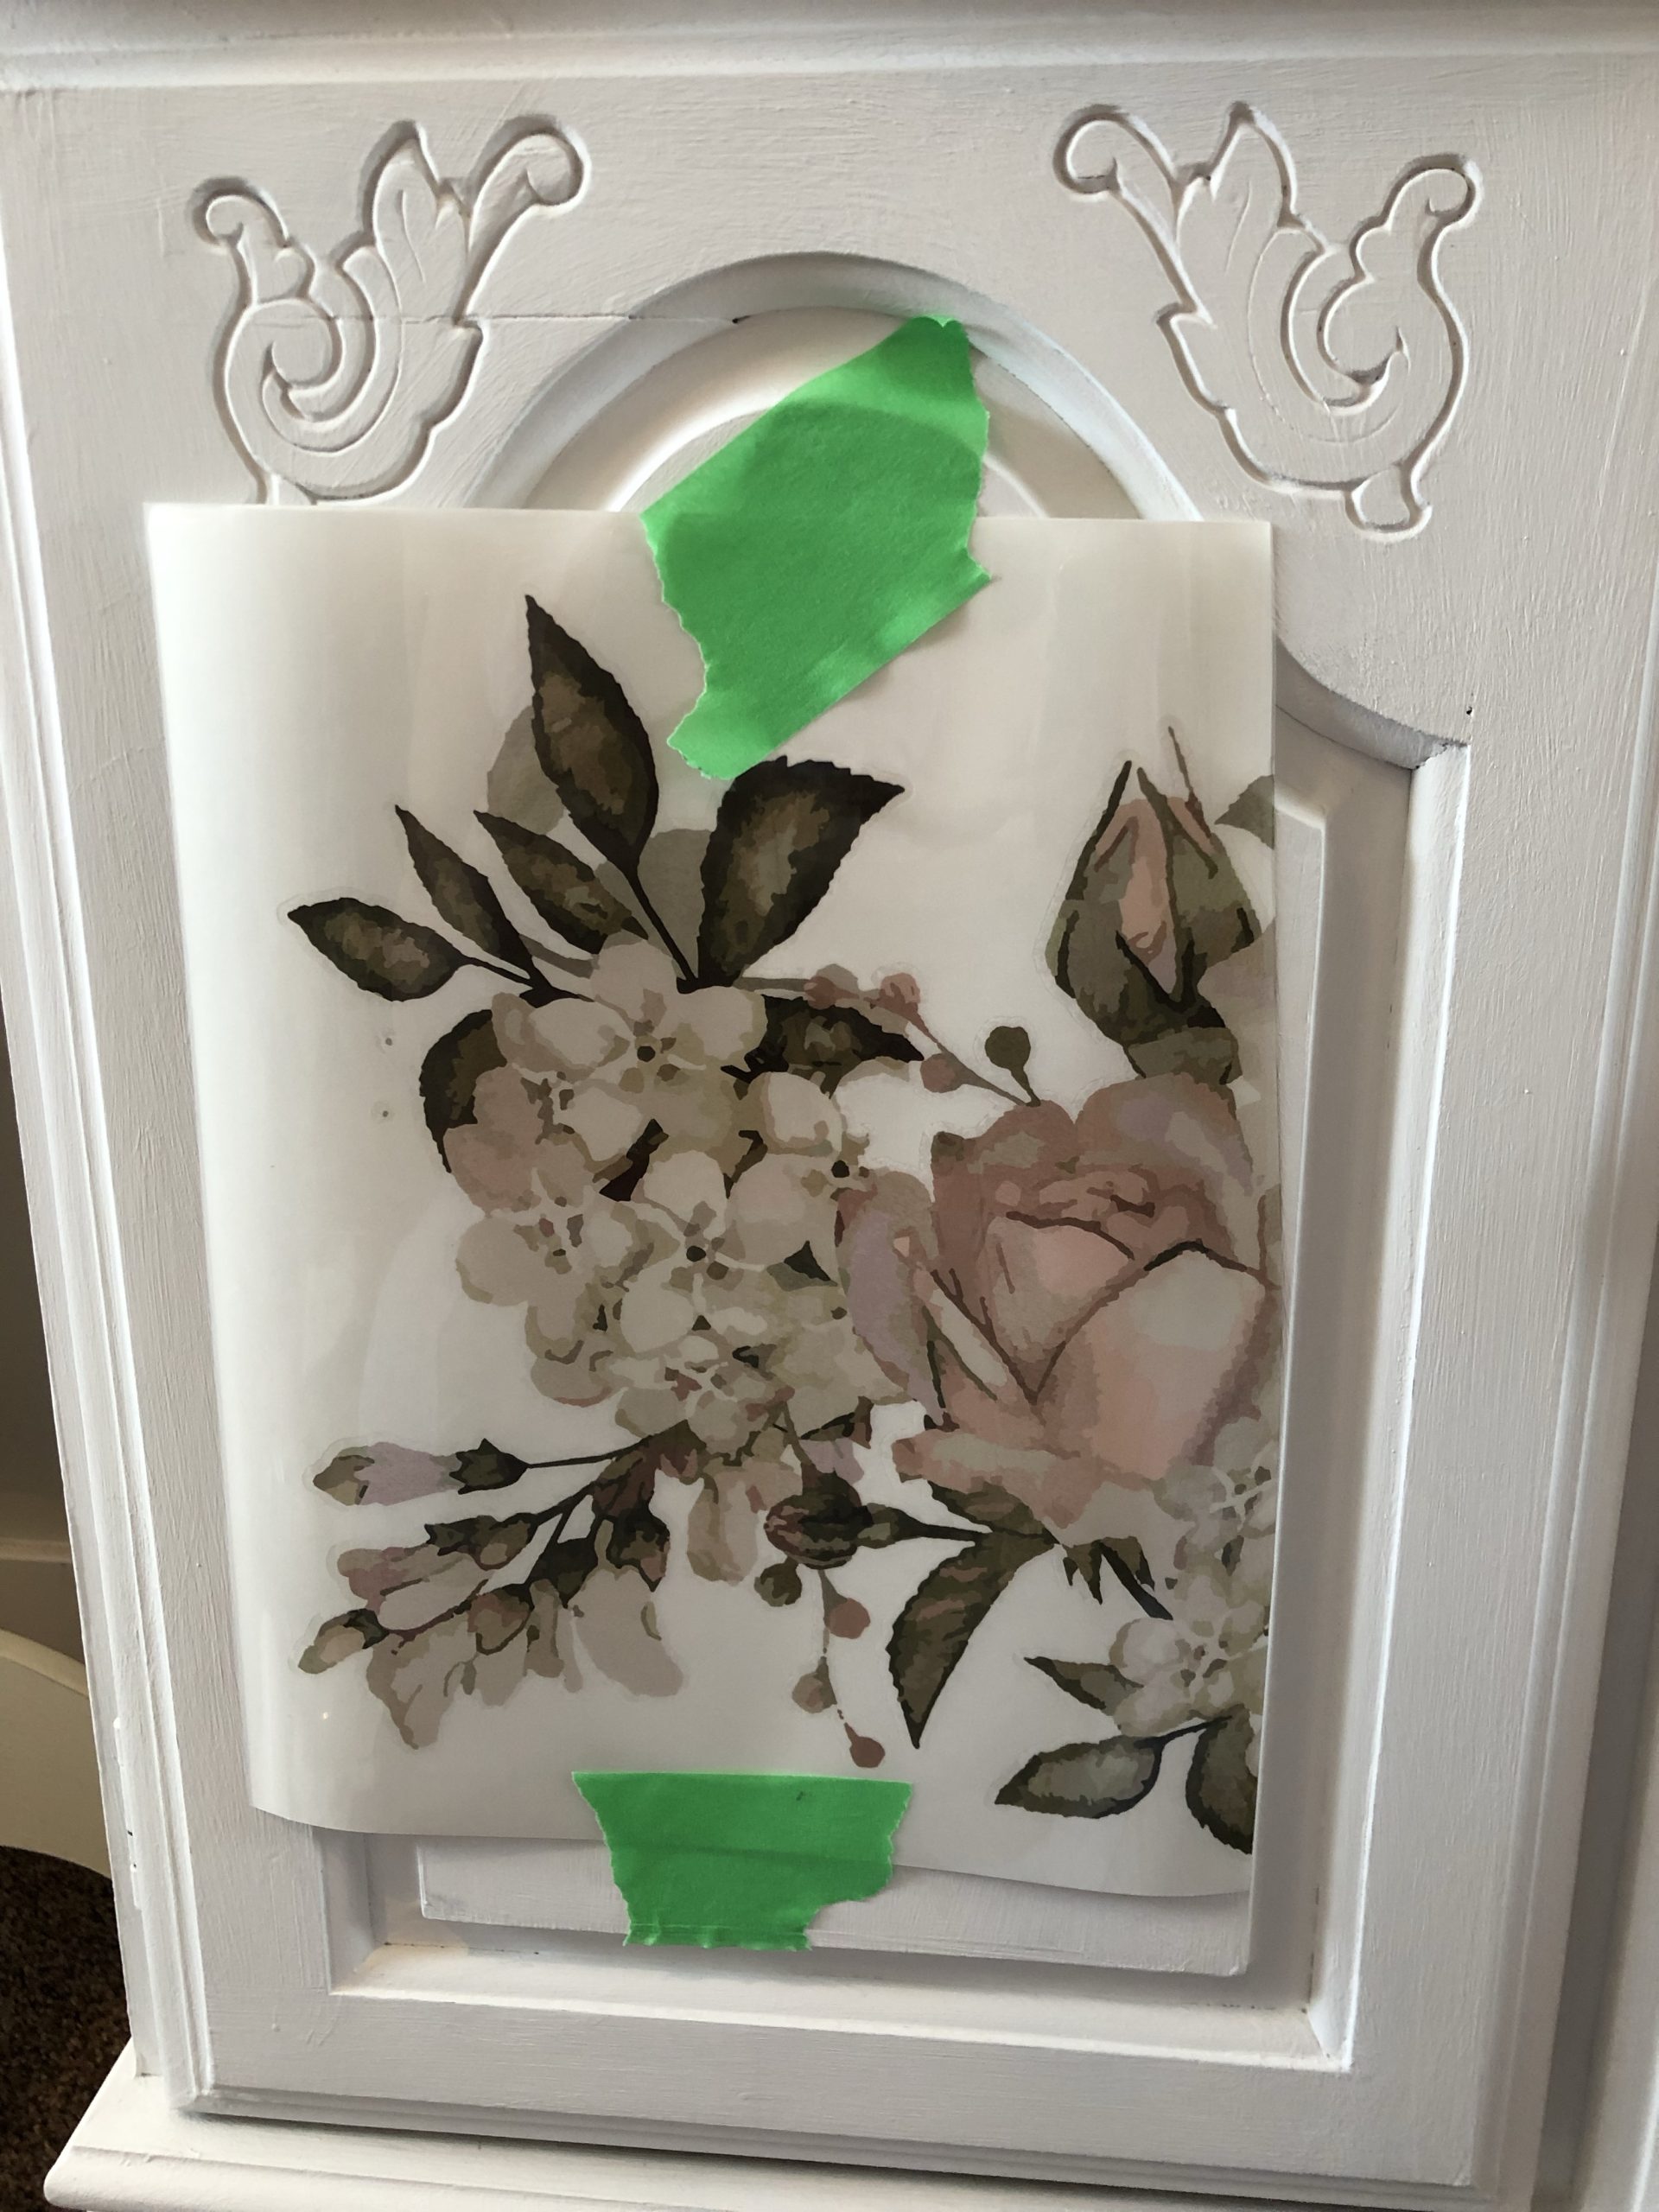
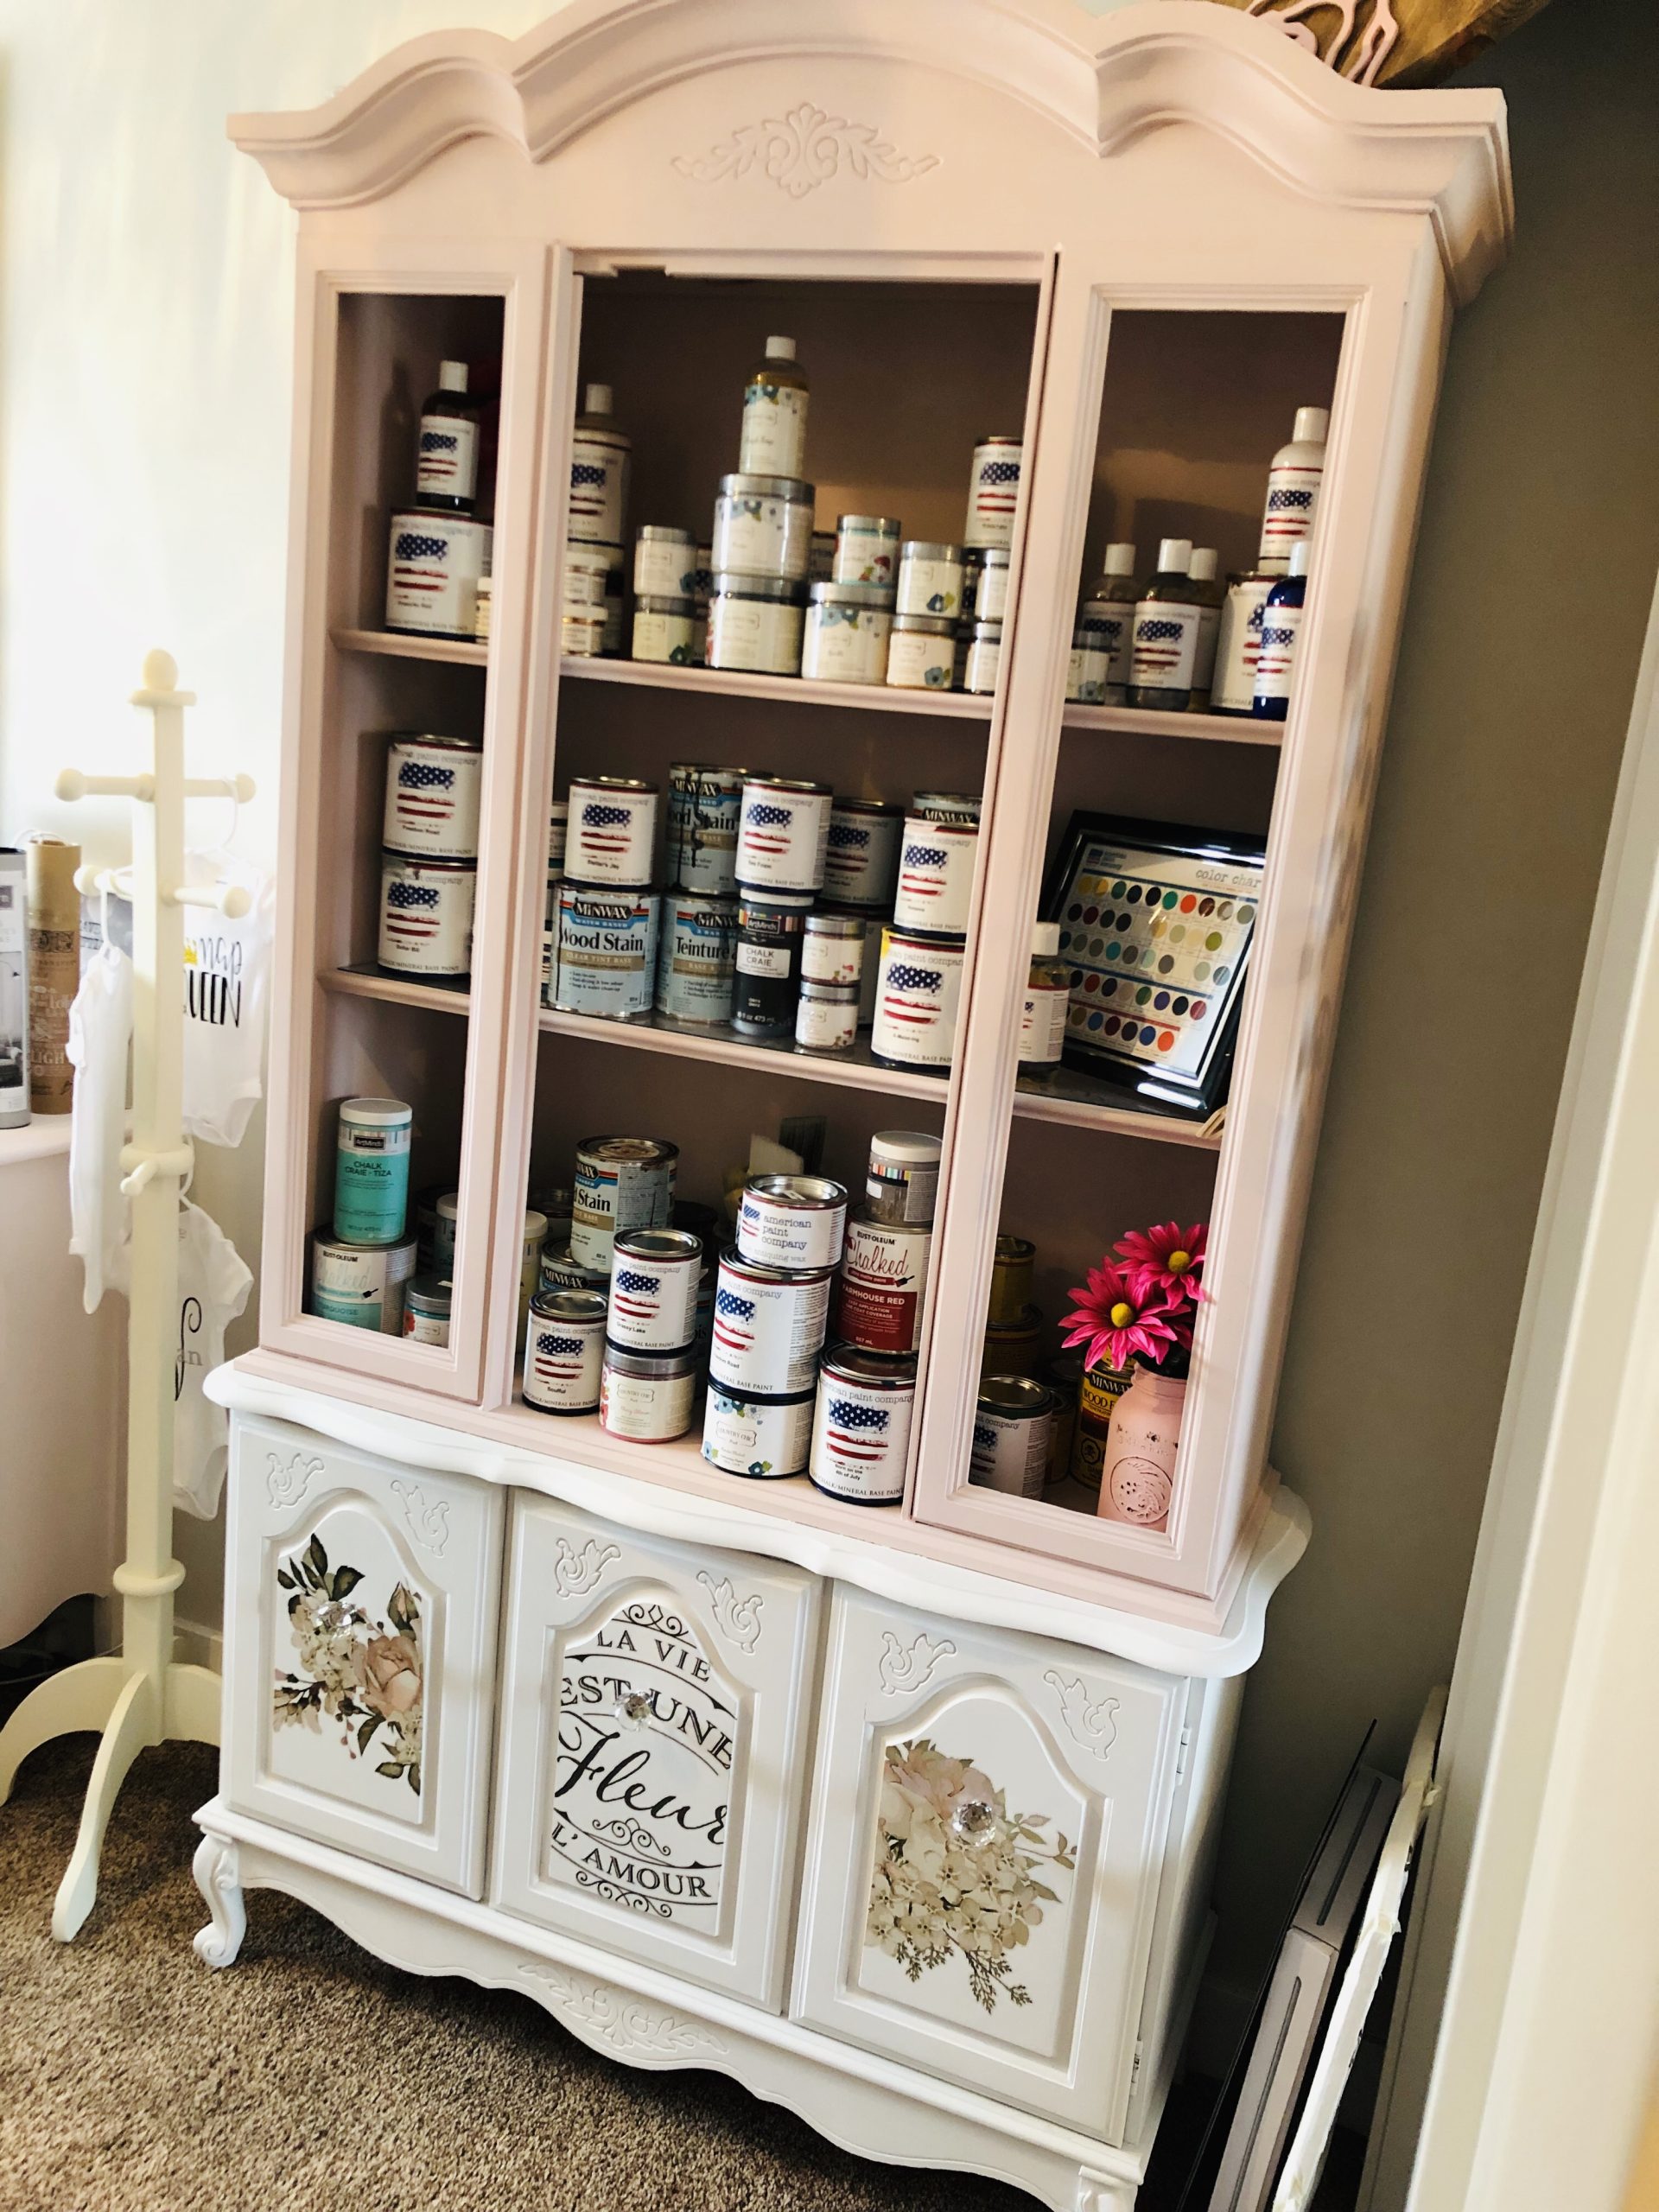
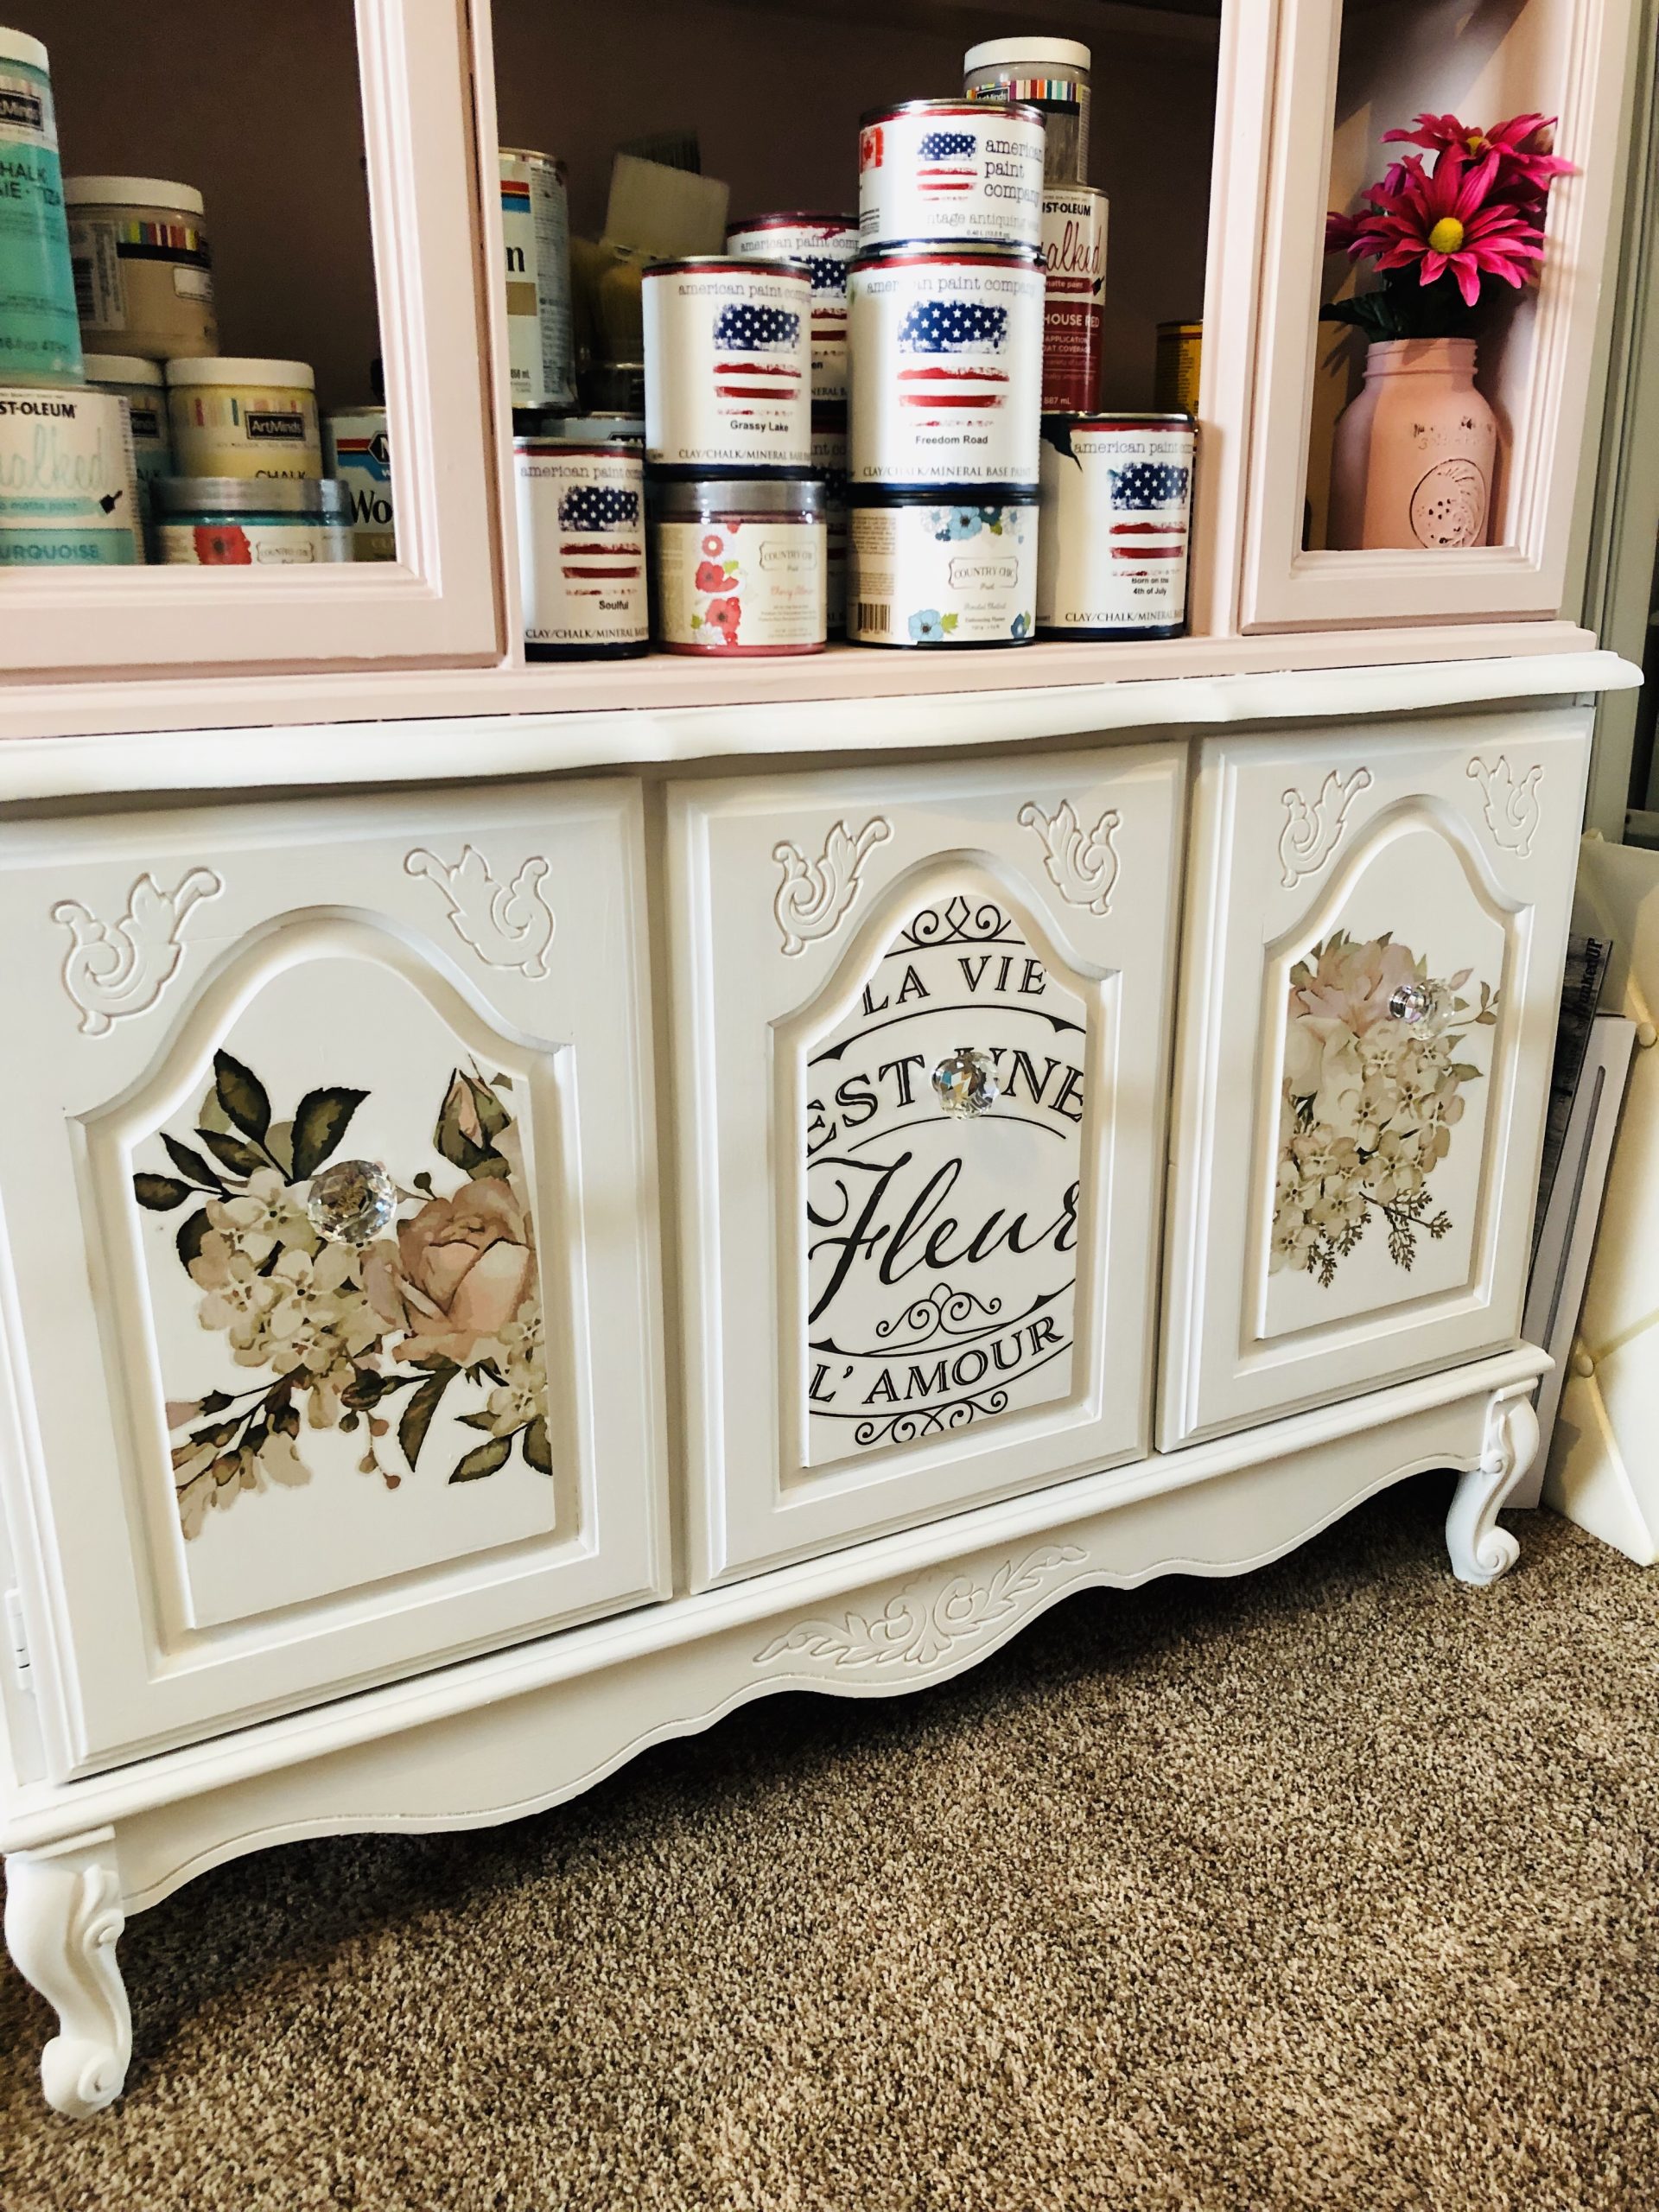
After this stage of my project was complete, I still wasn’t happy with the overall look! Yes its beautiful, but its missing some gold leaf!
Gold Leaf
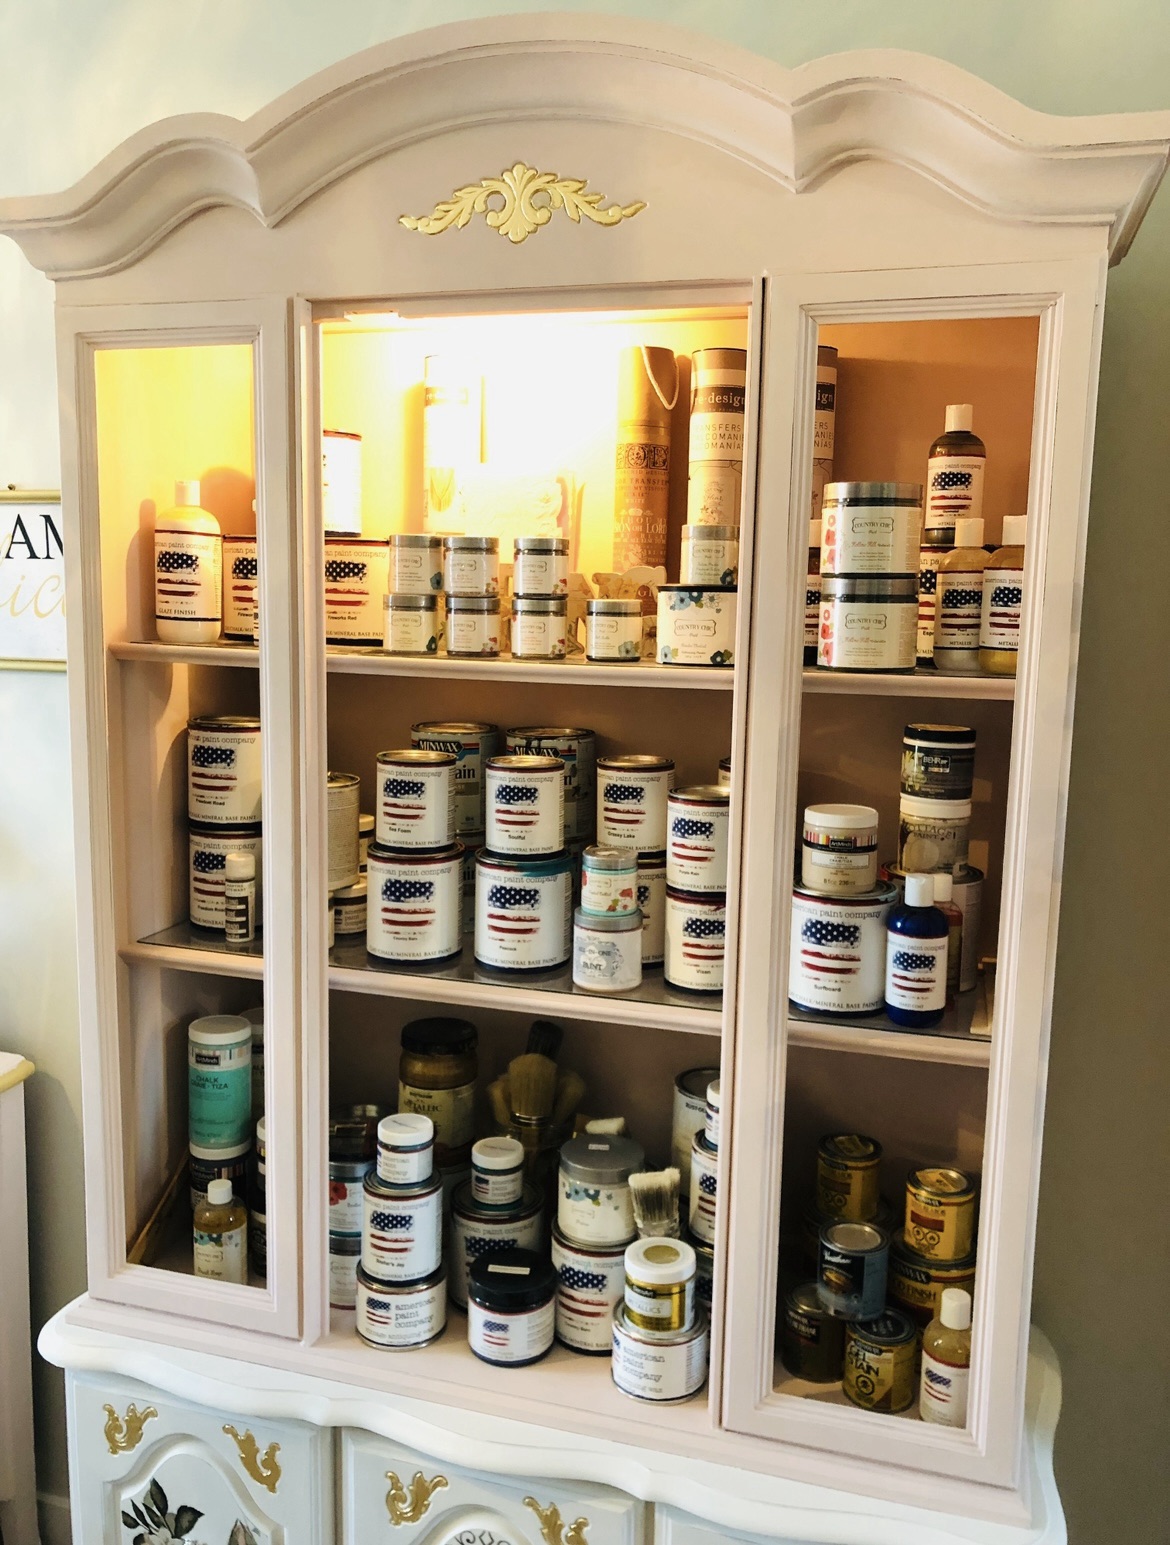
I added some gold leaf on the top detail and I think it absolutely makes it pop!
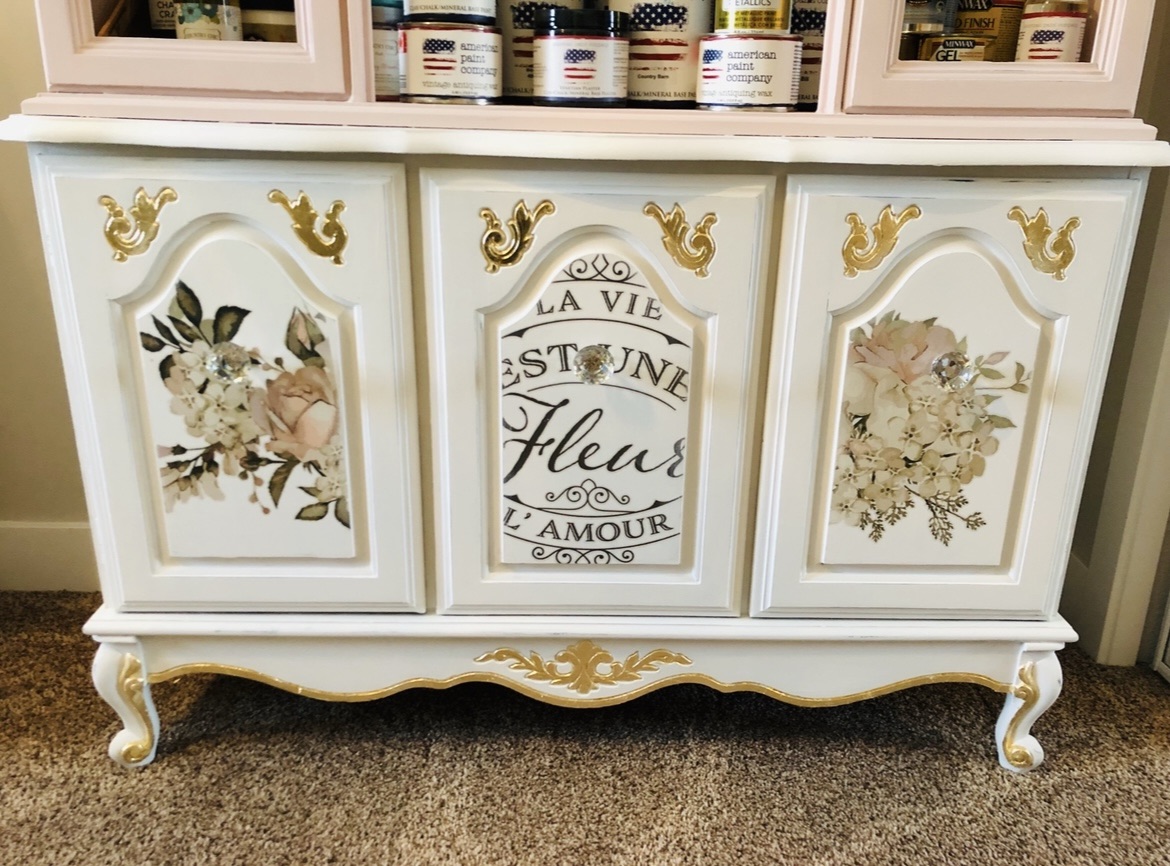
I also added the gold leaf on the details on the bottom of the piece and I absolutely am so in love with how it adds an extra bit of elegance.
In the end, it was absolutely the right decision to add pops of gold leaf to the piece and I am so in love with how my paint storage hutch turned out! Let me know what you think!
After
Are you interested in more Before/After Inspiration!?
pin for later!



Leave a Reply