I have a small Studio in our lower floor and I’m currently working on fixing things up the way I would like. Both pretty and functional. I had great plans before I became a mom and since becoming one, all of those plans are out the window!
I’ve now decided I will need to do a Craft Studio/Play Room on the lower floor. It’s a great space as you enter through the garage and it’s got a huge window and is ground level and has a back entrance to the backyard.
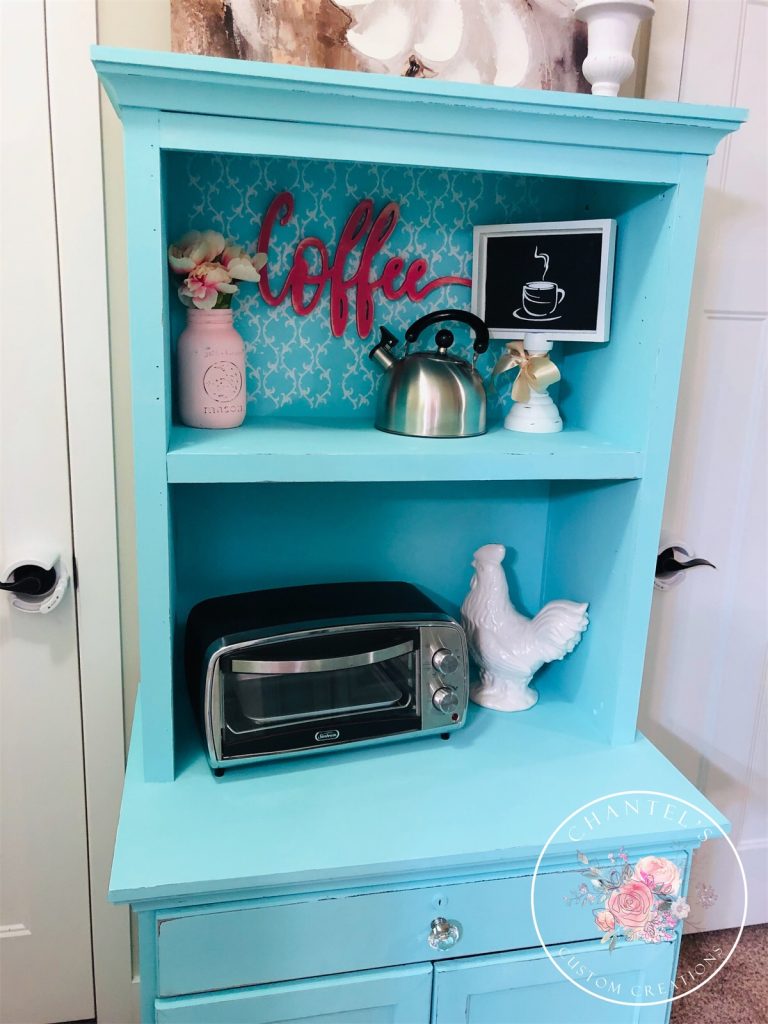
I have one of these laminate hutches lying around and I decided to make a Coffee Bar for when my little is playing down here and maybe I can get a few things done and have a coffee!
This post may contain affiliate links, please see Disclosure Policy HERE
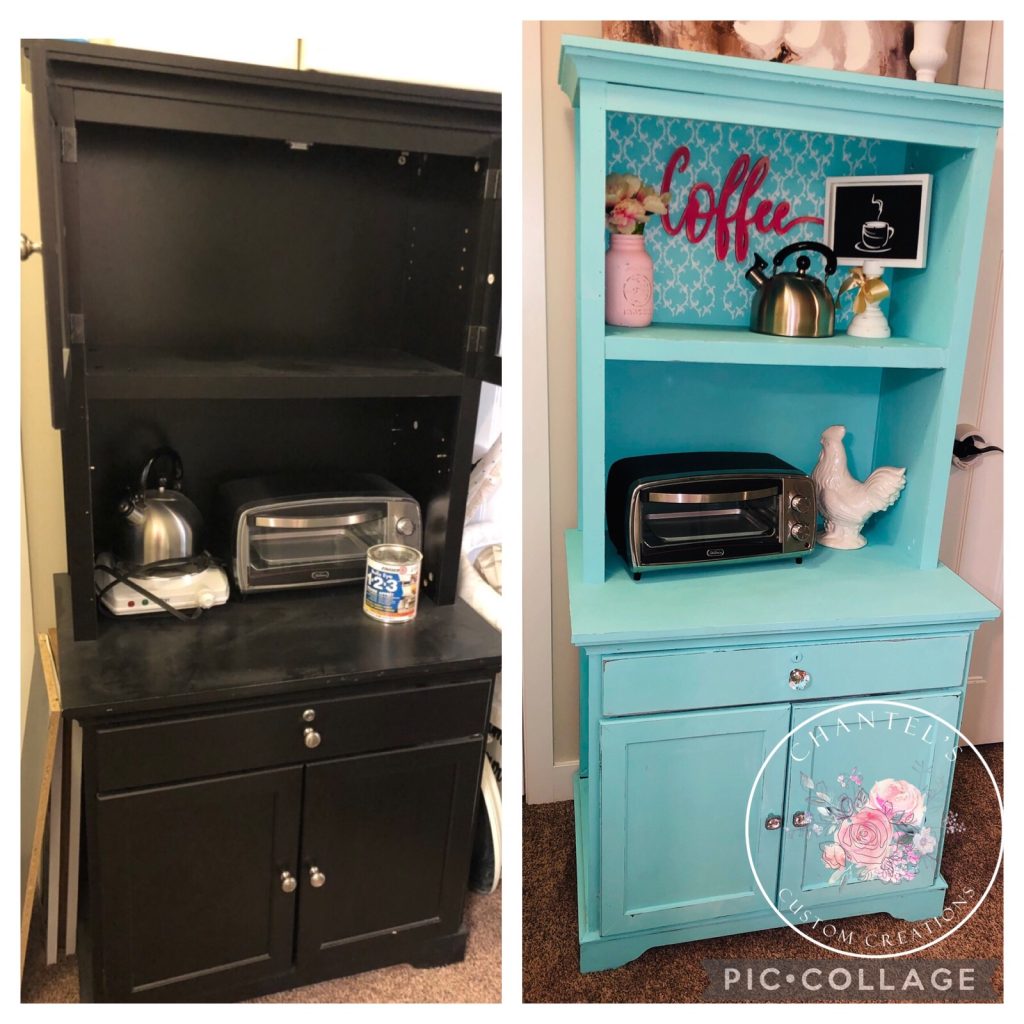
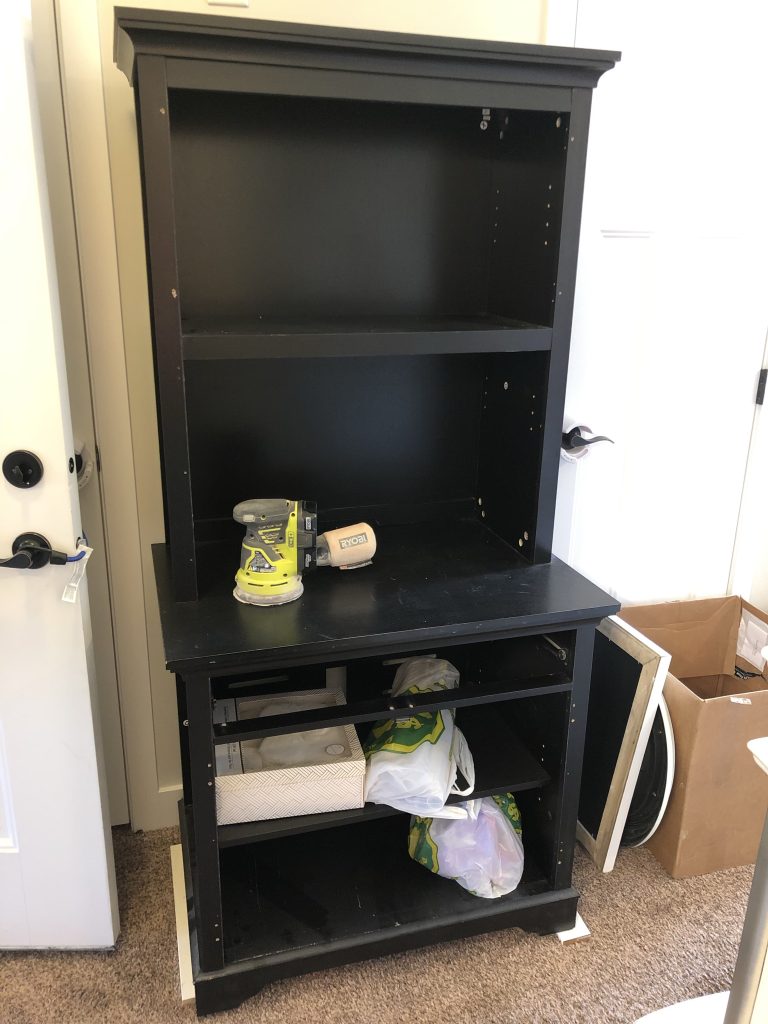
Steps to Refinishing
- I began with removing all the doors and the drawer and used my Ryobi LINK hand sander with a 220 grit sanding pad. Then I took a wet rag and wiped it all down.
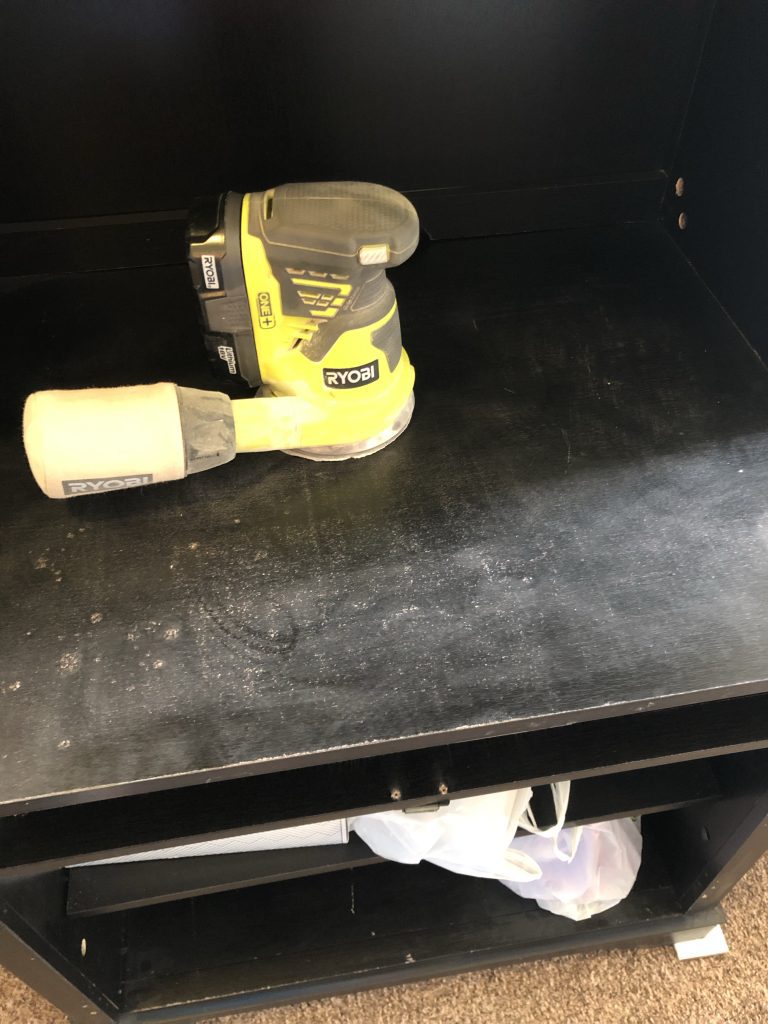
Priming
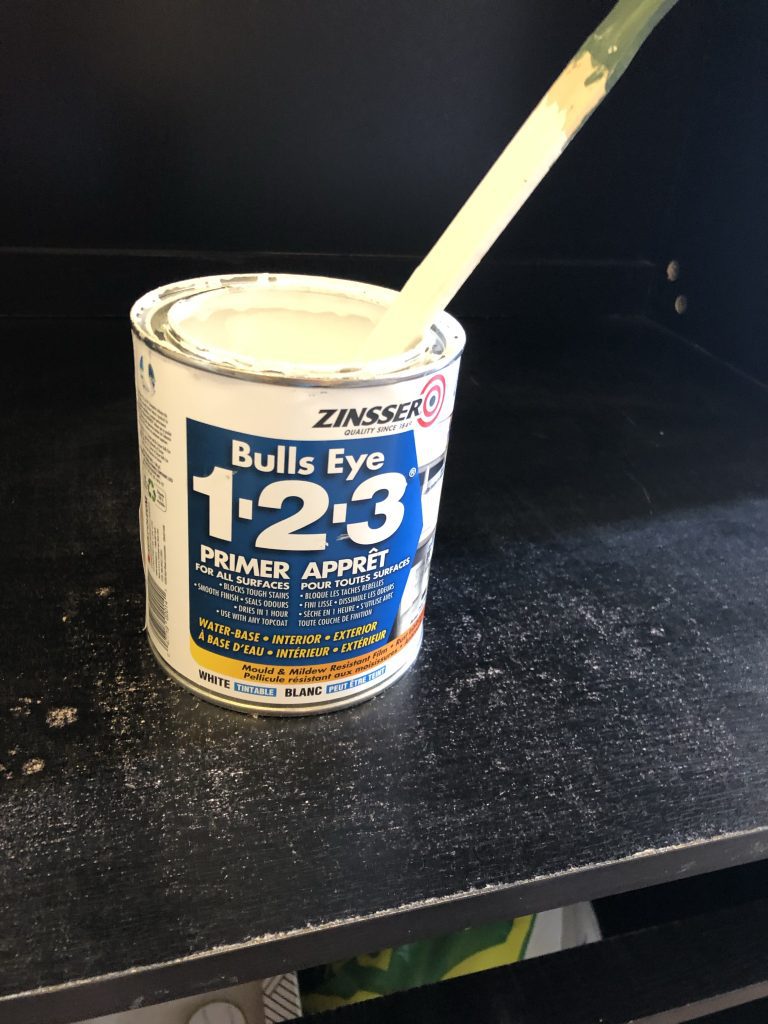
- I highly recommend using a Primer with laminate and going from a dark color to a light color.
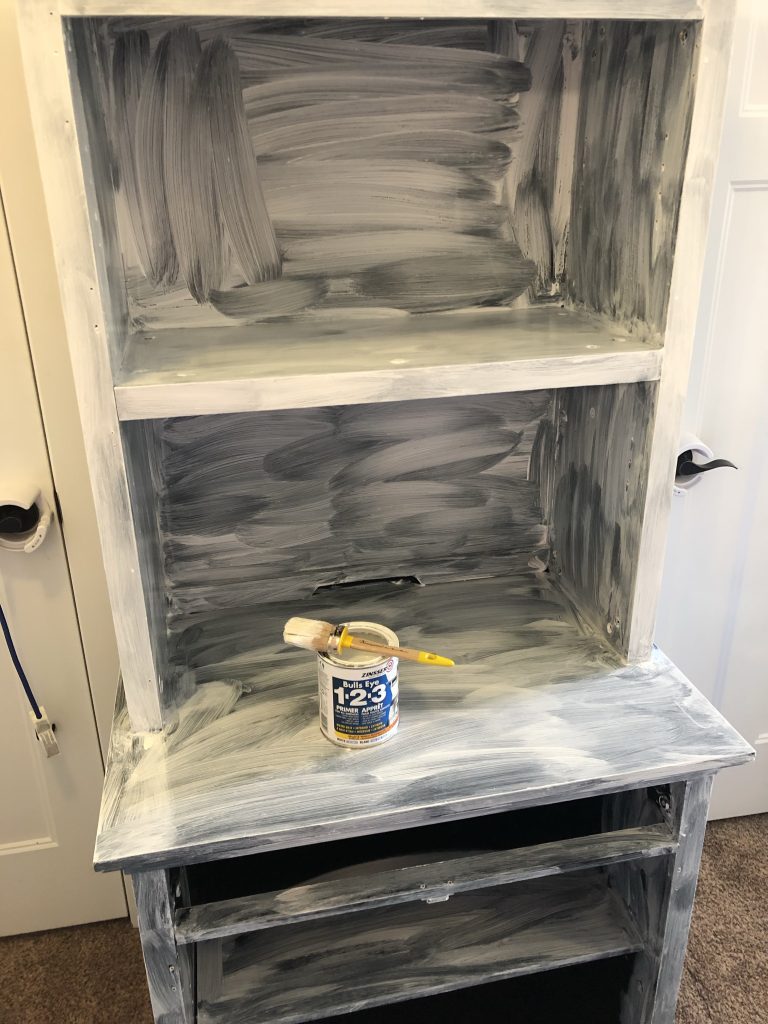
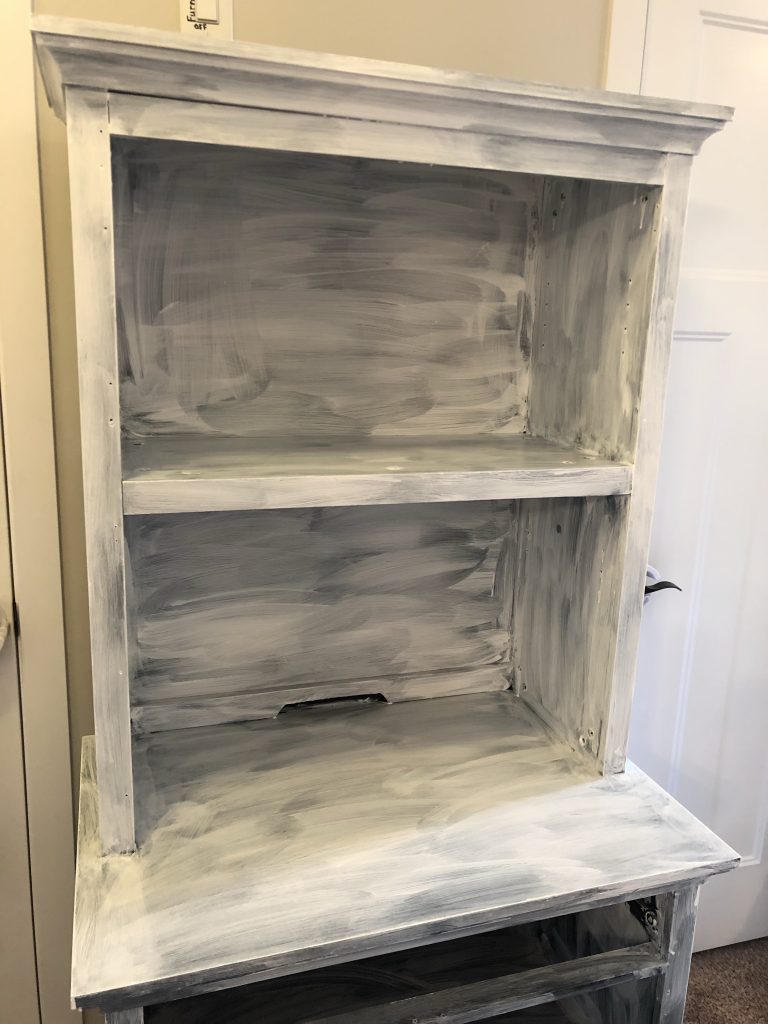
- Priming 2 coats will definitely cut down on the amount of chalk paint coats you will need to do with your chosen paint color. Also with this laminate material, it is very shiny and hard to have paint adhere so adding a primer will help with paint adhesion.
Painting
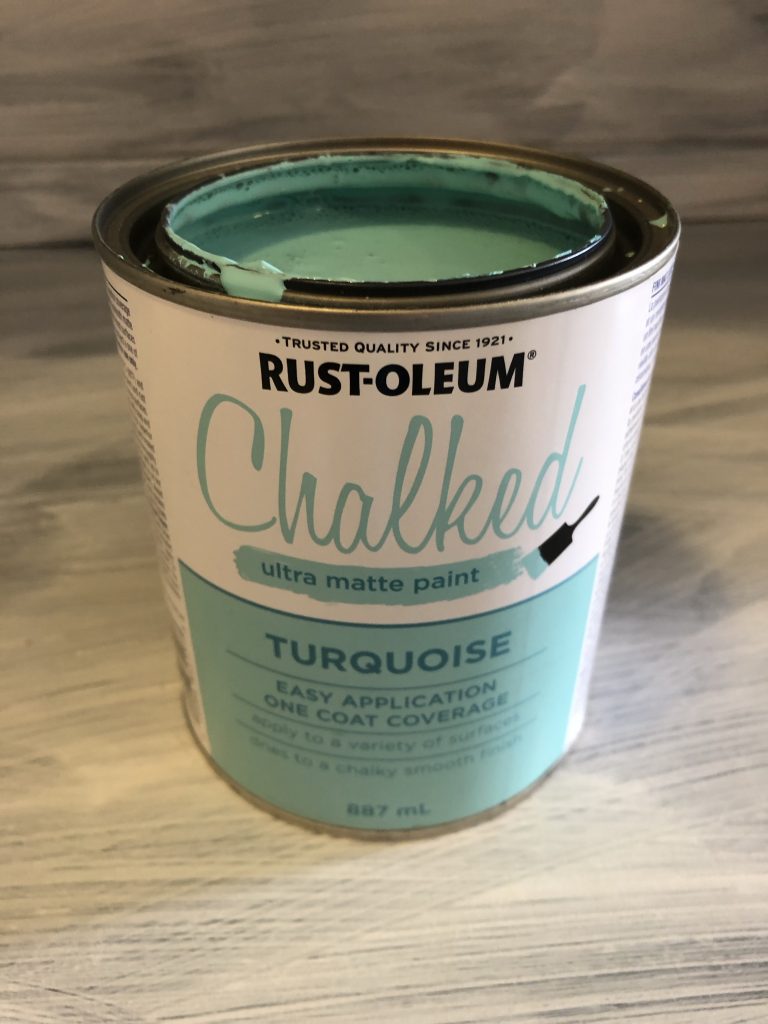
- I used Rustoleum brand chalk style paint in Turquoise color and believe me when I say, this color was so beautiful when I started to paint with it!
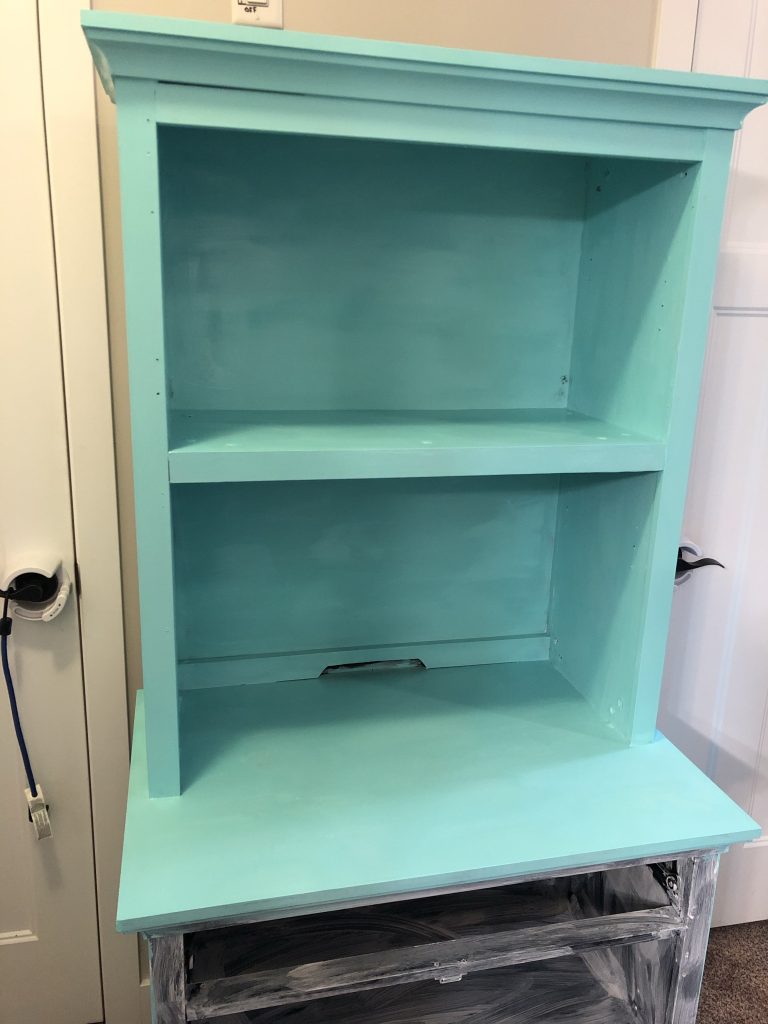
- I did have to apply 3 coats for maximum adhesion and coverage. Letting each coat dry in between is optimal. No need to let dry for hours which is one of the things I love about this paint !
Optional Stencil
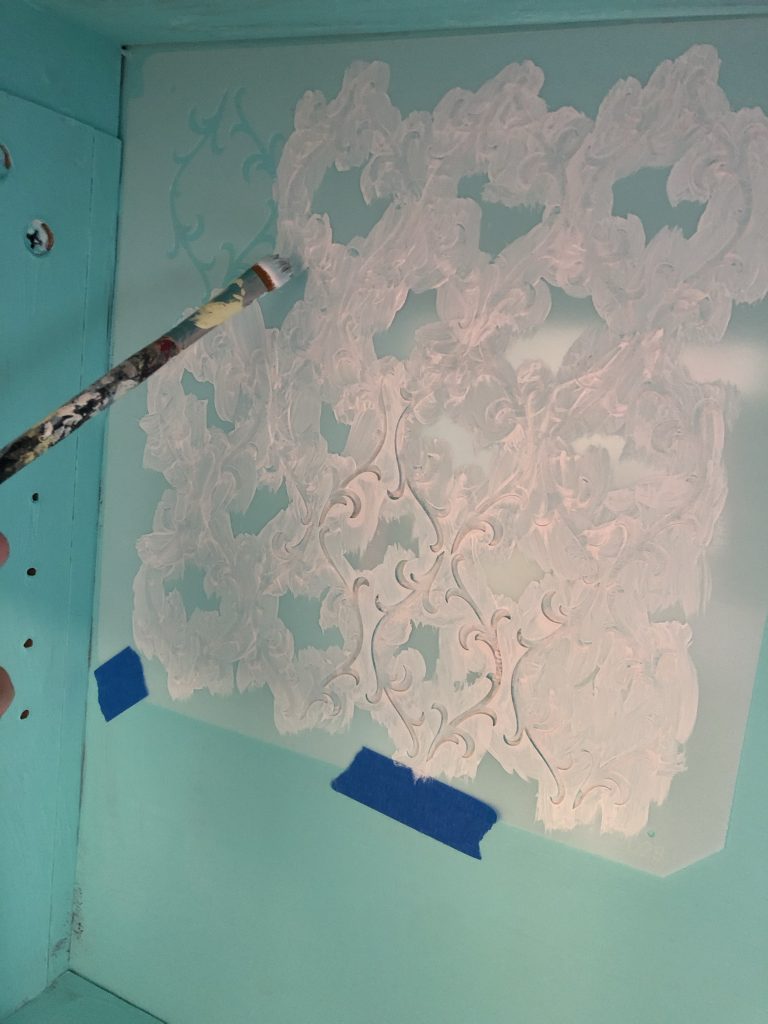
- The back wall looked a little plain after I painted it up. I decided to add a stencil to the wall for added whimsy. I used a mylar stencil which you can find similar ones on Amazon.
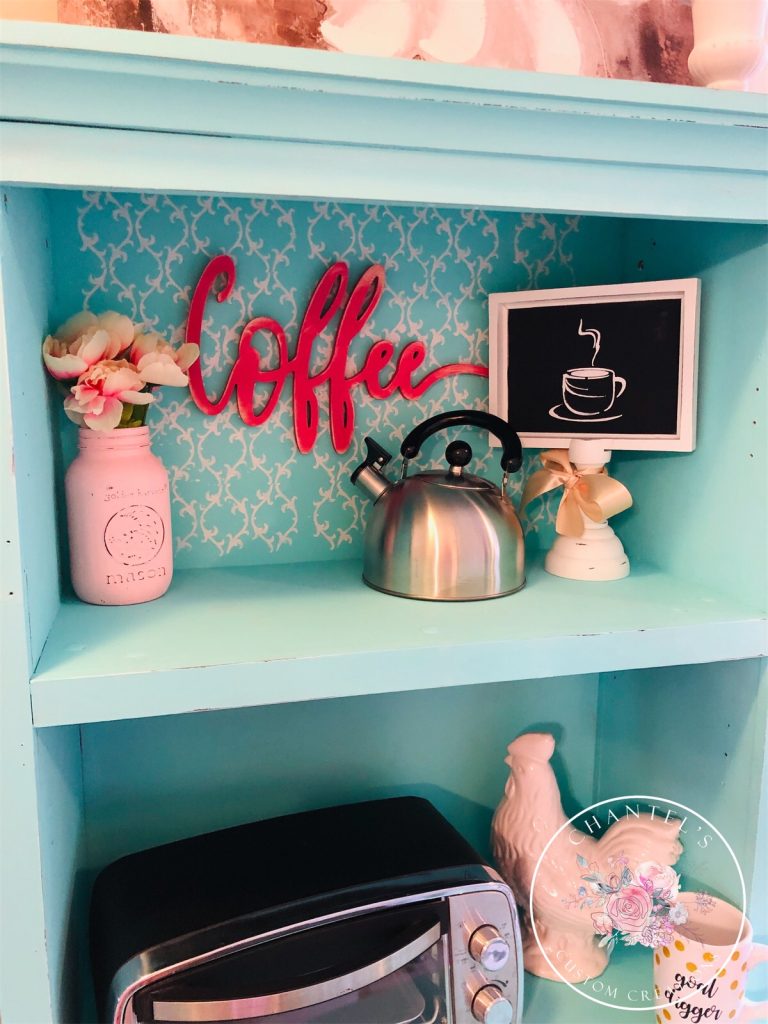
- I also had a laser cut Coffee sign made. I painted it out a dark pink chalk paint and used my Ryobi sander to give it a rustic look.
- I also used a coffee mylar stencil for the chalkboard sign. I thought it turned out so cute!
Replacing Hardware
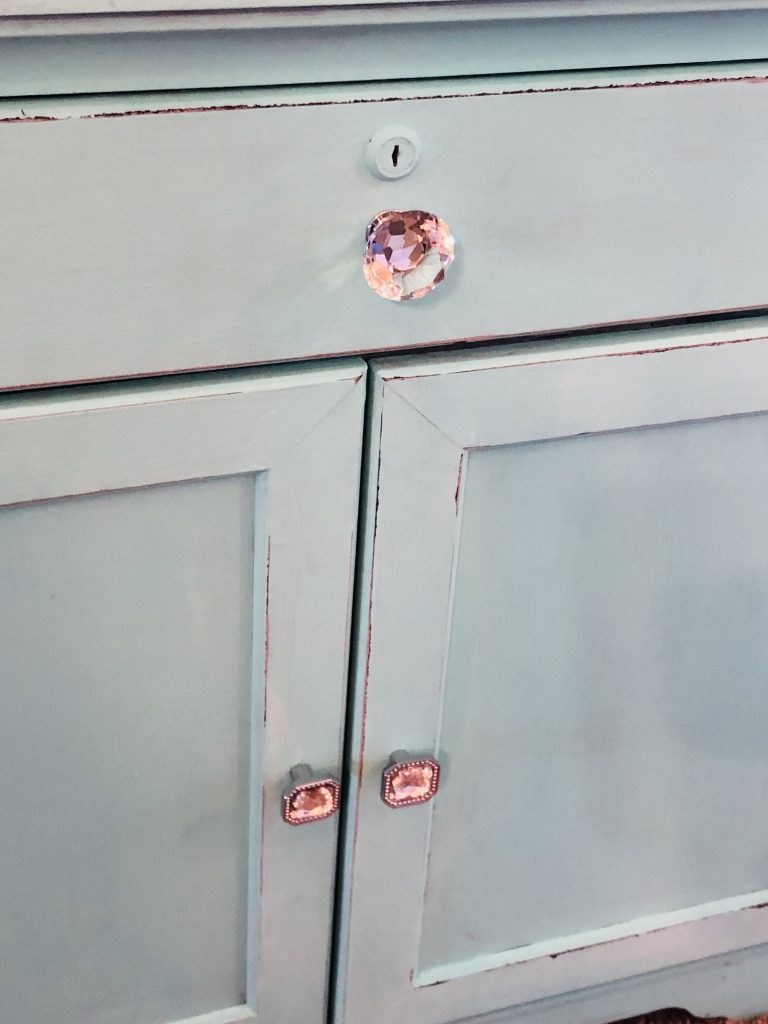
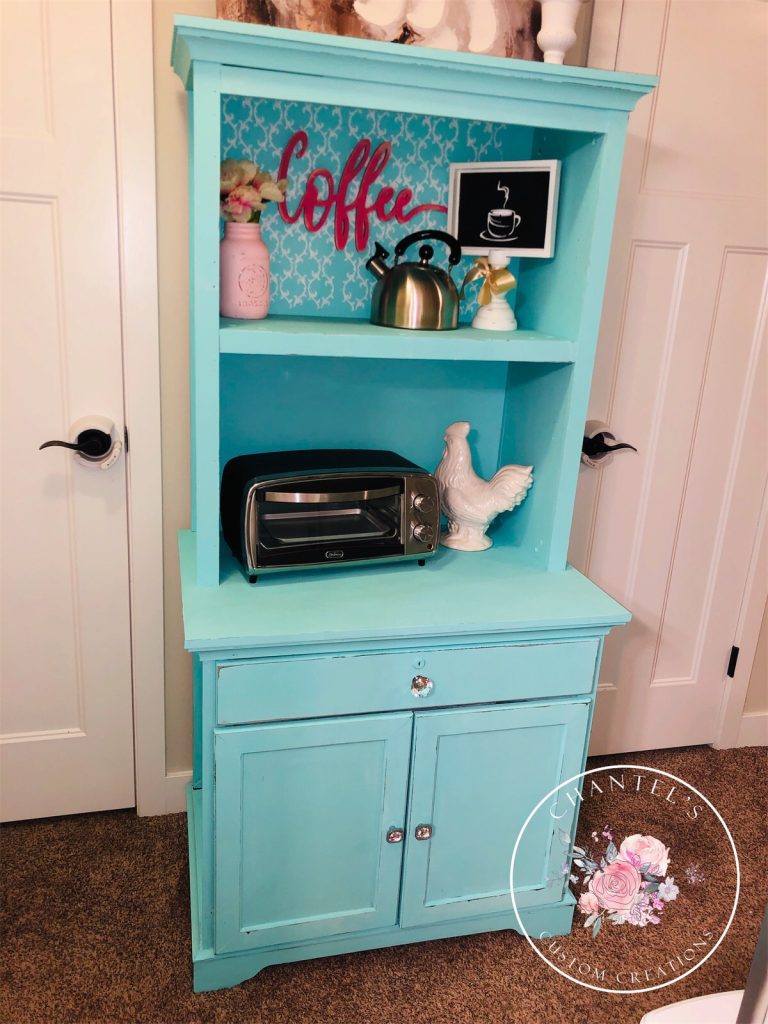
I continued on with the doors and painting out the front of the drawer as well. I replaced the pull handles with some faux crystal knobs I had on hand. What a difference. Gave it a whole new look!
Distressing
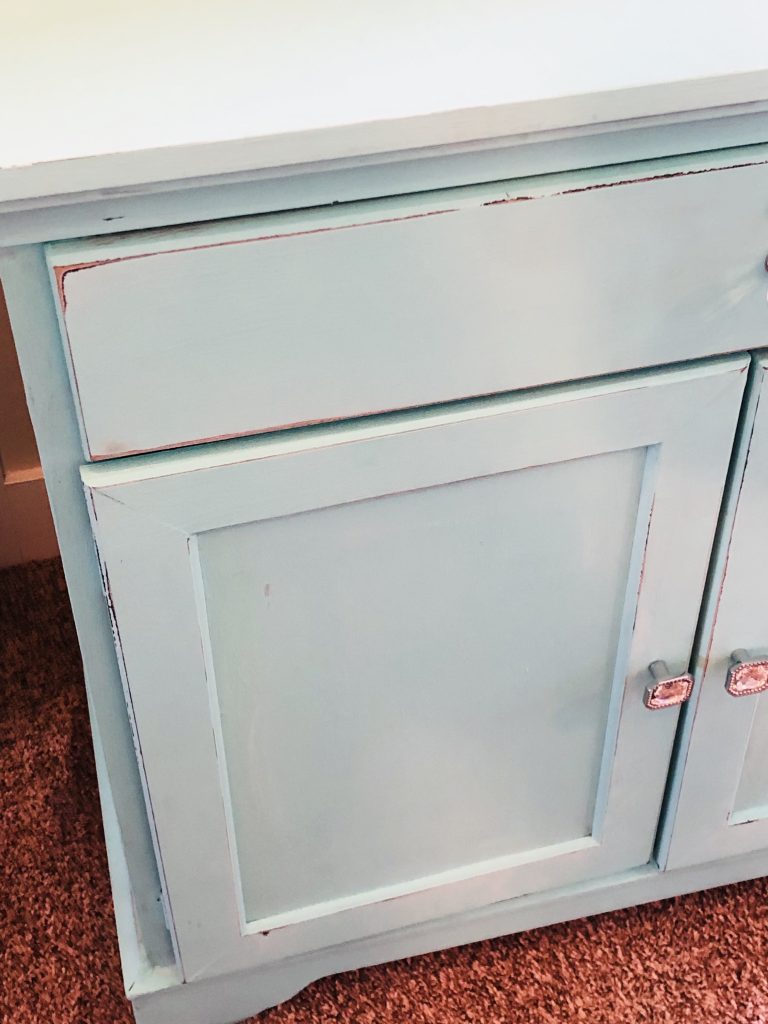
- I chose to lightly distress the piece as well. I took my hand sander and very carefully sanded down the edges to make it look a bit destressed.
After
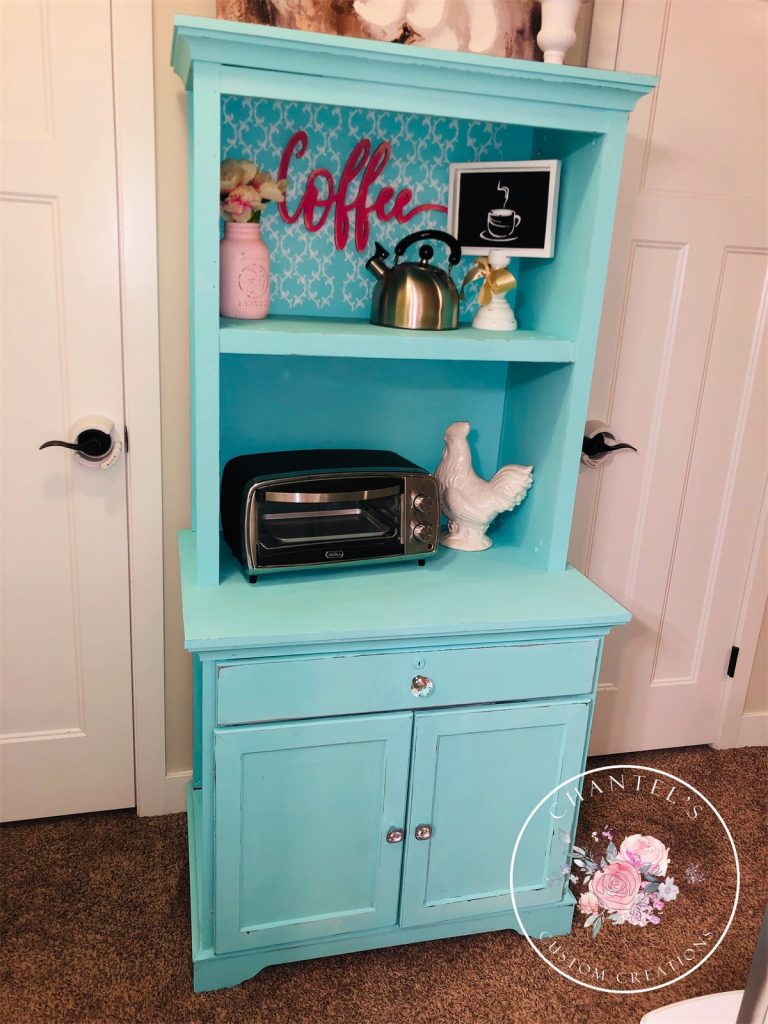
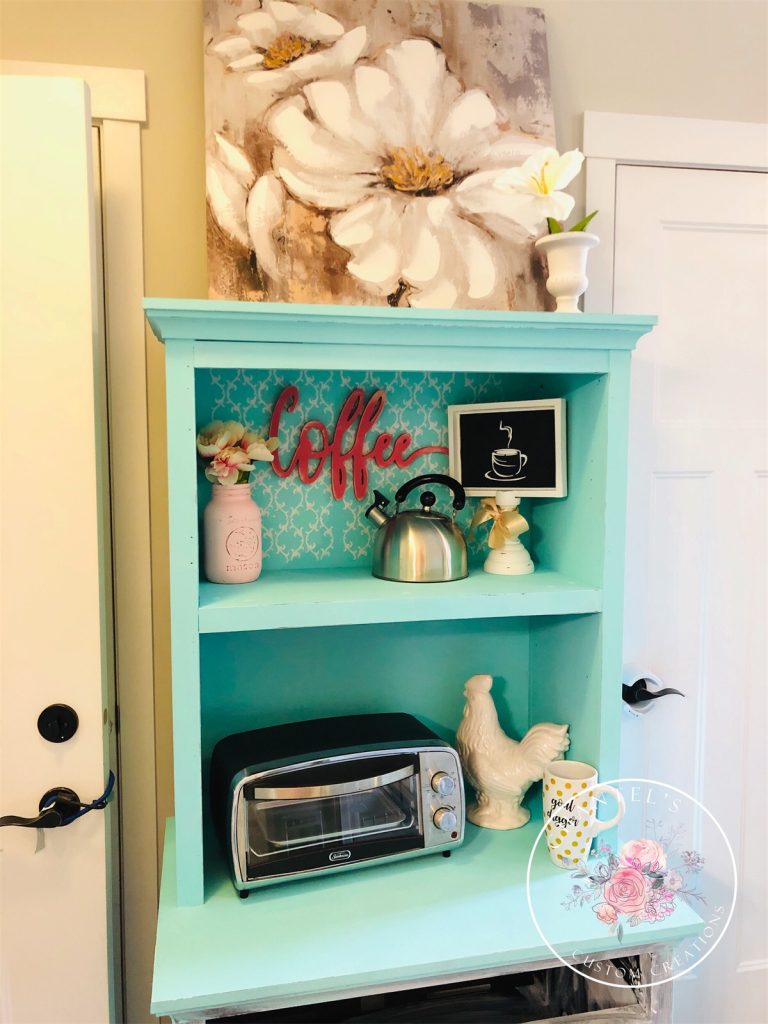
I absolutely love the way my piece turned out! So fresh and bright for my room. I cannot wait to reveal the final room to you all once everything is finished! I hope I have inspired you to have fun with painting and to take a chance on your project. Just remember that it’s just painted and you can always paint over it if things don’t work out the way you envision!



Leave a Reply