I love to repurpose old furniture into new furniture! This is an example of that! I wish I had a photo of the old mirror that came with this dresser set but its definitely showing its age from at least 20 years ago!
Look how well my furniture has held up though, not a scratch on it! Perfect project for a makeover if you ask me!
Let’s hop right into my bedroom dresser to TV stand makeover!
This post may contain affiliate links, please see Disclosure Policy
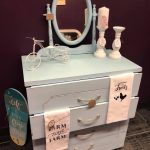
Before
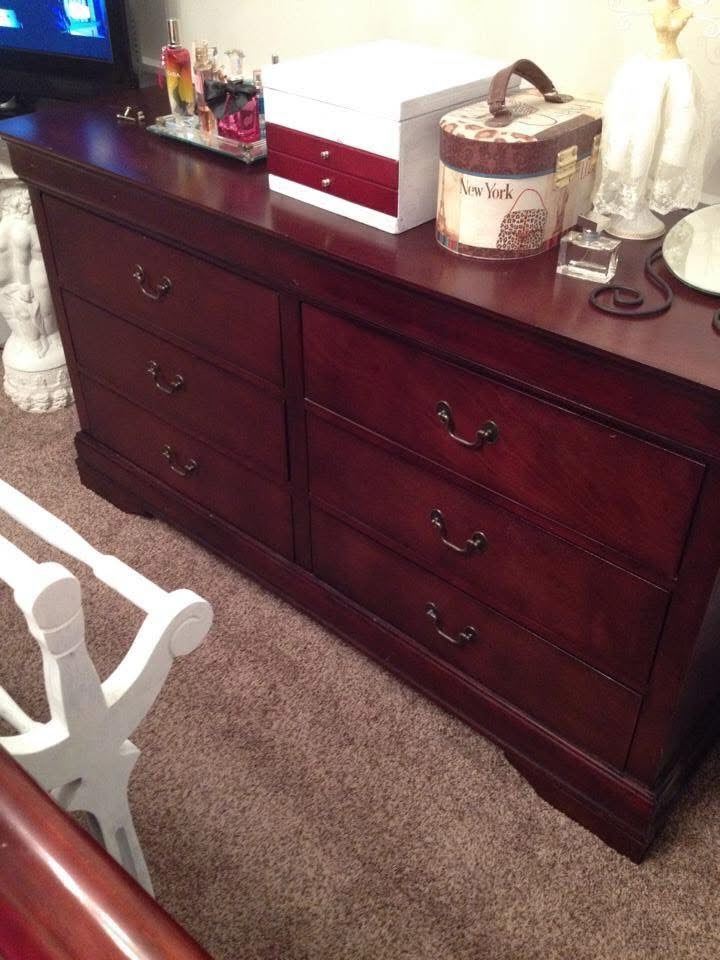
My plan for this old cherry bedroom dresser is to paint the top in black chalk paint and the bottom in white chalk paint, distress it and remove handles and put on new bling ones!
Step 1
- As always, make sure to clean your furniture with a soft wet rag to remove all dust particles before attempting to paint it.
- I also suggest taking a soft sanding block and scuff up the shiny wood so as to improve the adhesion of the chalk paint.
- Ideally you will want to use a white primer on a piece like this. I did not do that in this case and regret it! It will save you time and money as you will not have to use as many coats of your chalk paint if you do not skip this step!
Step 2
Begin by choosing your brand of black chalk paint. I have used many brands in the past and I am not super attached to any one brand of chalk paint.
I used in this particular instance Home Decor Chalk. I have had great results with it. Here is the link if you would like to check it out!
I removed the drawers and chose my brand of chalk paint. For this project I used FAT Paint but again, your choice on what brand of paint you use.

Step 3
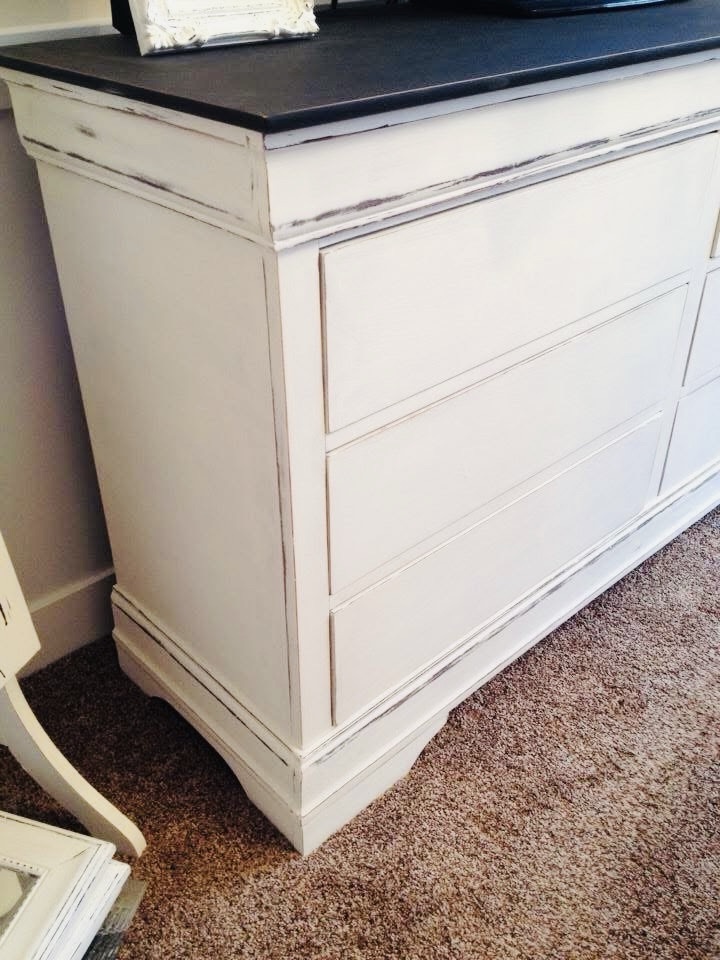
- Distressing
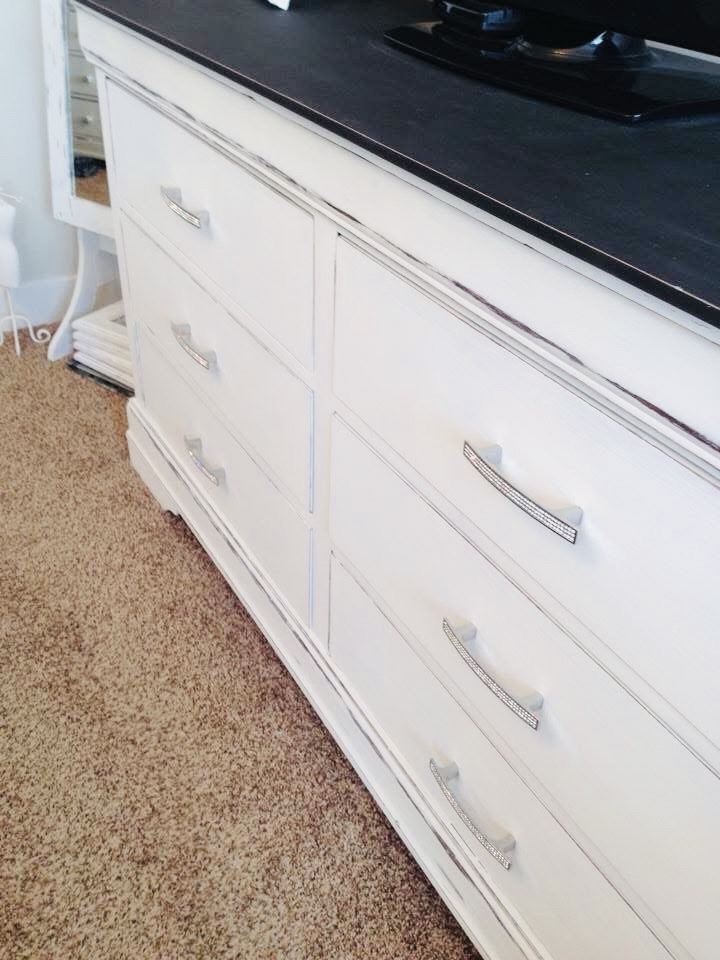
After I let my paint dry overnight, I like to take either a wet shop rag or ideally you still have that sanding block on hand, gently distress around the natural corners of the piece. I like to take it easy as you can easily add more distressing and its a bit more work to have to cover it up and start again.
But do not worry! You absolutely can paint back over a spot you have distressed too much and start again. That is one of the things I love about chalk paint! It distresses so well!
Step 4
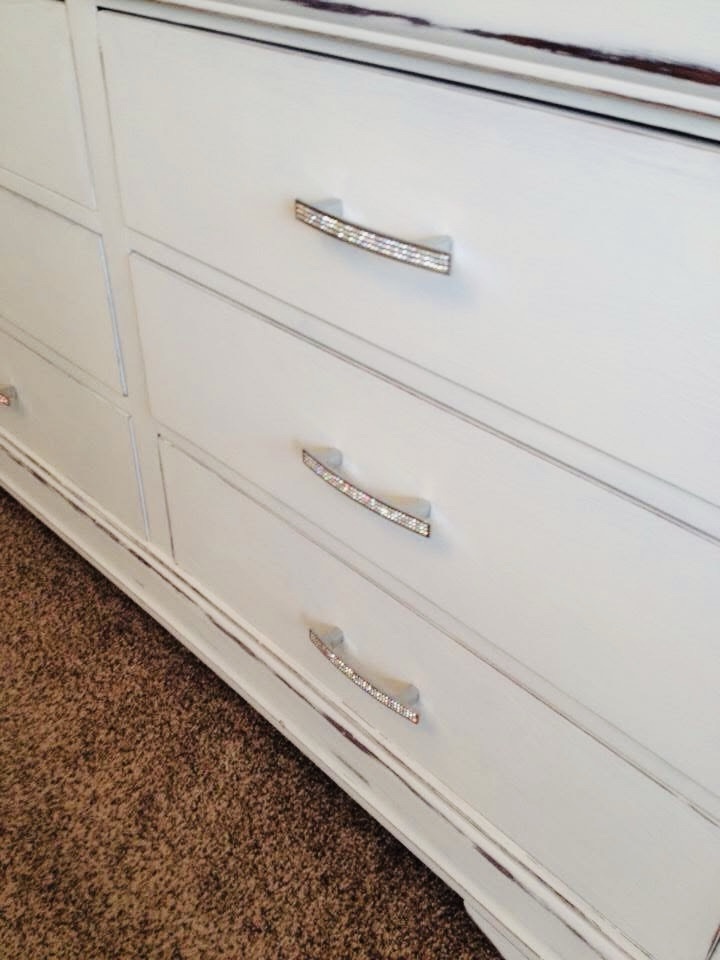
- Hardware
I removed the old hardware and all of the drawers before I started painting my dresser.
I wanted to pick out pretty bling hardware to put back on my dresser but the holes that were once there did not fit my chosen hardware.
There is a couple of options here! I am going to admit I have a hard time taking my time when doing projects!
If you are in a pinch and you need to get this step done fast, I have used E6000 glue in the past to just glue the handles on for a temporary fix! Then when I can find the extra time, I fill the old holes with wood glue, let it set, sand it down and paint over the holes. And finally, drill new holes to fit the new hardware!
If you are working a project and would love to add bling hardware to your furniture piece, head on over HERE and I have linked for you some amazing options for bling hardware!
Step 5
- Furniture Wax
Sometimes I use furniture wax and sometimes I don’t! Full disclosure here! But in this instance, this piece of furniture will be well used and in order to bring out the black color, a nice clear wax is always nice to apply! Here is a link for some nice furniture wax if you would like to give it a go.
I have also used black furniture wax for my black pieces and all I can say is wow! It really brings out the black. Now this is an added expense and maybe isn’t necessary if you are a beginner, but if you want to give it a try, I would recommend it for your black pieces.
Use a white shop rag which is what I prefer, or buy yourself a nice wax brush, either way works!
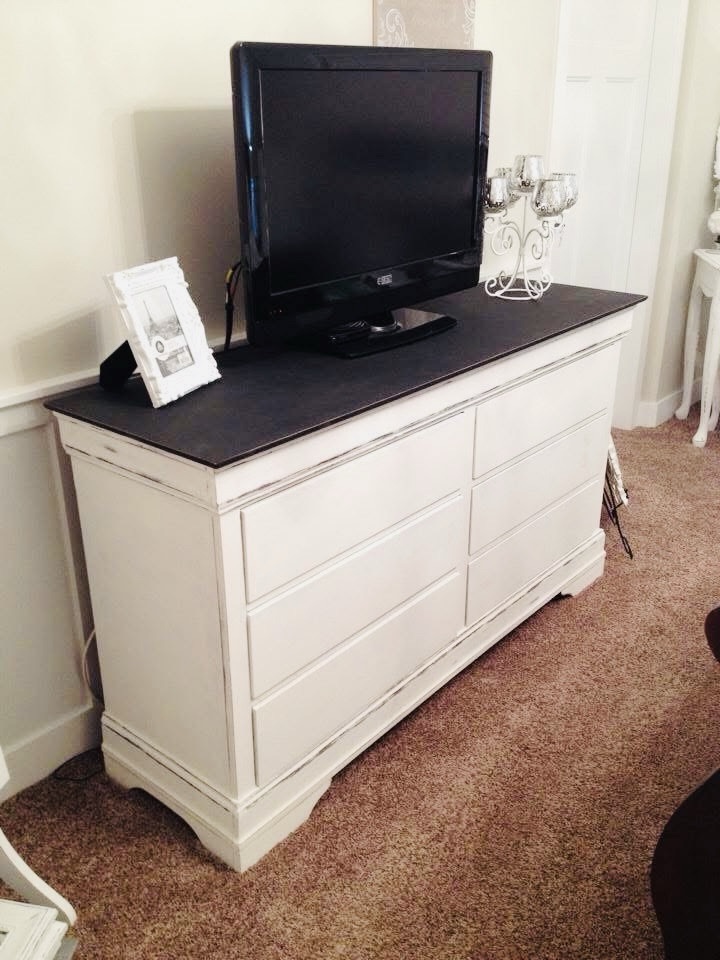
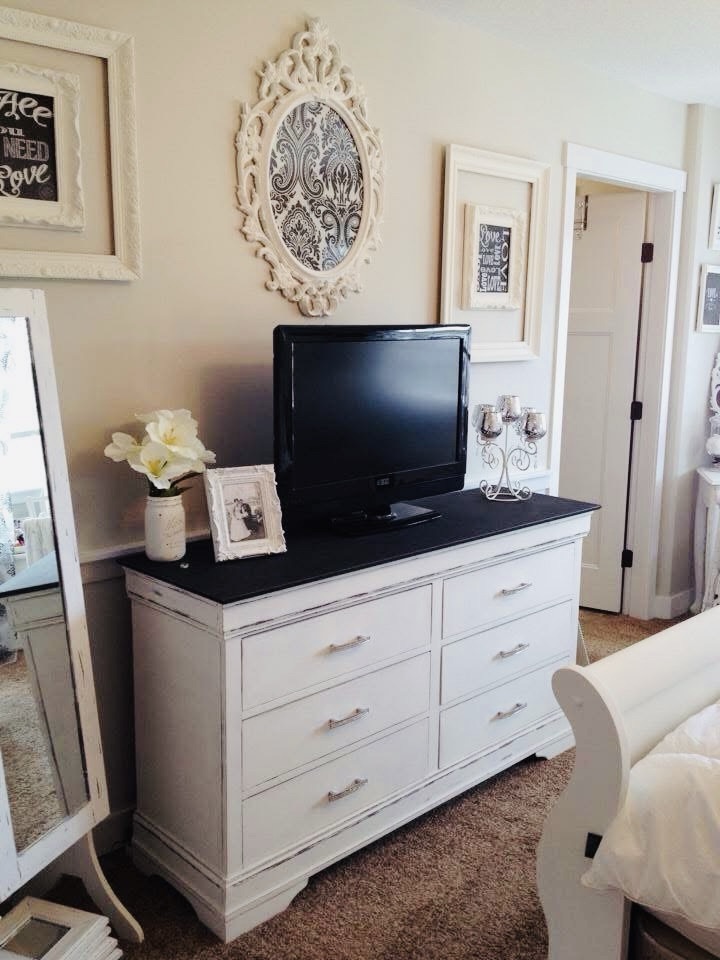
Results!
I am absolutely in love with my dresser to TV stand makeover! It holds our bedroom TV perfectly. I took the old mirror off the dresser, painted it and used it another room for another purpose.
What do you think! I love the new color combination and I’m telling you from experience, you cannot go wrong with using white paint in a bedroom! It brightens the whole room up!
Are you interested in more furniture transformations?
Head over and take a look! Let me know in the comments how you make out on your furniture transformations!
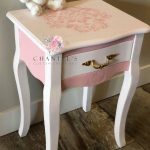
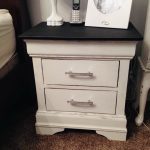
- Before and After Nightstand Makeover
- Painting Old Dresser with Chalk Paint
- How to Paint a Fireplace Surround


Leave a Reply