Farmhouse Style Pillows Tutorial
I just love making Farmhouse style pillows! I am so in love with this French Paris design! I used the “Chalk Couture” brand for this tutorial but if you do not have access to this particular silkscreen, I have recommended a silkscreen and ink you can purchase to make your farmhouse style pillow.
Please note that the link for the silkscreen is smaller than the one I am using in this tutorial and you will have to adjust your pillow sizes accordingly.
This post contains affiliate links. Please see full disclosure HERE.
Supply List:
- 18″ x 18″ pillow insert
- 18″ Decorative Throw Pillow Case Black
- Cricut Easy Press 2
- Ink Squeegee
- Speedball Fabric Ink Set
- Home Iron (optional)
- Silkscreen Re-Usable Transfer Stencil
Steps to Make Your Pillow Case
You will want to begin this project by first laying out your pillowcase on a flat surface and pre-press it with a hot home iron or your Cricut Easy Press.
You want to make sure you do this step in order to iron out any existing creases in the material so your transfer has a flat surface to adhere to.
Step 1
- Take backer off of transfer and lay it down over the top of the pillowcase.
- Smooth out any bubbles as transfer needs to lay as tight as possible as to not bleed.
- Place a firm mat inside the pillowcase (I used my Cricut Easy Press mat or you can use a folded up towel).
- You will need something underneath in case the ink bleeds through the pillowcase and also to enable you to keep a steady hand on a firm surface for best results and to minimize any bleeding.
Step 2
- Take ink squeegee and spread speedball ink onto transfer liberally but do not glob the ink.
- You want to spread it as evenly as possible and with quite a bit of ink, but not too much so that you can minimize any ink seeping under the stencil.
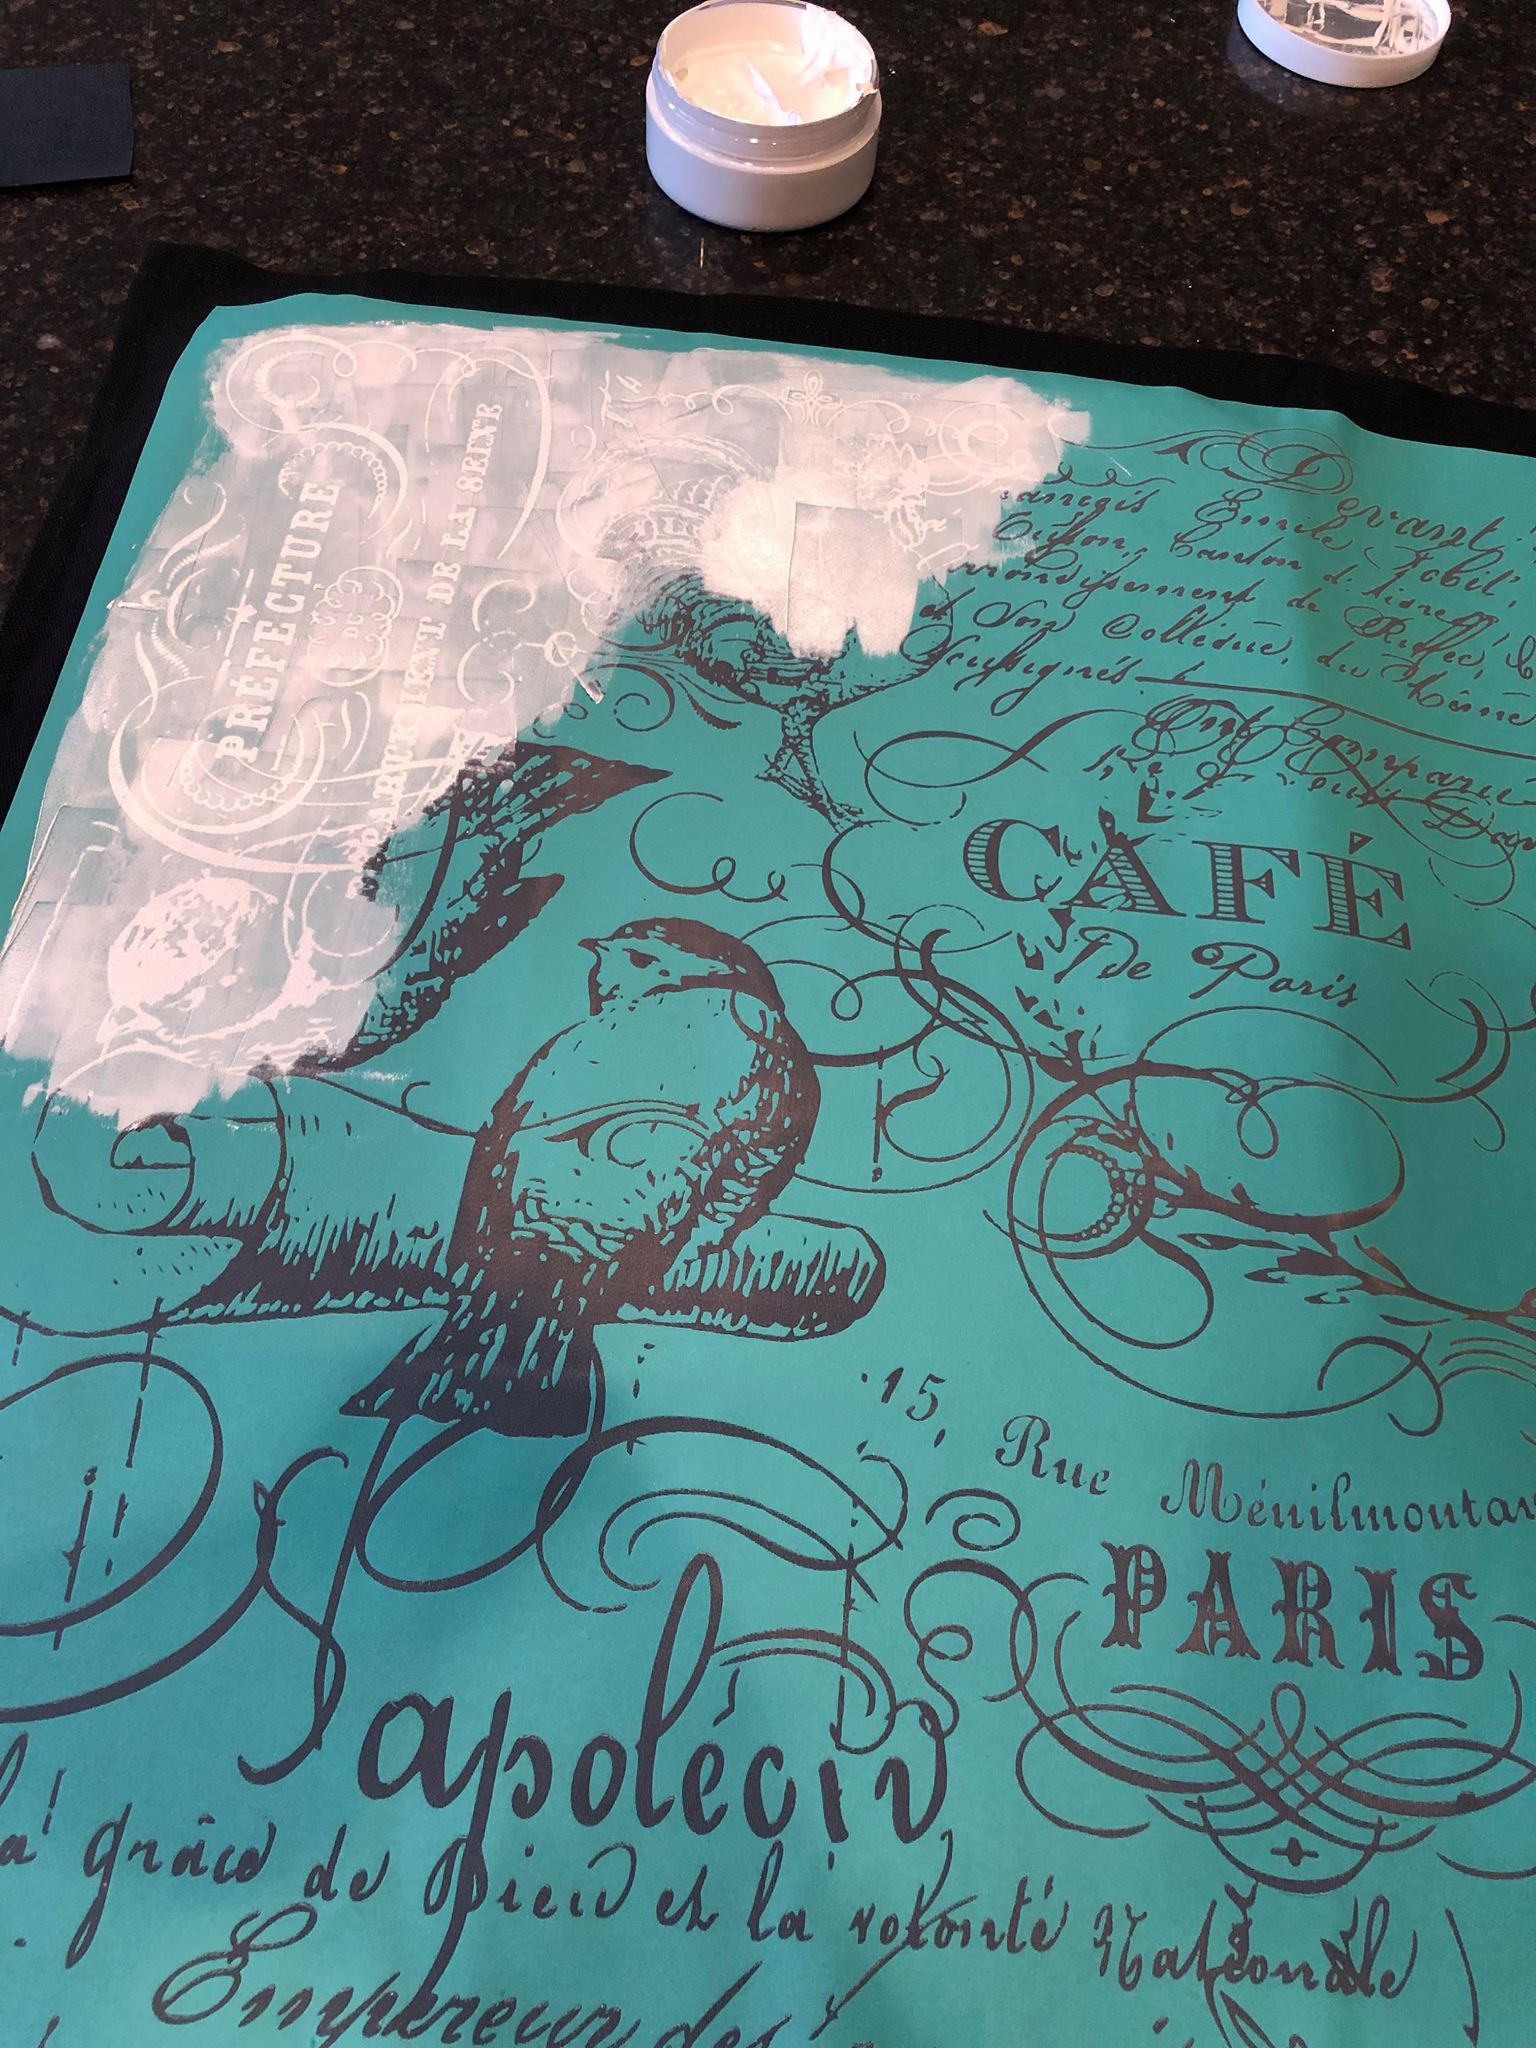
Make sure to spread ink liberally with your squeegee but also be sure not to glob the ink so that the ink does not seep under the transfer.
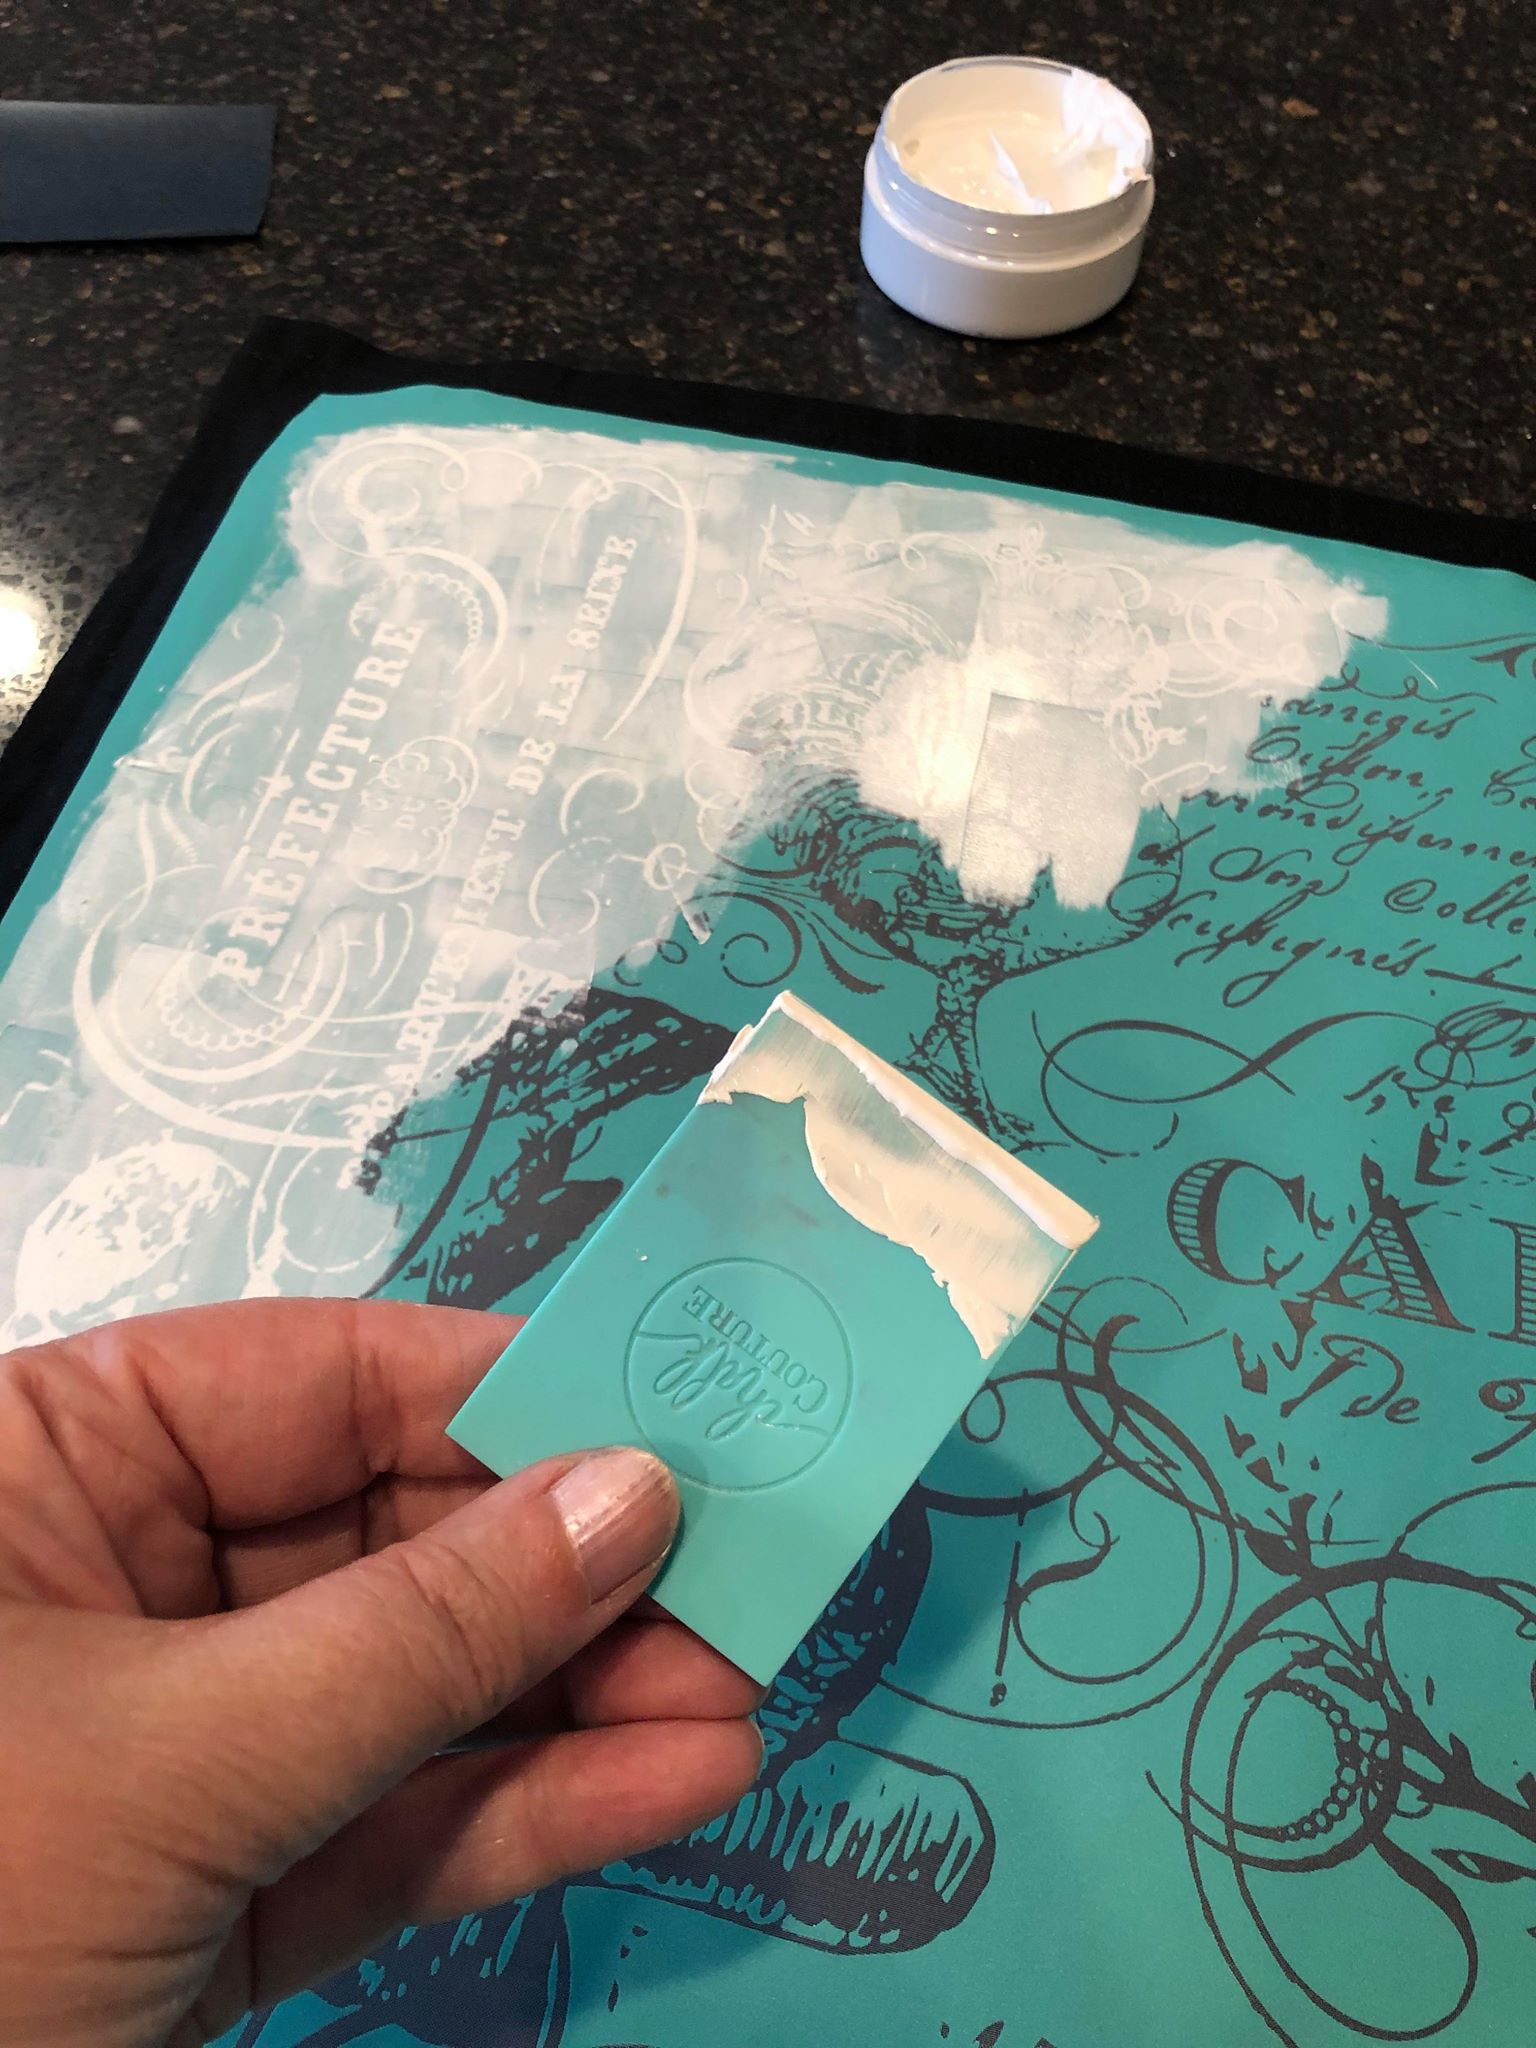
Continue until the entire pillowcase is covered. Be sure to cover all of your designs completely and very thoroughly. Use a medium pressure to be sure all areas of the transfer are covered.

Step 3
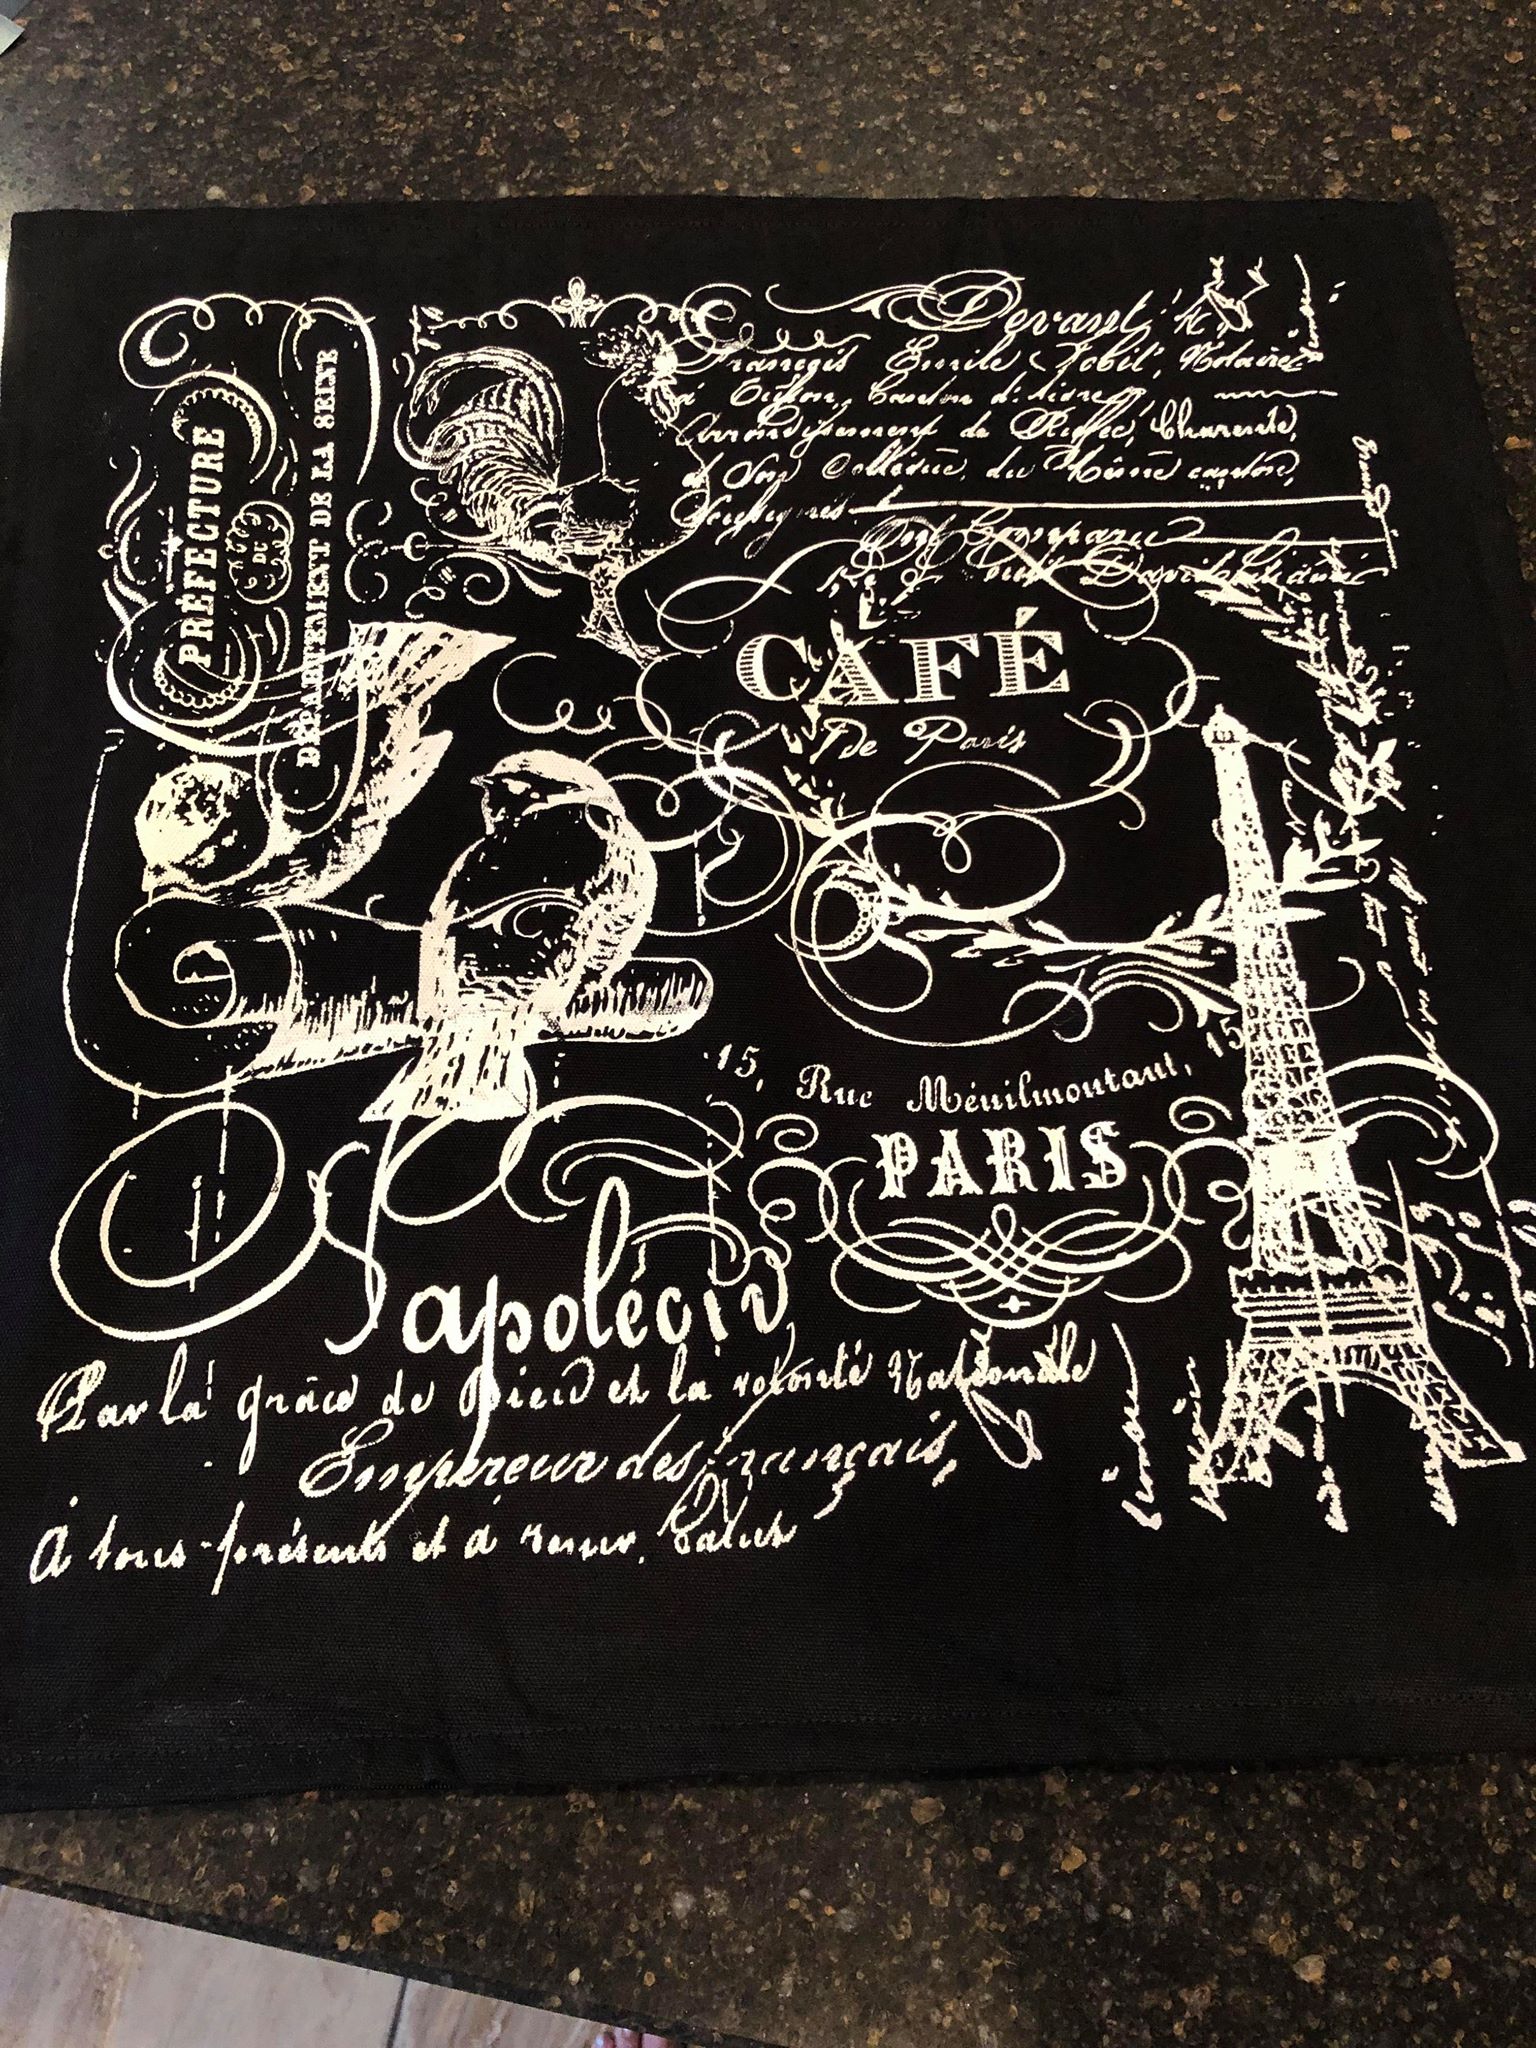
- You will want to gently remove the stencil from the pillowcase once you have applied the ink to the entire transfer.
- Place the silkscreen transfer in a sink of water (or in a dish of water) right away and it is my recommendation to wash the ink entirely off the stencil right away.
- Leaving the ink to dry and set on the transfer will only make it more difficult to remove later.
Step 4
- Wait for the ink to dry overnight or take a blow dryer to it to ensure it is completely dry in order to heat set it.
- Heat setting the fabric will ensure the ink does not come off and it can be washed in the washing machine.
- I have tried the blow drying method and it is just not the best option. I would recommend leaving the pillowcase overnight to dry.
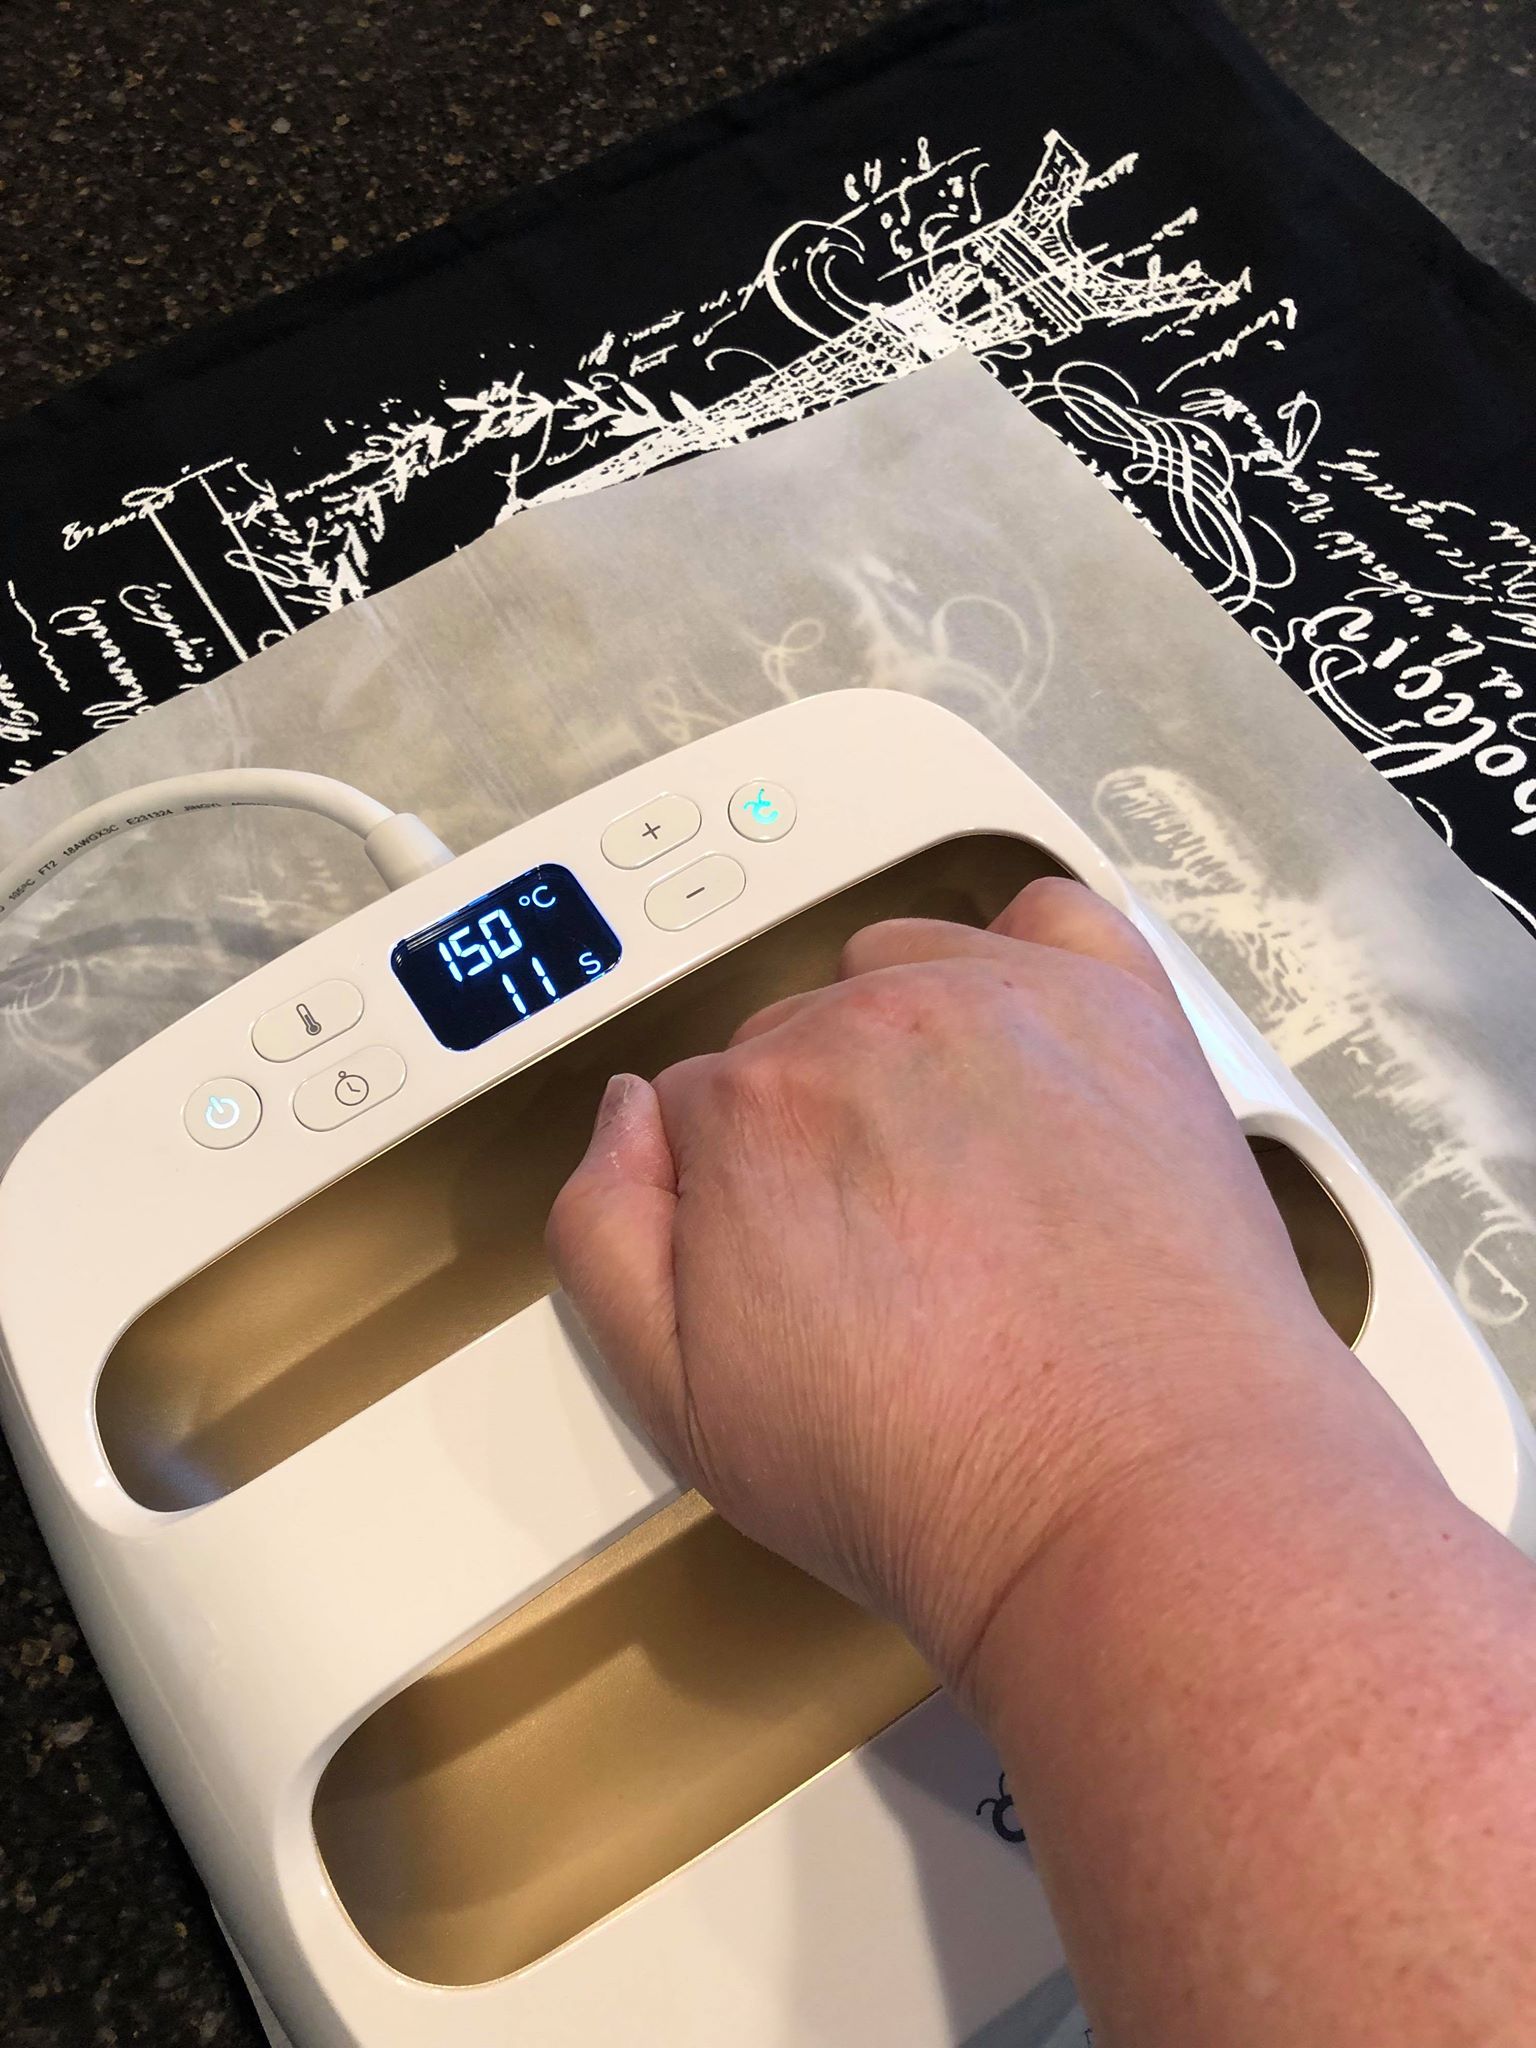
- The next day you will want to heat set your design so that it will withstand washing and normal wear and tear of your farmhouse style pillow.
- I set my Easy Press to 150 degrees C for 30 seconds on each section of the pillowcase.
- If you don’t have an Easy Press that is totally fine!
- I would use your everyday home iron and set it to the “cotton” setting. Just be sure to set it to the dry setting and make sure there is no water in your iron as you do not want it set on the “steam” setting.
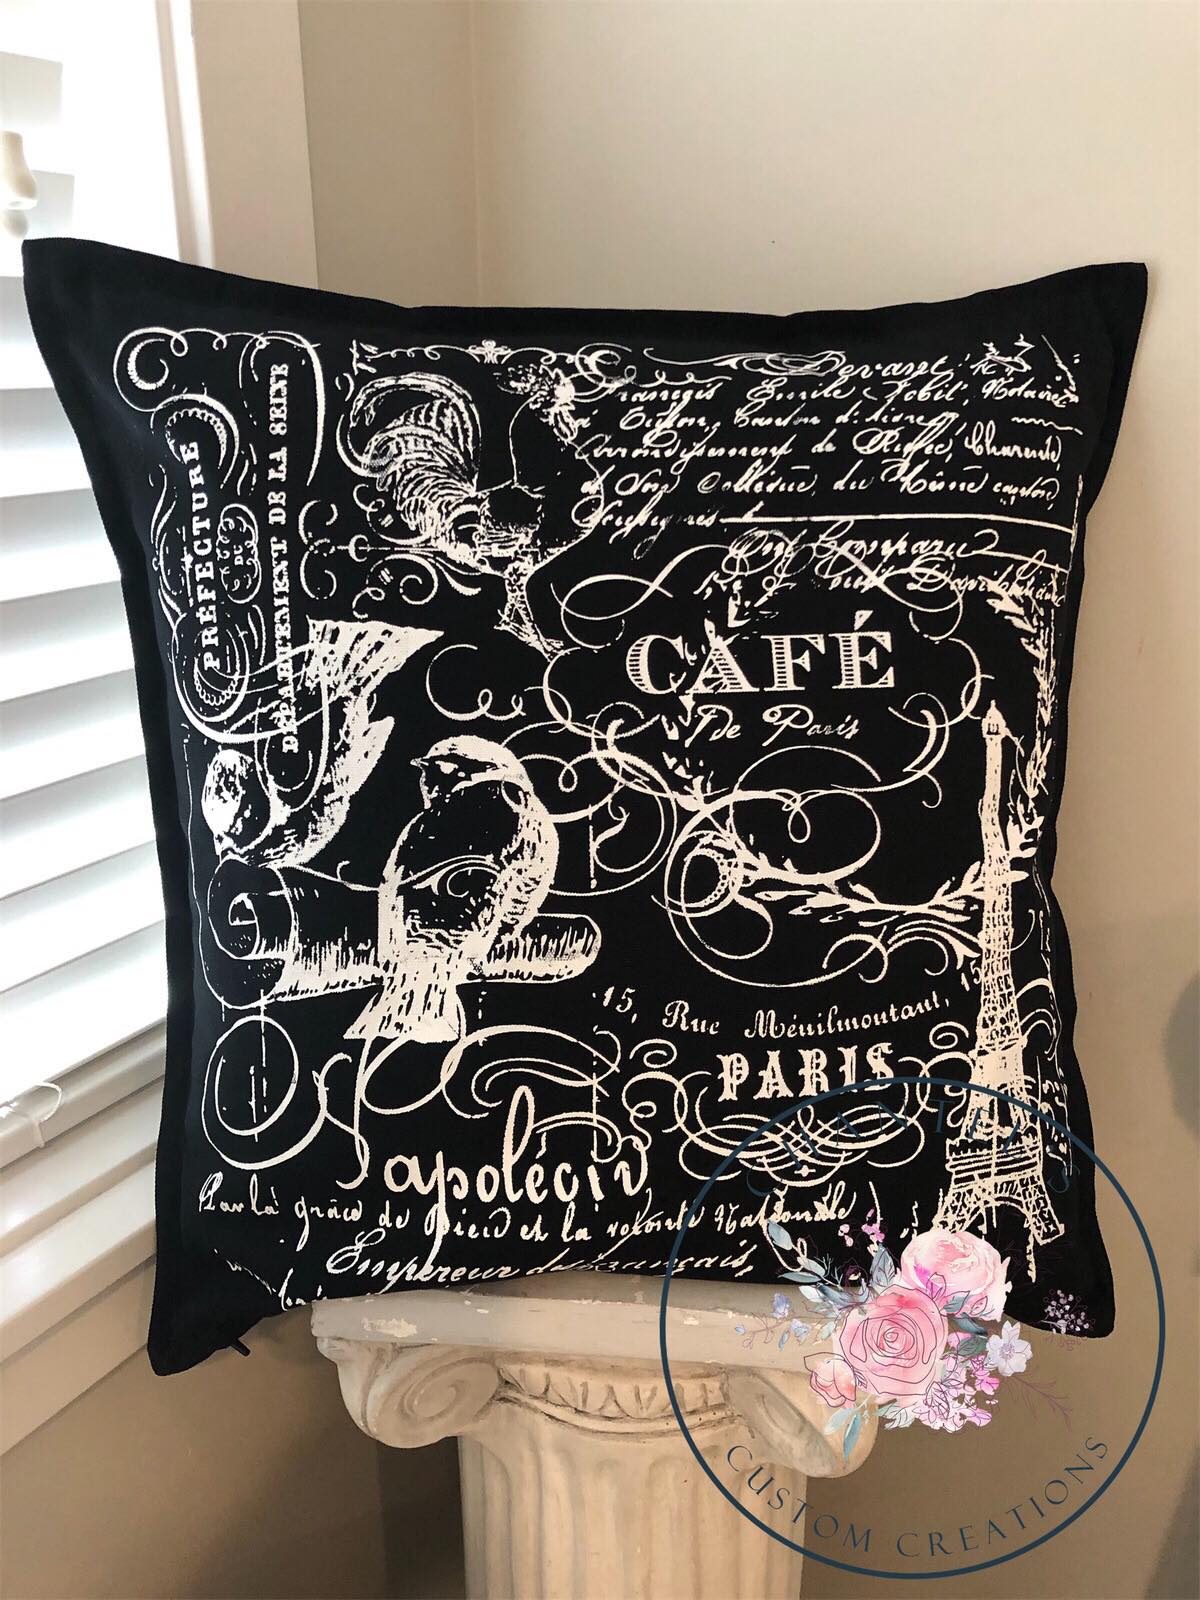
Results of my Farmhouse Style Pillow!
I absolutely love the way my pillow turned out! This was such a fun easy DIY decor project that anyone can do!
I would say that even children would be able to do this type of project with parent supervision.
Please leave me a comment if this was a helpful DIY tutorial!
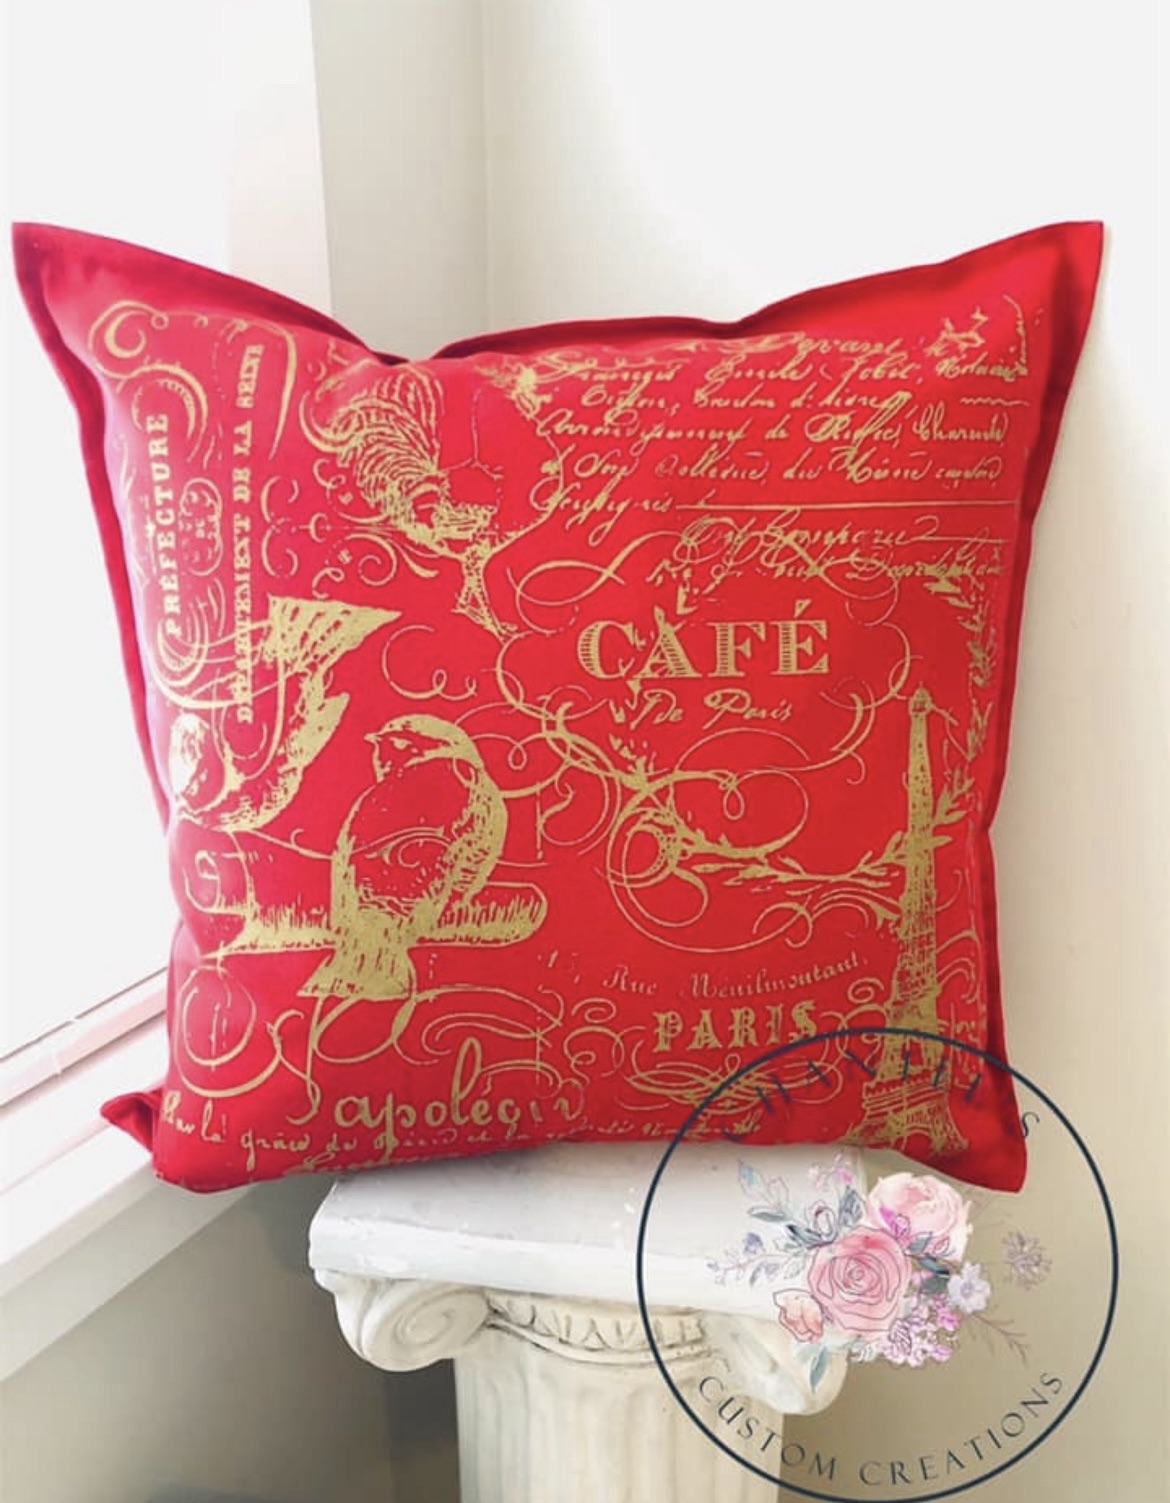
I loved this design so much, I did it again with a red pillow and I used shimmer gold ink paste ! If you are interested in trying out the metallic shimmer gold ink paste for yourself, here is the link!


Leave a Reply