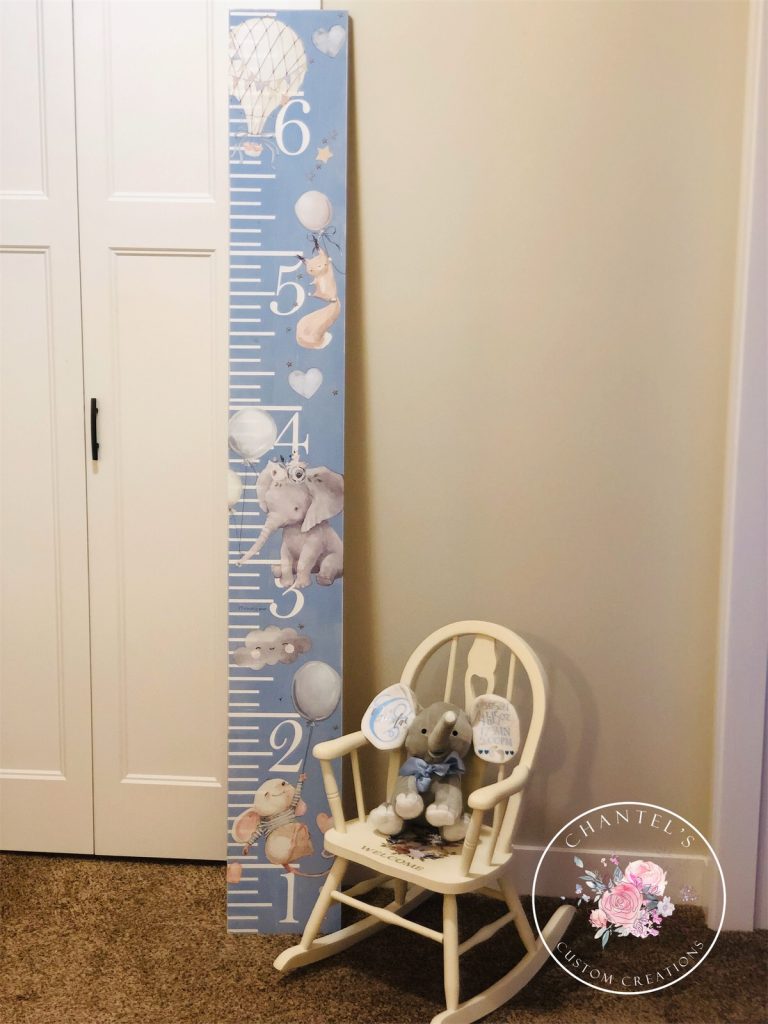
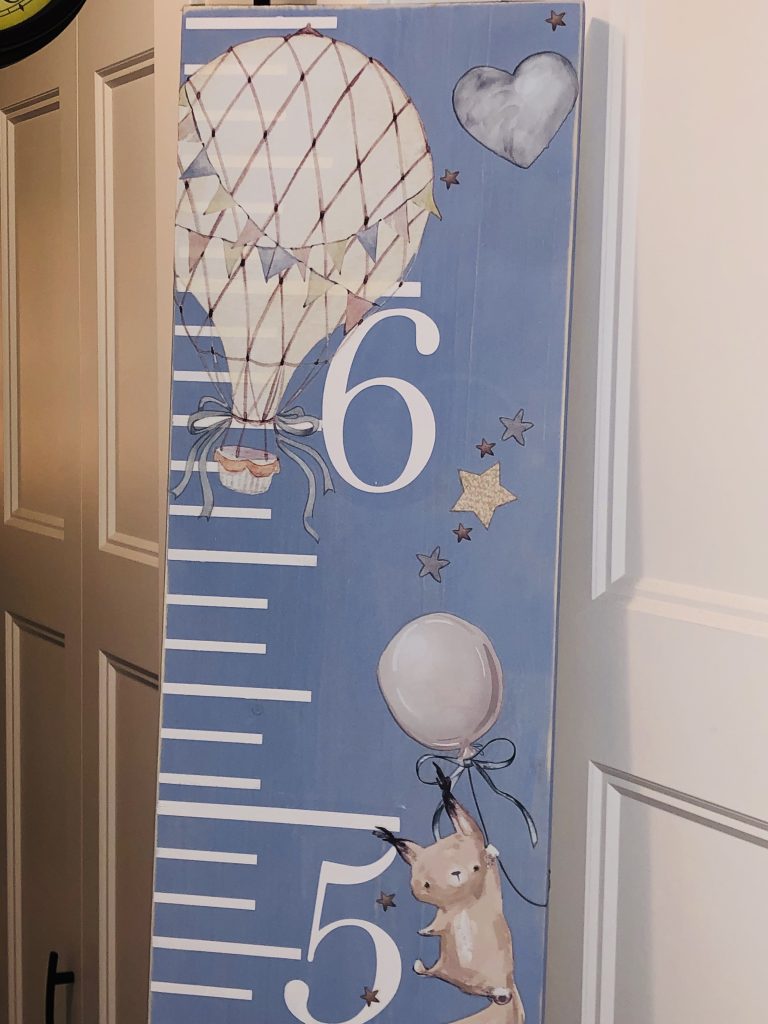
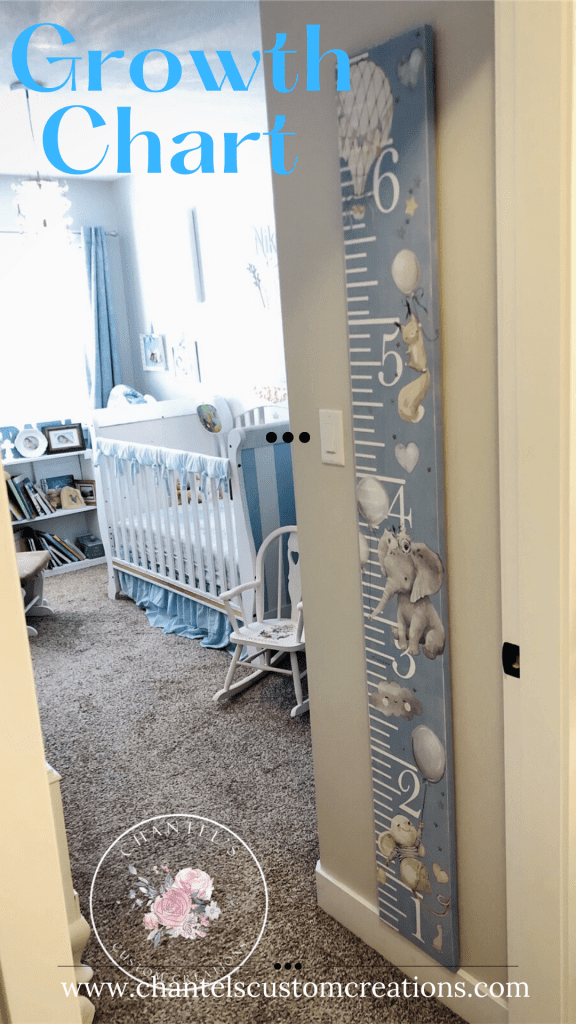
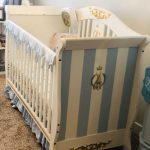
You guys! Isn’t this the most adorable Growth Chart?! I made it for my son and thought I would show you how I made it.
This post may contain affiliate links; please see my Disclosure Policy HERE
Steps
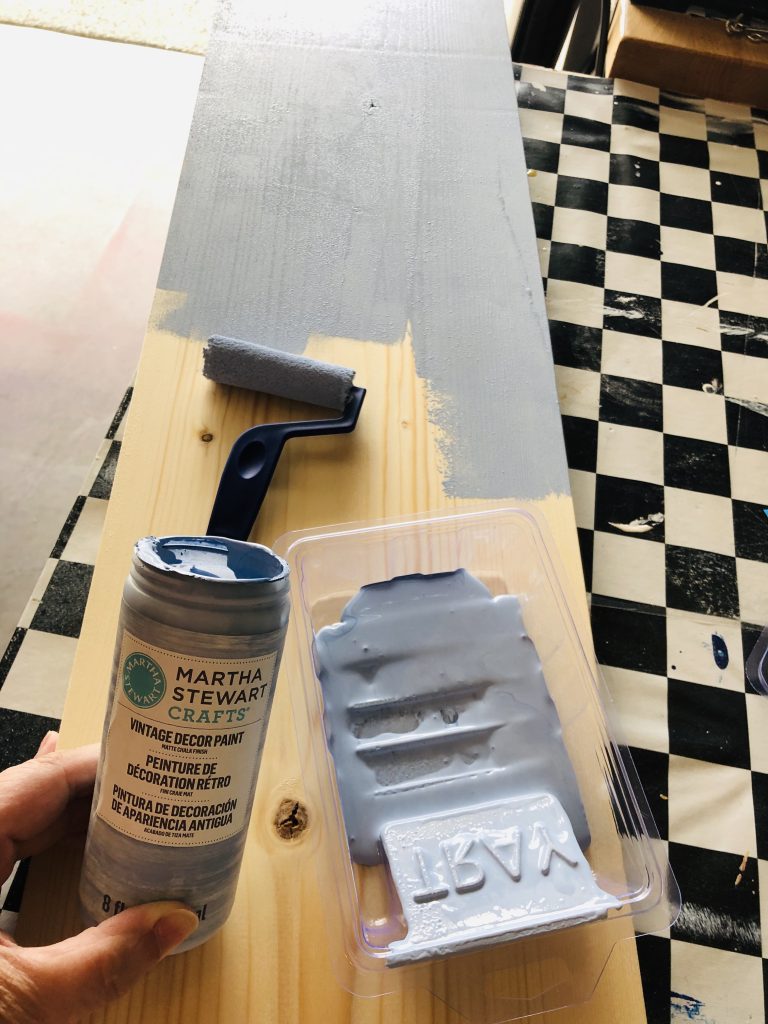
I used a pine board that is 1” thick and 10” wide and 6 feet tall. I didn’t mind the knots as you will paint over the knots. I used Martha Stewart chalk paint ; just one coat with a roller paints over it beautifully. Let it dry.

I then used my Ryobi sander with a light pad 400 grit to sand off the bumps and lumps.
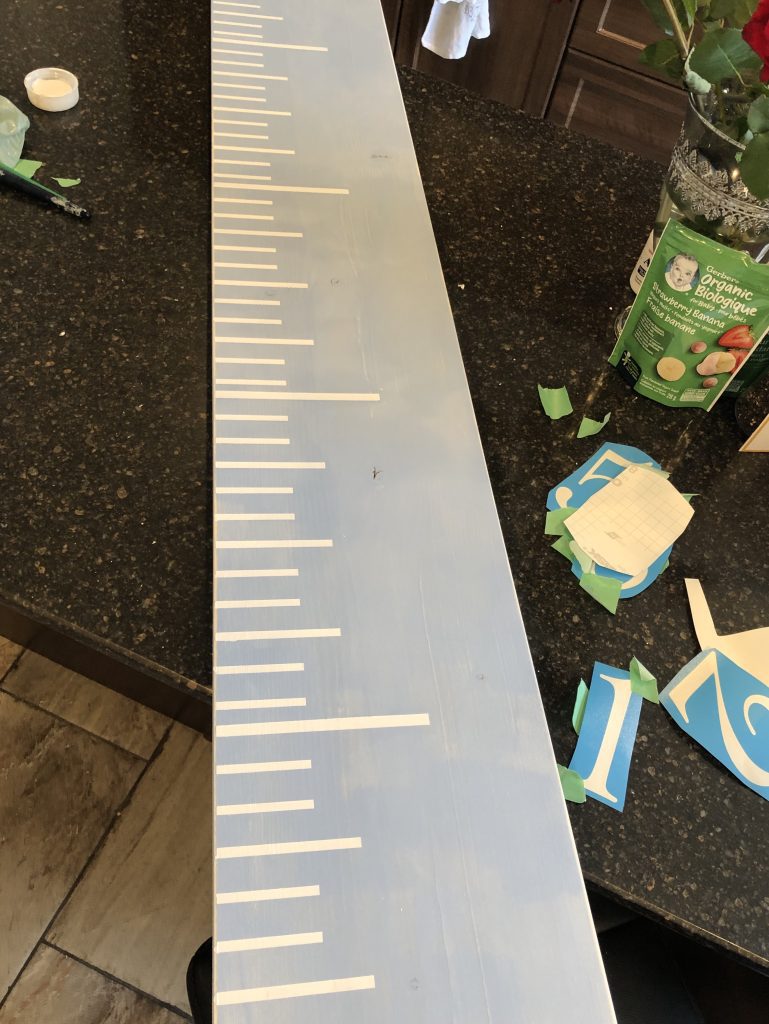
Stencil
I then cut out measured lines and numbers on my Cricut ; with stencil vinyl.
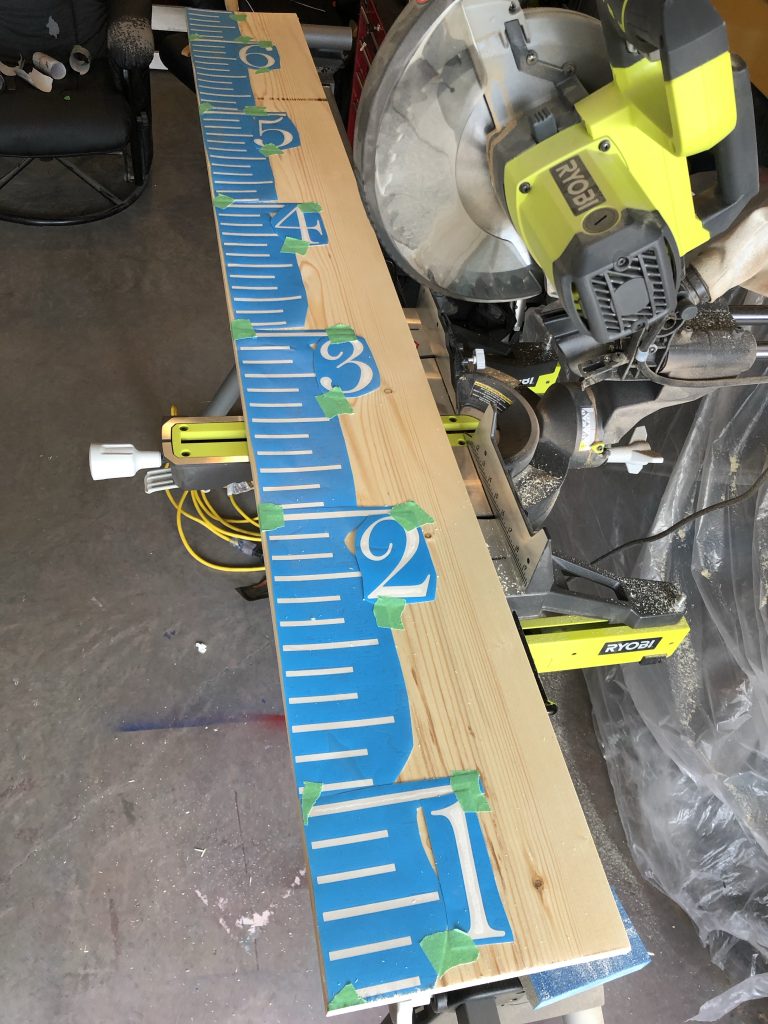
I cut my board to 6 feet with my Ryobi Saw.
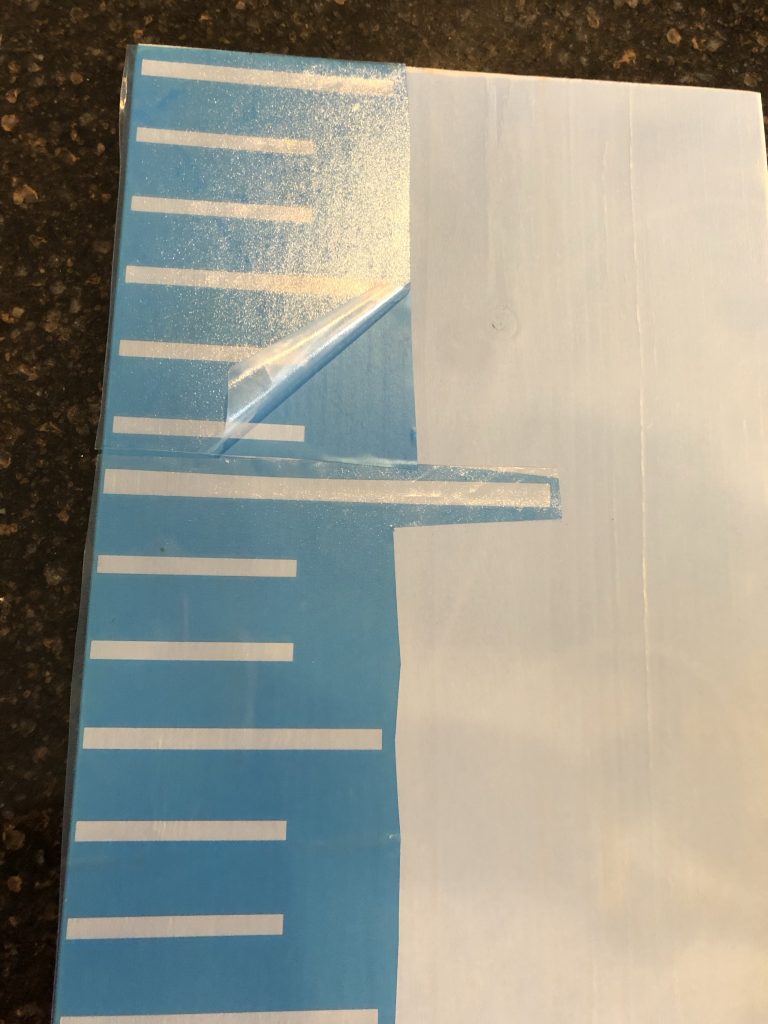
I then removed my transfer tape for each individual stencil. Please note I started the bottom of the board 6” from the bottom as most base boards are 6” high when hanging your Growth Chart on the wall.
Painting Stencil
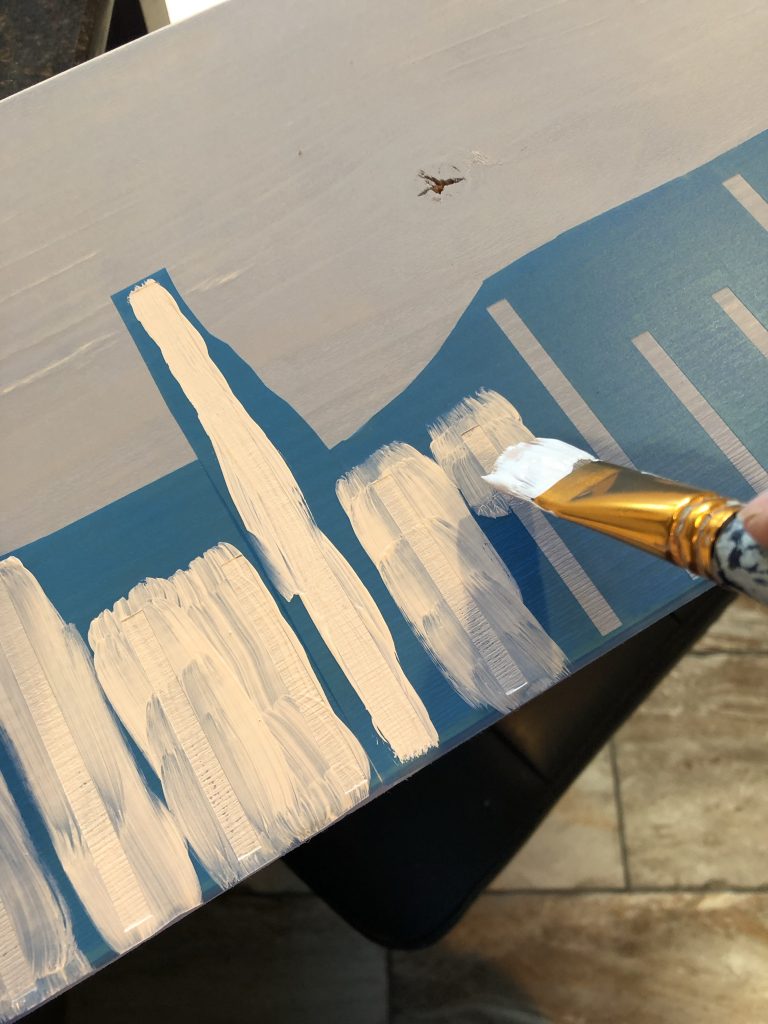
- I then used a craft paint brush with high quality white chalk paint and painted 2 light coats over my stencil.
- I started with just the lines first and then removed the stencils as they are only one time use stencils.
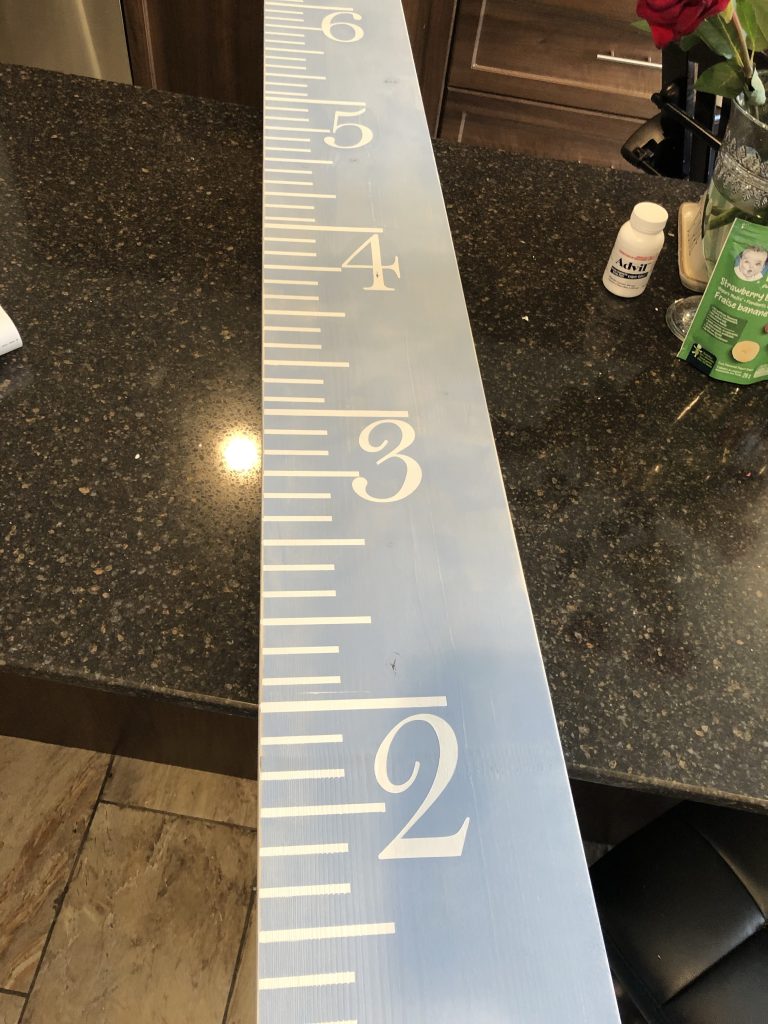
- I then placed the numbers on the board and painted them. Two light coats over the stencil.
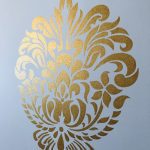
Decor Transfers
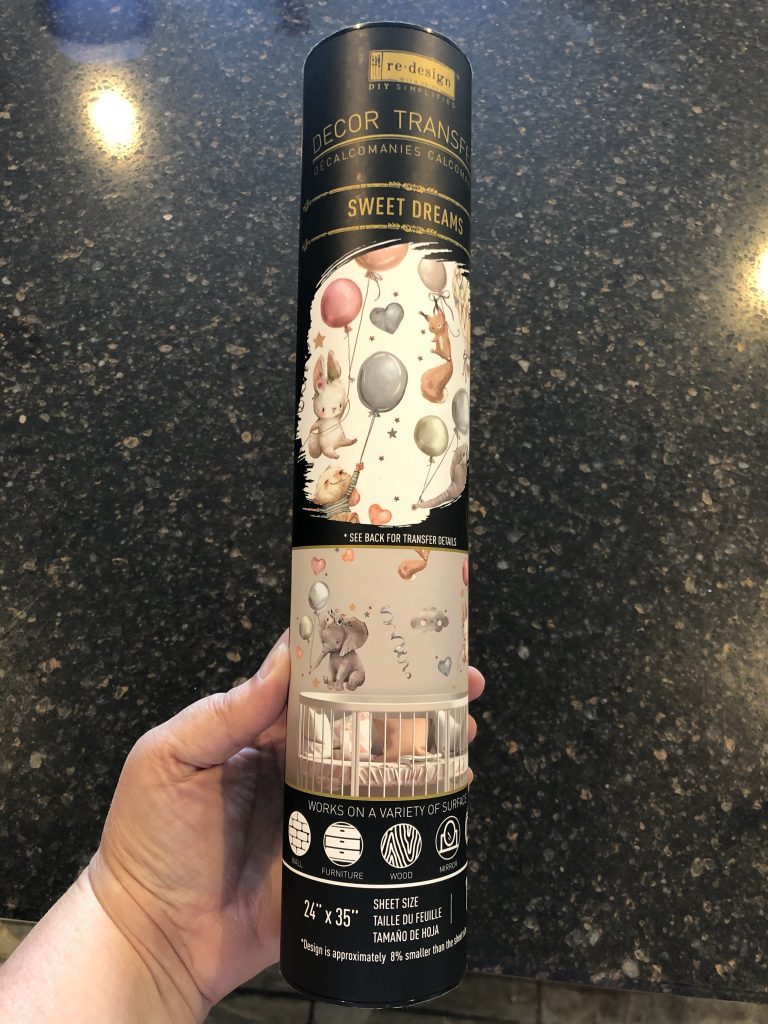
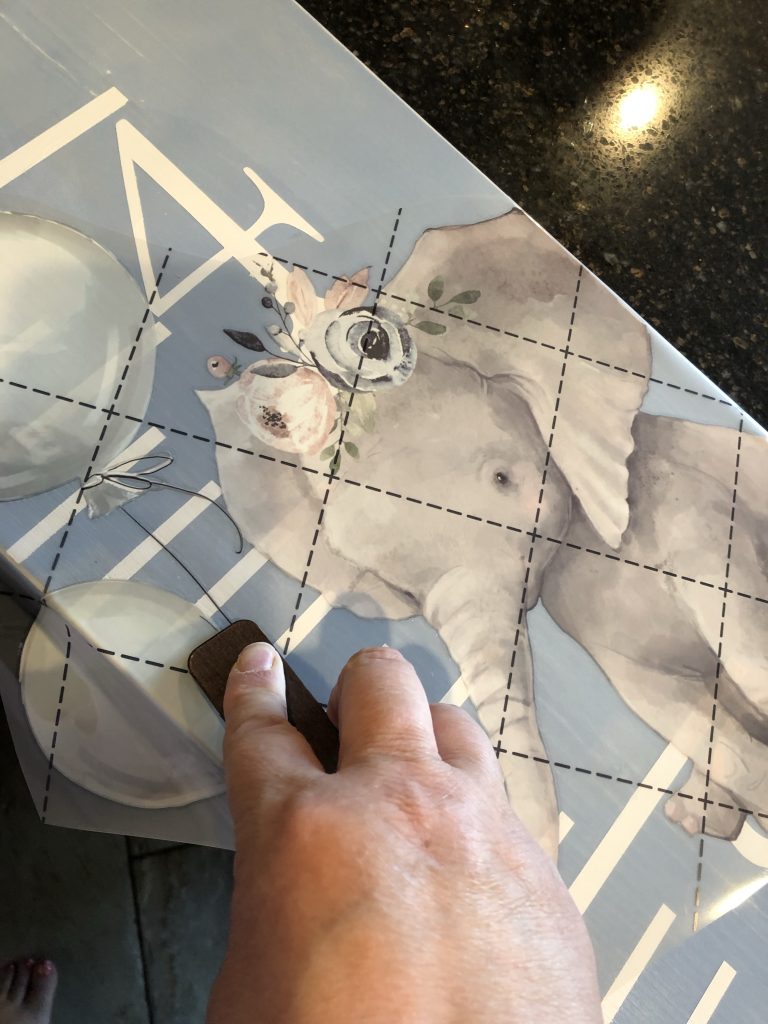
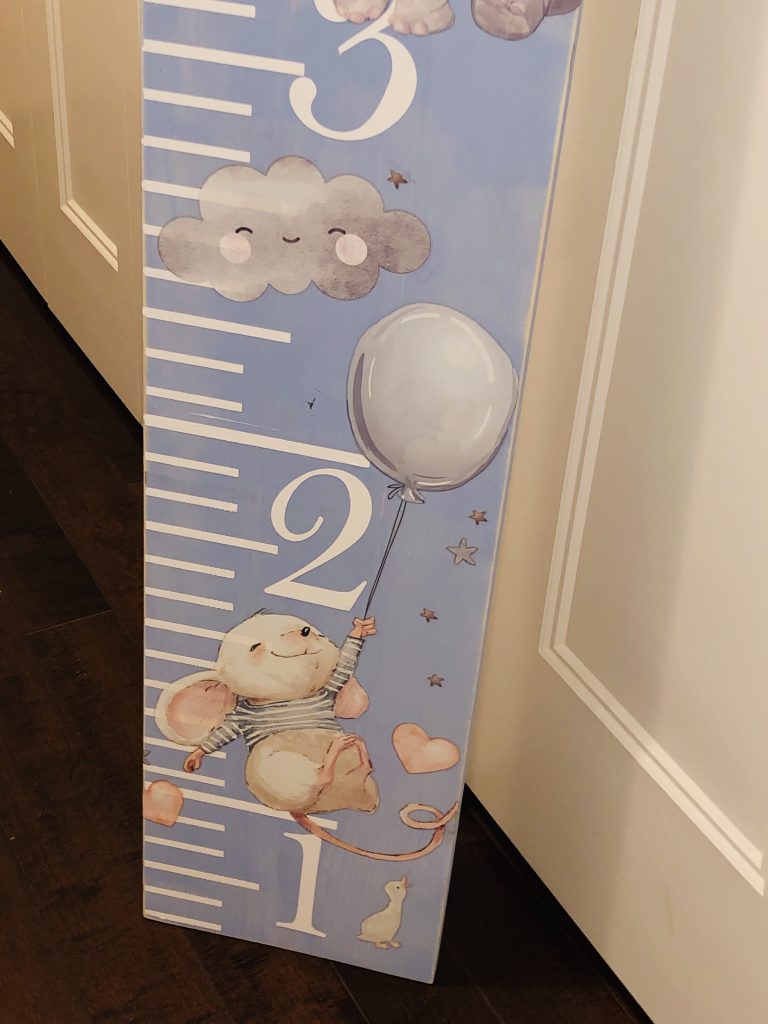
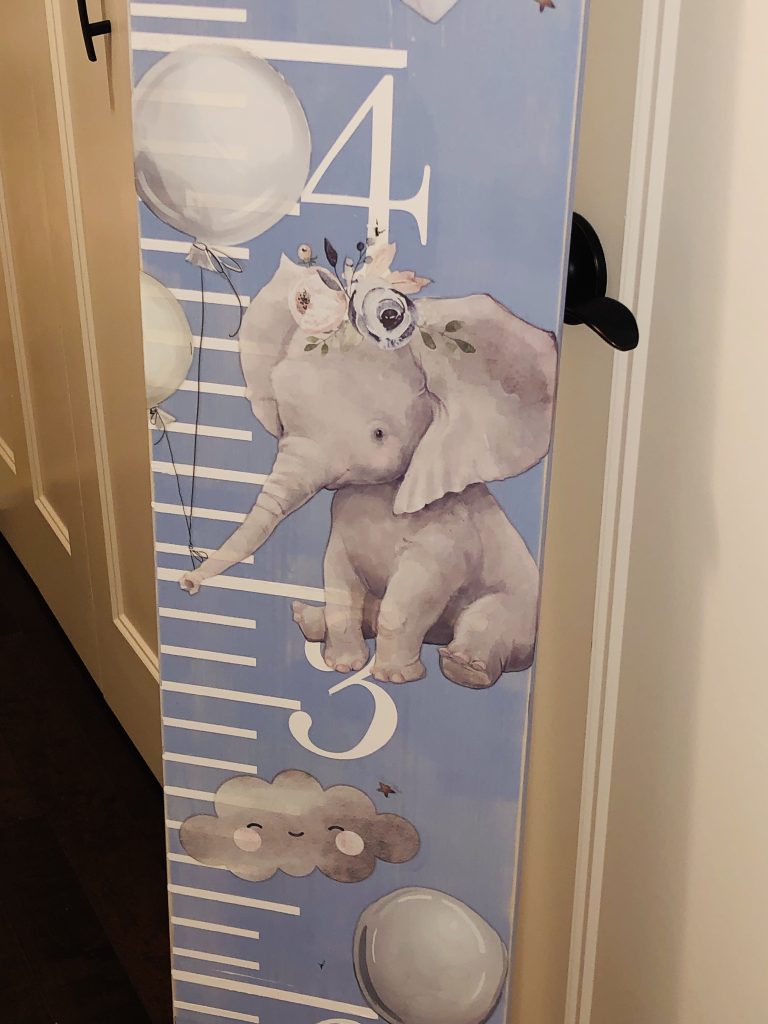
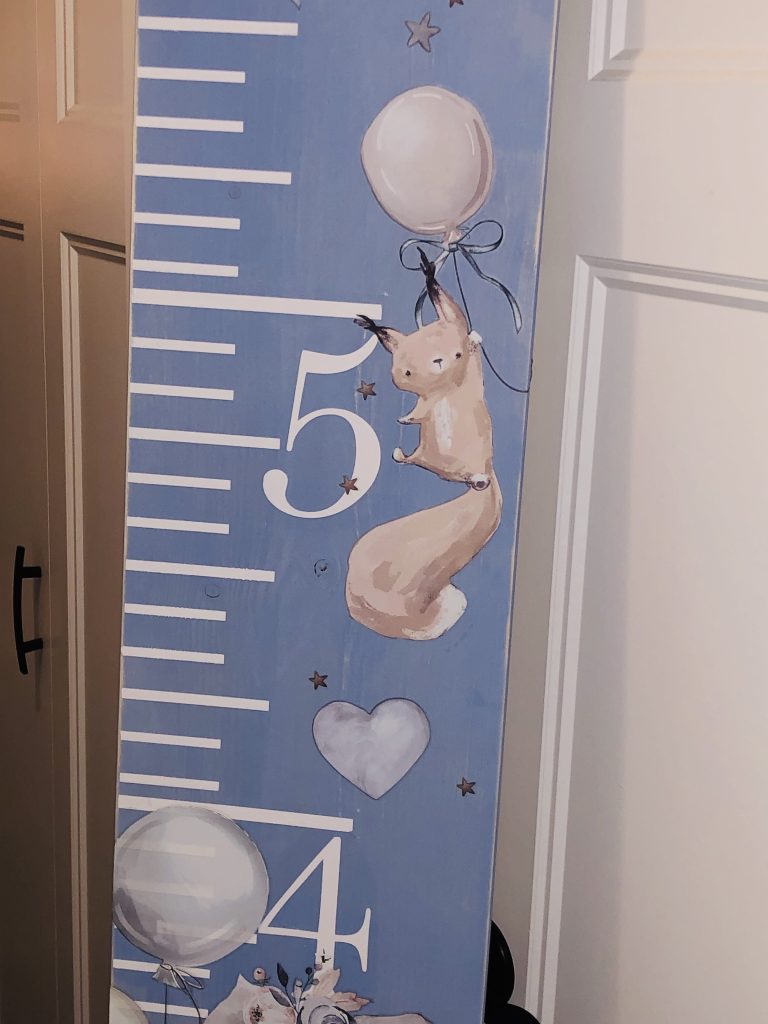
- Then it was time to place the transfers on the board. I used Re Design with Prima transfer I got on Amazon. I cut out each animal individually and placed the animal spaced out as I thought would fit best on my board.

I hope I have inspired you to make a growth chart for a little one !
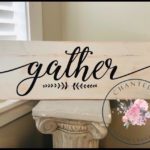
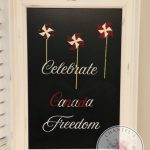
Please check out my other projects I have done with furniture transfers:
- Chalk Paint Buffet Transformation
- Vintage Cart Makeover with Furniture Decor Transfers!
- China Cabinet Makeover with Furniture Transfers


Leave a Reply