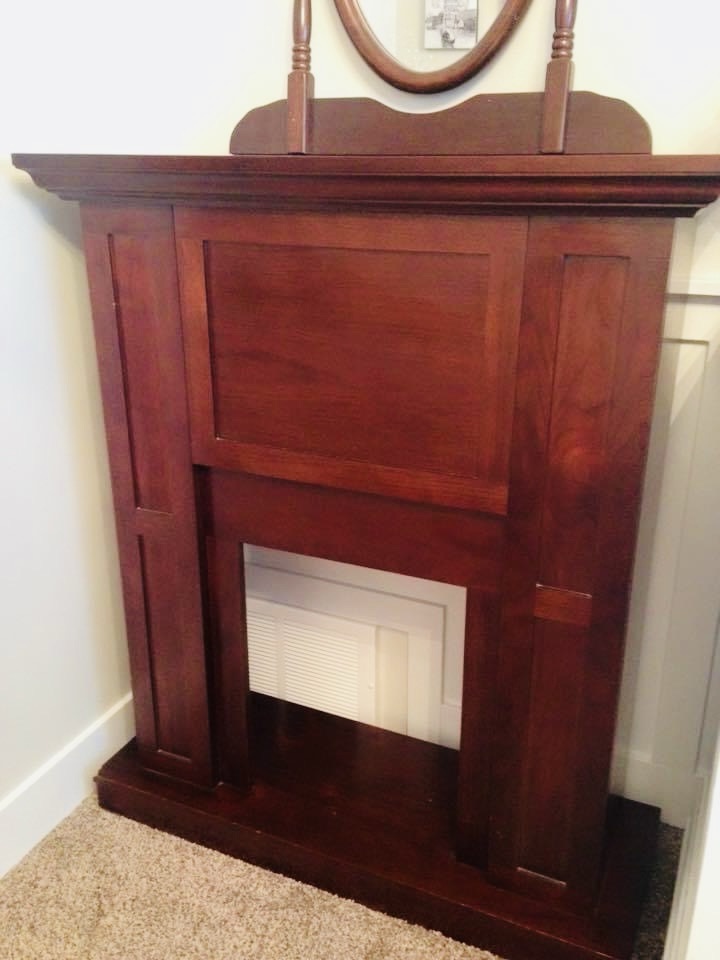
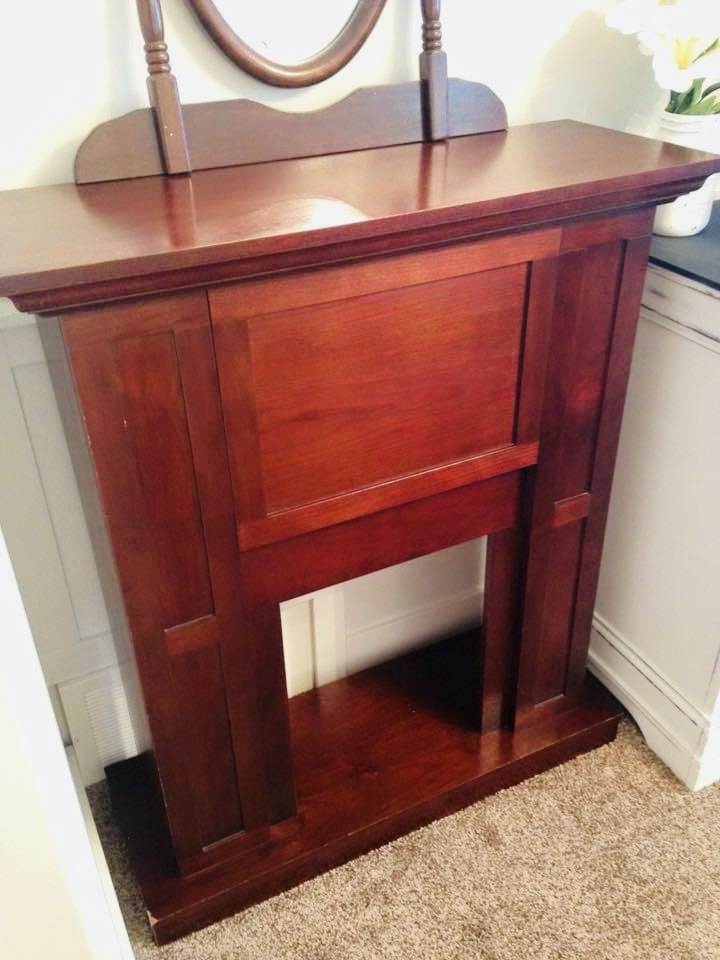
In this post I hope to inspire you to go ahead and paint that fireplace surround! As you can see from my Before and After photos, the surround looks completely different once I added the paint and the graphic to it!
This post may contain affiliate links, please see Disclosure Policy
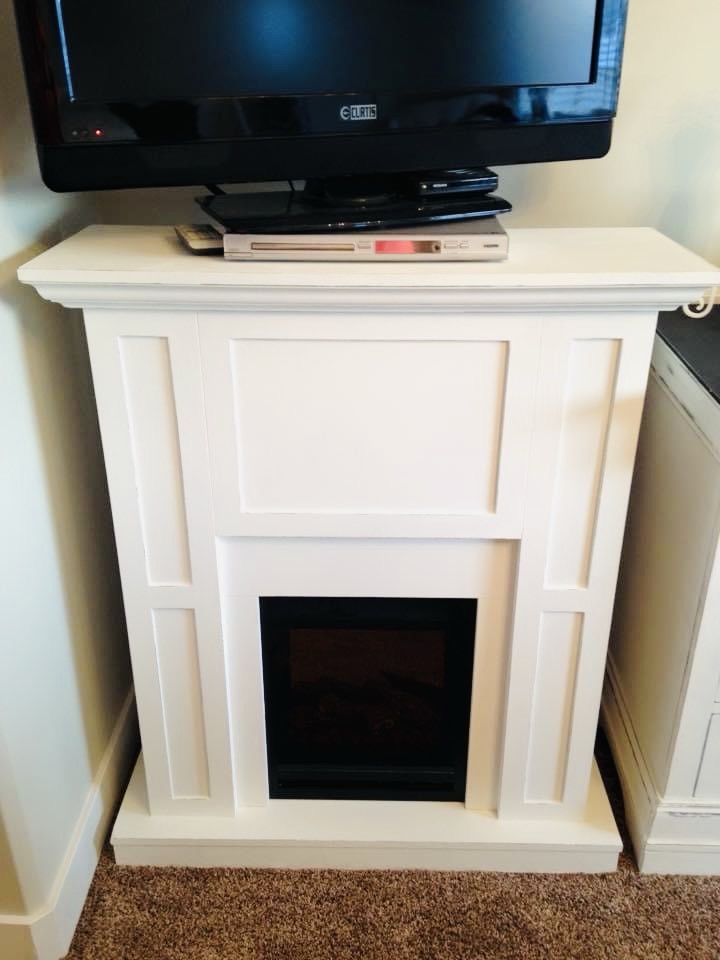
Before
Preparation
The first thing you will want to do is to clean your surface. My fireplace was in very good shape and all it needed was a good cleaning with a wet rag.
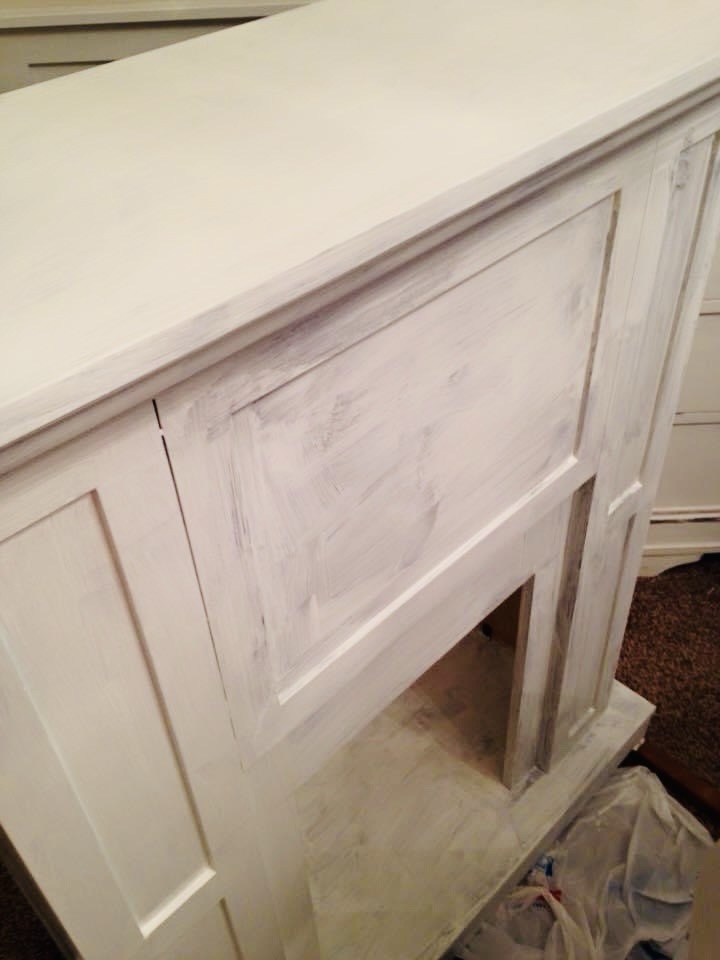
Since this wood color was not that dark, I opted not to paint it out with a Primer first. I just went right to painting.
Painting
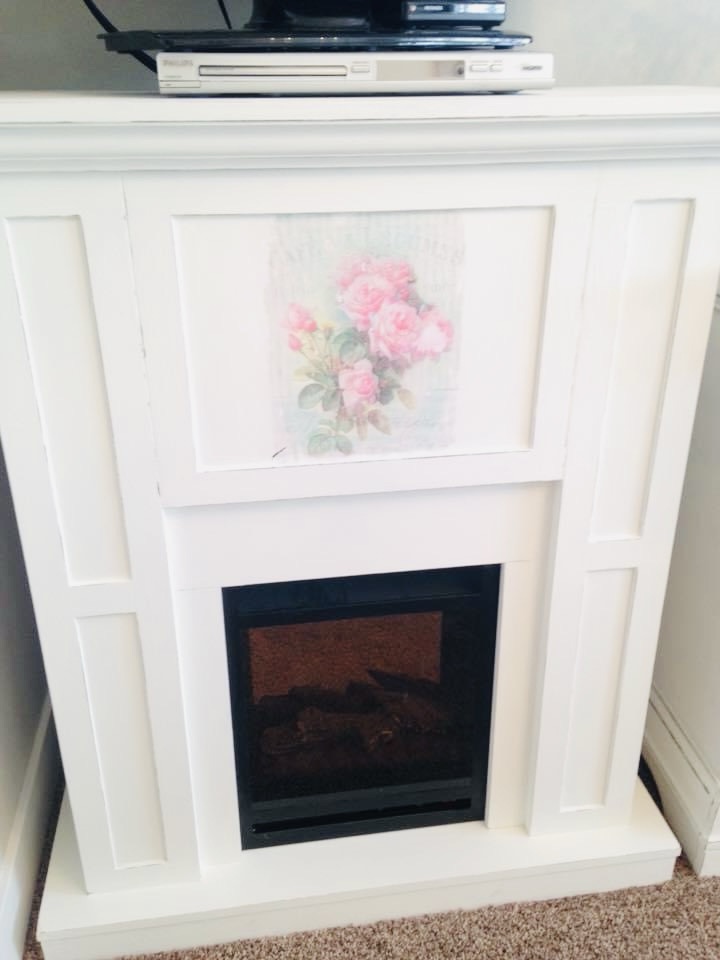
I chose to paint this fireplace surround with white chalk paint called Rustoleum Chalked in Linen White. I simply used a bristle brush used for chalk painting and proceeded to brush it on with light even strokes.
I do always suggest if you are painting on carpets to make sure you have some sort of drop cloth underneath. With this particular piece, I also put wood blocks under the bottom so I could get a good even coverage of paint at the bottom of it.
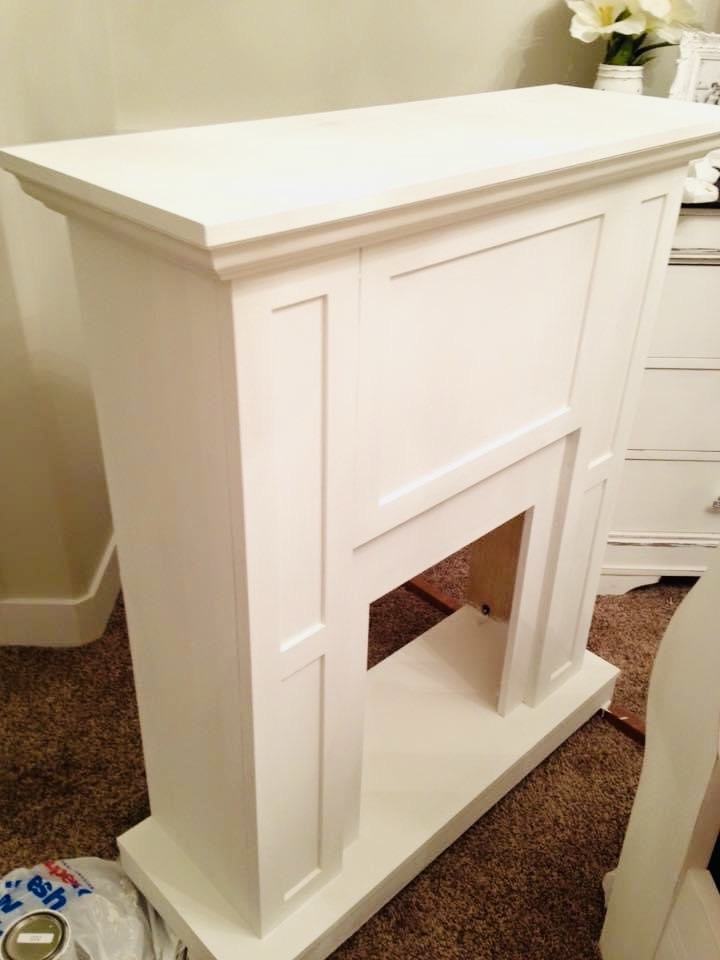
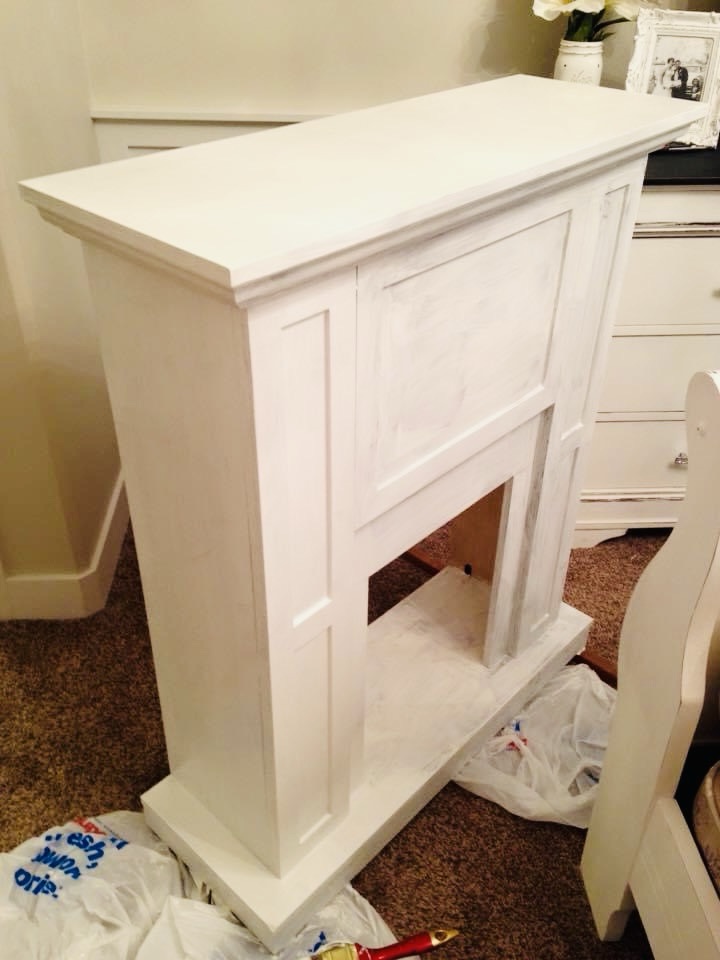
I ended up applying 3 light coats of the chalk paint to my fireplace. And wow, it is looking amazing and what a difference!
But I still wasn’t happy with the final result. I felt like something was missing and there was an amazing large surface on the front of the fireplace which I could add a graphic to. So that is what I did!
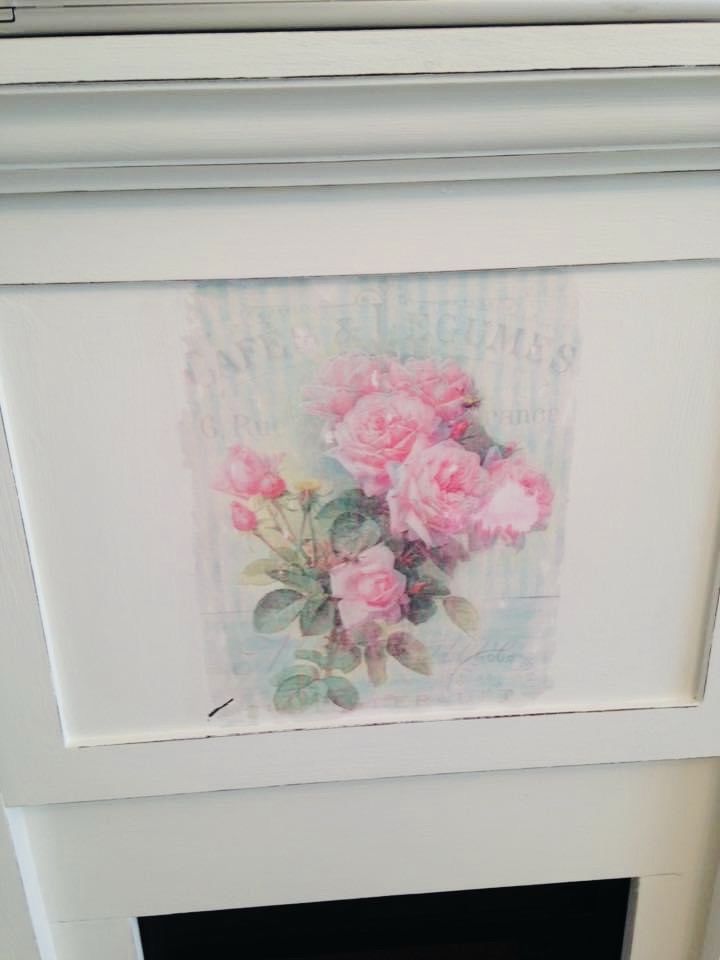
Adding a Graphic to a Fireplace Surround
I went into a detailed post HERE on how to apply a graphic to furniture and it lists step by step the procedure I go through to add a graphic. It is such an easy process and believe me, you can do it too!
Distressing
I also chose to distress this piece. I took a 200 grit sanding block and sanded off the edges and the corners of the piece to my desired distressed look.
After
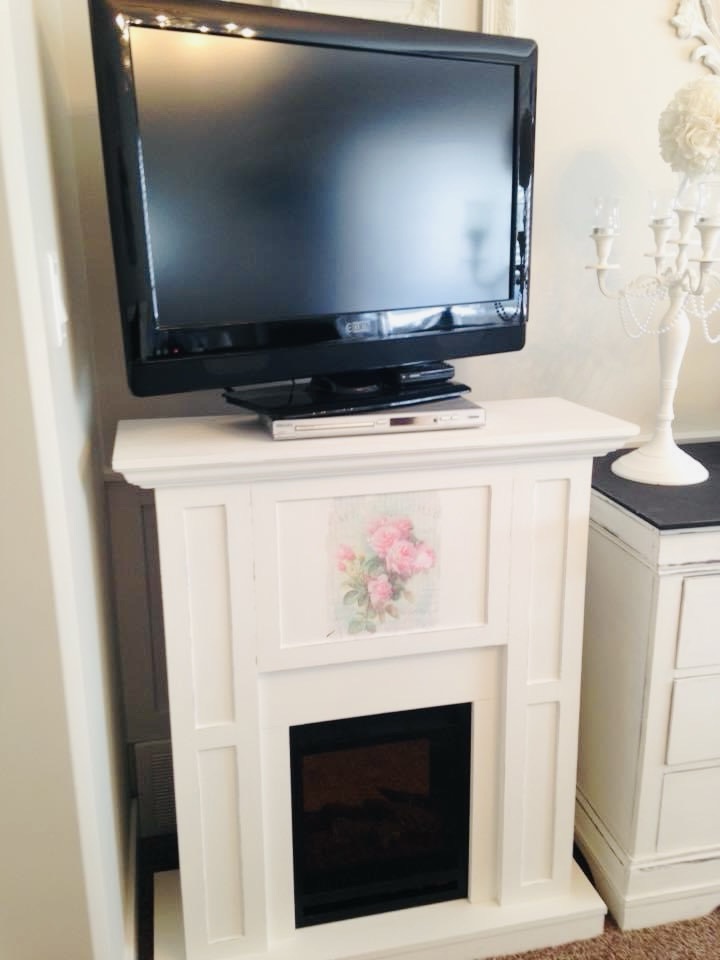
What do you think of the transformation!? I love the way it turned out and it doubles for a TV stand too!
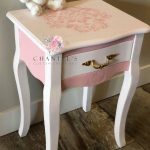
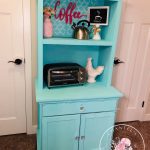
Looking for more inspirational before and afters?
- Chalk Painted China Cabinet to TV Stand Makeover
- Before and After Chalk Paint Fireplace
- Vintage Nesting Tables Painted with Chalk Paint
- Chalk Paint Buffet Transformation
- How to Use Chalk Paint on Furniture