How to Stencil Furniture
I am so excited to share with you how I made over this adorable bedside table and I will show you the steps on how to stencil on furniture.
It is so easy and fun to stencil on furniture and it always gives new life to furniture in a few steps!
This post contains affiliate links. See full disclosure HERE.
Supplies I used:
- Rustoleum Chalked Paint, blush pink
- Rustoleum Chalked Paint, chiffon cream
- Mylar Stencil
- Stencil Brush
- Plastic Drop Cloth
- Creme Wax
I used a mylar stencil that I already had on hand for this project. I linked a set of nice mylar stencils for your convenience. It is not a link to the exact one I used as there are many options for the stencils.

Step 1
Find your perfect piece of furniture you want to stencil on. I just loved this little table I found at JYSK (similar to an IKEA) one day, I thought it would be really cute to paint up and paint a stencil on the top and here is a little tutorial on how I did it:
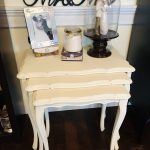
BEFORE:
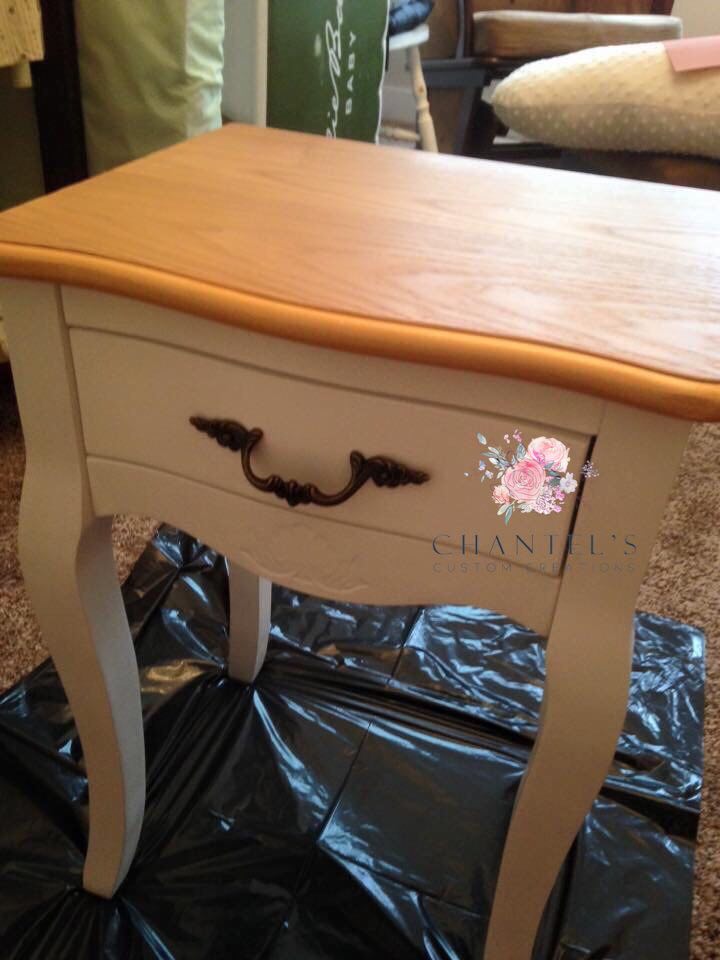
- The tabletop had a wood-look top to it and my first step was to paint out the entire piece first with chalk paint. Make sure to dry in between coats.
- One of the things I really love about chalk paint is the ability to be able to paint indoors if you do not have a garage or a basement that is available to paint in.
- I just grabbed a household garbage bag and put it down on the carpet to protect it. Go ahead and use what you have on hand, I have linked a drop cloth if you prefer.
Step 2
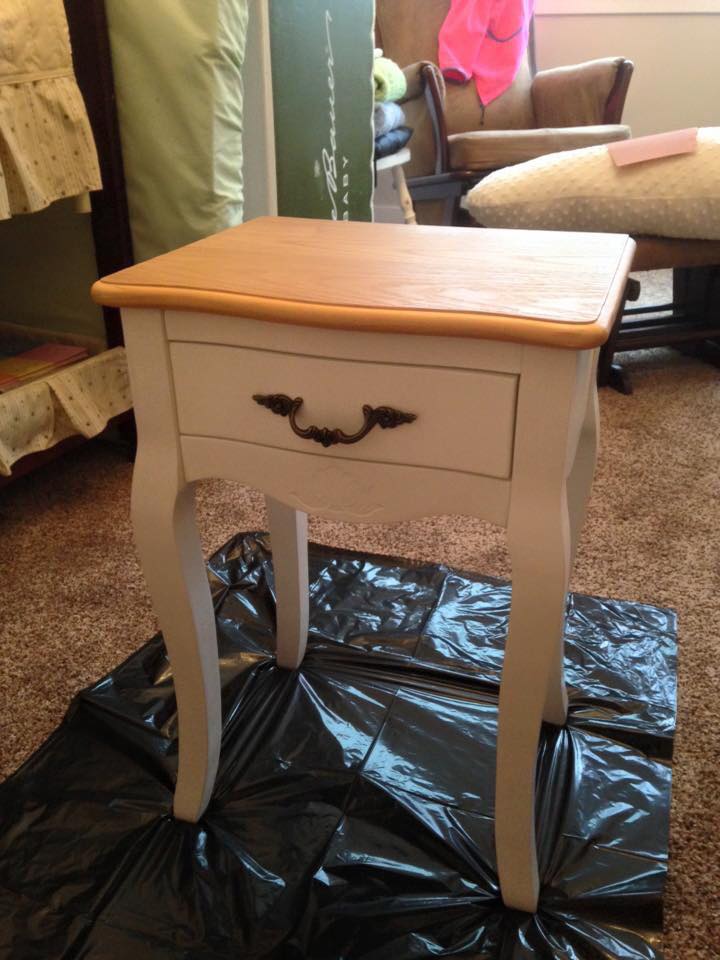
I wiped down my piece of furniture with just a damp rag and water. I purchased this item brand new, so no need to do any repairs or heavy cleaning.
I painted it all out in Rustoleum Chalked chiffon cream just to paint over the wood top and to get the hardware painted as well and to get a clean start to the project. I used chalk paint which I referenced at the top of the post.
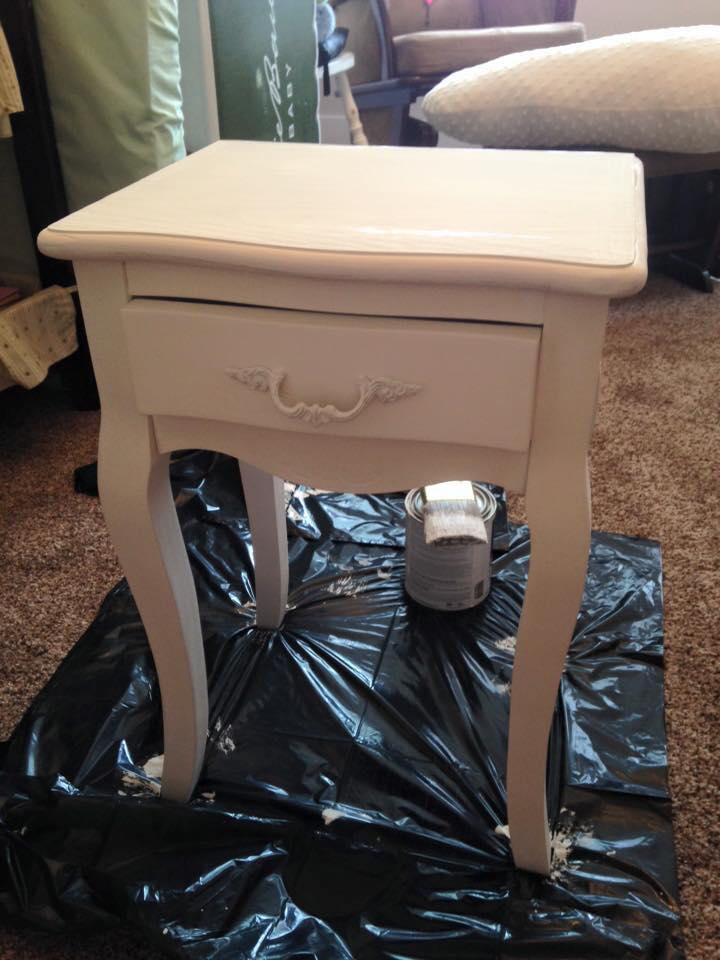
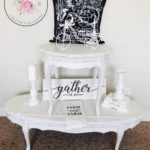
The table ended up really cute just painting out the table in a cream color but honestly, I was thinking it needed a little bit of personality. I was thinking it would be great in a nursery or a little girl’s room so I decided to add a stencil and some pink paint to it.
Step 4
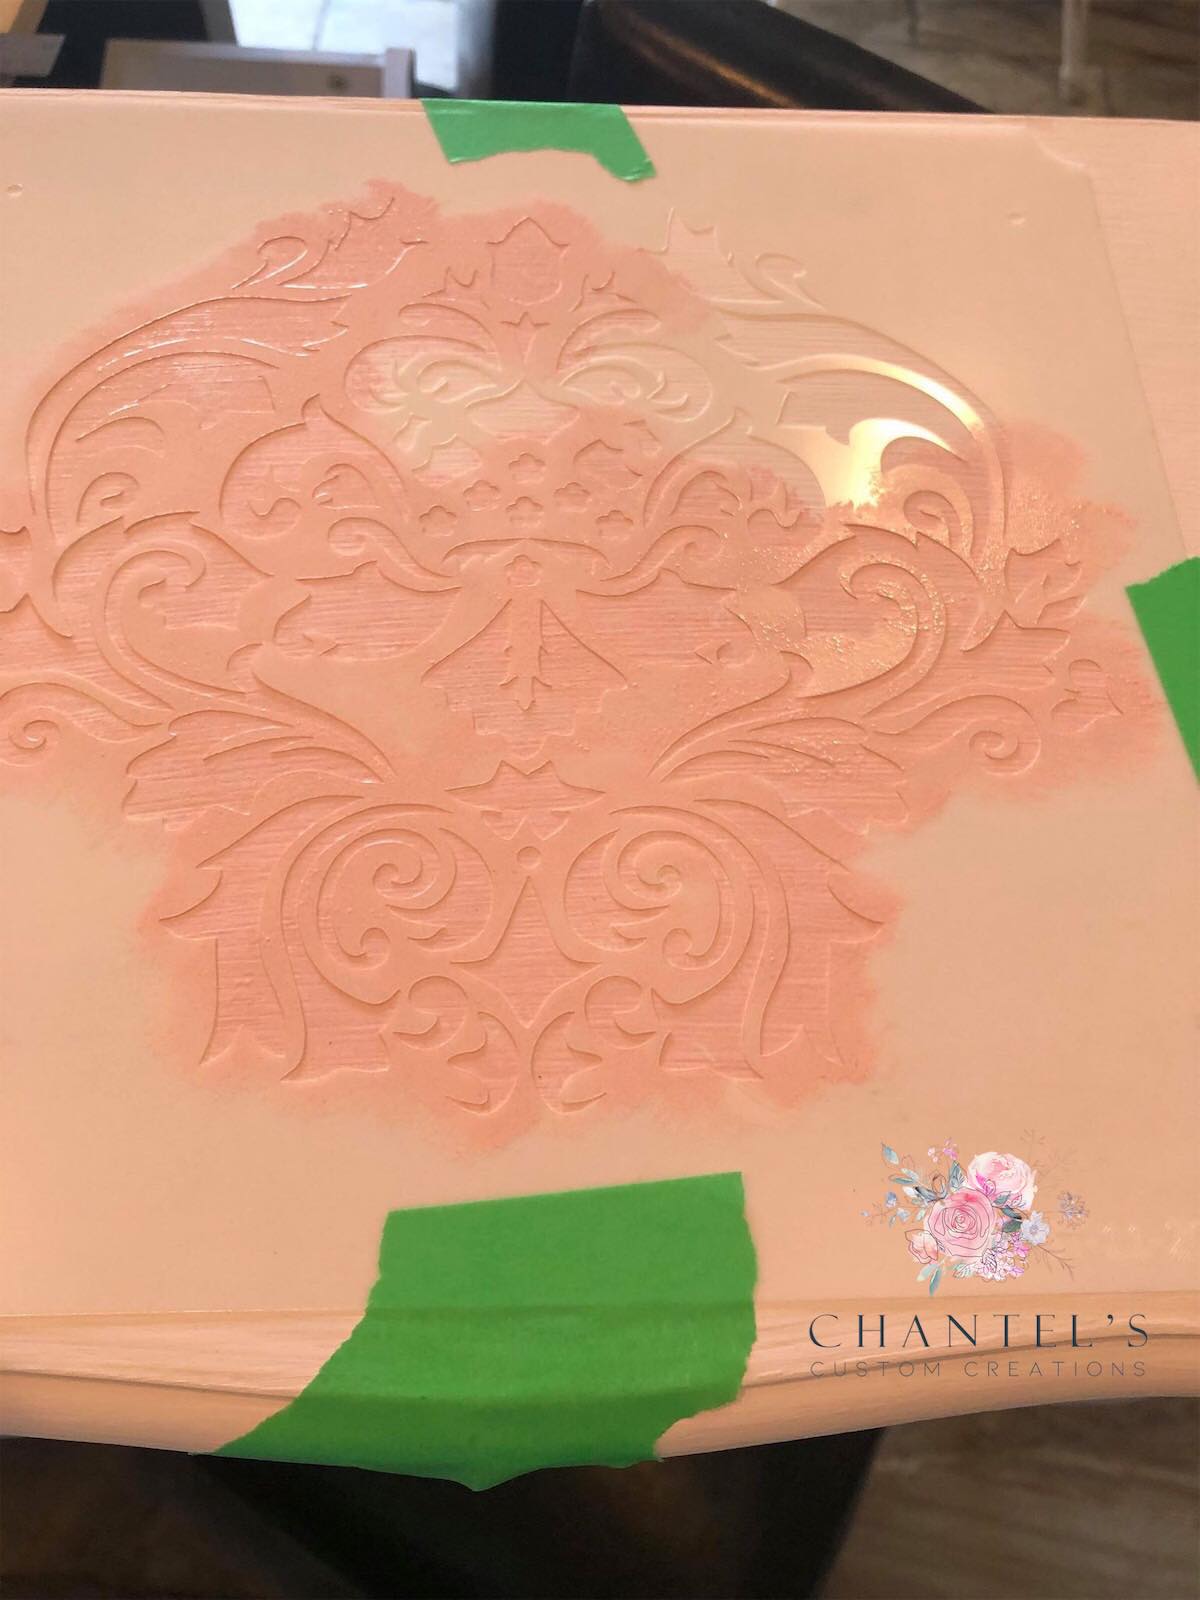
I took a mylar painting stencil and taped it on the top of the table so it didn’t move (if you have spray adhesive, I would use that instead). I didn’t have any spray adhesive on me at the time and this was a small table, so I could just use painter’s tape.
On a bigger project, you definitely want a spray adhesive.
Step 5
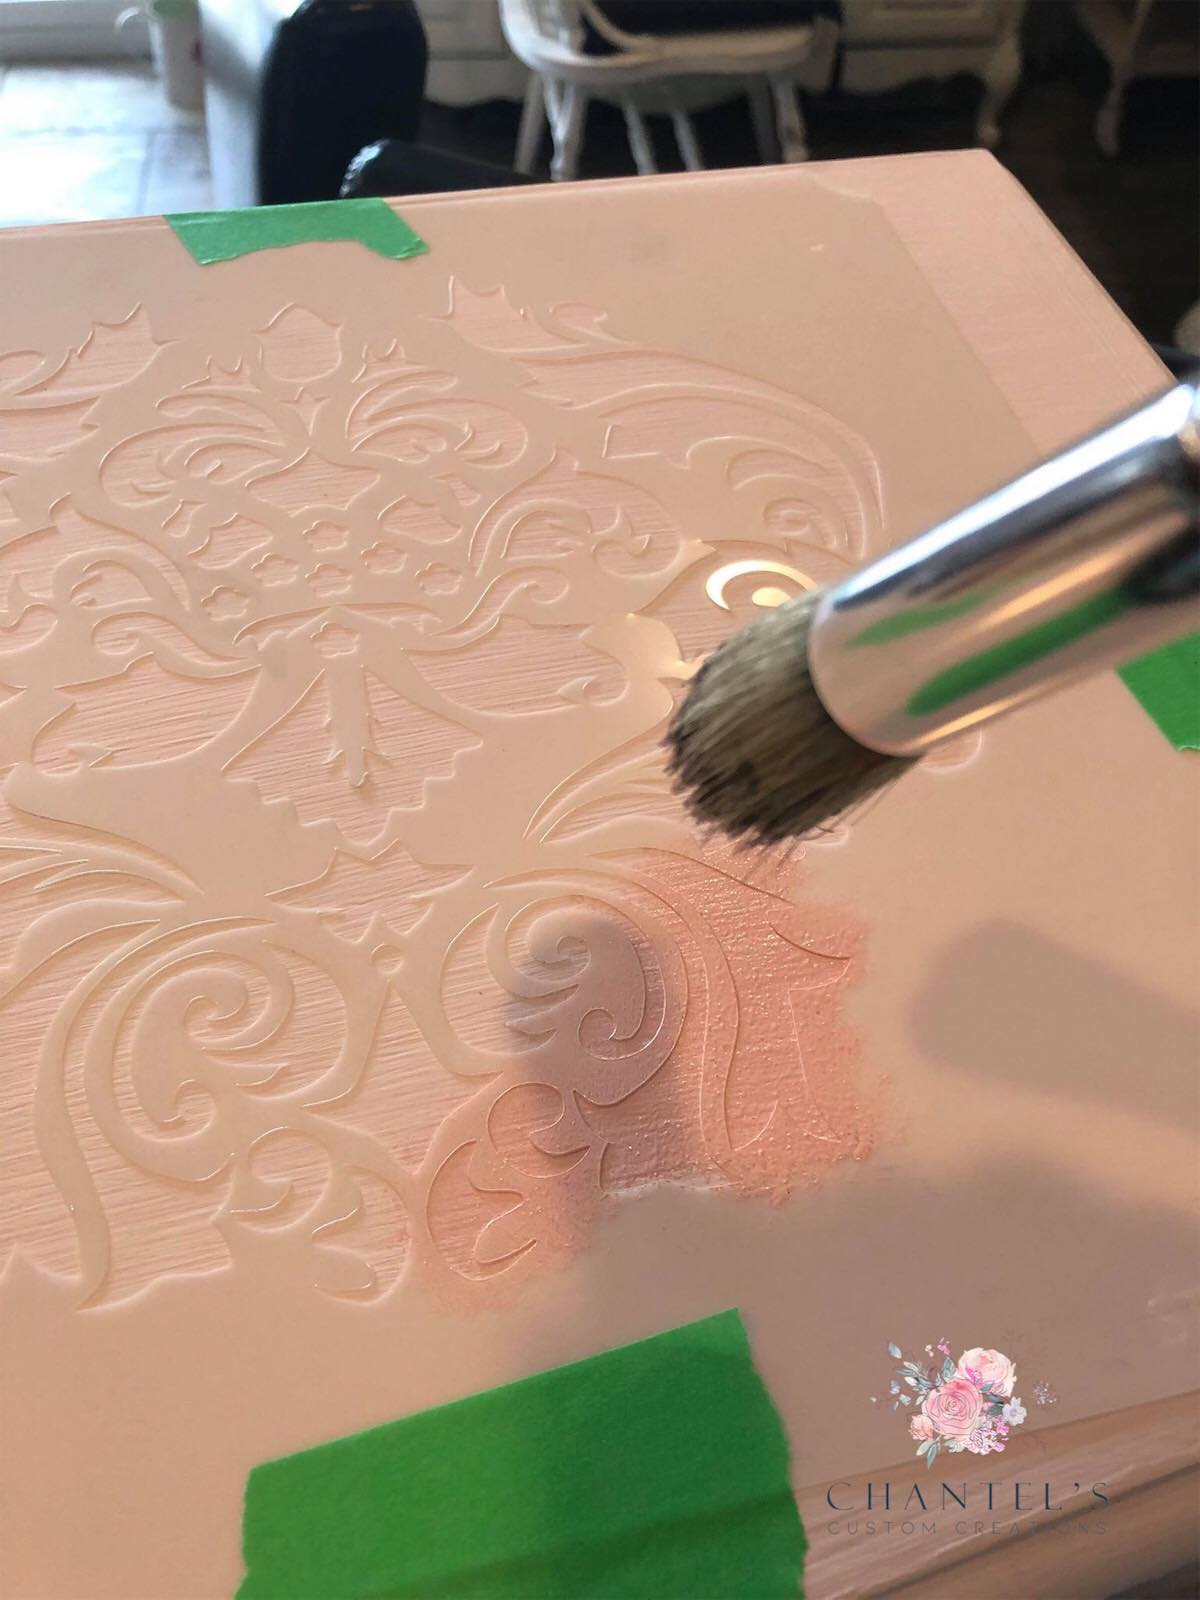
- It is always recommended for best results, to use a stencil brush if possible when stenciling onto furniture. I used a small round stencil bristle brush. You want to make a pouncing motion onto the stencil.
- The biggest tip for stenciling is to rub off most of the paint onto a paper towel.
- You do not want to have too much paint on your brush when stenciling or the paint will seep under your stencil and bleed.
Step 6
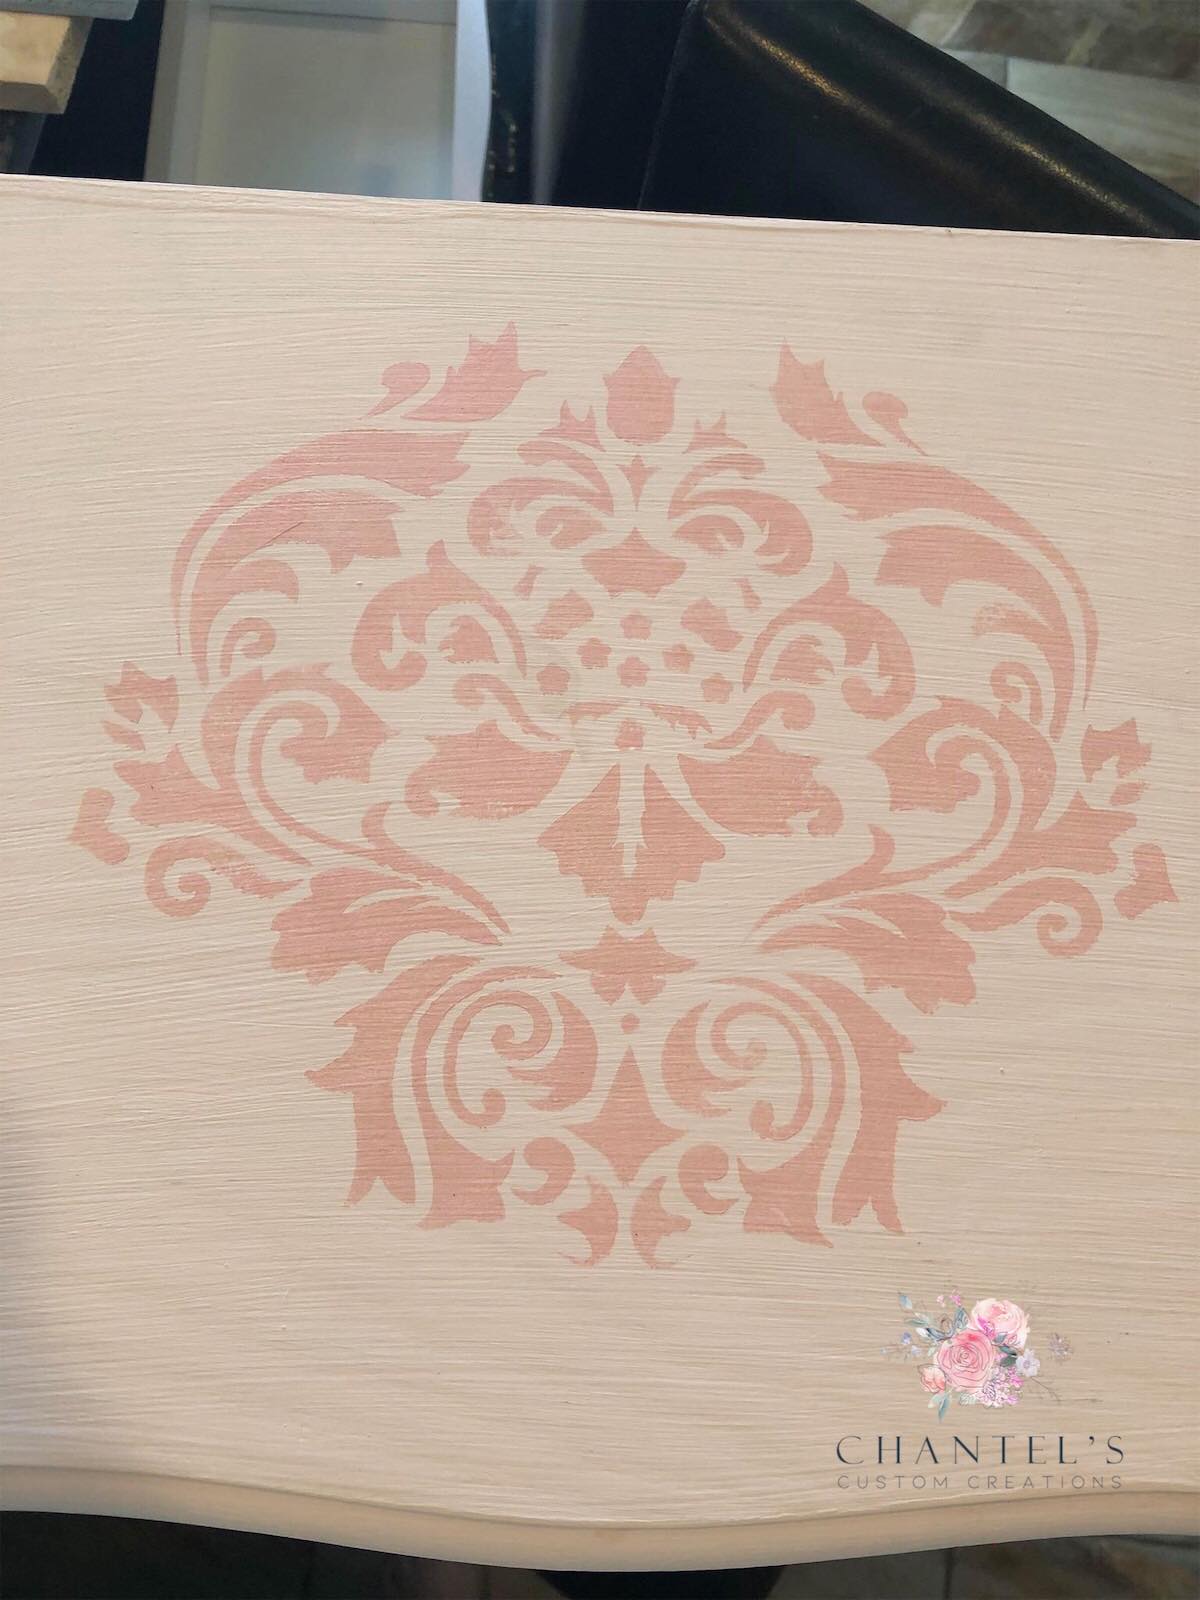
- Once you are done with stenciling your design, carefully remove the mylar after your paint is fully dry and you will want to get your stencil into the water right away to wash off.
- I’ve found that on some stencils, even washing with water is hard to get the paint off, so I also use Clorox wipes to try to get most of the paint off of the stencil.
- You do not want to wait on this! I am speaking from experience! Trying to wash off dried on paint off of a mylar stencil is no fun.
Step 7
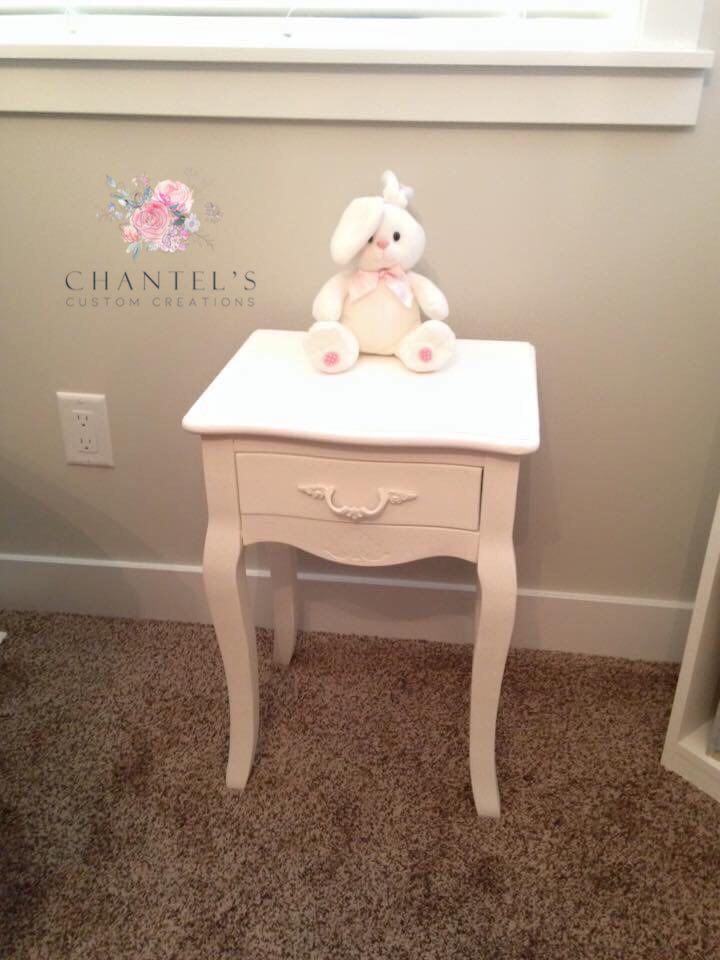
The last step is adding a top coat wax of some kind to protect the surface of your project. I used a shop rag and some clear wax. Applying one coat can be done quickly and seals up your table!
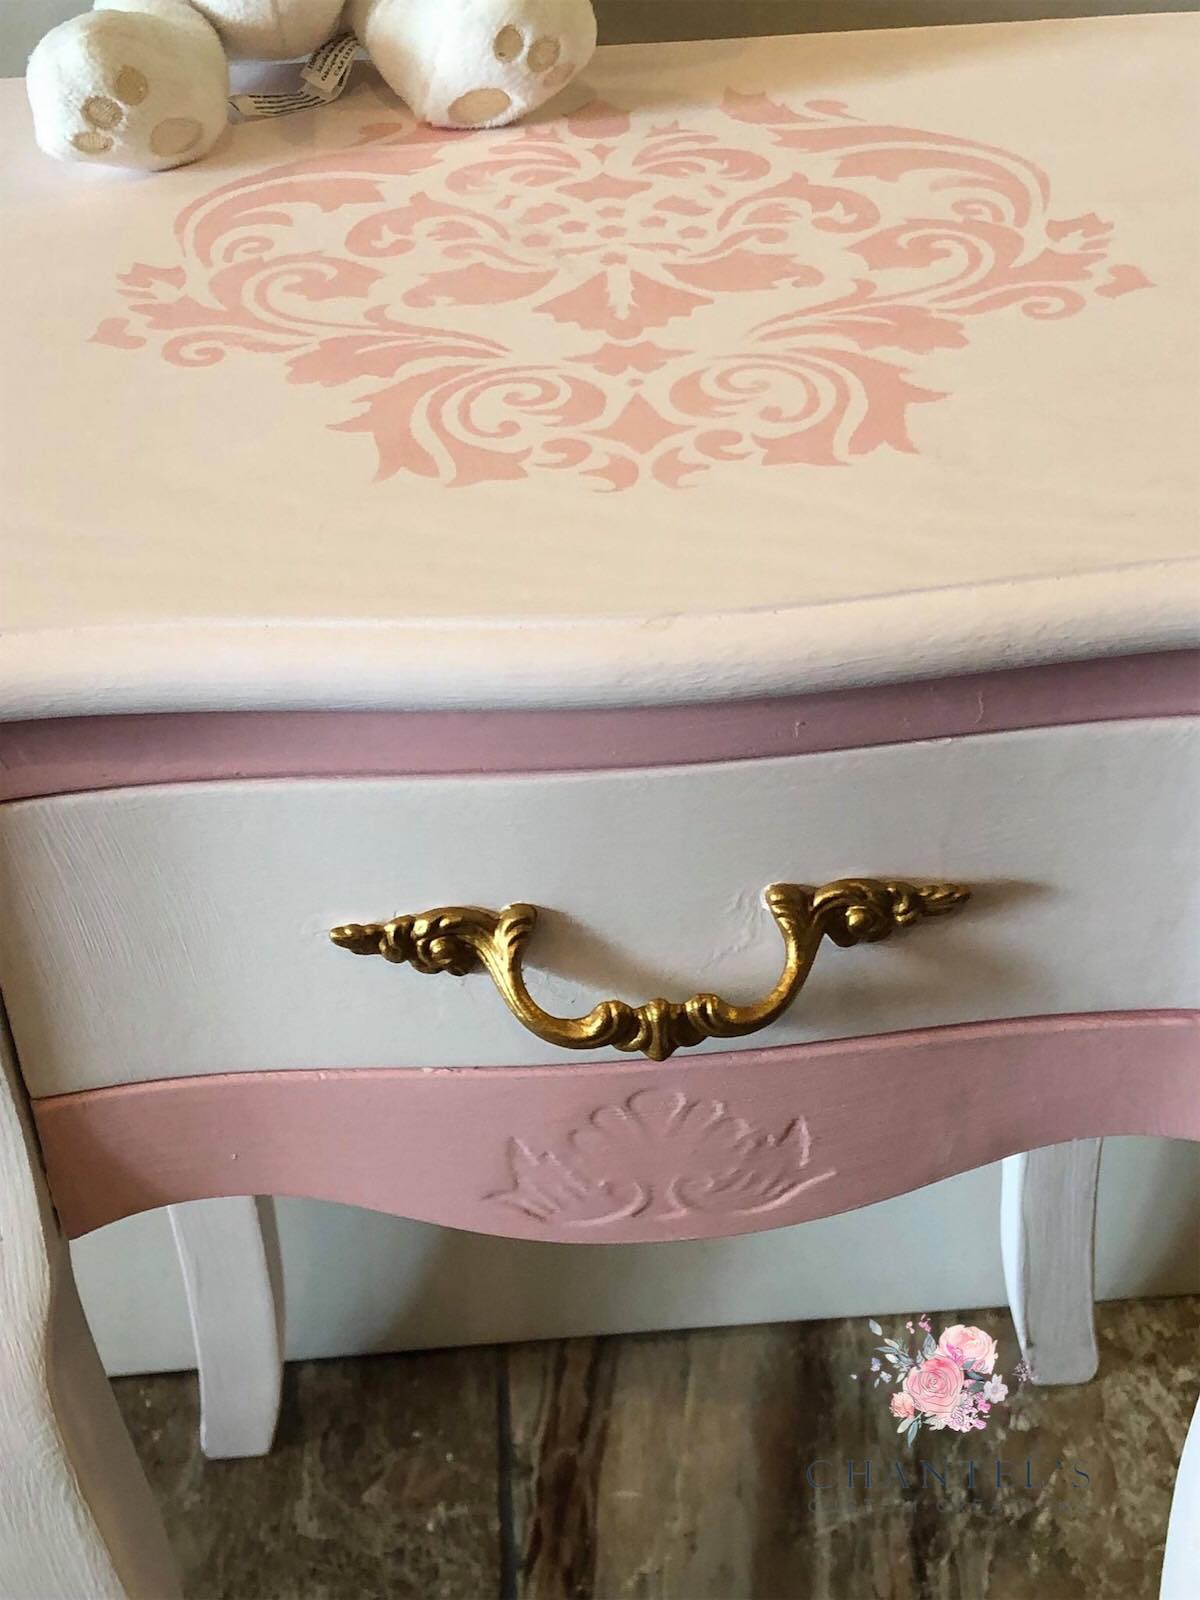
A very simple project that takes no time at all, makes a cute little side table, even cuter!
Thank you for reading my post and I would love to hear about your stenciling projects on furniture! Please leave me a comment and a photo. I’d love to hear from you!
Before you Go, please check out my other posts on stenciling on furniture!
- Vintage Vanity Makeover with Chalk Paint
- How to Stencil a Wall
- Jewelry Armoire Makeover
- Coffee Bar Makeover


Very cute!
Thank you very much LaVerne!