This post contains affiliate links. See full disclosure HERE.
Supply List:
Transfer Images to Wood Projects
For the first part of this tutorial, pick your wood project of choice. As you can see with this project, I picked up this wooden tray from Michaels one day and wasn’t sure what I was going to do with it, but bought it anyway and decided to decorate it for my new craft room! Michaels has a great aisle full of blank wood projects! It’s one of my favorite aisles.

Step 1
First thing I recommend is painting it with chalk paint. I have posted some at the top of this post. I love my white projects and my craft room is full of white furniture!
Step 2
- You are going to want to find a graphic that you will want to print out on your home ink jet printer. You can simply Google projects. I use the most amazing website to find my graphics and I found a free graphic website called https://thegraphicsfairy.com/.
- I personally love this website as it specializes in vintage images that are right up my alley! You can use printer/photocopy paper, does not need to be any special kind of paper.
- The biggest thing you need to know when printing off graphics and applying them to your surface is if the graphic has writing on it, you want to make sure that you download and print a graphic with the reversed image as you will need your writing to show up on your project in the right way.
- You can either do this manually on your printer settings or just make sure you download the reversed image in the photo gallery on the website.
Step 3 to Transfer images to projects
- After printing in reverse, you want to take your scissors and cut off as much as the white space as possible as this helps make it less work in the end when rubbing the transfer in the transferring process.
- You can use regular copy paper in your home computer and an inkjet printer.
Step 3
- I use matte mod podge. You can use any brand of transfer medium you have on hand. Take your mod podge with a craft paintbrush and brush it all over your image, you want to get it right to the edges and use quite a bit of the transfer medium to fully coat your image.
- Then you want to flip the image upside down so the image is facing the project and smooth the paper from the center out with your fingers until all adhere to the surface, you want to work fairly quickly with this step.
- Smooth all the bubbles out, use your fingers, credit card or a brayer.
Step 4
- Let this dry overnight! I have no patience. It is tempting to not let it dry overnight. For best results, leave project dry overnight!
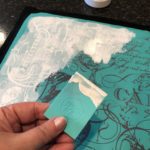
- Make sure the project is completely dry. Take a wet rag (very wet, not dripping though). Start rubbing gently with your rag to reveal the image under the white paper backing. You will start to see through the paper. You can start to see the image as the paper is getting wetter.
- Start to rub the paper with your finger delicately. Don’t be rough with this step as if you get carried away, you may end up rubbing your image off! The mod podge dries clear.
- This process works best on very light-colored painted surfaces, I like to use white, as you are printing your image on white paper. You could try matching the paper color to the color of your wood (although I have not tried this!)
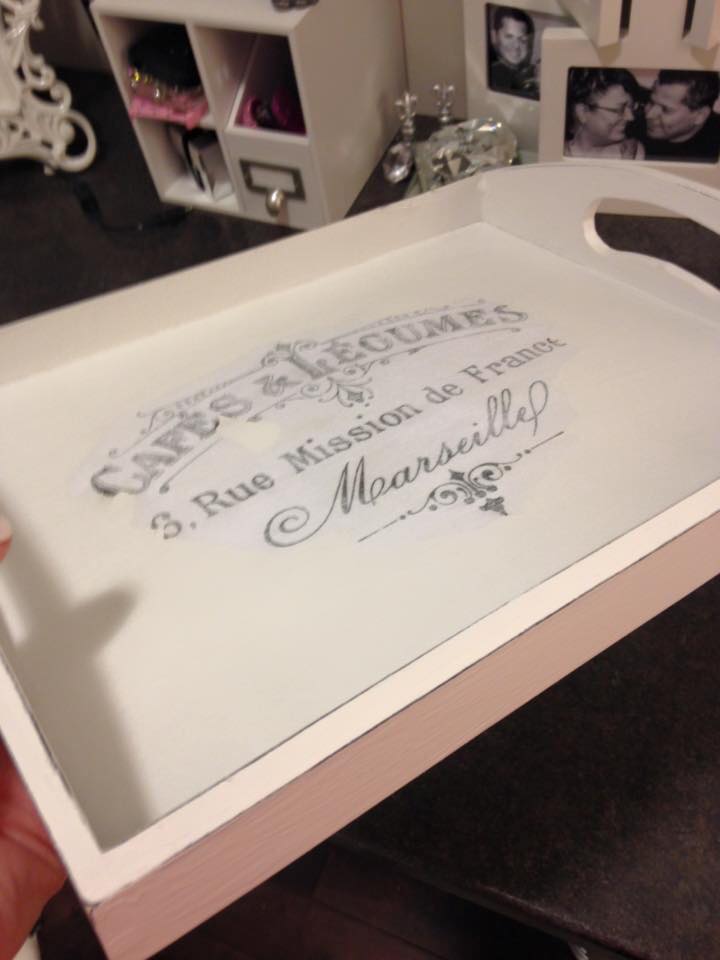
As you can see in these photos, the white paper is slowly coming off. You want to be very gentle with this process as you do not want to rub your design right off of the surface.

I used this tray as a decor piece in my craft room.
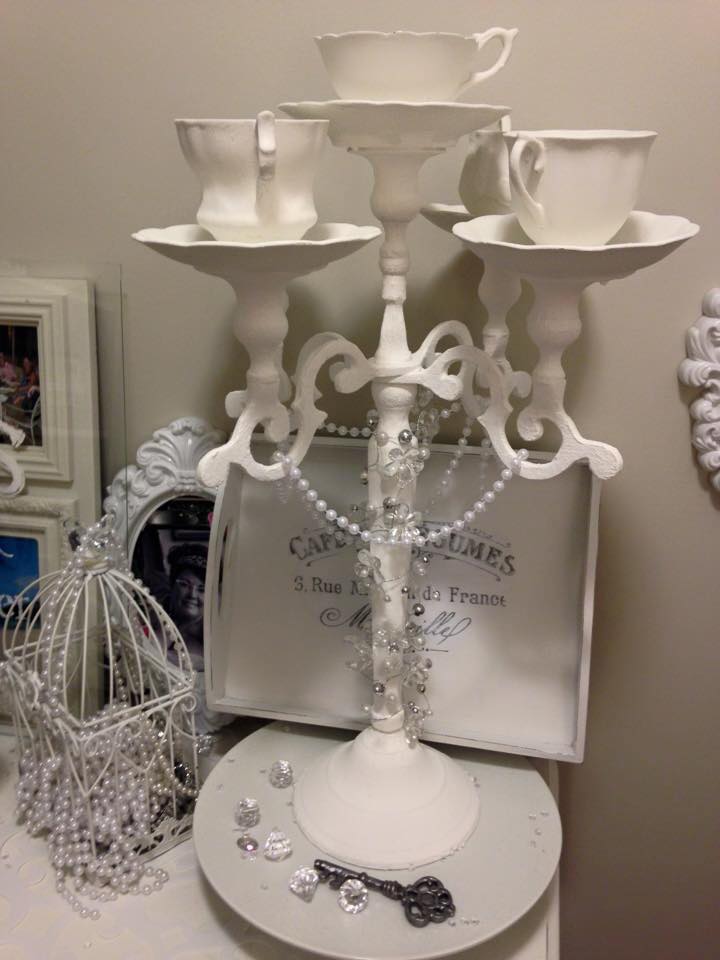
I love this technique as really the sky is the limit in terms of the projects you could do this technique on!
A few more projects I transferred images to:
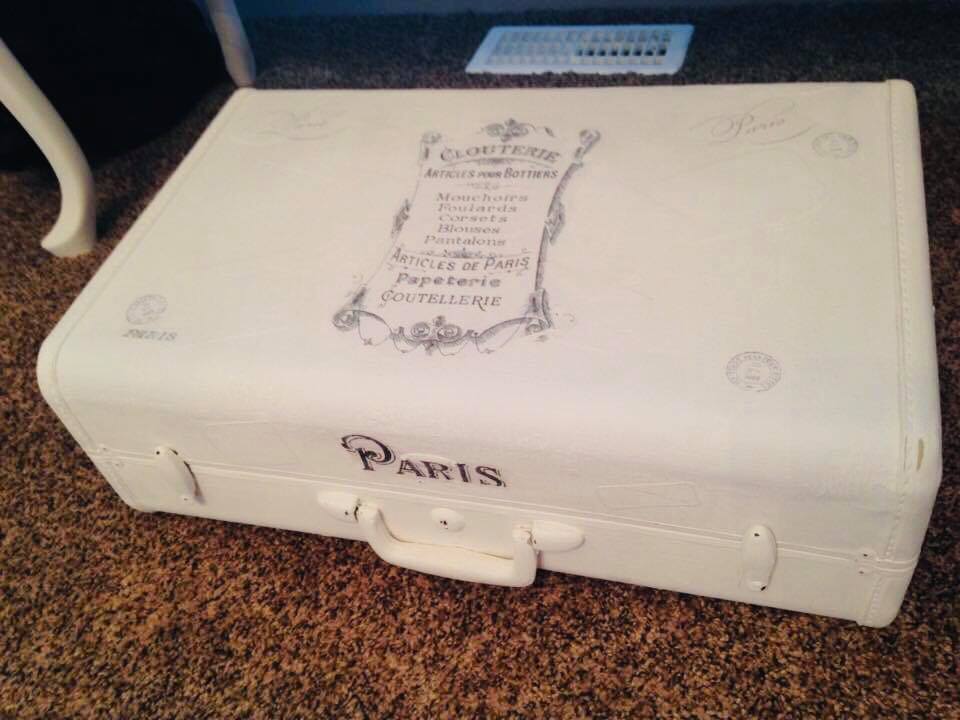
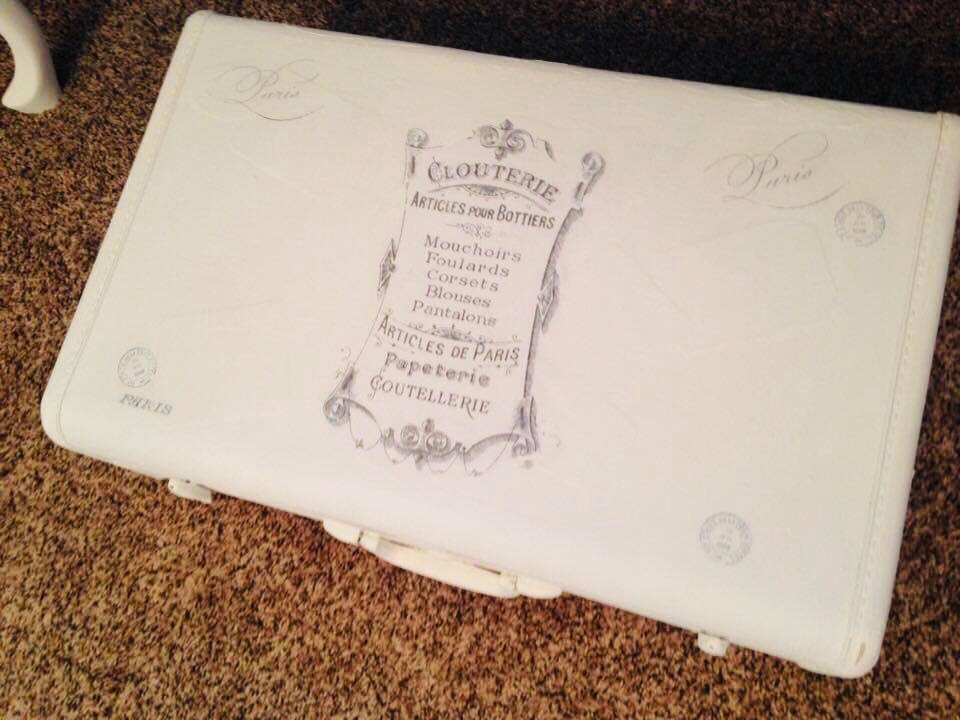
I found this old suitcase with horrible stickers on it and painted it white with chalk paint and transferred some graphics to the top and front.
BEFORE:
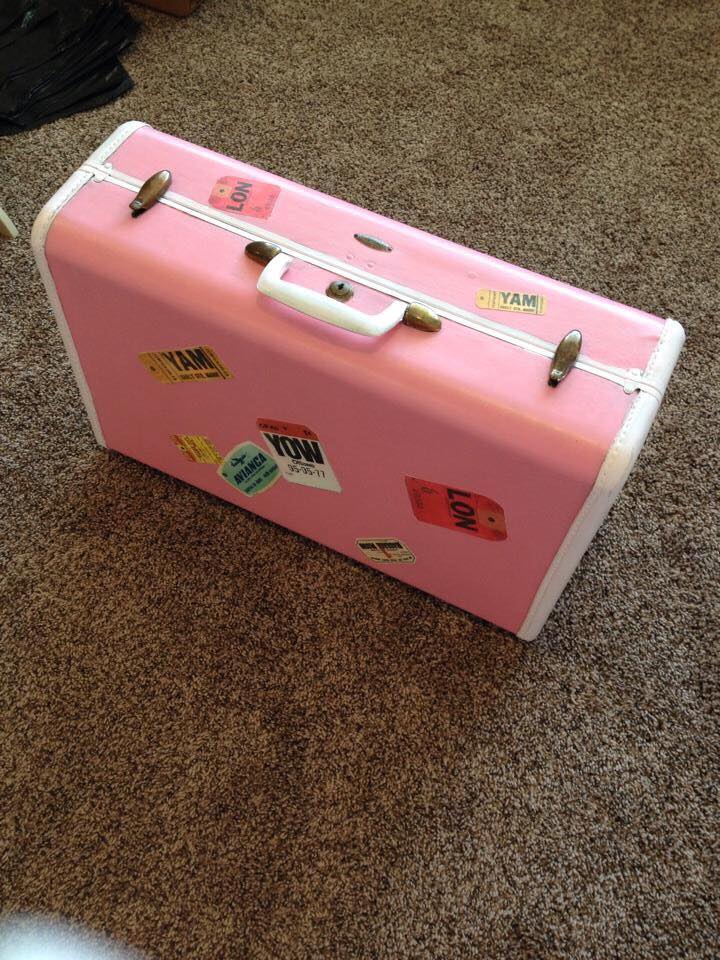
I applied a few coats of white chalk paint to the suitcase before applying my image.
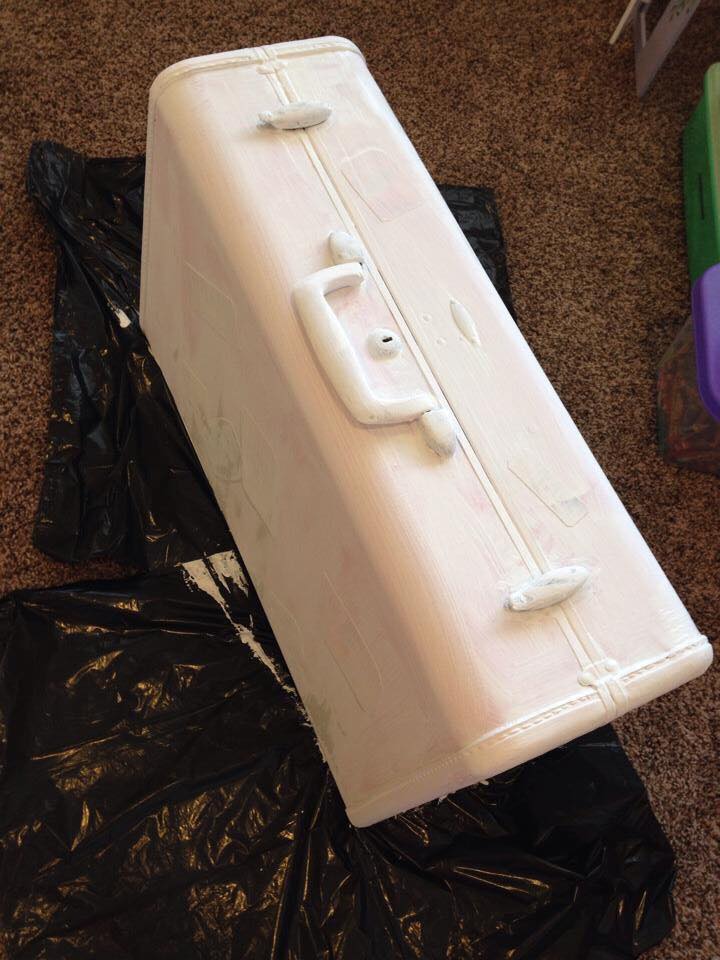
AFTER:
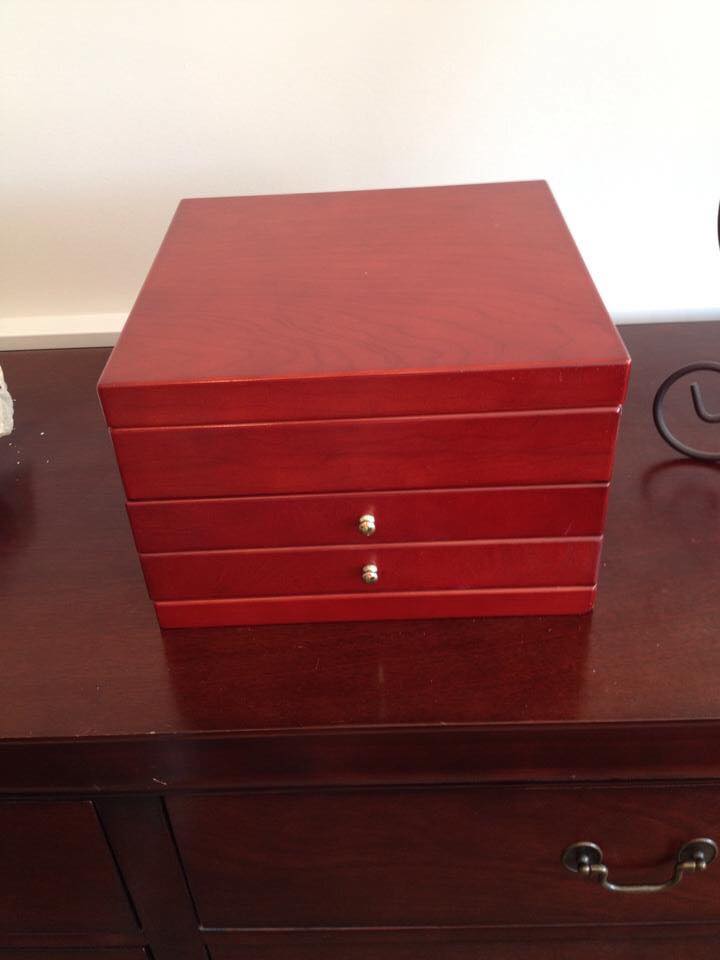
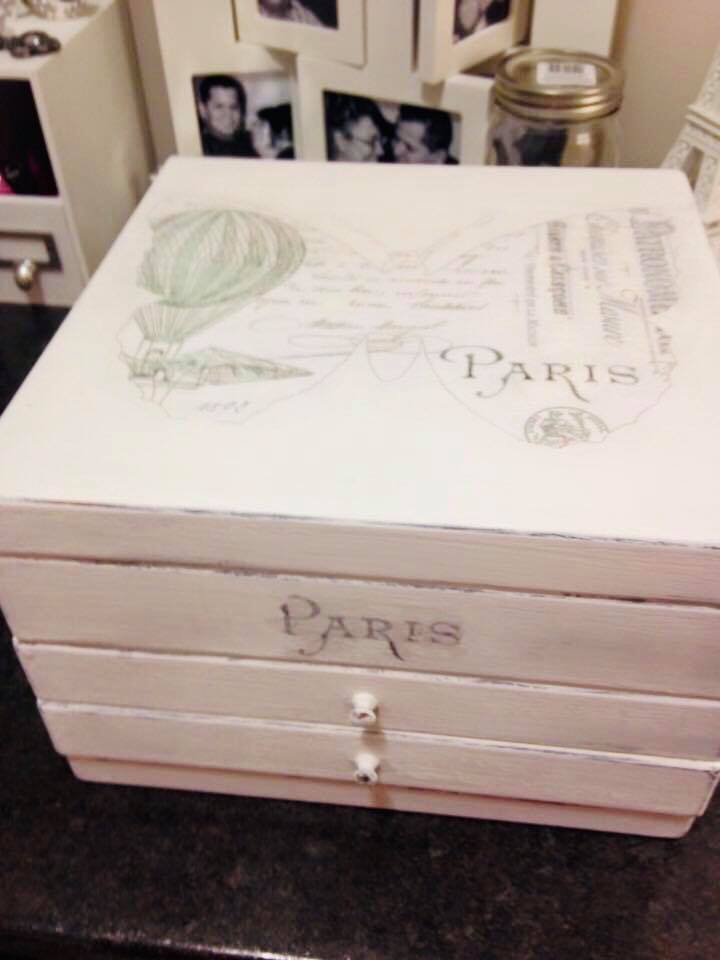
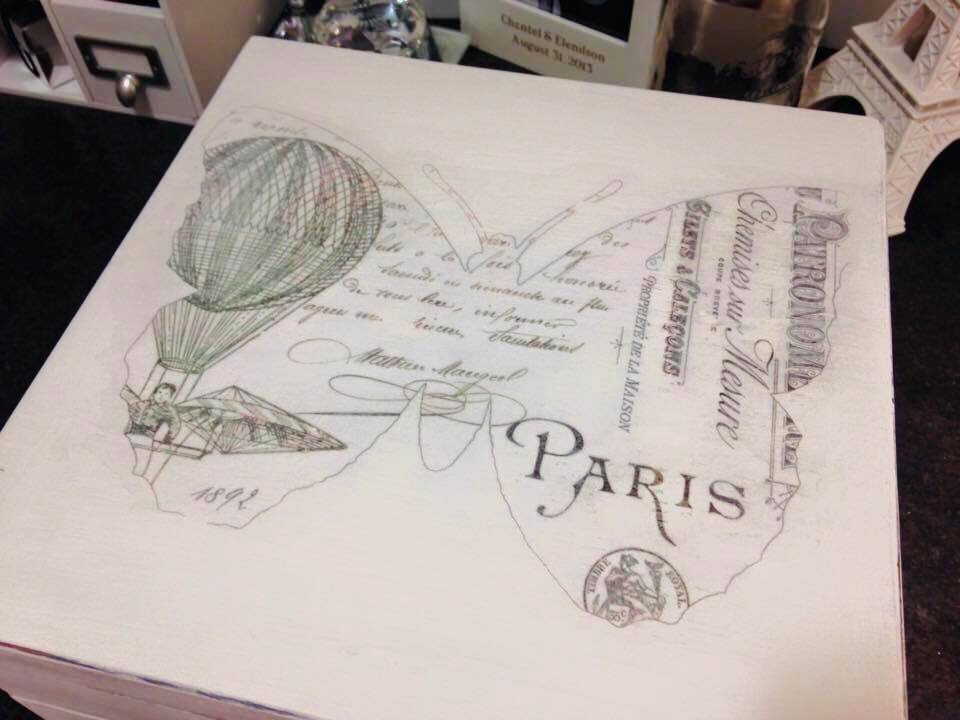
Wood Jewelry Box
I did a makeover of my master bedroom and wanted to add some character and detail to my jewelry box.
BEFORE:
AFTER:
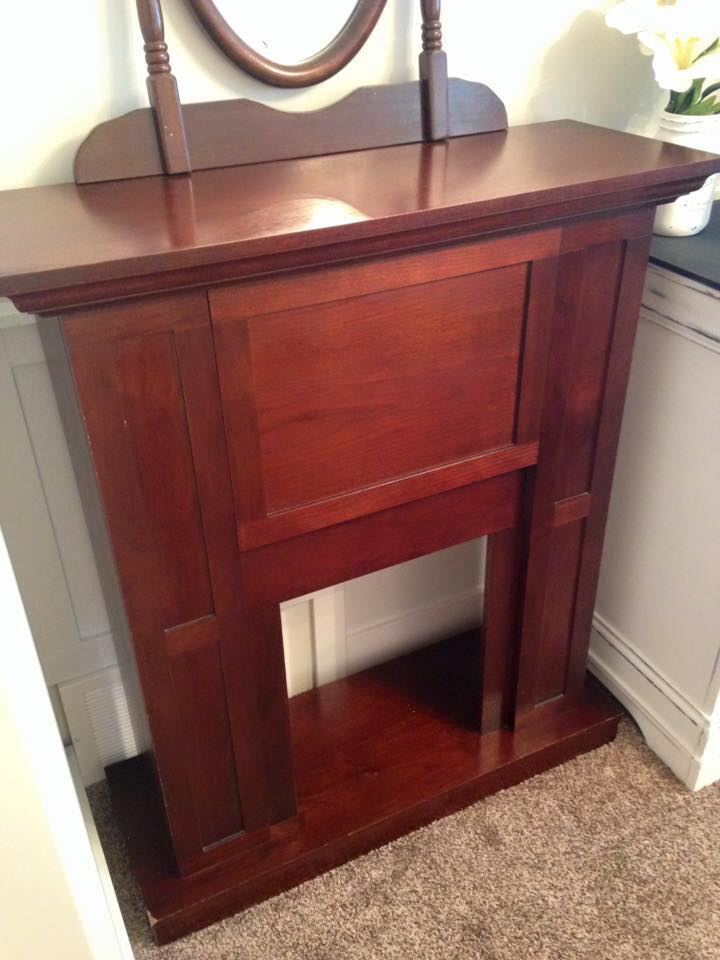
Furniture
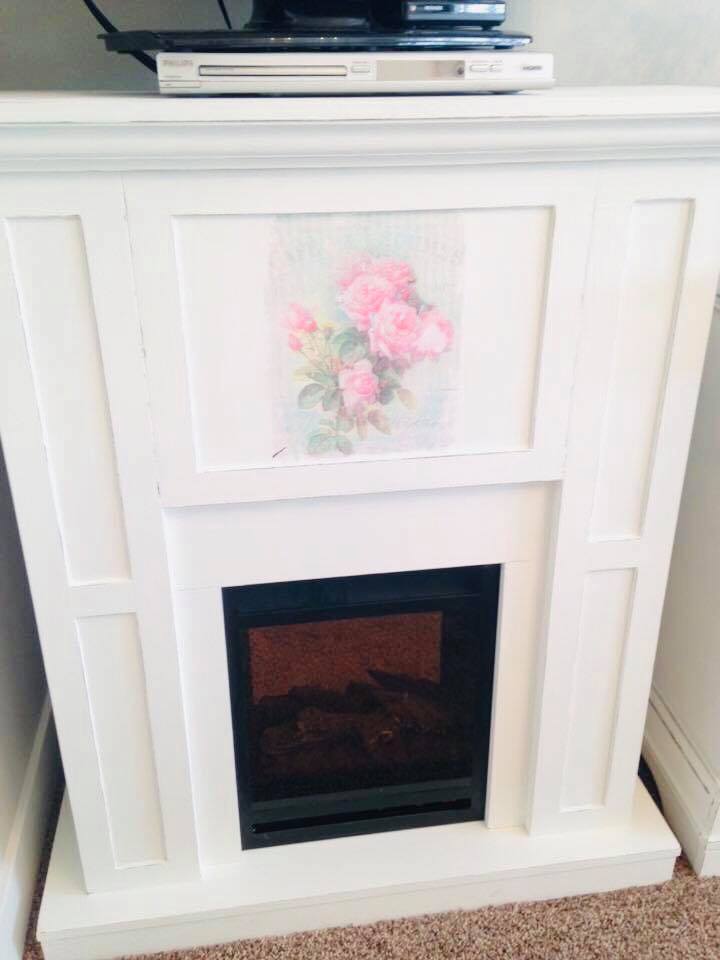
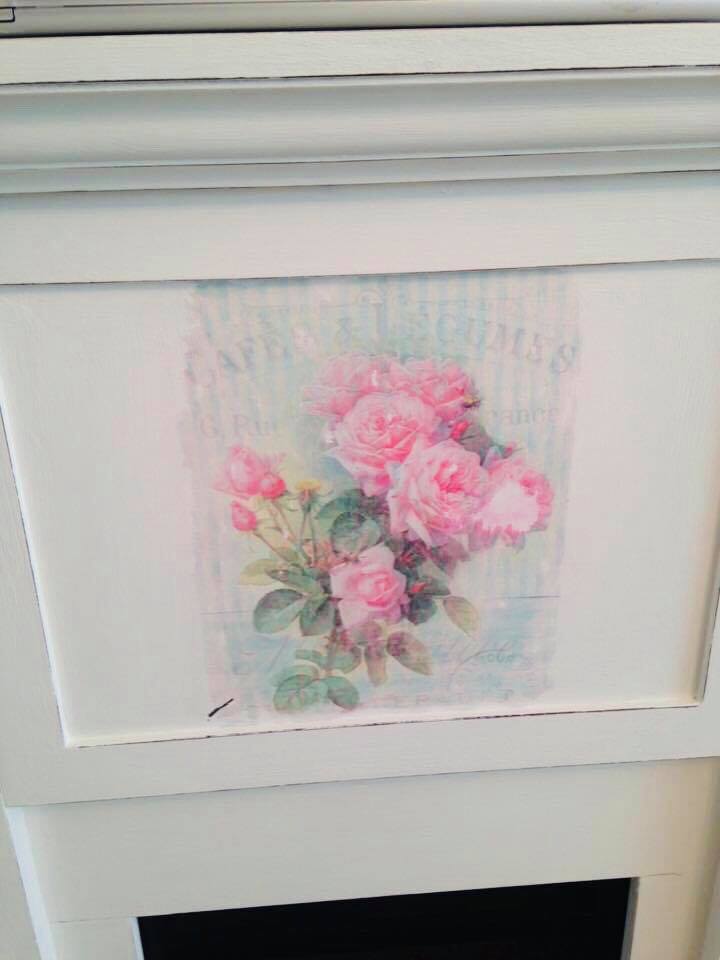
I also used this technique on a piece of furniture. I had an old mantel that I wanted to makeover. I wasn’t too happy with the outcome as I decided that the transfer was not big enough for the piece, but ended up liking it in the end!
BEFORE:
AFTER:
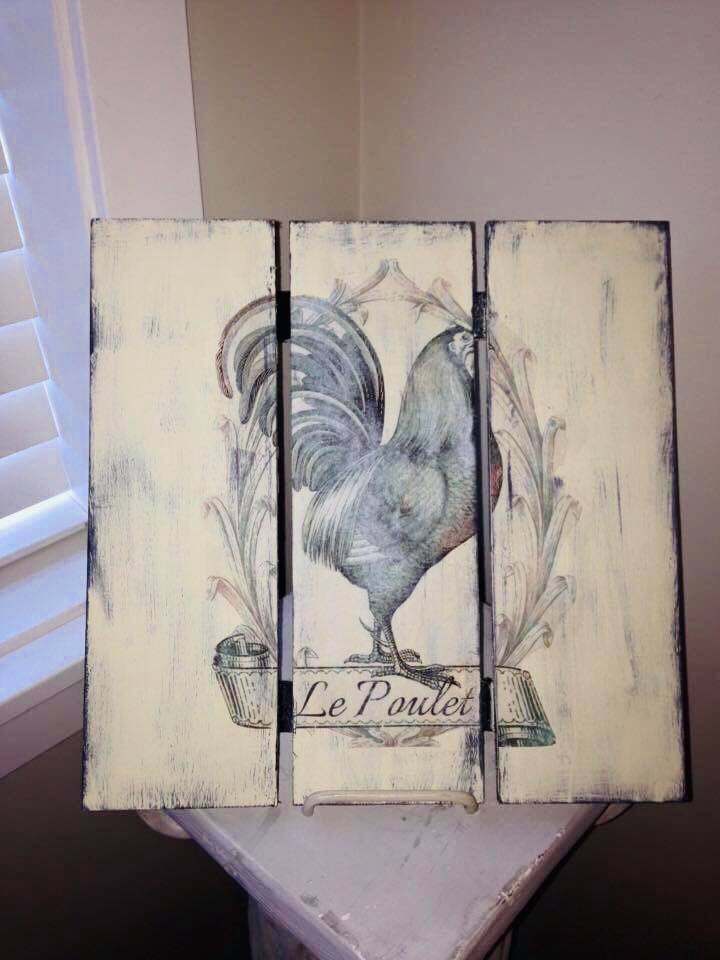
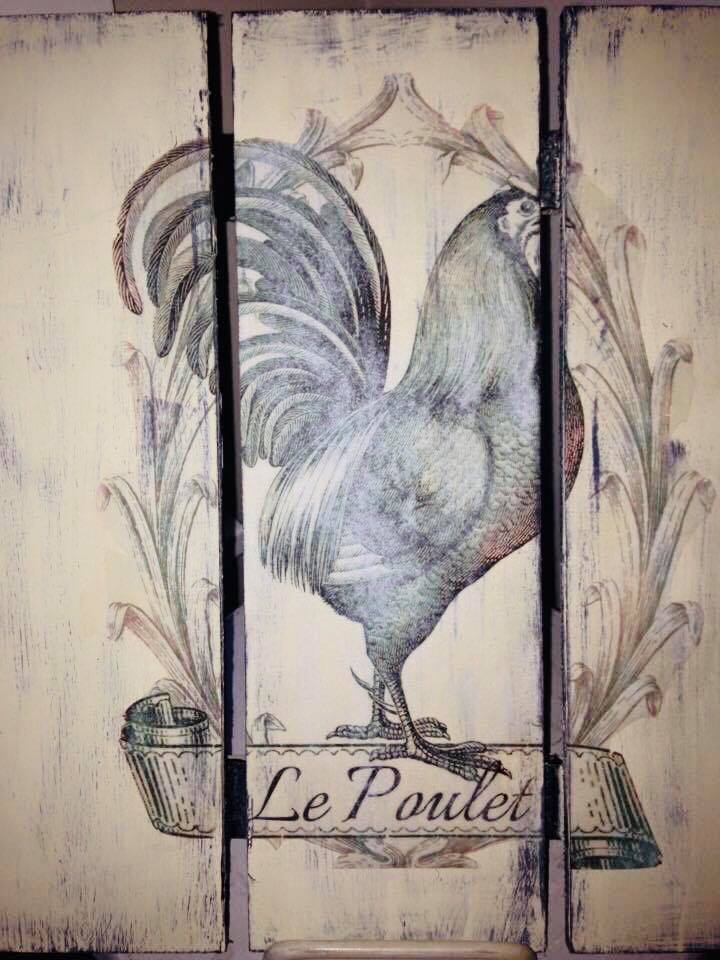
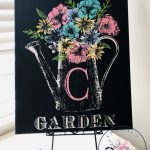
Wood Pallet Sign
I also made a wood sign with transferring a graphic as well. Once again I went to my local Michaels and found this pallet style wood sign in the wood blanks aisle.
I painted it with some black paint and then cream chalk paint over top and distressed it once I applied the graphic on it. I love the way this sign turned out!
BEFORE:
![]()
AFTER:
In conclusion, there are so many different items to apply images to projects! I had so much fun with these projects and I hope I was able to inspire your creativity!

Leave a Reply