How to Use Chalk Paint on Furniture
I will be showing you in this post how to use chalk paint on furniture. I love these tables! Anything Queen Anne style is definitely my furniture style and I am always drawn to this type of vintage furniture.
I found these tables in an antique mall and instantly fell in love with them and wanted to make them over into a white farmhouse style. These tables are vintage and solid wood, I would say they are from the 60s era.
There is beautiful details and I will show you how I made them over with a few steps on how to use chalk paint on furniture.
This post contains affiliate links. See full disclosure HERE.
Supply List:
- Rustoleum Chalk Paint, linen white
- 220 grit fine sanding sponge
- Creme Wax
- Chalk and Wax Paintbrush Set
- Rustoleum Zinsser Primer, white
- Murphy’s Oil Soap
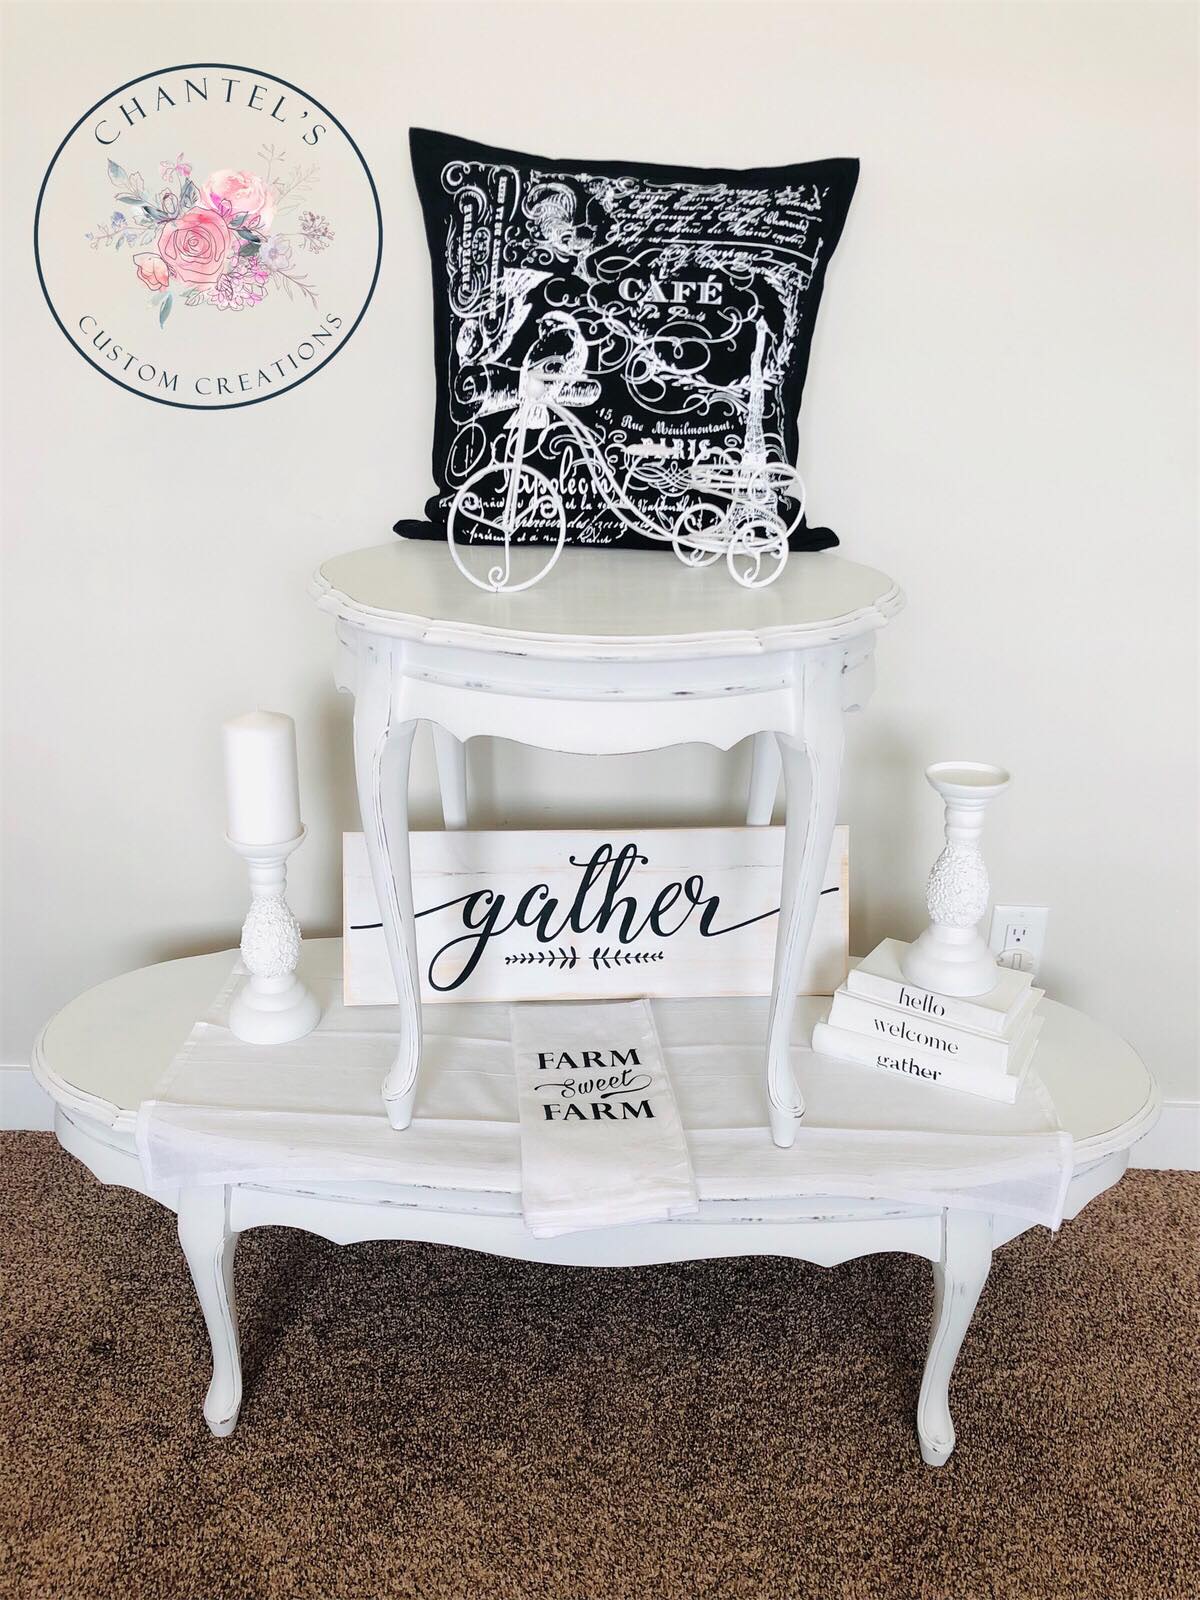
AFTER:
BEFORE/Side Table:

BEFORE/Coffee Table:

Furniture Preparations:
- There are quite a few preparation steps involved in furniture refinishing.
- Please be sure that you follow the preparation steps as these steps are all very important to the quality of the outcome of your project.
- Furniture refinishing is so rewarding and satisfying but it involves quite a bit of work!
- My steps don’t include every step involved as my furniture was in very good shape to begin with. If you choose pieces that need repair, you will need to make sure you do any repairs before you begin with these steps.
First Step in Furniture Painting:
- The first thing you want to do is take a wet rag to thoroughly wash down your piece of furniture.
- I used this surface prep cleaner (in the photo) which is what I had on hand. I have recommended a cleaner called Murphy’s Oil Soap.
- You do just want to make sure you use some type of furniture prep cleaner on your piece of furniture. The purpose of the cleaner is to get any old oils and dirt off of the project so it is ready to paint.

Here you can see how shiny and clean the piece is now after using the surface prep and a rag. Be sure to use your rag to wipe off any oils and cleaner off of your piece.
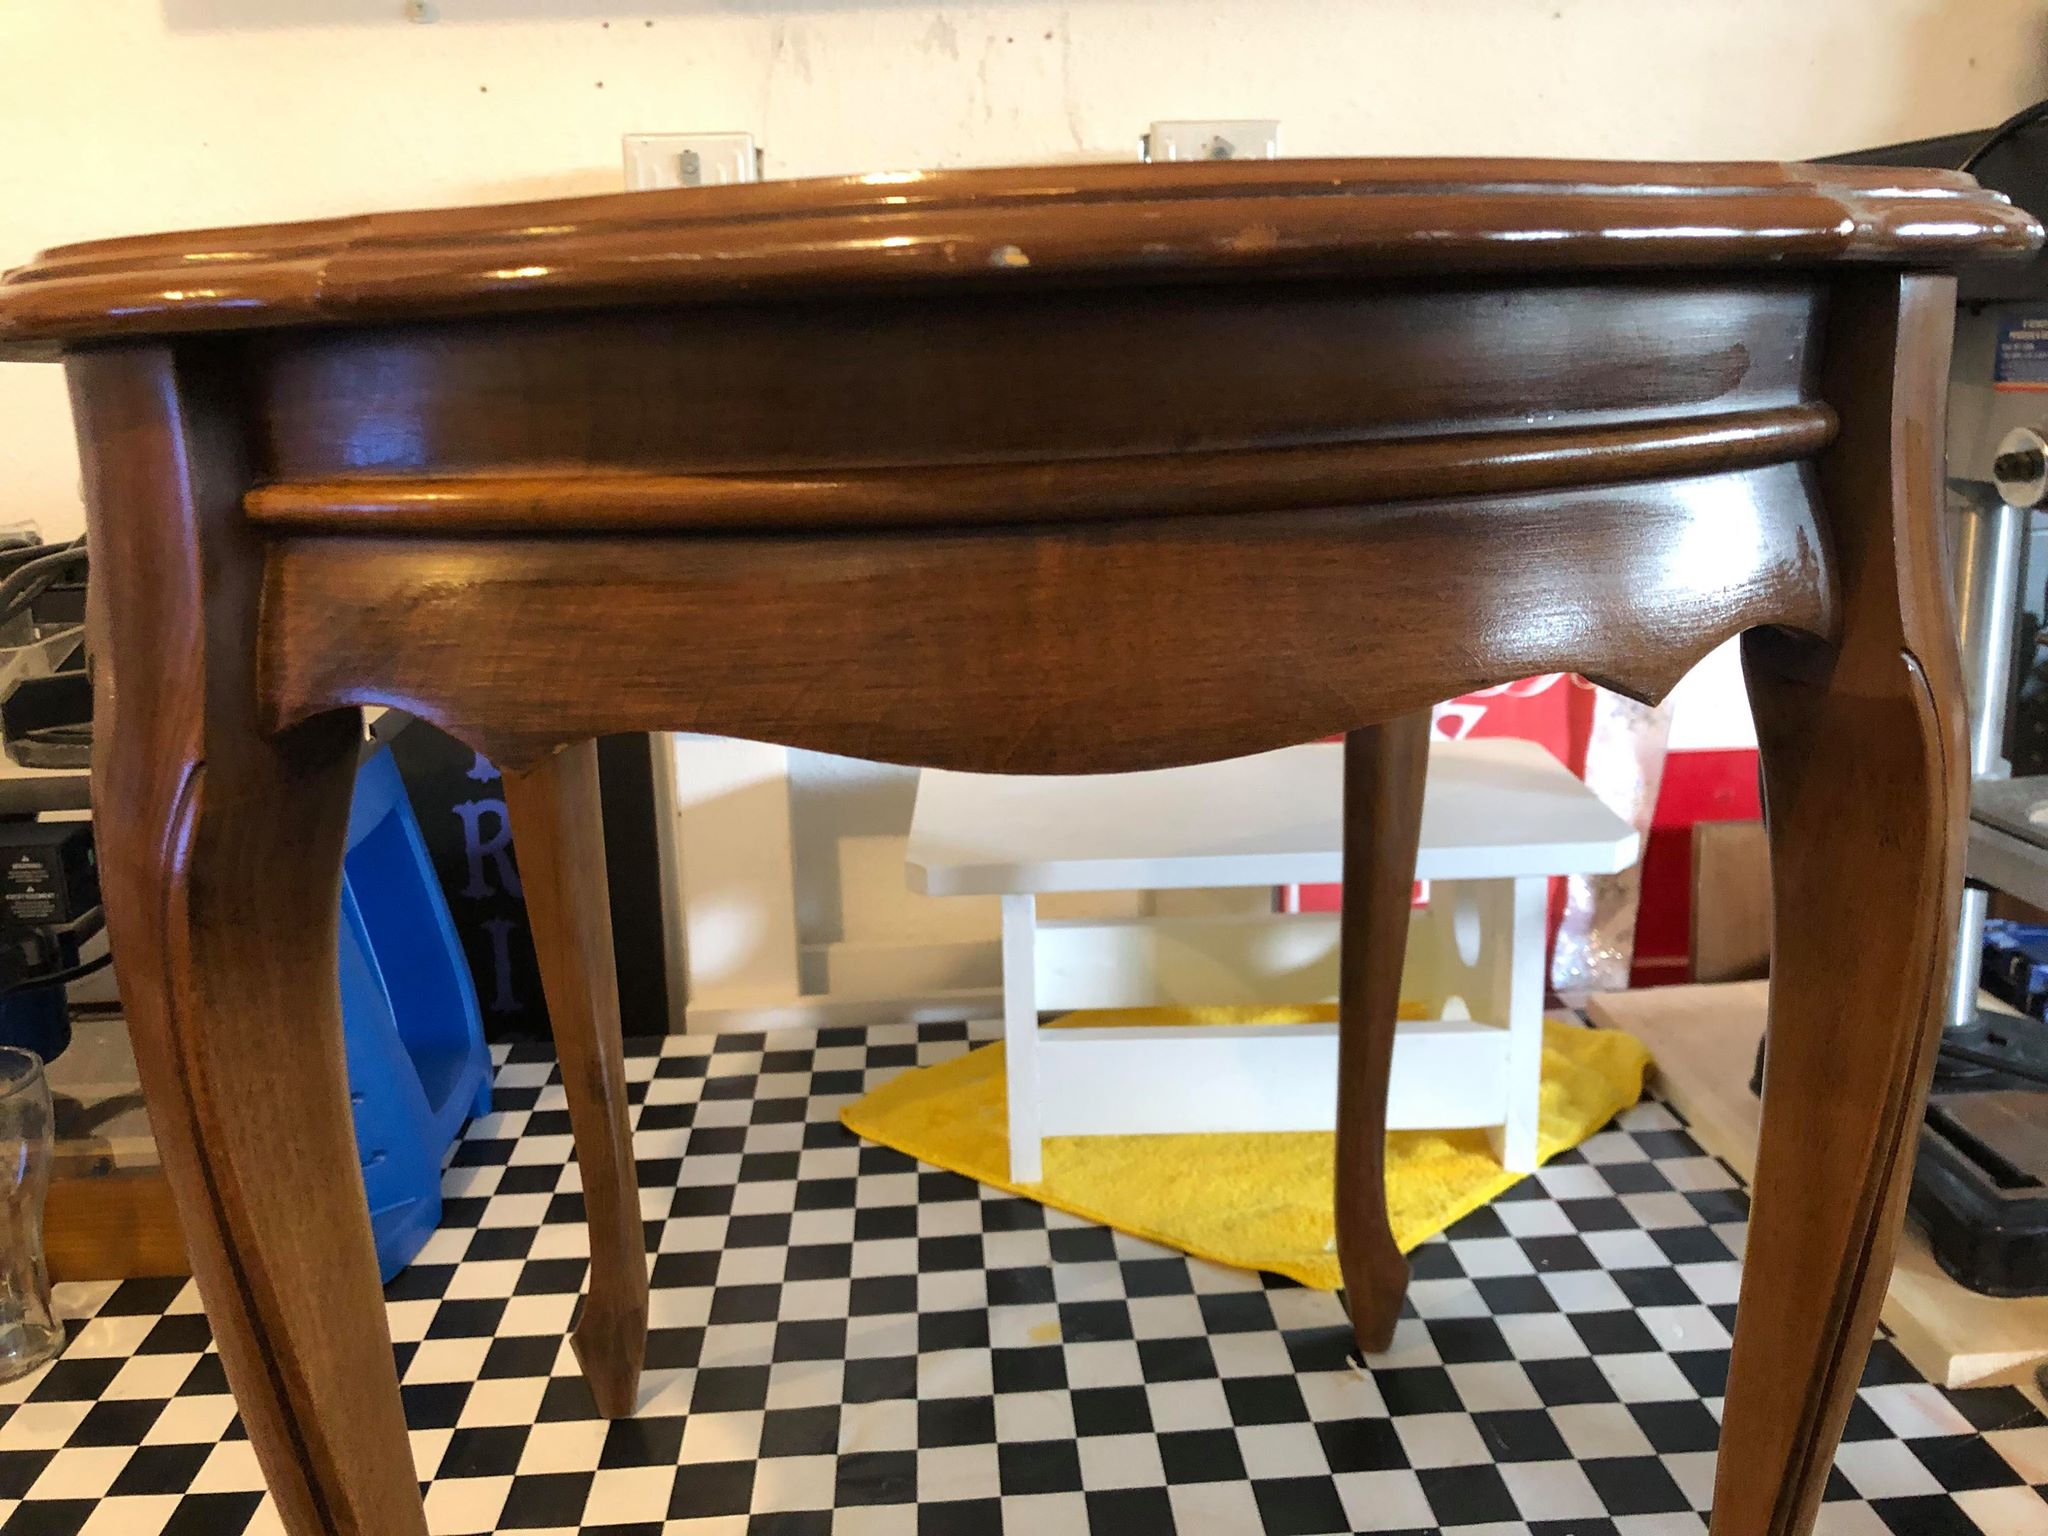
The 2nd Step to Use Chalk Paint on Furniture:
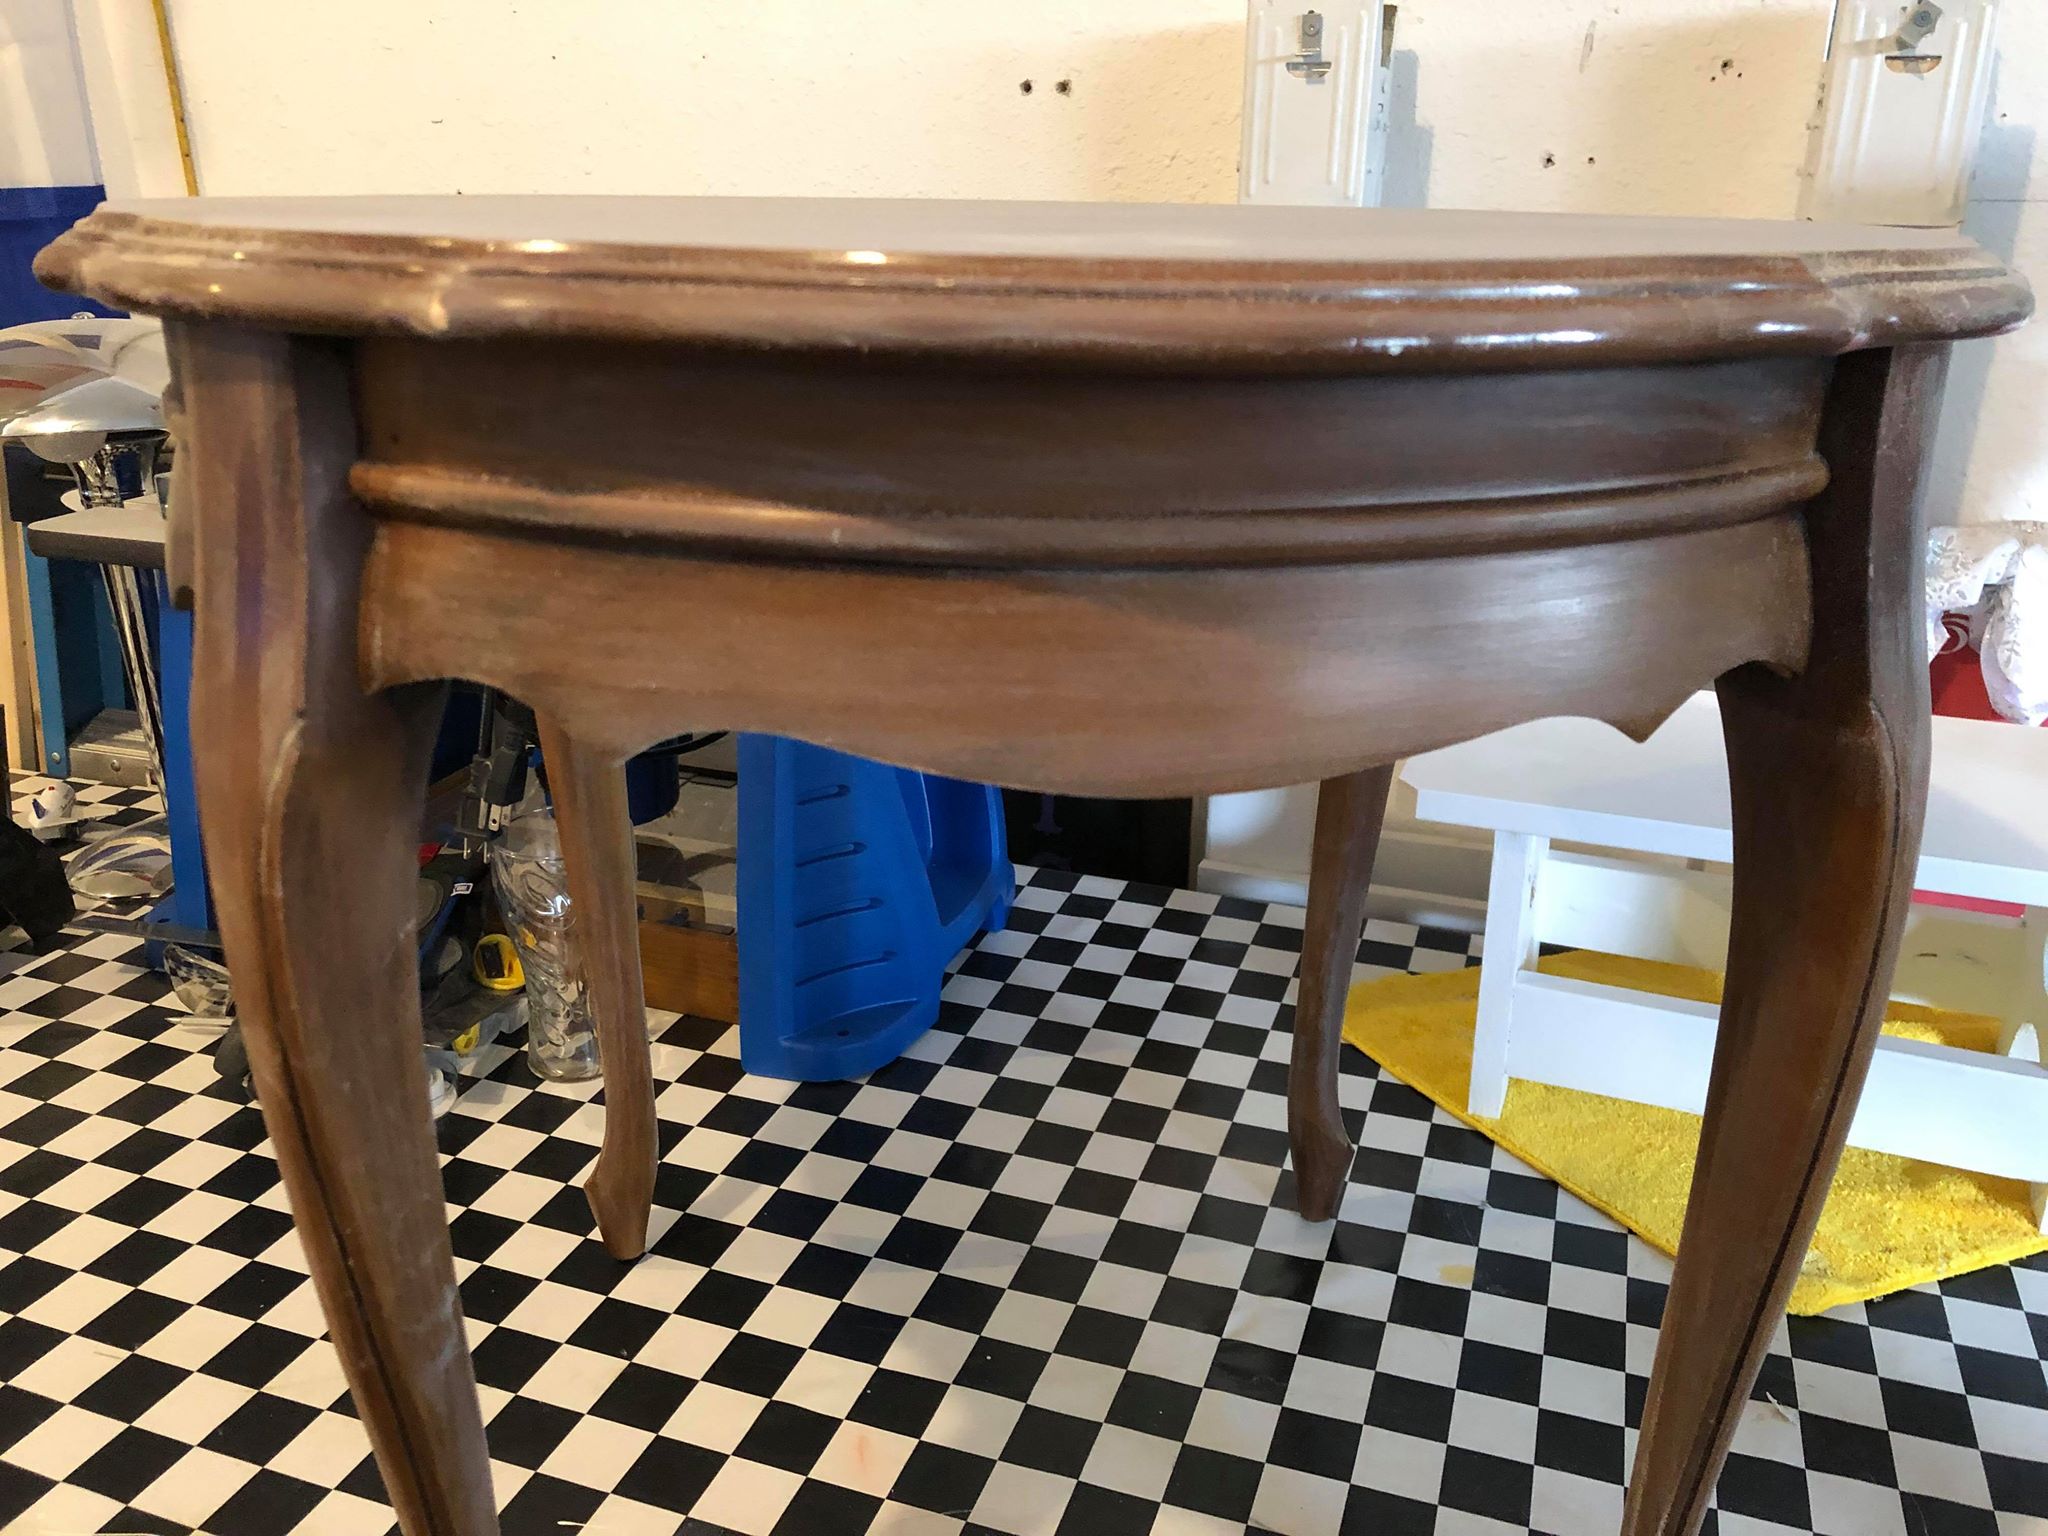
- The next step after cleaning your piece is to lightly sand it down with a fairly fine sanding sponge.
- I have recommended a sanding sponge in my materials list at the top of this post. You can use a 220 grit fine sanding sponge for this.
- All you are doing at this stage is scuffing up the surface slightly so that the chalk paint will have an easier time adhering to the surface.

As you can see, the table looks lightly sanded and scuffed up.
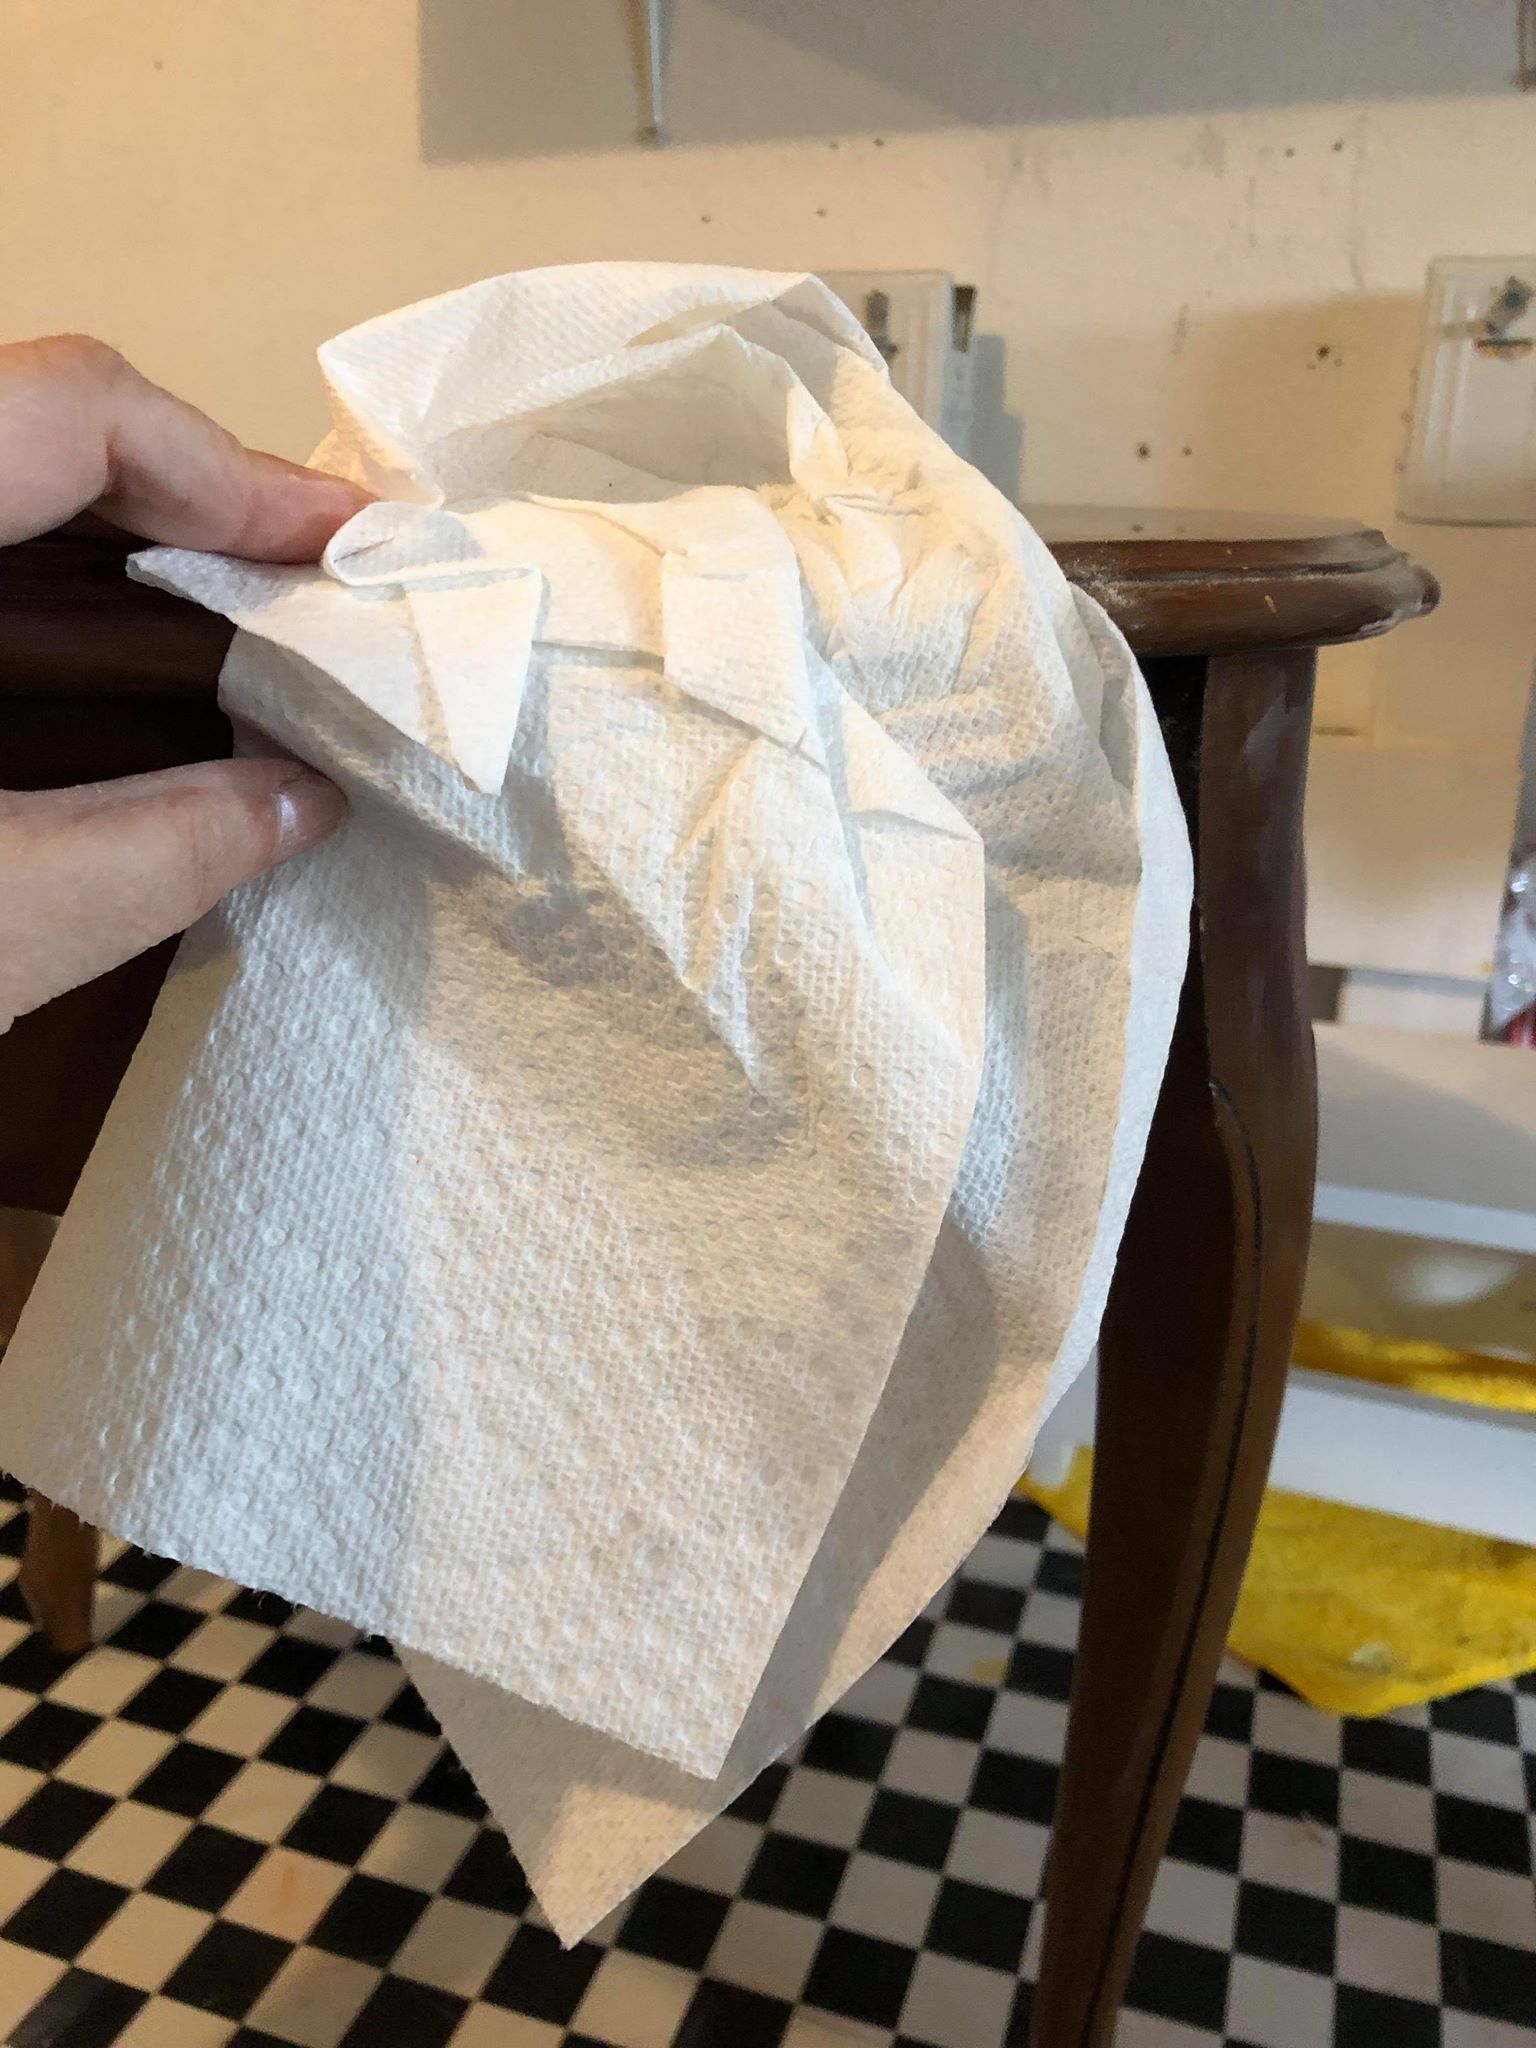
Take a rag or a piece of paper towel to wipe off all the dust and to prepare for the paint.
You want to make sure all of the dust is removed from the surface. Be sure to get into all the nooks and crannies.
The 3rd Step – Prime
- It is very important that if you are painting dark furniture to a light color, that you consider a primer first. I recommend Zinsser Primer.
- The right primer will do two things: you will end up painting less coats and it will be an important barrier for the wood. In working with older wood, you may encounter what is called “tannins”.
- Essentially those are dark spots that will come out of the furniture if paint is applied directly on the surface without a primer.
- If you do not use a primer and you take the chance to just paint directly on your surface, you may notice as time goes by, dark spots will develop on your furniture. You cannot paint over tannins, they will simply re appear.
- You would need to sand down your piece, paint with a primer and re paint your furniture in order to be rid of the tannis.
- You want to simply dip your brush into the primer and lightly coat your furniture piece. Be sure not to glob or drip your paint.
- You will want to let the primer coat dry and then proceed with your chalk paint.
When painting a table, it is my recommendation to turn the table over to start on the legs, that way you can get a nice full even coverage on the legs.
When the legs are dry, simply turn the table over to paint the top last.
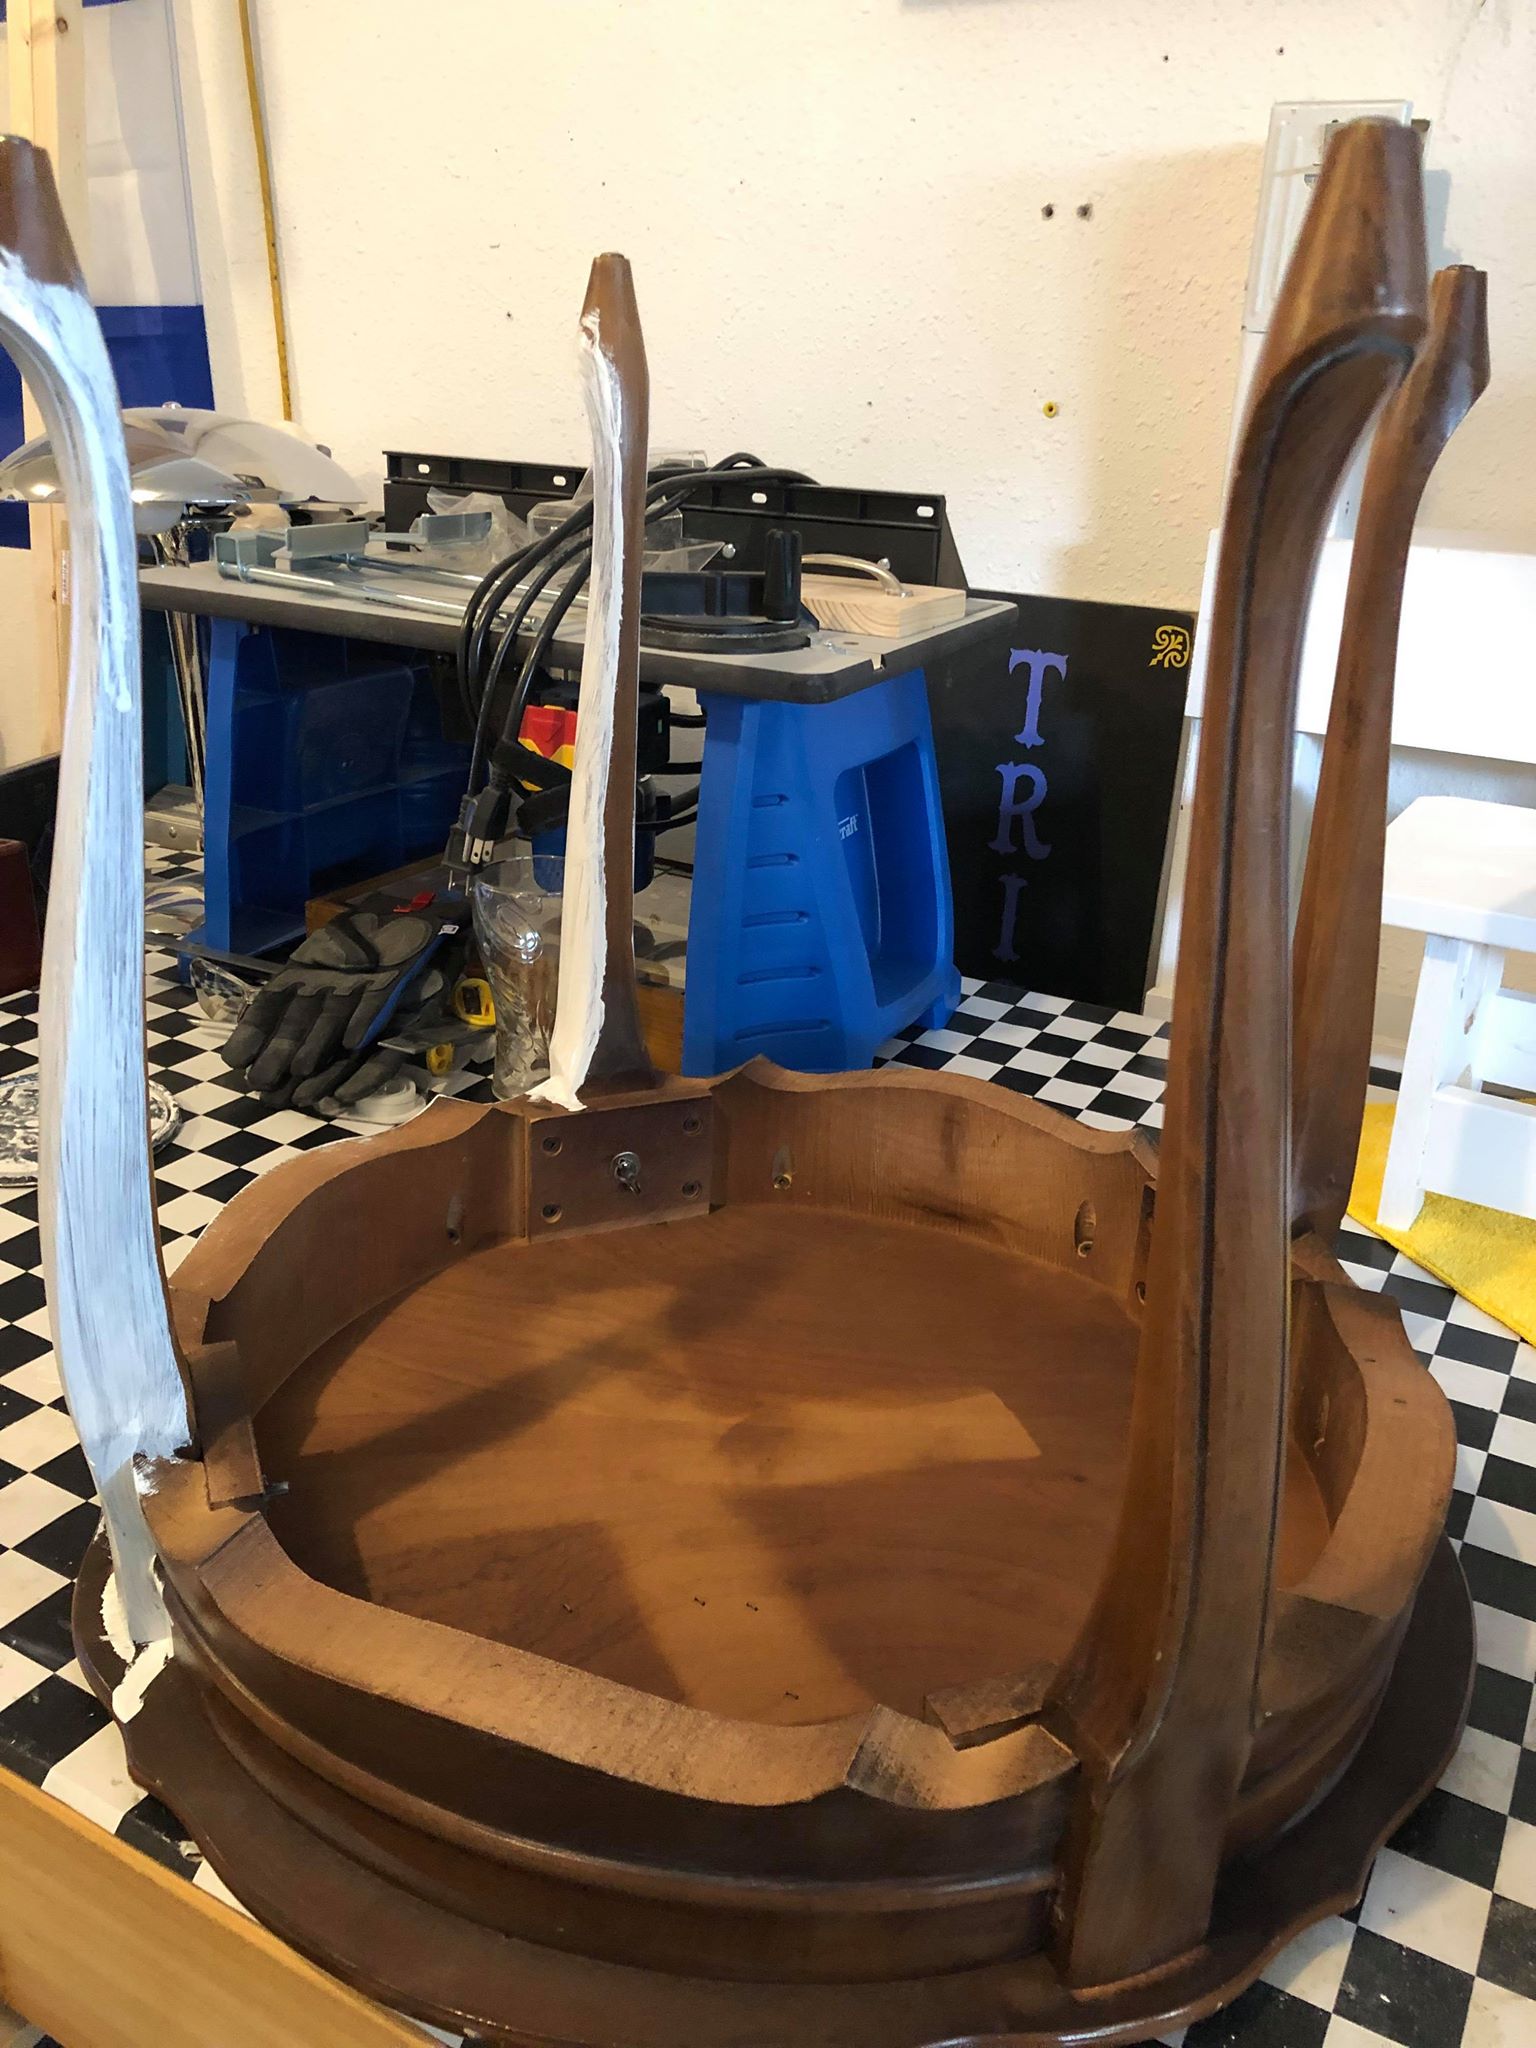
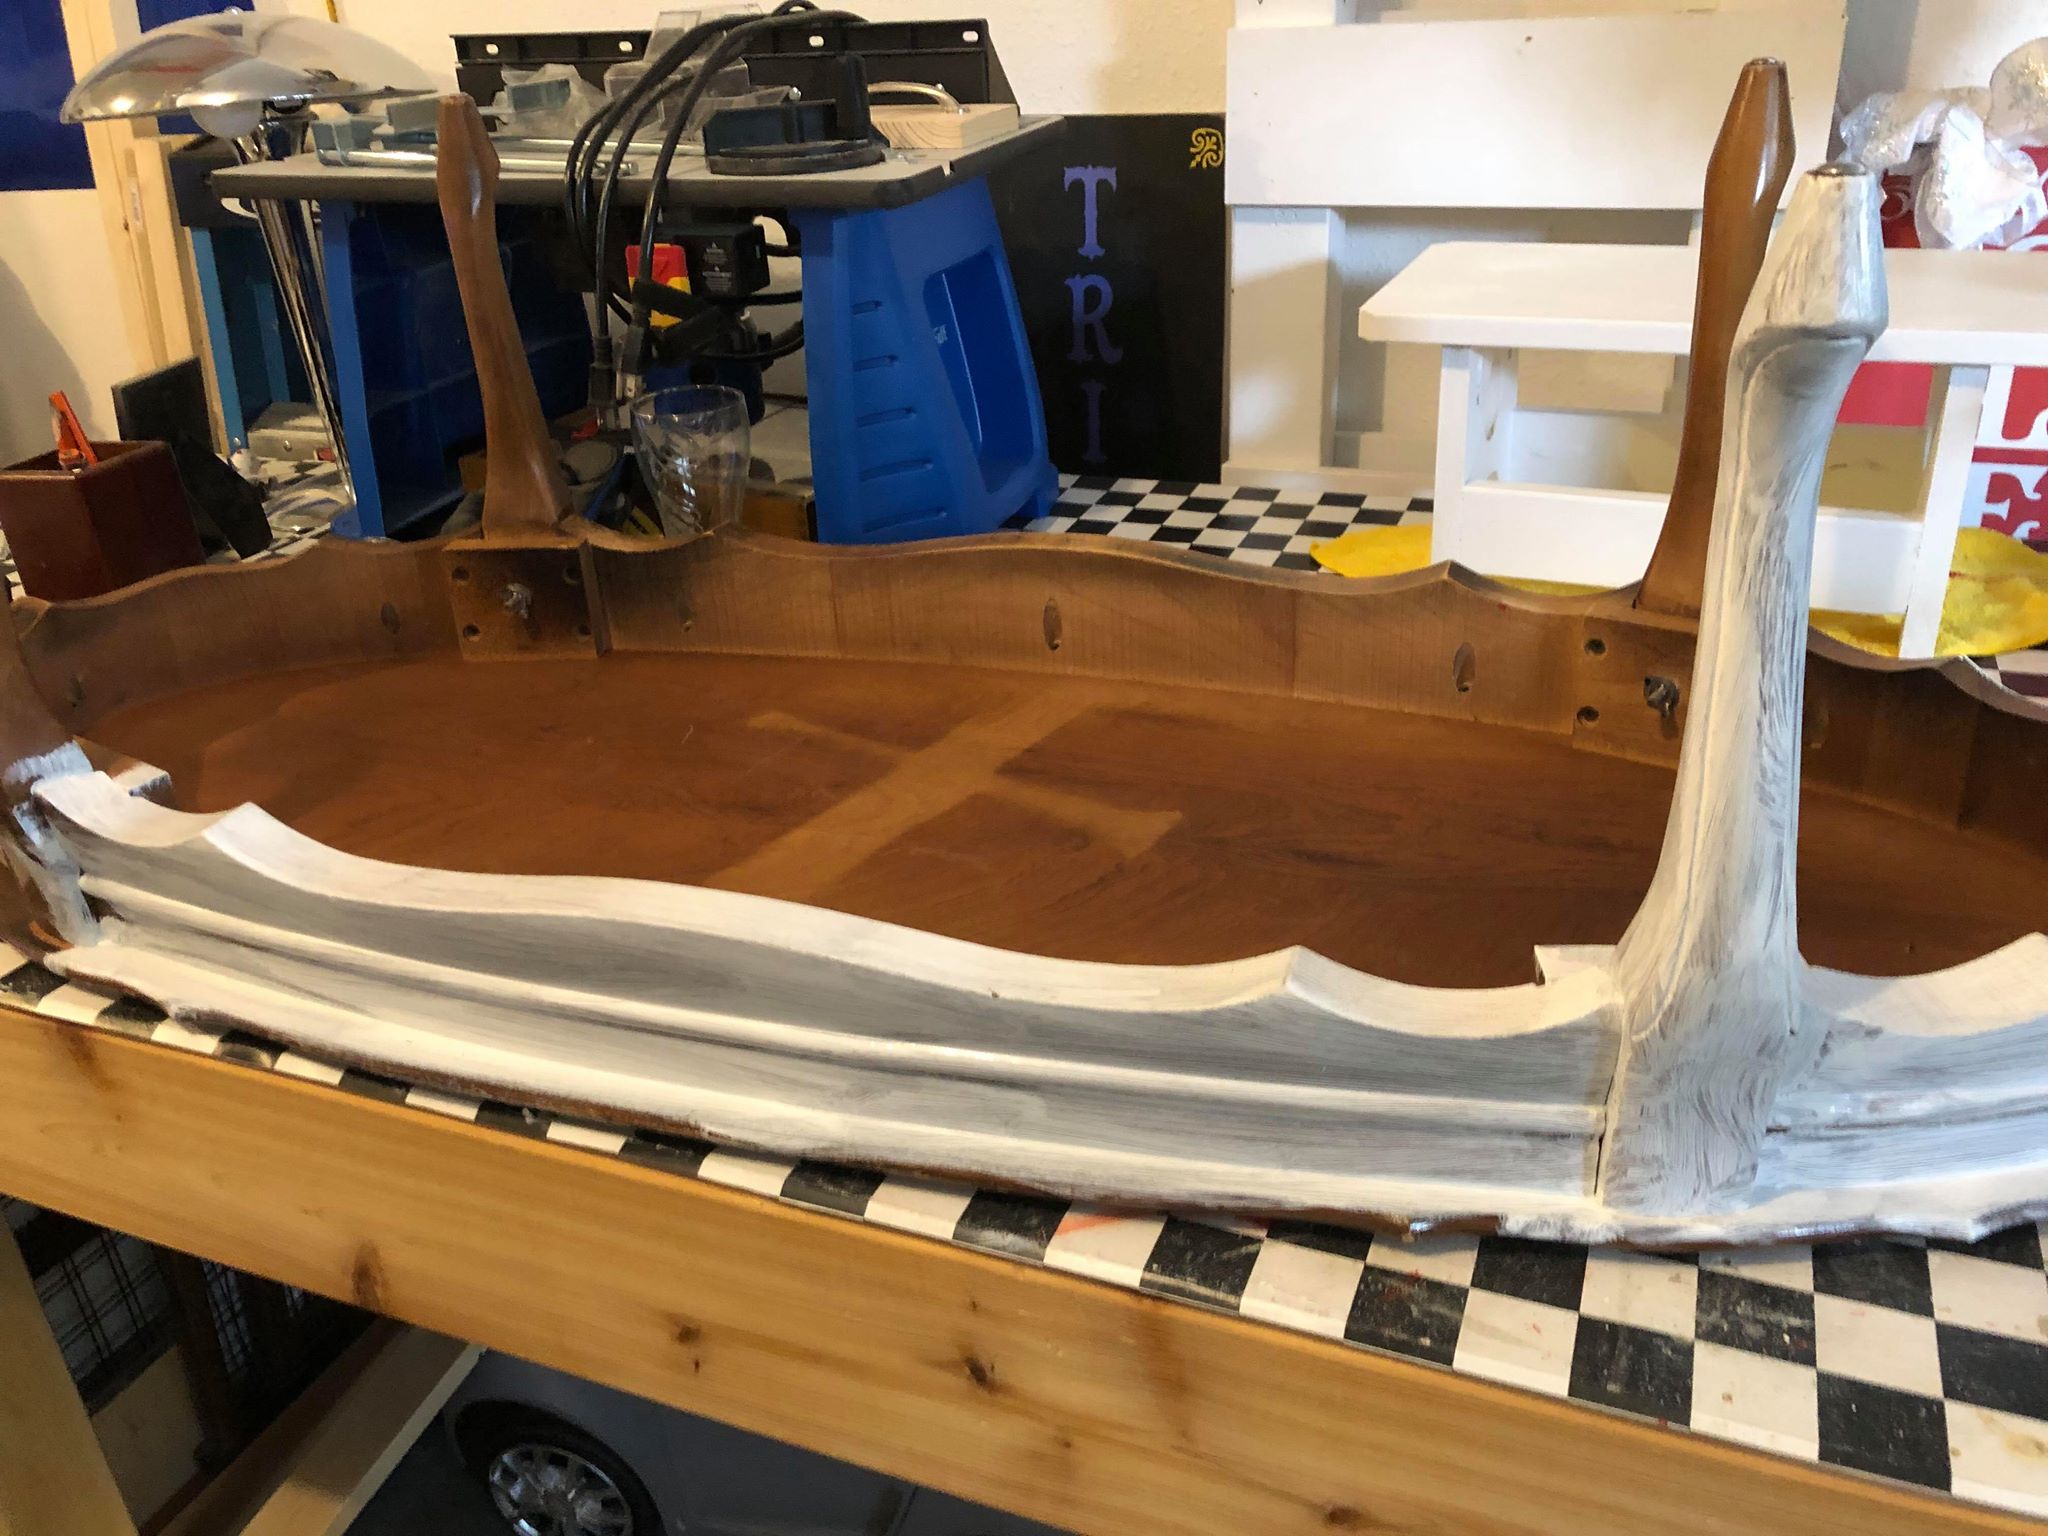
Be sure to let your primer completely dry before painting, ideally 12 hours or so.
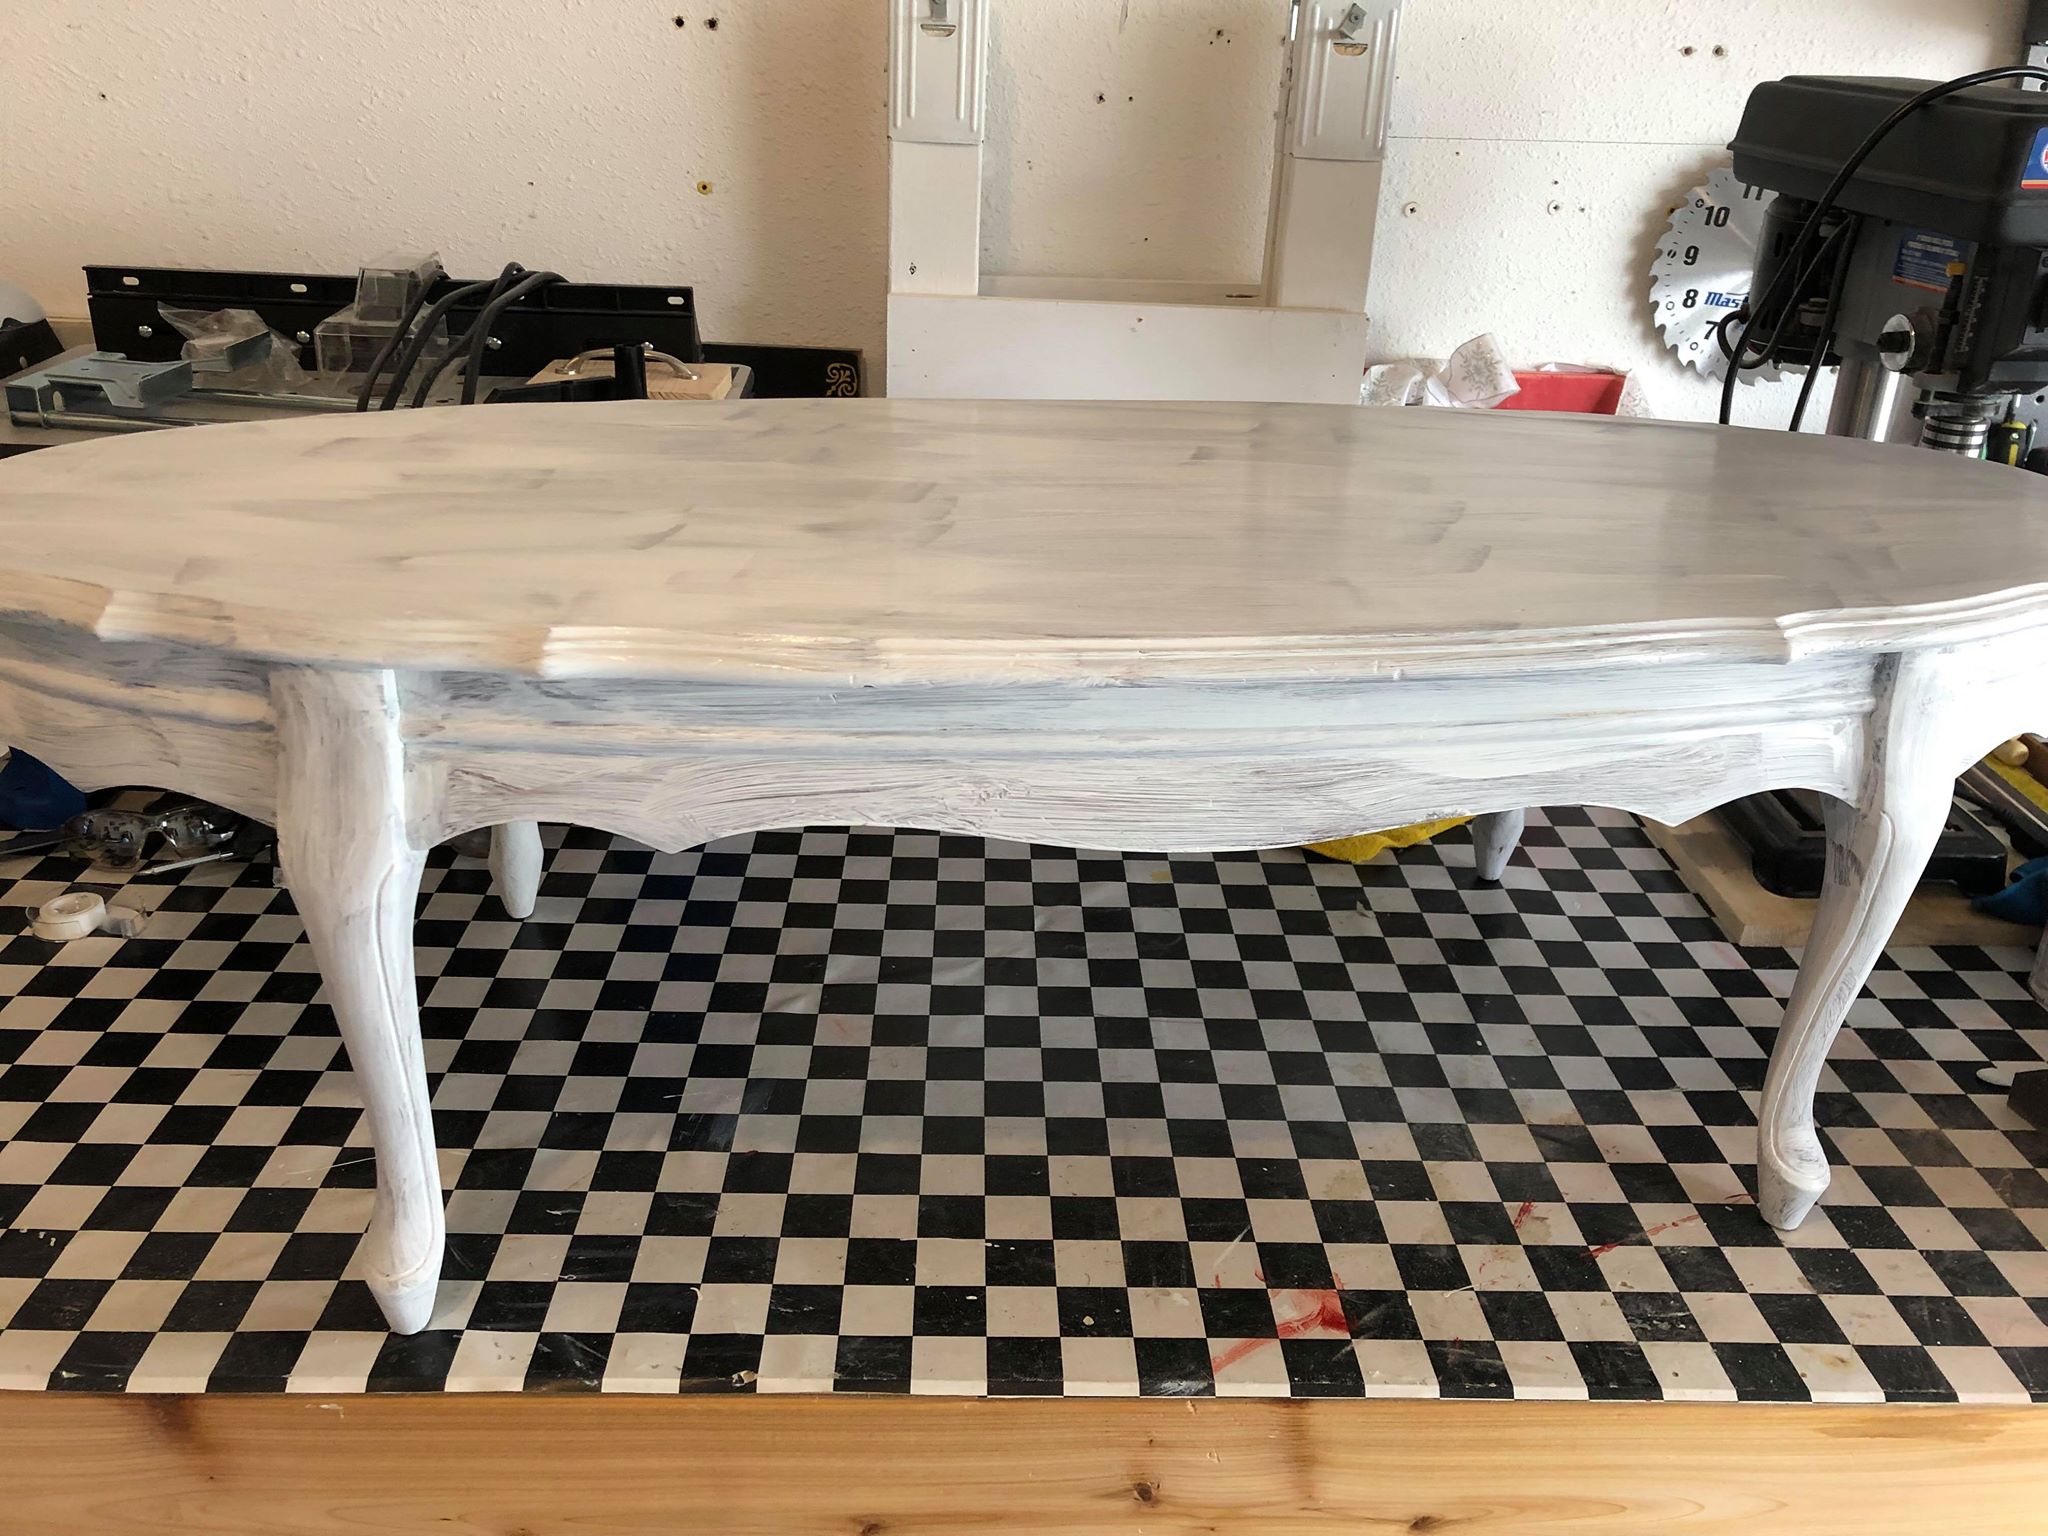
4th Step – Painting
- After the primer coat is dry, you can commence with your Rustoleum Chalked paint.
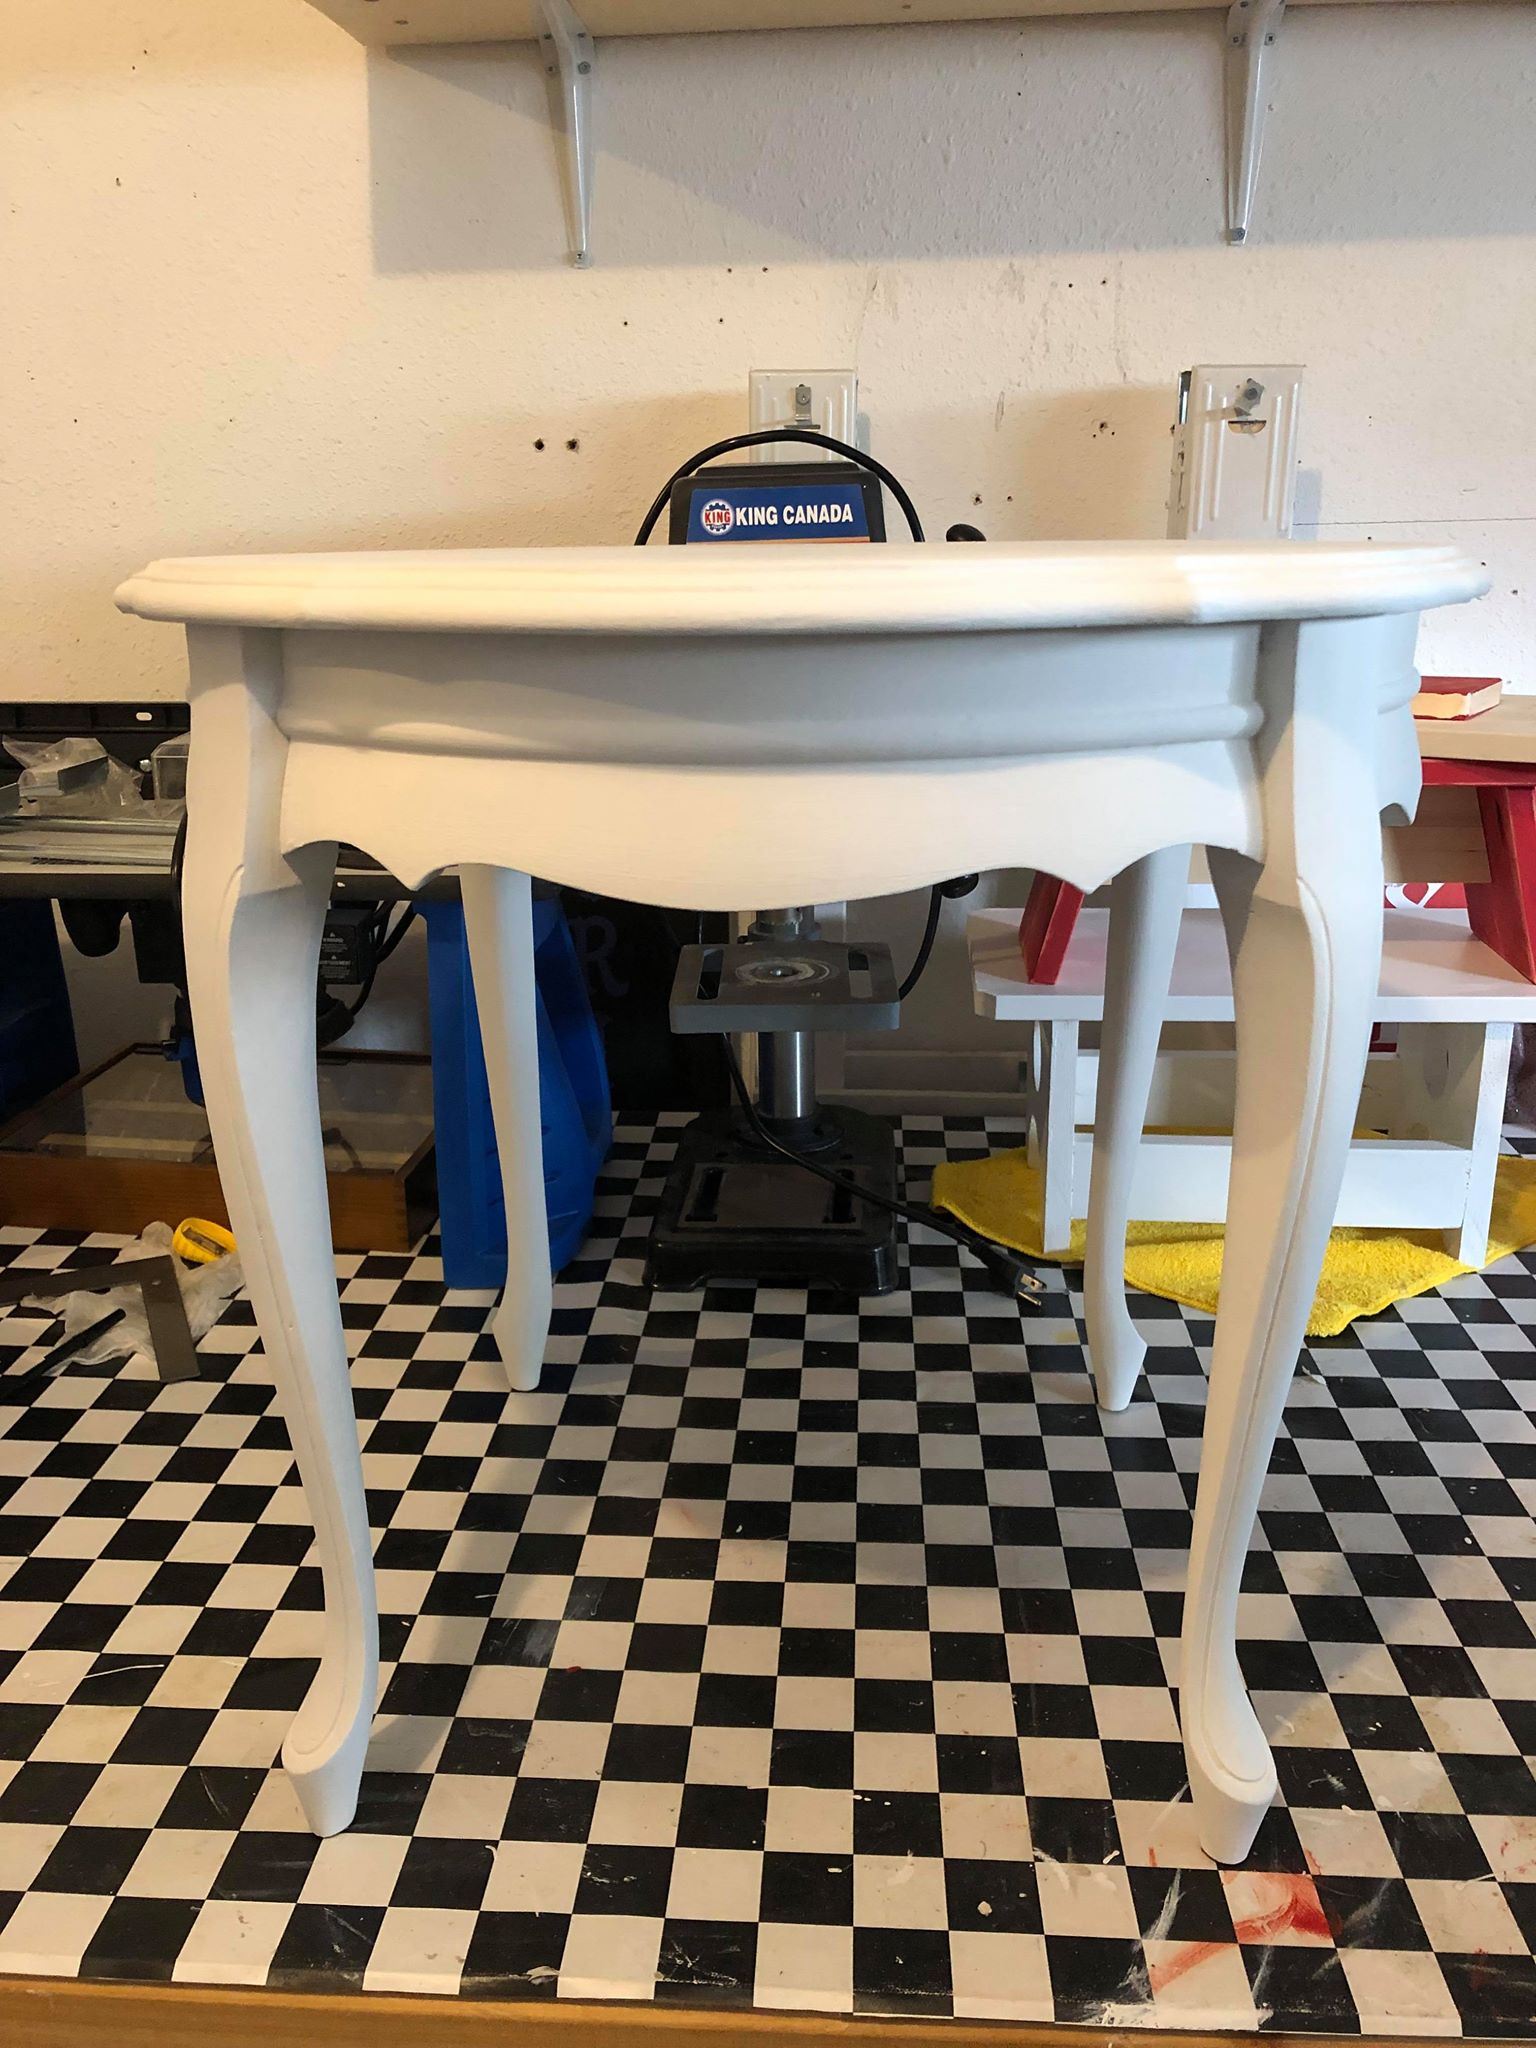
- Same technique as primer. Start with the legs and work your way to the top of the table. Be sure to wait for each coat to dry and continue painting until you have the coverage you desire.
- Chalk paint has excellent coverage capabilities. That is what is so great about chalk paint is that it really usually only takes a couple of coats to finish up a project!
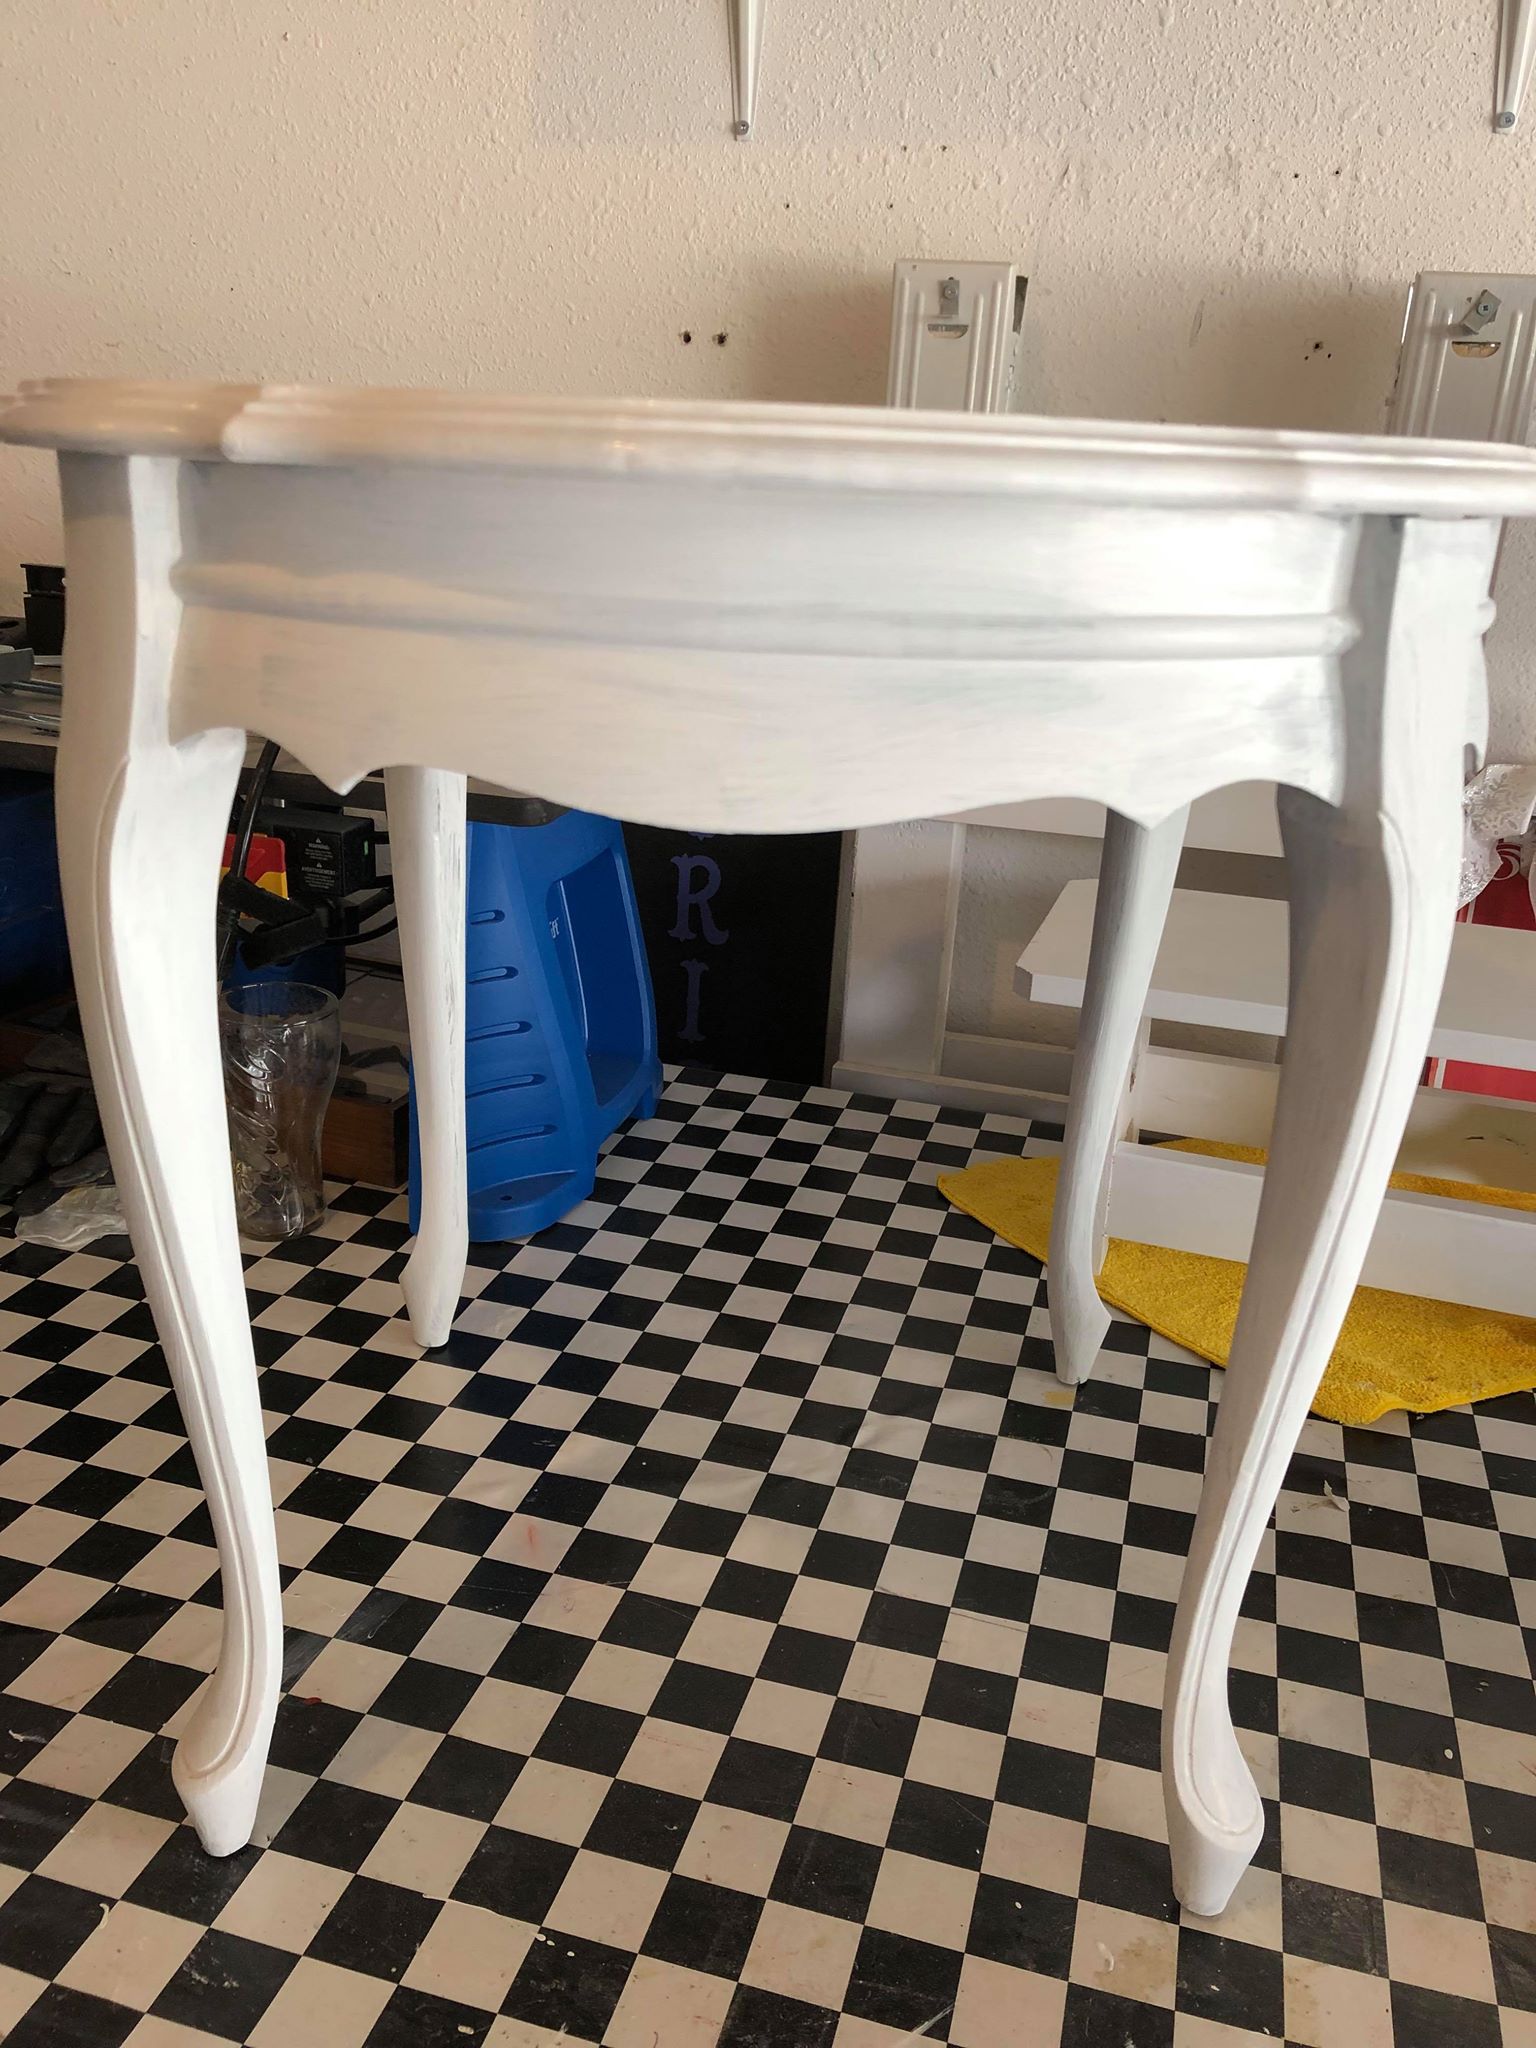
You will want to make sure to do at least 2-3 even coats, while waiting for each coat to dry entirely before proceeding to the next coat.
Chalk paint dries fairly quickly and that is one of the best things about chalk paint !
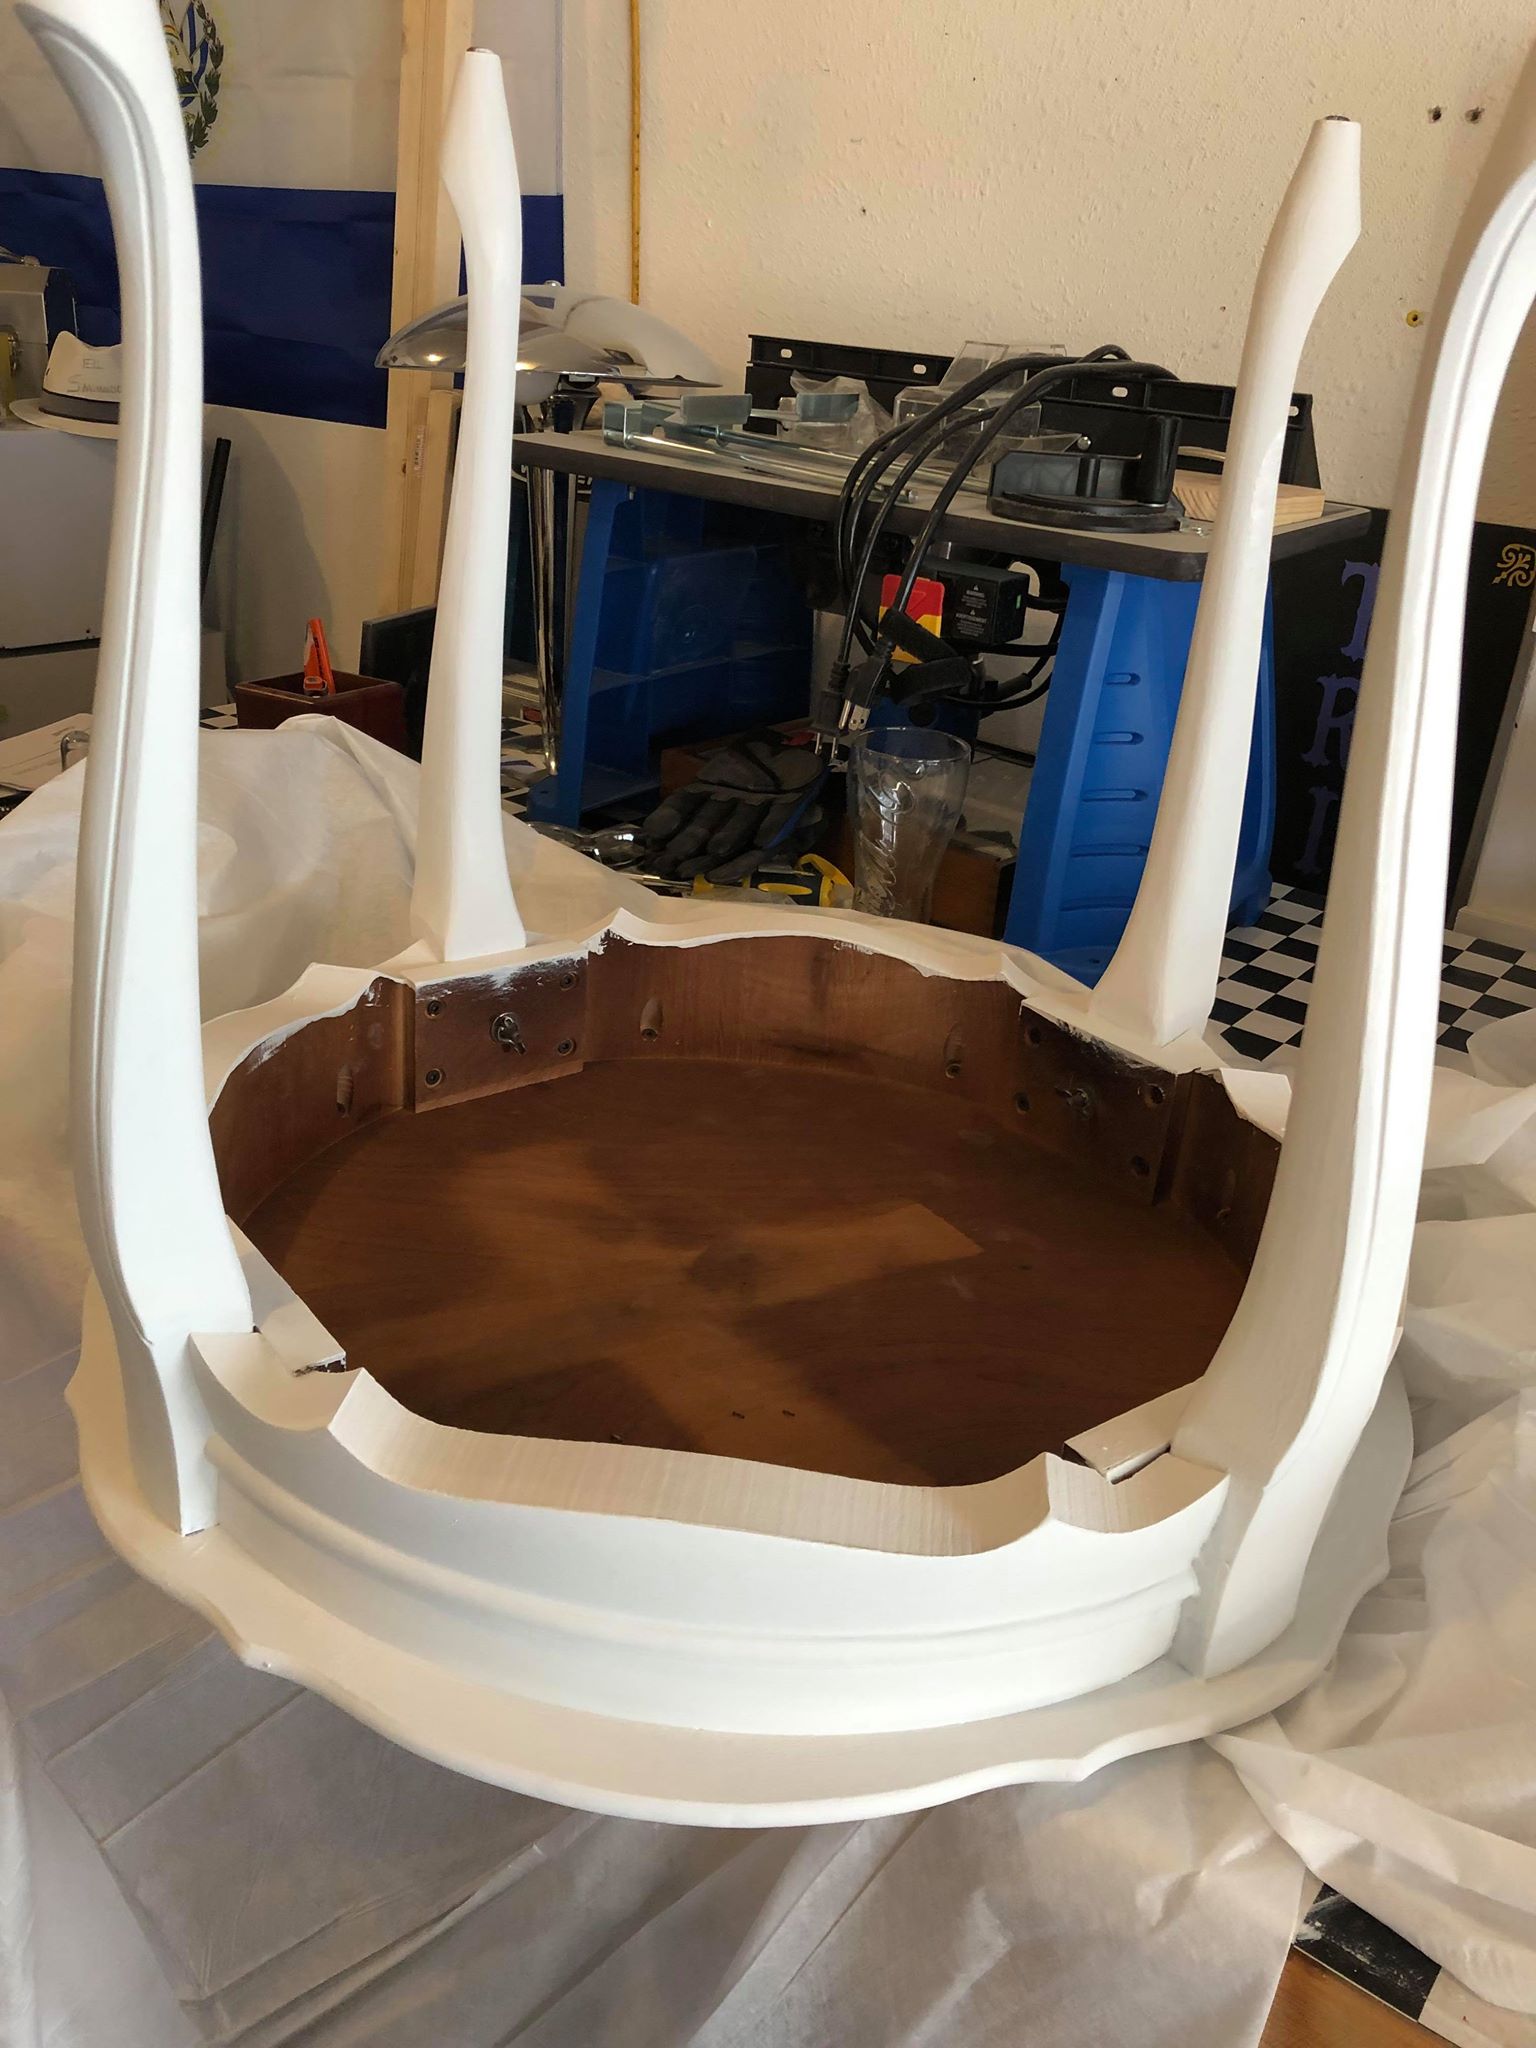
Progress
The 5th Step of Using Chalk Paint on Furniture
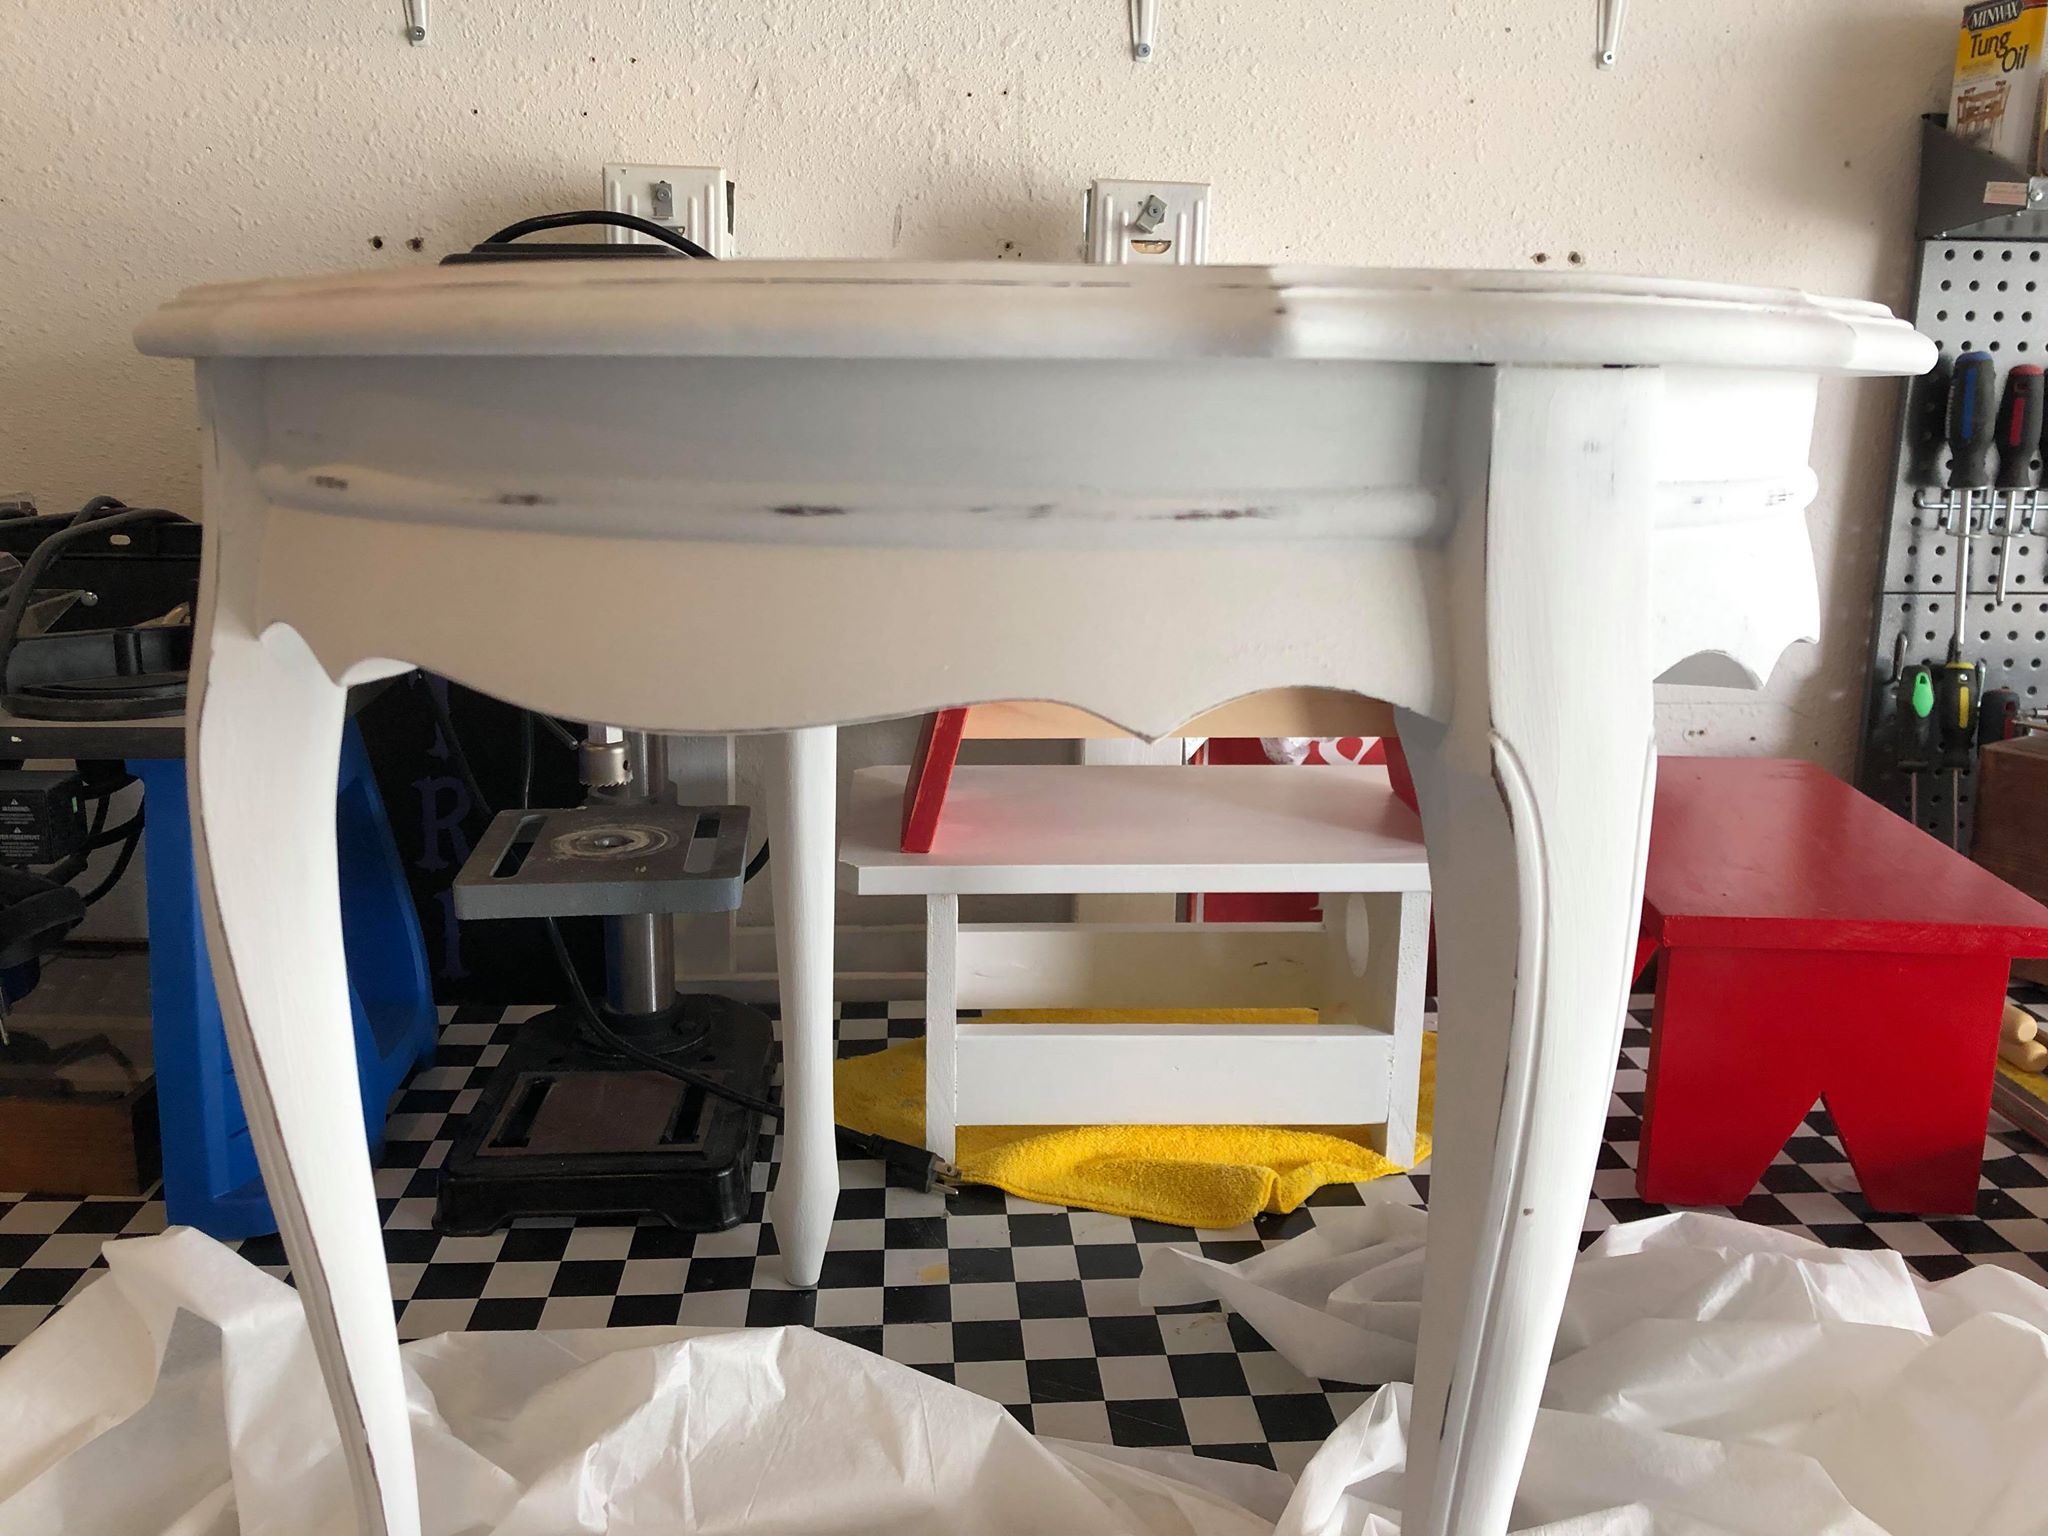
- In this step, you will need to decide if you would like to lightly distress your piece of furniture.
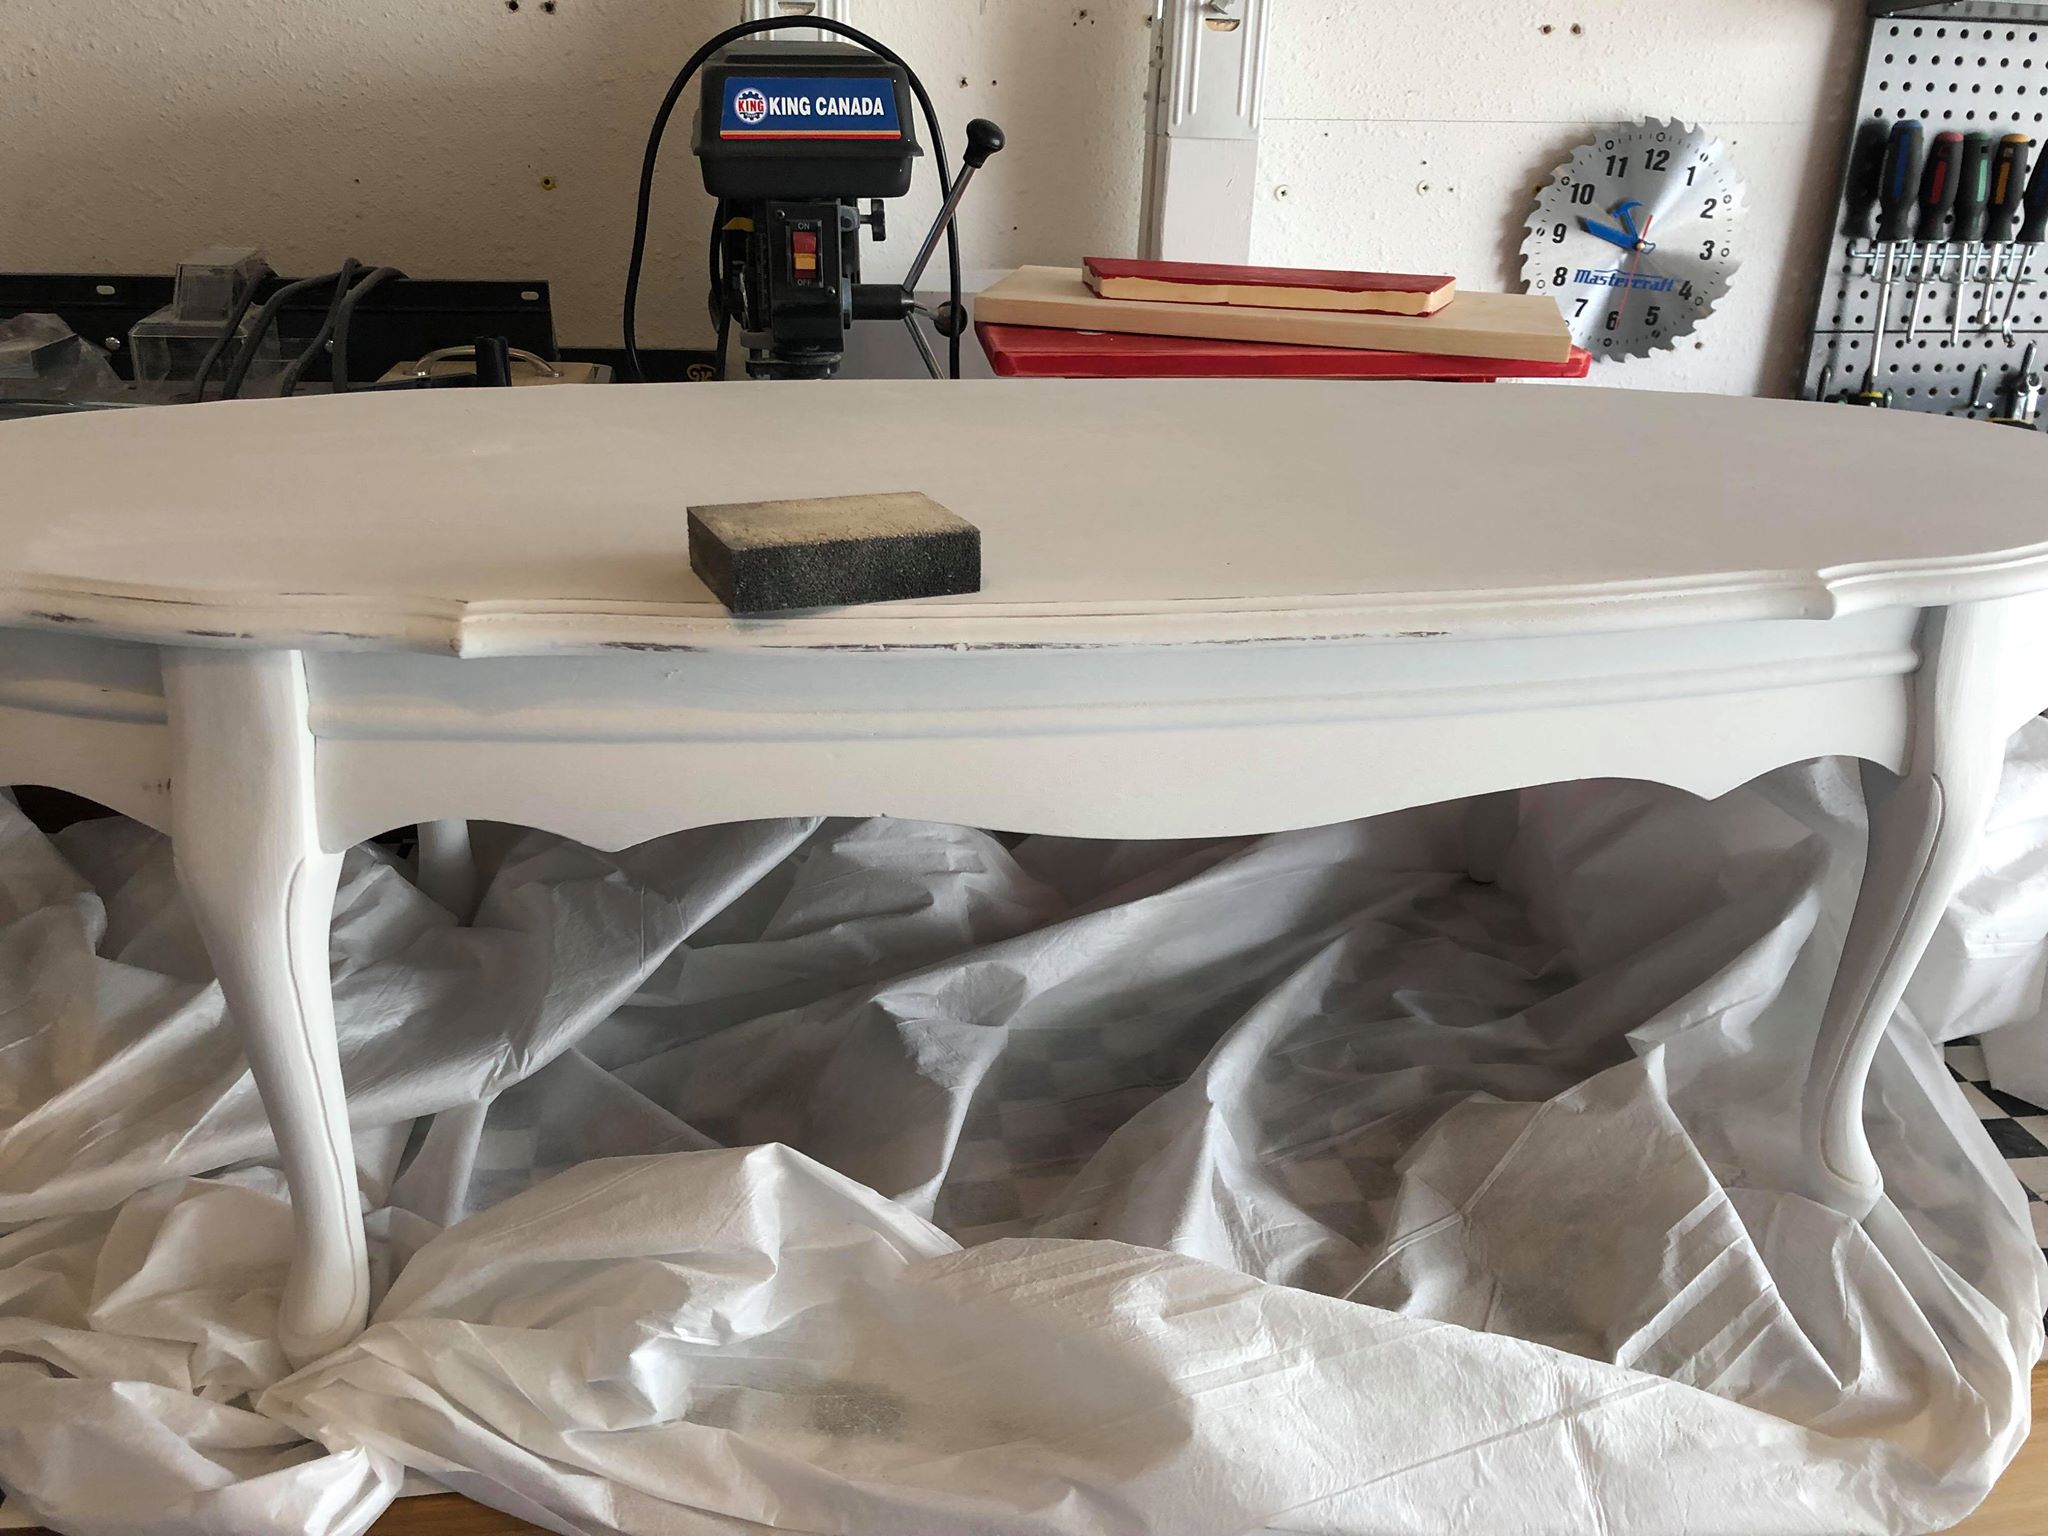
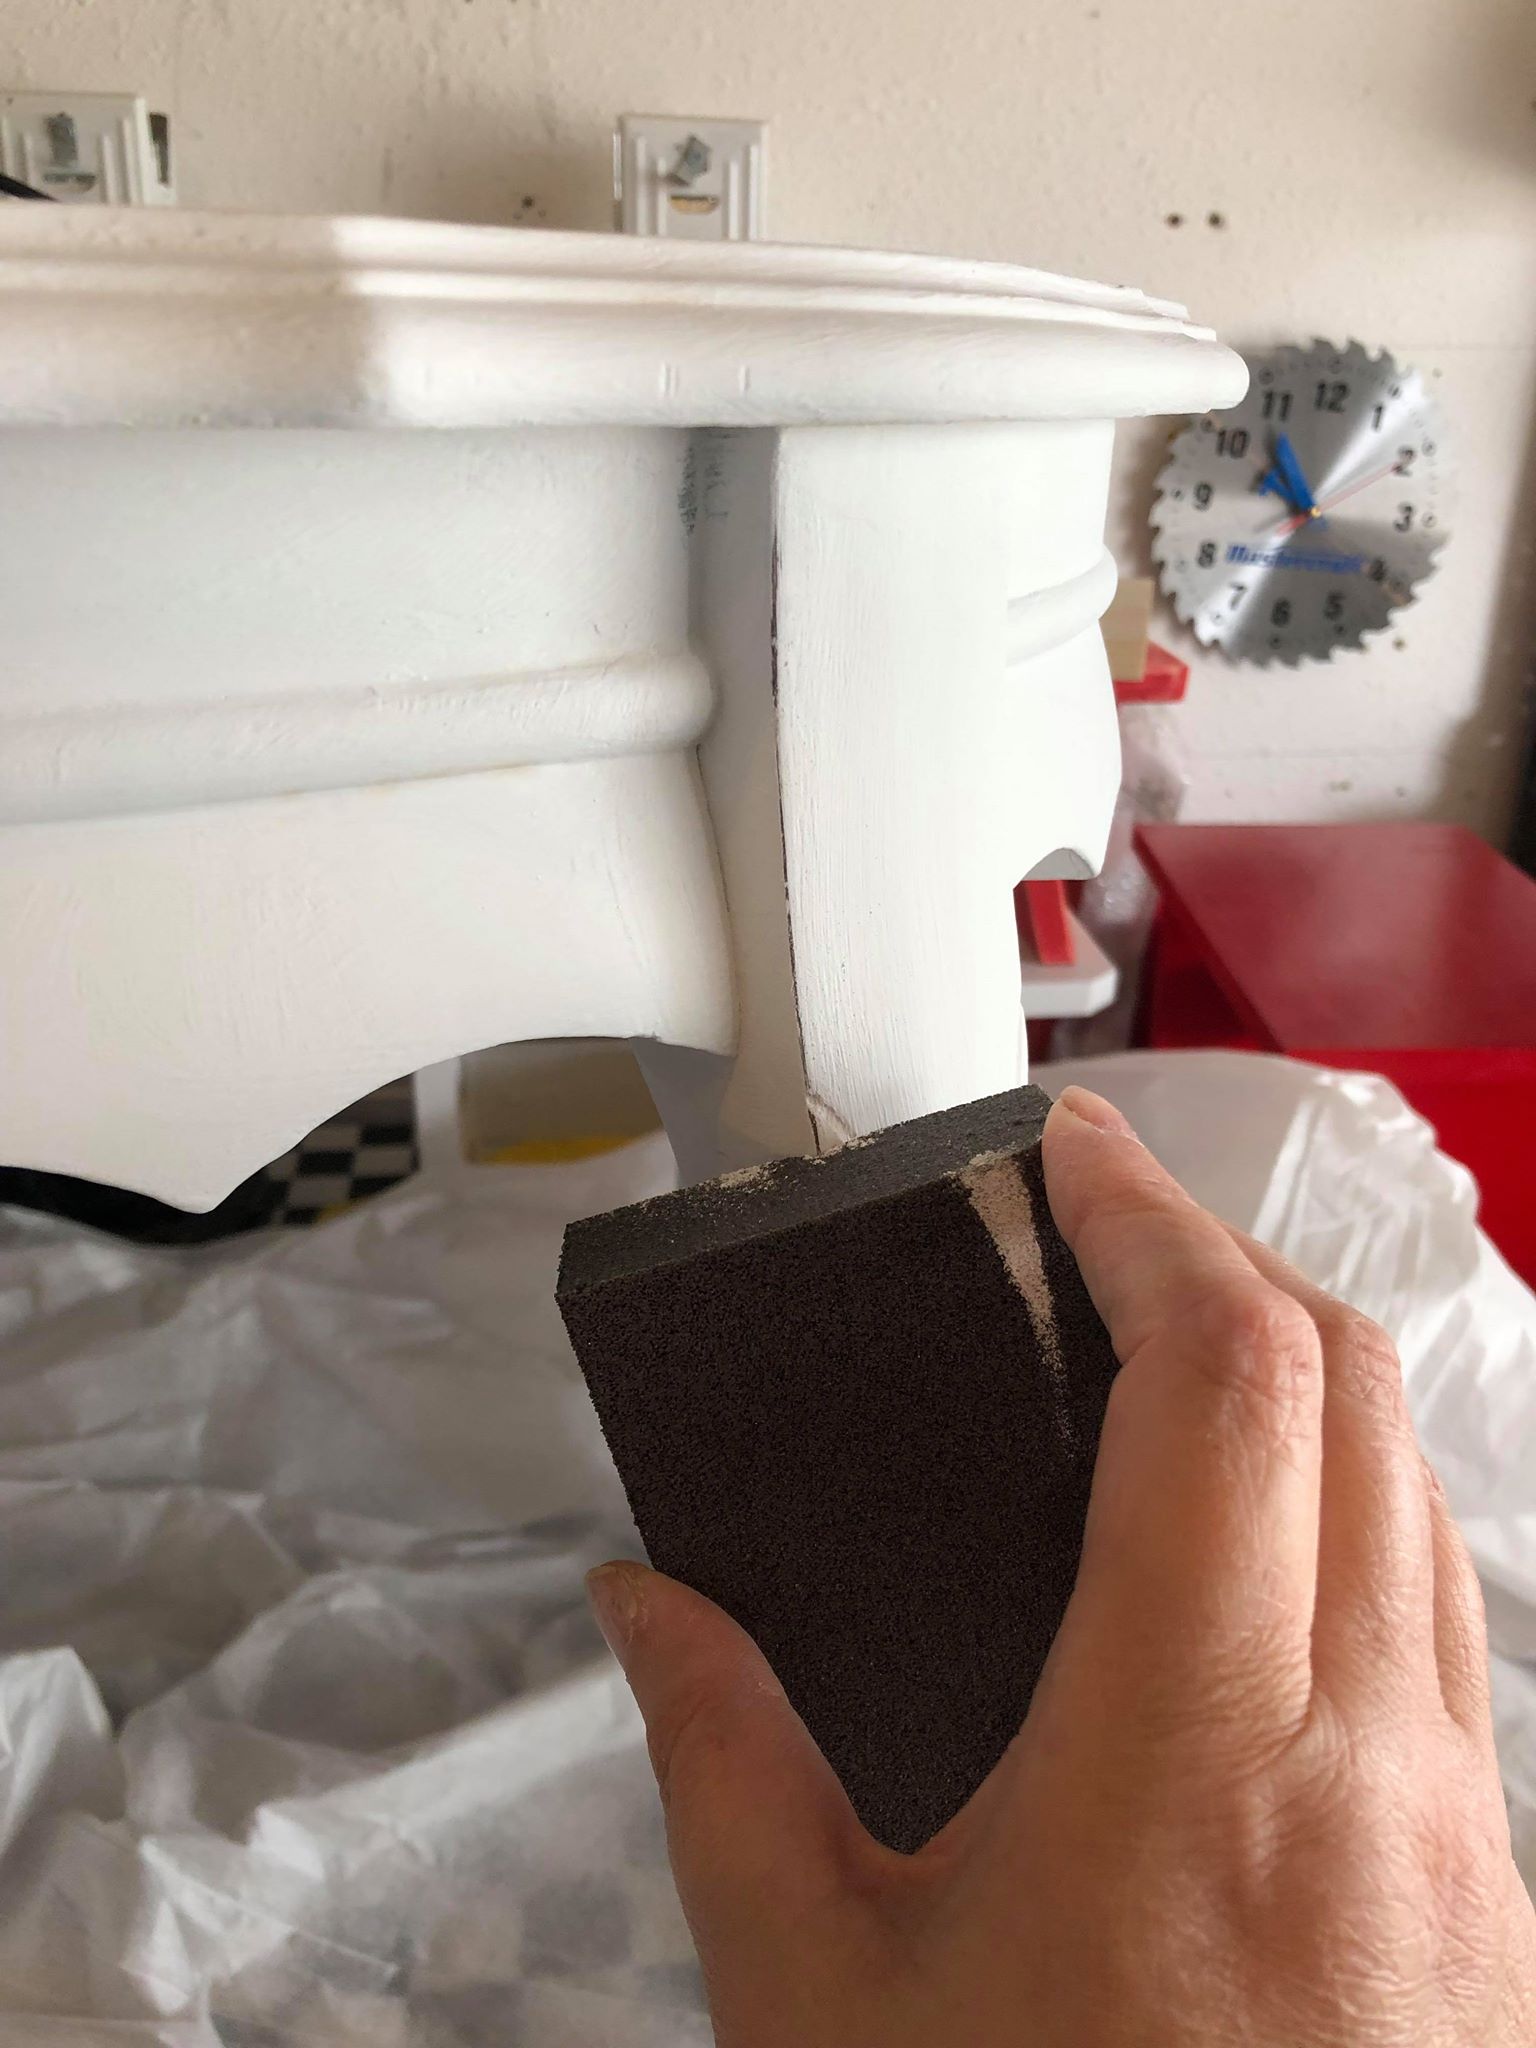
- The look I was going for was a slightly worn rustic/farmhouse look so I went ahead and lightly distressed it with my 220 grit sanding sponge.
- You can grab the sanding block you used on the first step to lightly distress your project. I always recommend doing it lightly to start on the edges and if necessary, go back and lightly sand more.
- You do not want to go crazy with this step as its a lot of work to repaint if you sanded off too much paint!
Distressing
6th Step to Using Chalk Paint on Furniture
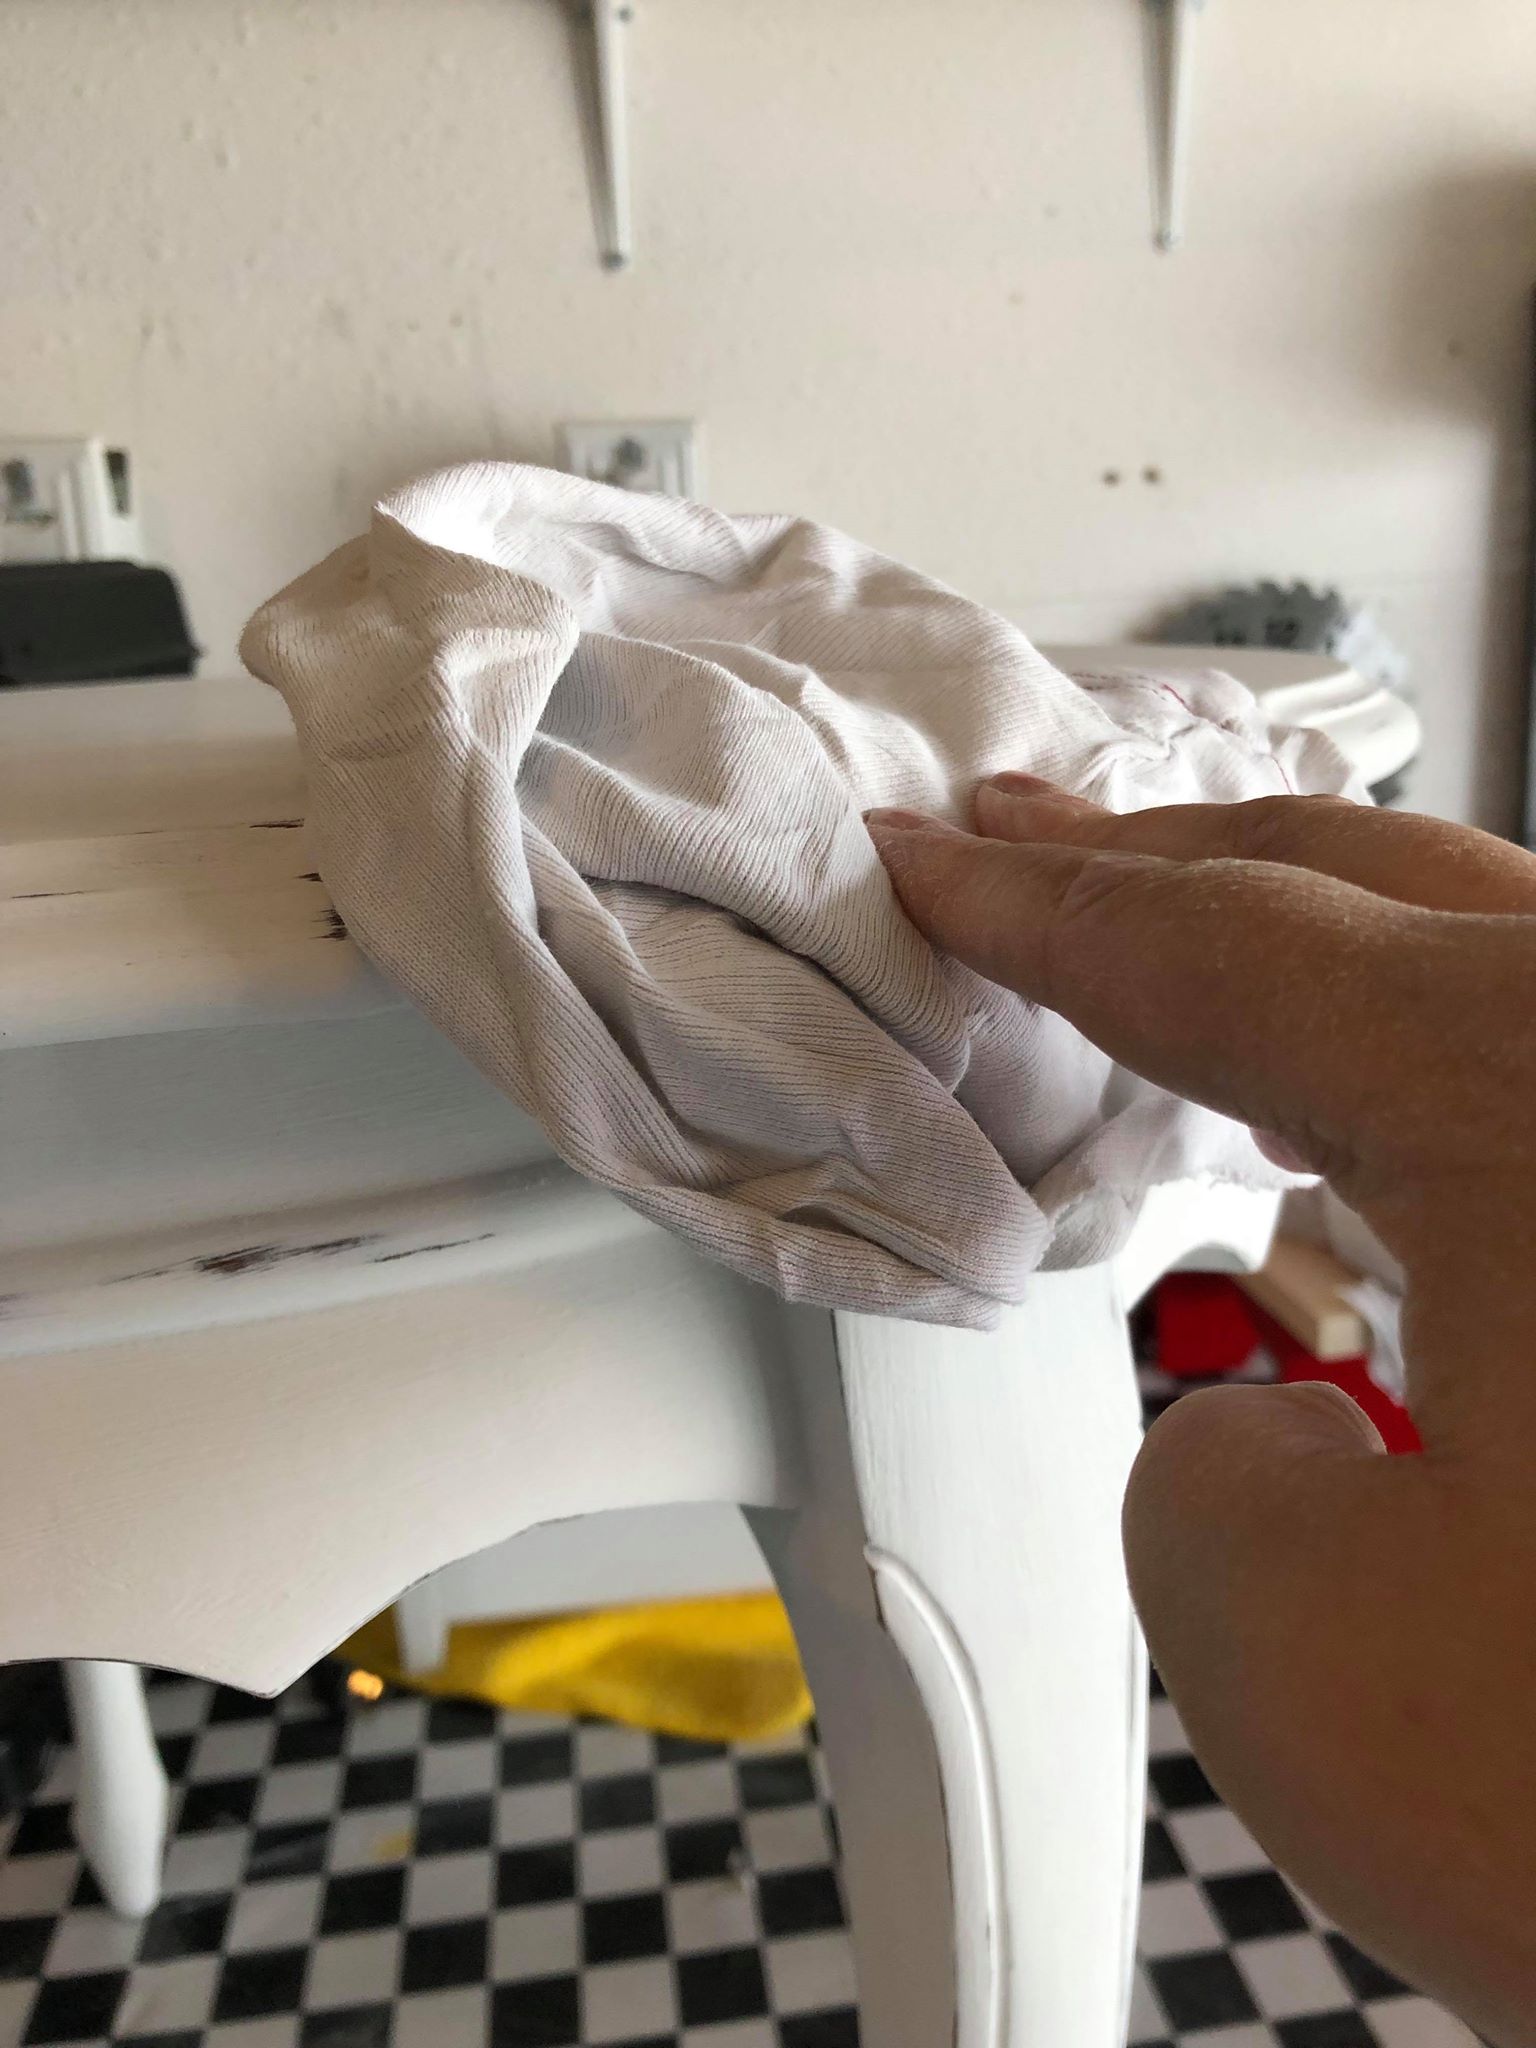
After sanding there will be a lot of dust.
At this point, you will want to grab a damp rag and wipe all of the dust off of your project, be sure to do this step well, get into the cracks and details of your project.
Final Step
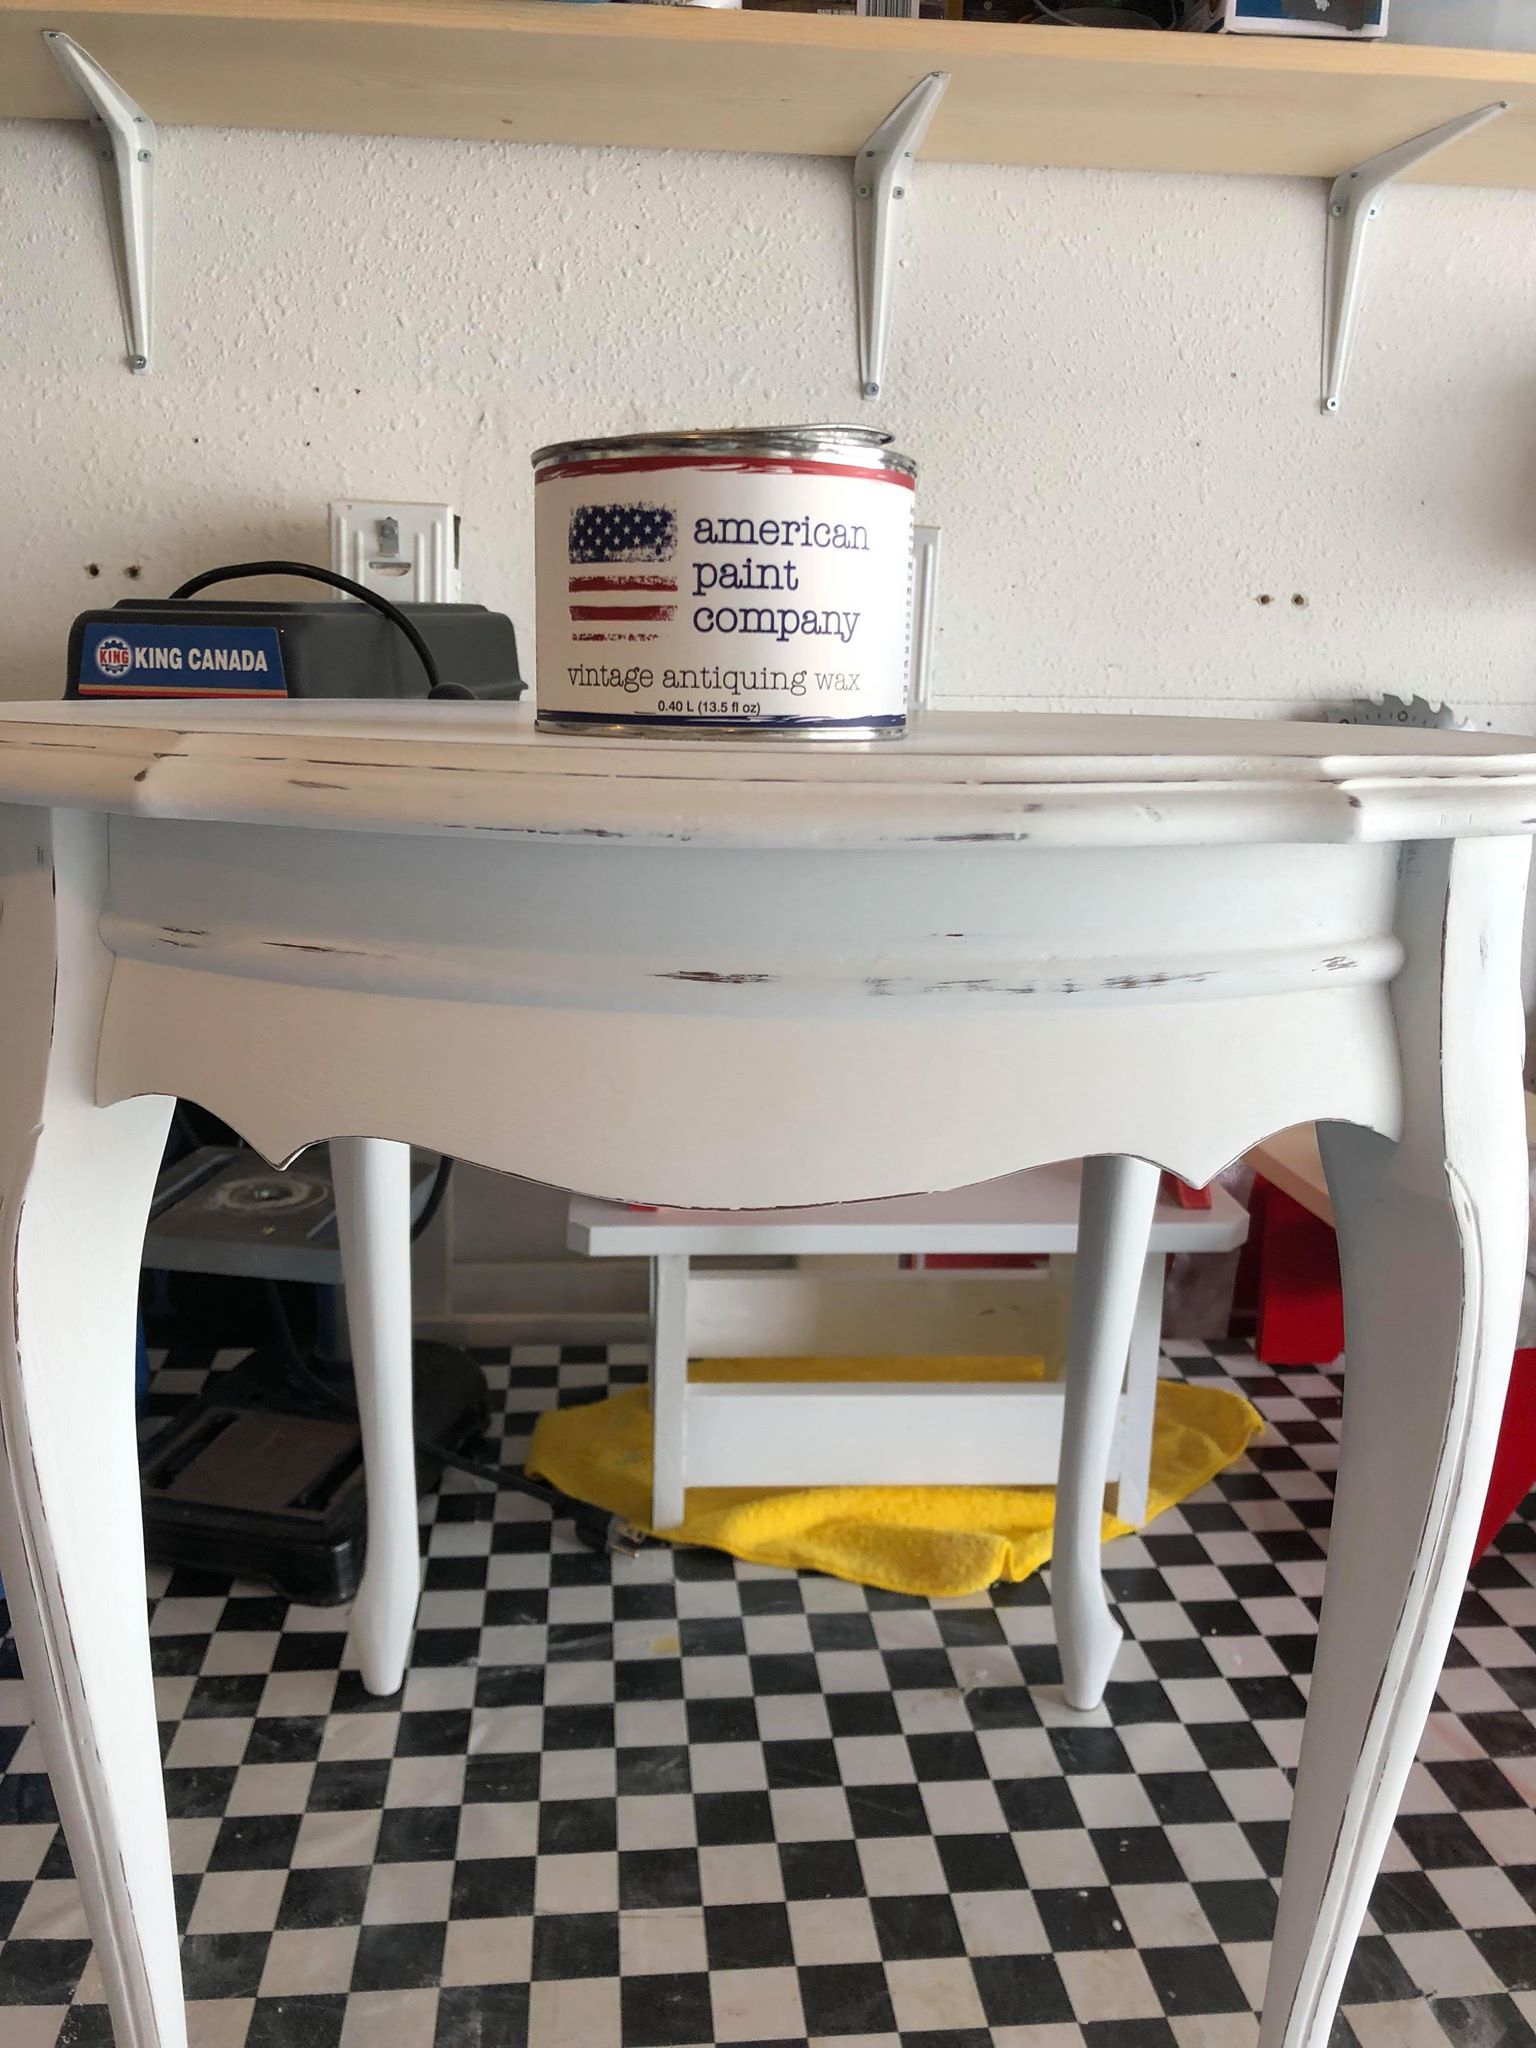
- The final step involves using some sort of wax to seal your project.
- This is an important step to take. Waxing and sealing your project is important to protect the finish. Particularly if the tables will be having to withstand wear and tear.
- Furniture waxes will need to be applied again from time to time.
This step is very simple. You do not need to use a specific brand of wax.
It is not needed to use the same brand of paint with the same brand of wax. I have used all kinds of brands of paints and waxes over the years.
I am recommending this wax and it will work just fine. I used the wax that I had on at hand at the time of writing this post.
Wax Application
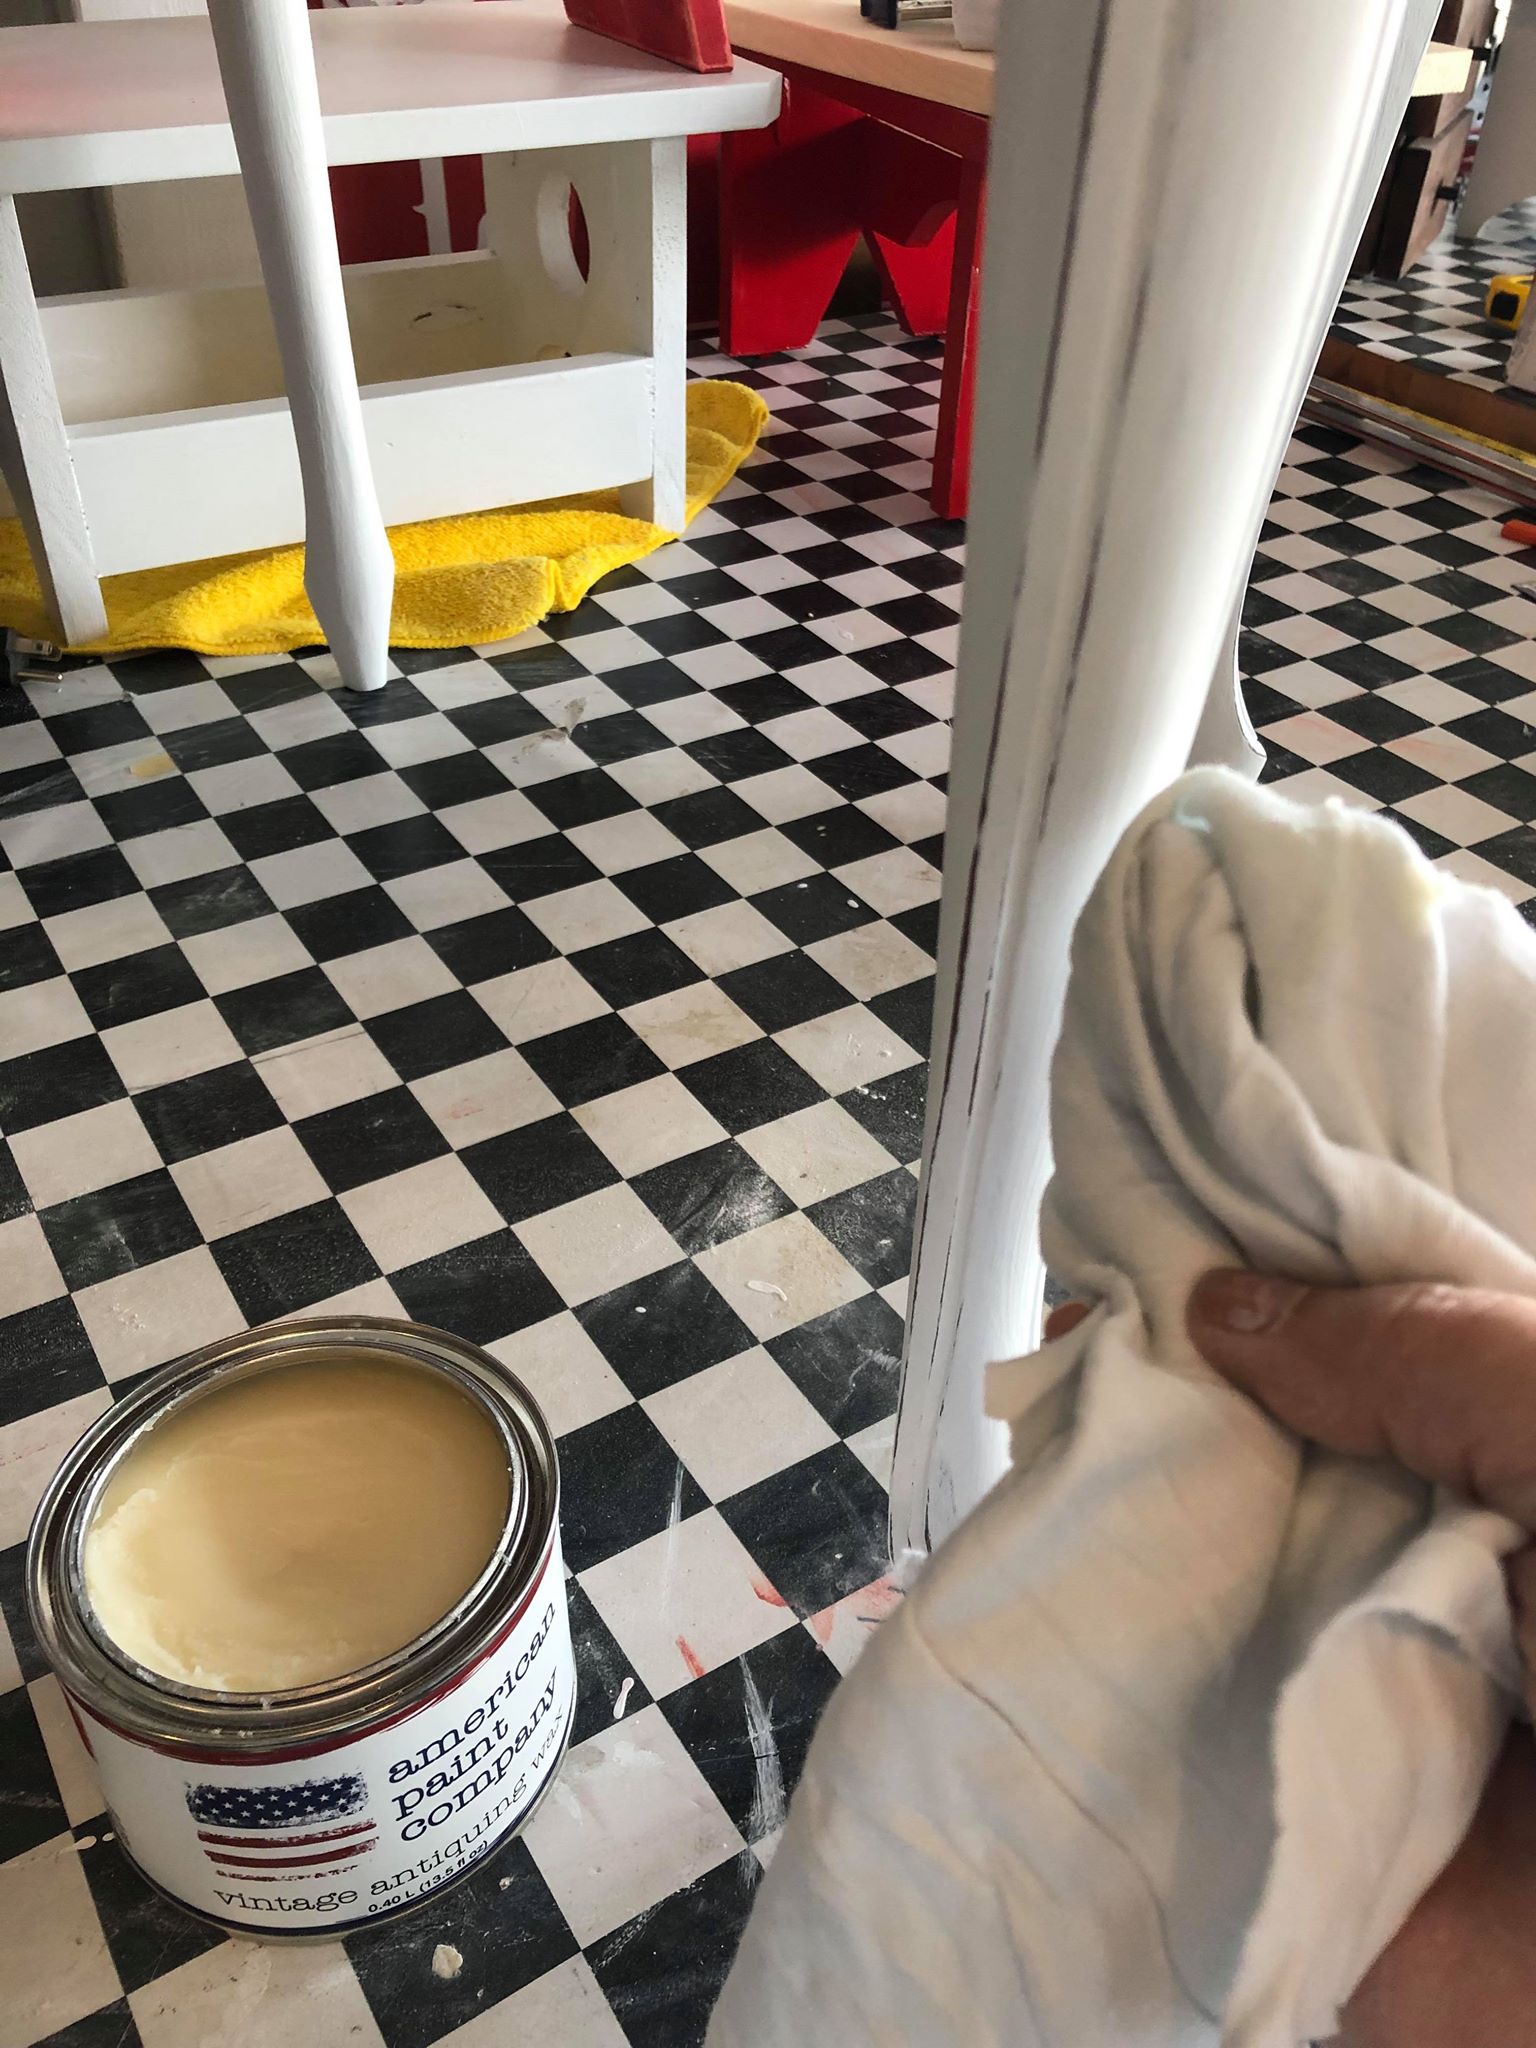
- In terms of application, you will need is a dry rag and a small amount of your creme wax on your rag.
- Just be sure to have enough on your rag to cover your project thoroughly, but not too much so that you leave globs of wax on your project (otherwise it can yellow in spots you have too much wax on).
- Smooth it into all the lines and details as best you can.
- Then take a dry rag and buff over the wax to be sure the entire project is coated well and there are no streaks or pockets of wax left on your project.
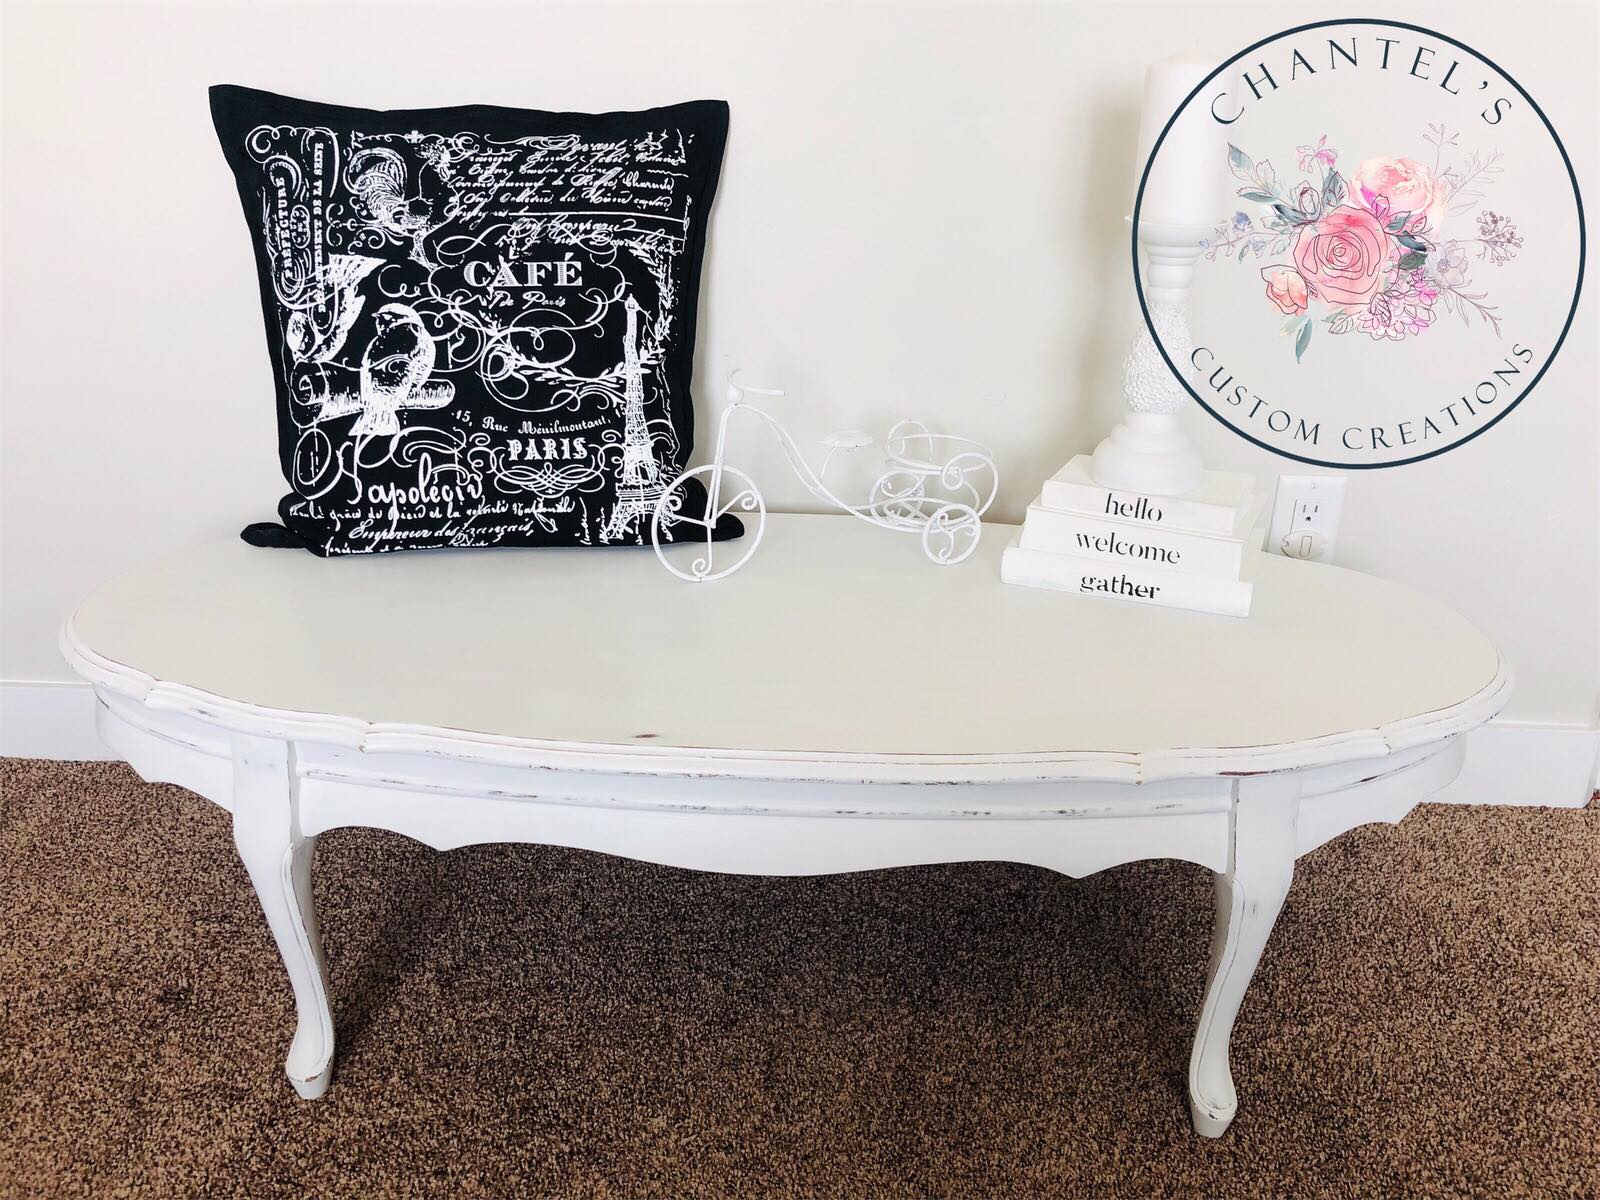
AFTER/Coffee Table:
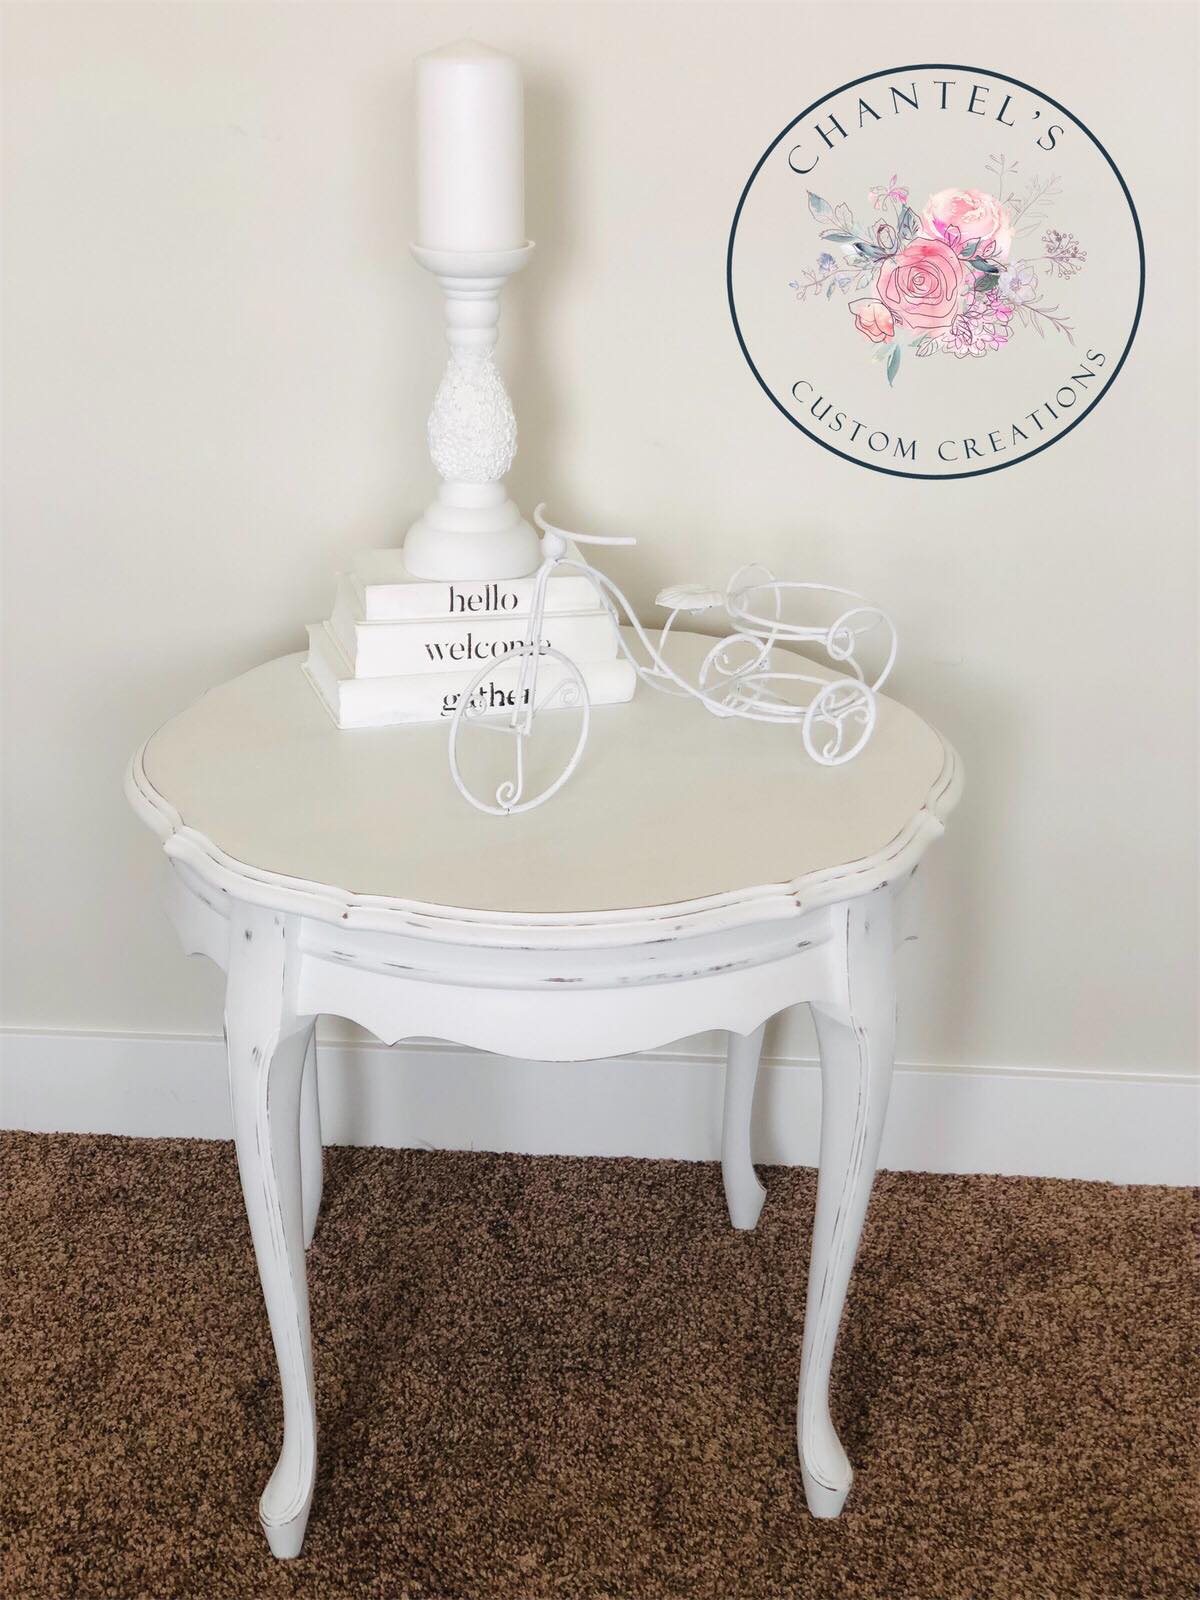
Voila! You have successfully completed your project. Just be sure to let your furniture dry completely before putting anything on top of the surface, ideally overnight.
AFTER/End Table:
I am so very excited to hear about your painted chalk painted furniture pieces! I have another blog post you may be interested in that is for beginner furniture painters HERE!
Please leave me a comment about how your project went and even better, a photo! I would love to hear about how my tutorial was able to help you achieve your furniture painting goals!
Looking for more inspirational before and after makeovers?
- Vintage Vanity Makeover with Chalk Paint
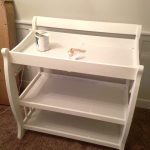
- Painting a Baby Changing Table Reveal
- Nursery Dresser Painted with Chalk Paint
- Chalk Painted China Cabinet to TV Stand Makeover
- Can You Paint a Crib!




I love the end result of these – A great way to update and restyle older pieces. There’s been such a big shift recently to doing furniture makeovers, making use of items that were otherwise discarded and I am living for it!!!
Thank you Britt! Btw Britt is my middle name! Yes, I am living for it too!
ooh la la! I found it totally interesting when you mentioned that chalk paint can make our furniture look more antique. I’ve been thinking of refurbishing some of the items in my bedroom. I’ll refer to a professional regarding this matter so the final result will be satisfactory.
Hi, do you lightly sand between coats???
Sorry for the delay in responding, my site was down for a while. No, when you use chalk paint, its not necessary to sand in between coats so it makes for a much faster process!