Steps I Used to Makeover a Wood Beer Caddy
July is when my hubby’s birthday is and I wanted to surprise him with something personal for him that he could keep in his man cave!
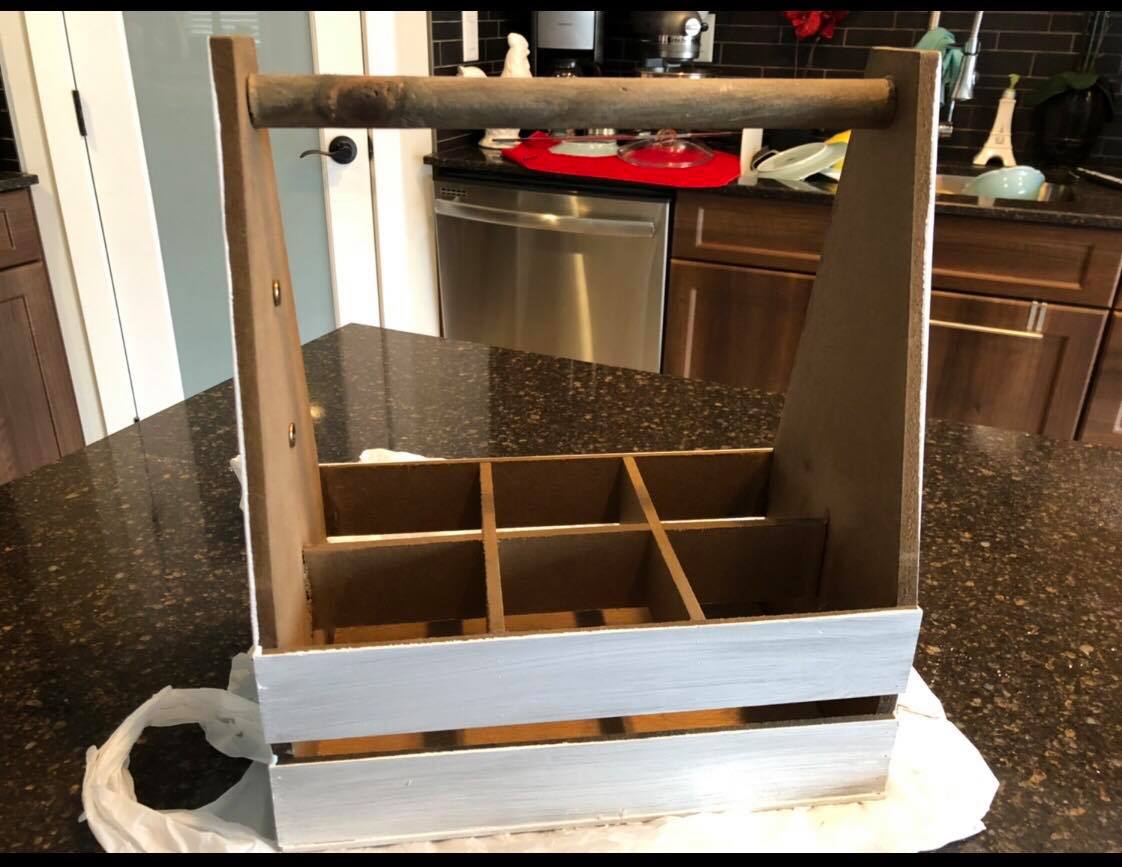
I saw this beer carrier on clearance at Michaels and thought I could paint it up and put his favorite beer logo on it.
I found this design on Etsy and downloaded it into my Cricut Design Space and just had to slightly adjust it to fit onto the wood beer caddy.
This post contains affiliate links. See full disclosure HERE.
Supply List:
- Rustoleum Chalked Paint, linen white
- Chalk Paint, black
- Oramask 813 Stencil Film
- Transfer Tape
- 3M super fine 400 grit
- 220 grit sanding sponge for distressing
- Cricut Cutting Machine
- Craft Paintbrush
- Exacto Knife
Step 1
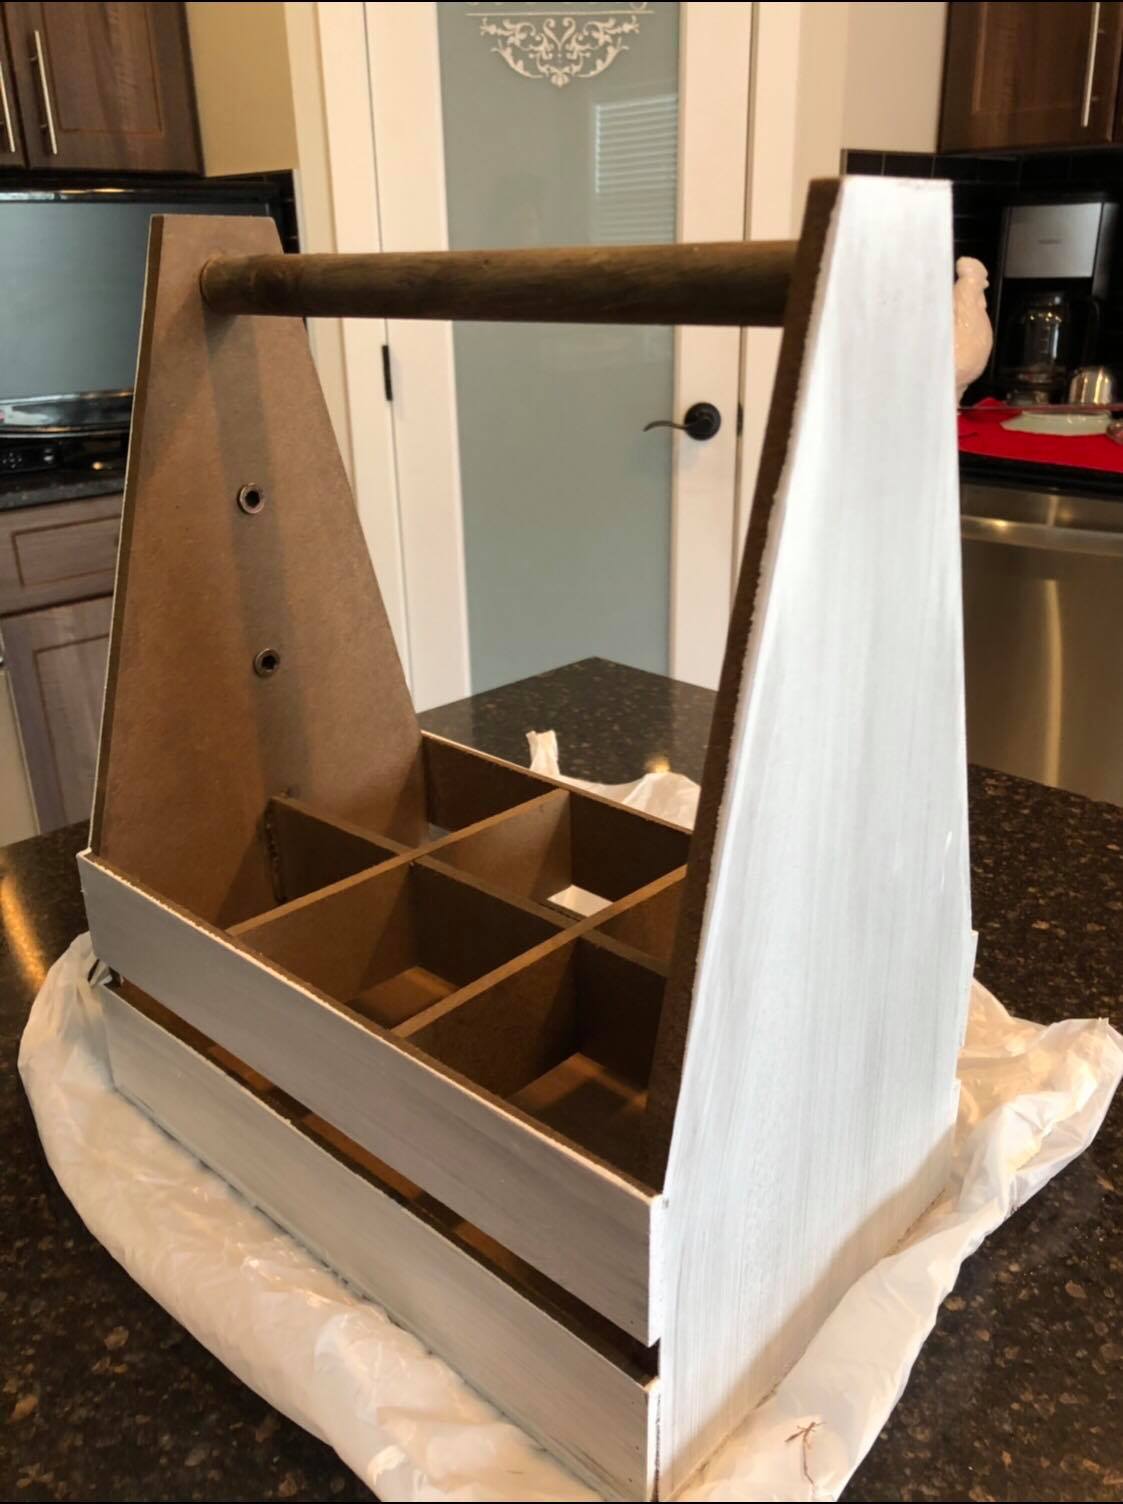
I painted out the beer caddy in white chalk paint and I let it dry in between coats, especially if you plan on doing more than one coat.
I decided I wanted a rustic look so I wasn’t too concerned with many coats.
One of the reasons I love chalk paint so much is that it dries very quickly between coats and it has great coverage!
I wanted to have a distressed look by the time I was done with this makeover, so I just quickly painted on a couple of coats, no need to worry about making it perfect for this beer caddy makeover.
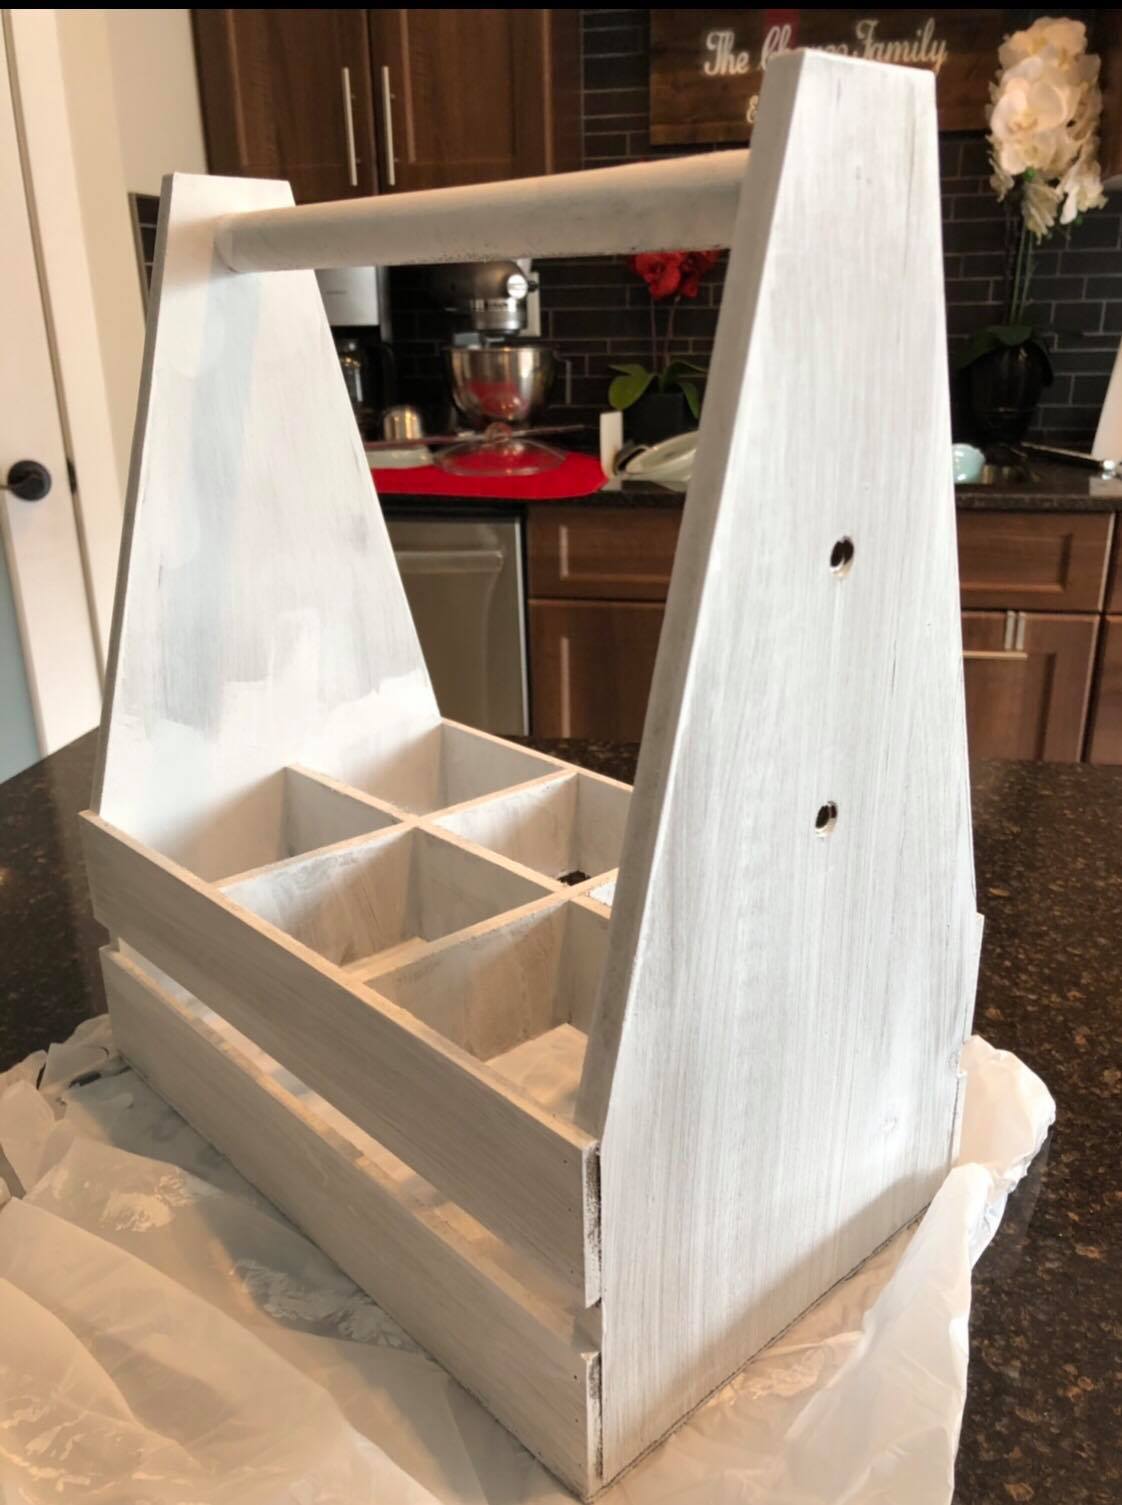
Painting
Be sure to paint at least a couple of coats for optimal coverage. Once the paint is dry, take 400 grit sandpaper and lightly sand the surface you want to apply your stencil on.
Sanding lightly and removing sanding dust will ensure that the stencil adheres to the surface well which will minimize bleeding issues.
Step 2
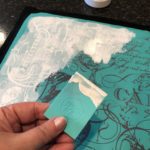
I weeded my stencil and added transfer tape to the top of my stencil. I removed the backer to my stencil and applied it to the front of the beer caddy.
Step 3
I always apply a light coat of the base coat of chalk paint over the stencil, which prevents bleeding.
Step 4
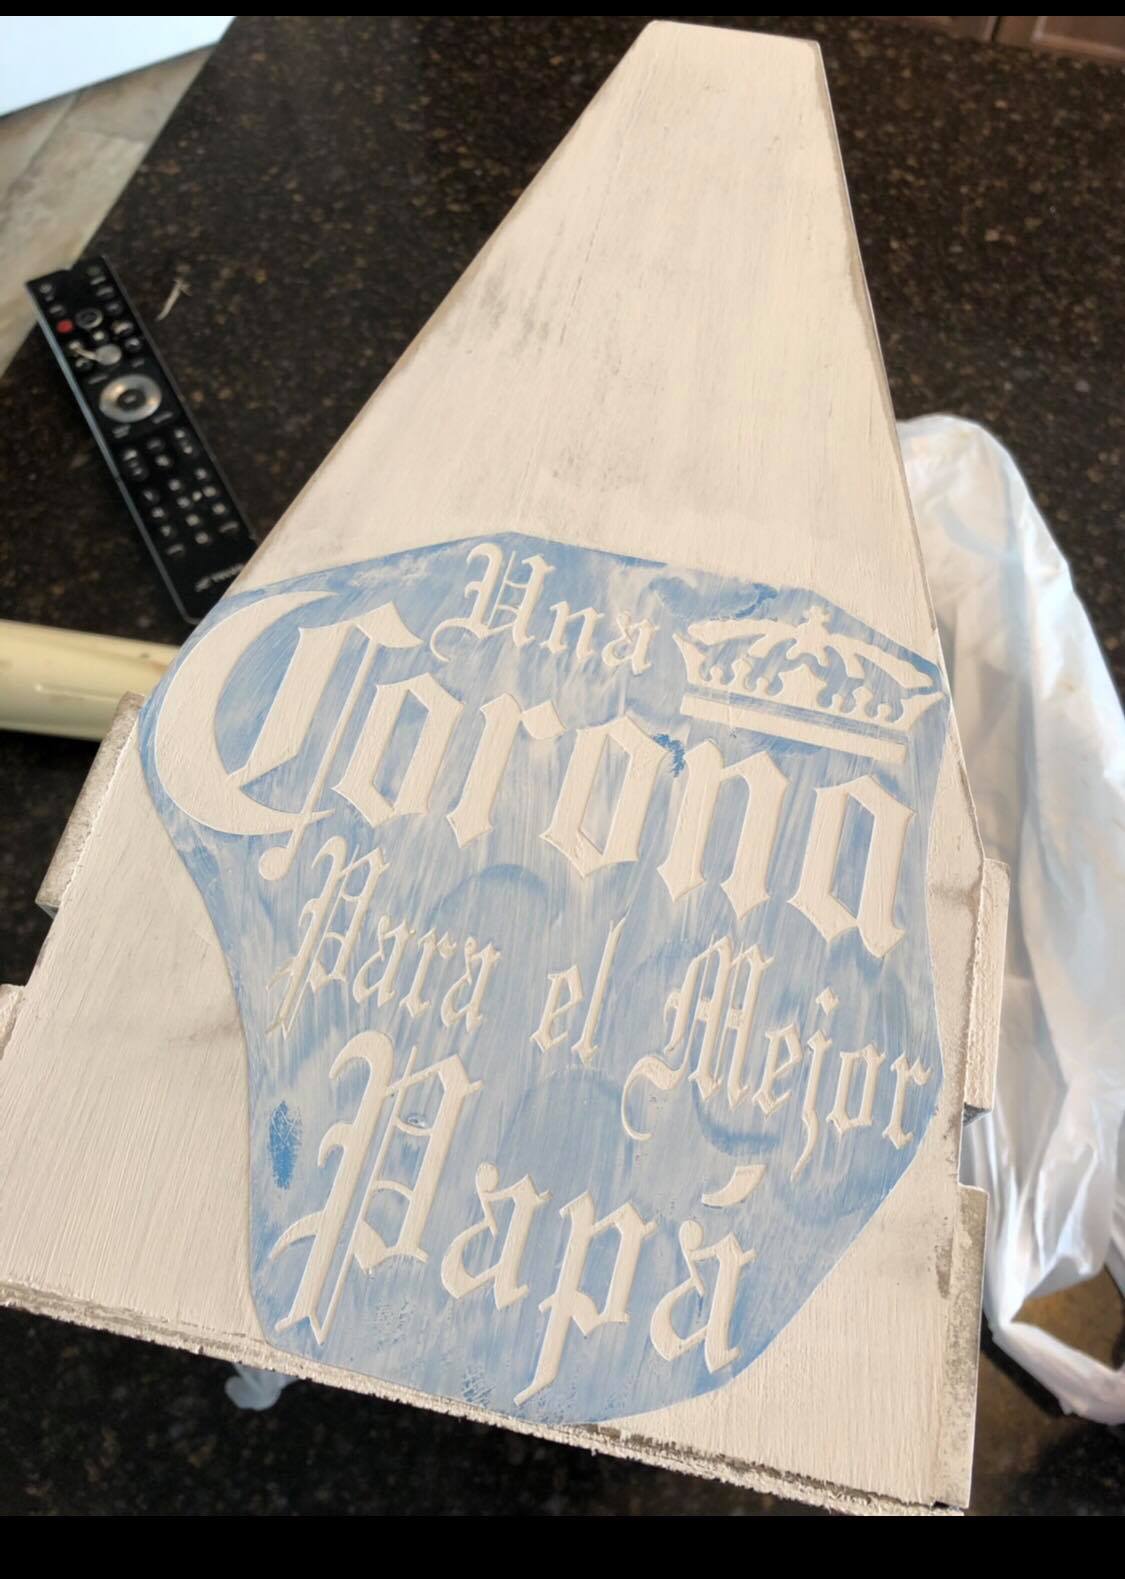
I used a craft paintbrush and painted out the blue and yellow colors on the design, being careful not to glob the paint by blotting the paintbrush on a towel before painting the stencil.
Step 5
Then I removed the stencil material to reveal the design. I also take my Exacto knife and carefully take out the insides of the lettering of the vinyl.
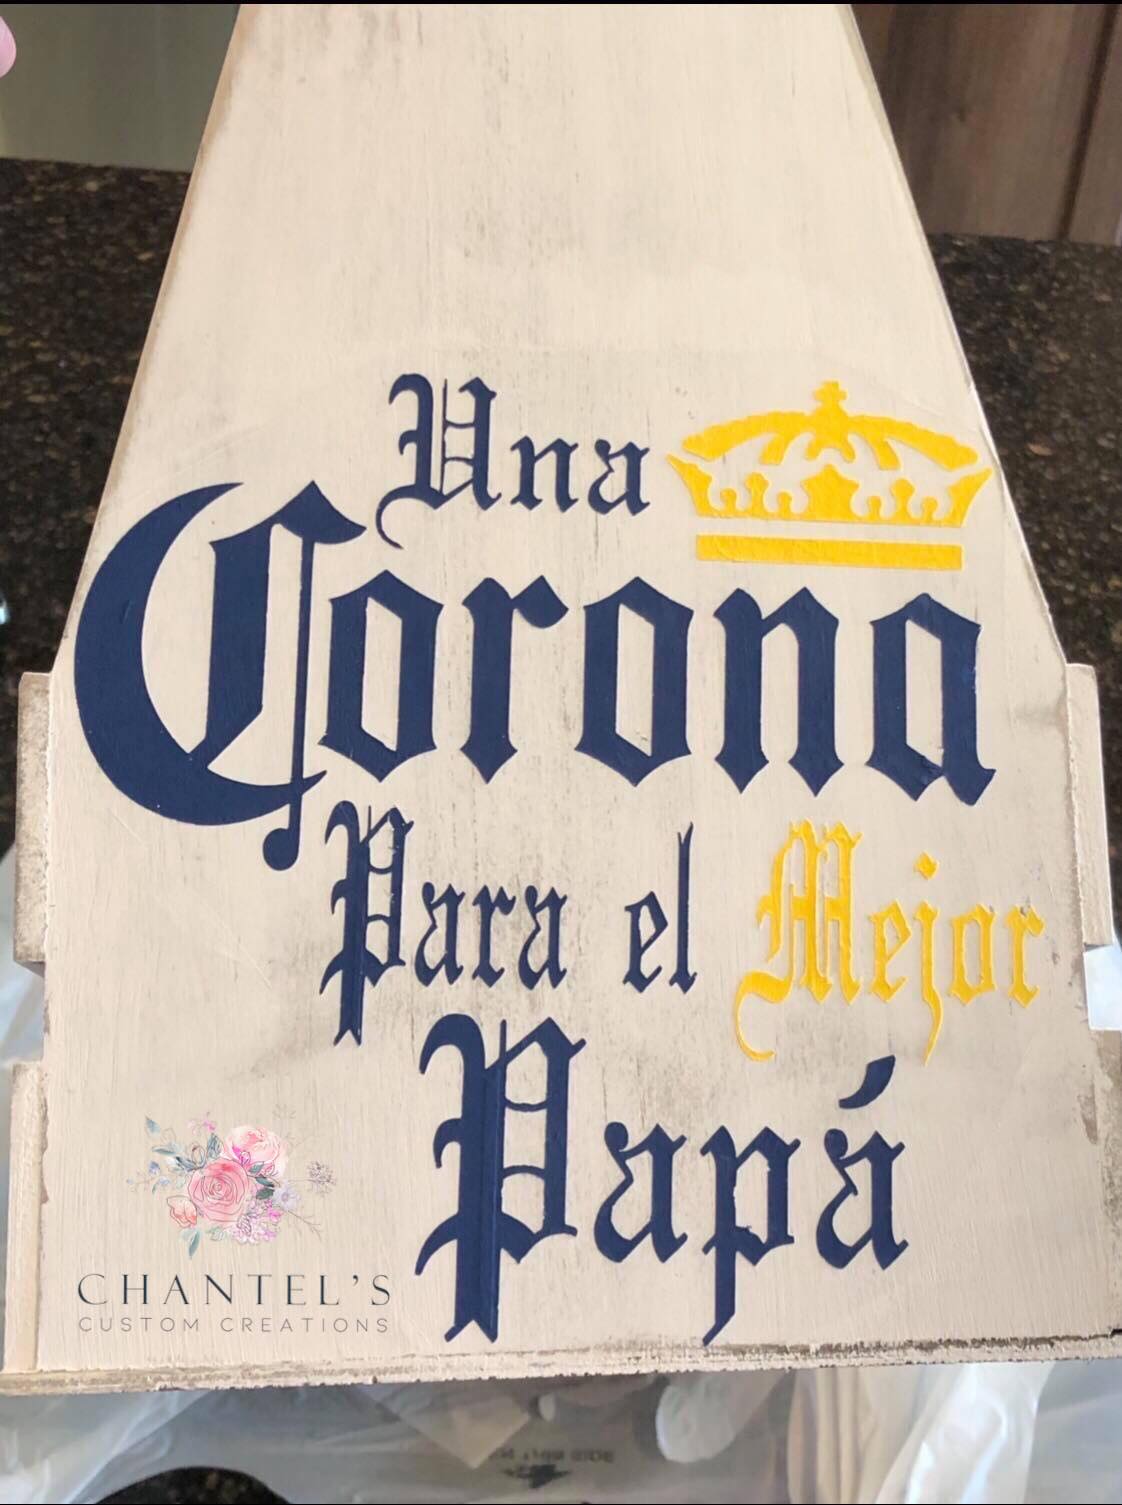
In case you are wondering, my husband is Hispanic and hails from El Salvador. I try to find gifts for him where I can pay homage to his homeland, to give him something that either incorporates his first language or means something to him.
His country flag colors have navy and yellow in the design, so I decided to incorporate those colors into his beer caddy.
After
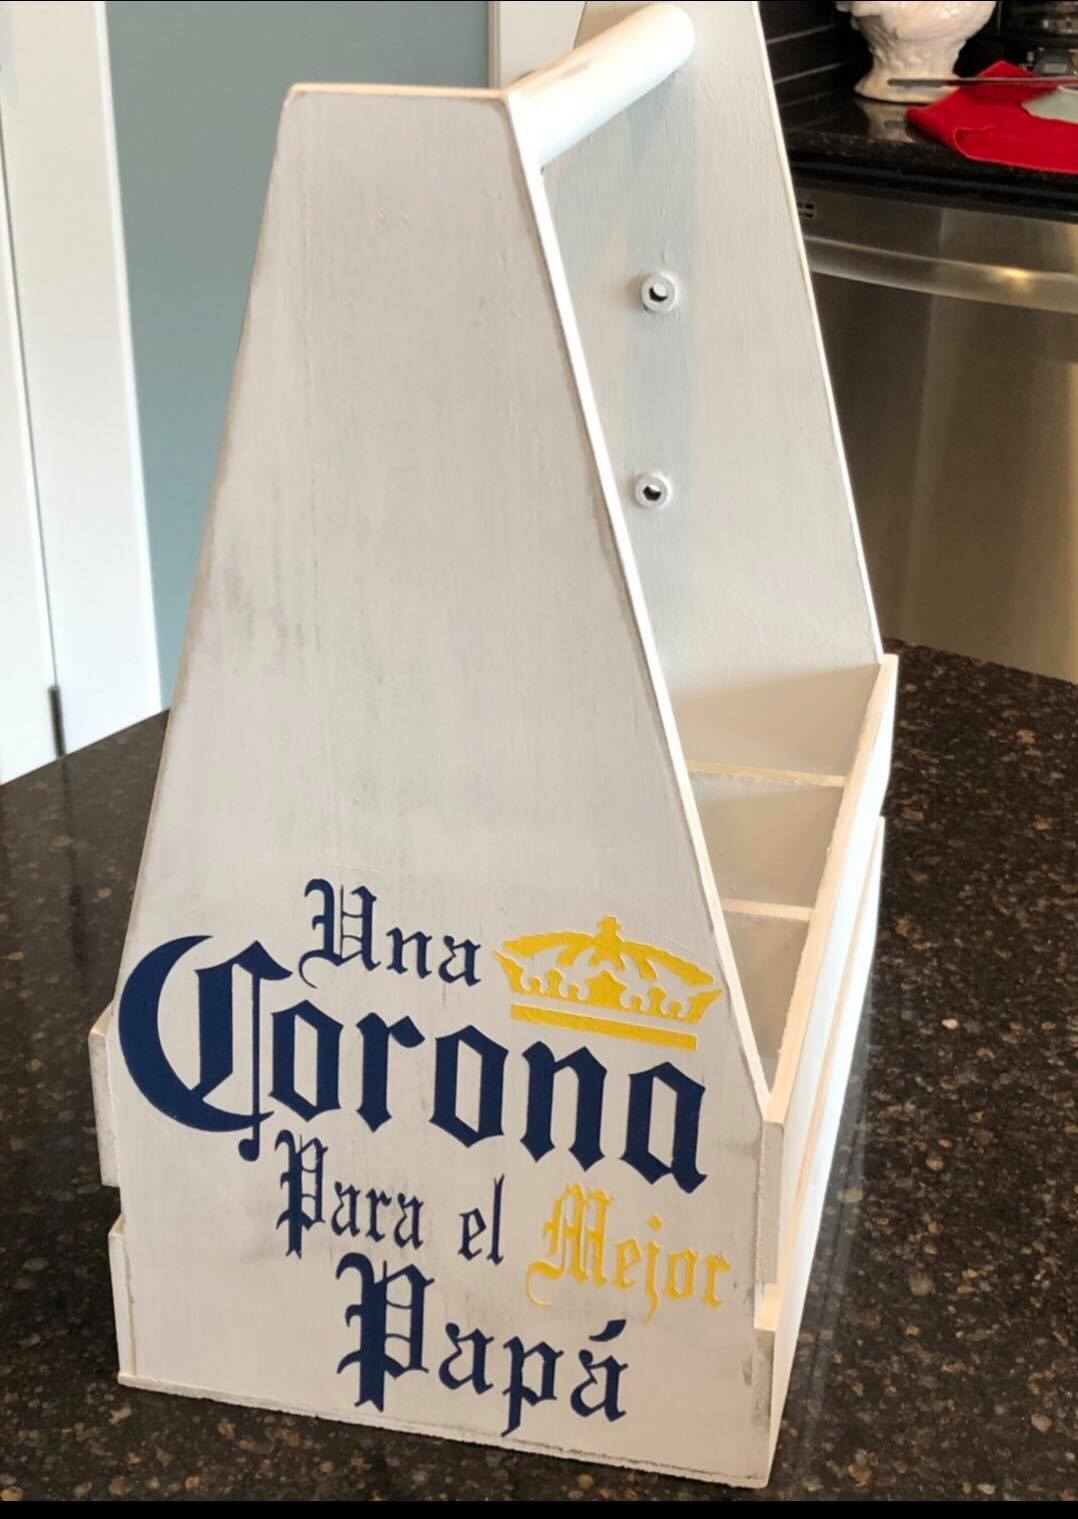
Final Step of the Beer Caddy
I took a 220 grit sanding sponge and lightly sanded the corners and edges in order to give it a distressed look.
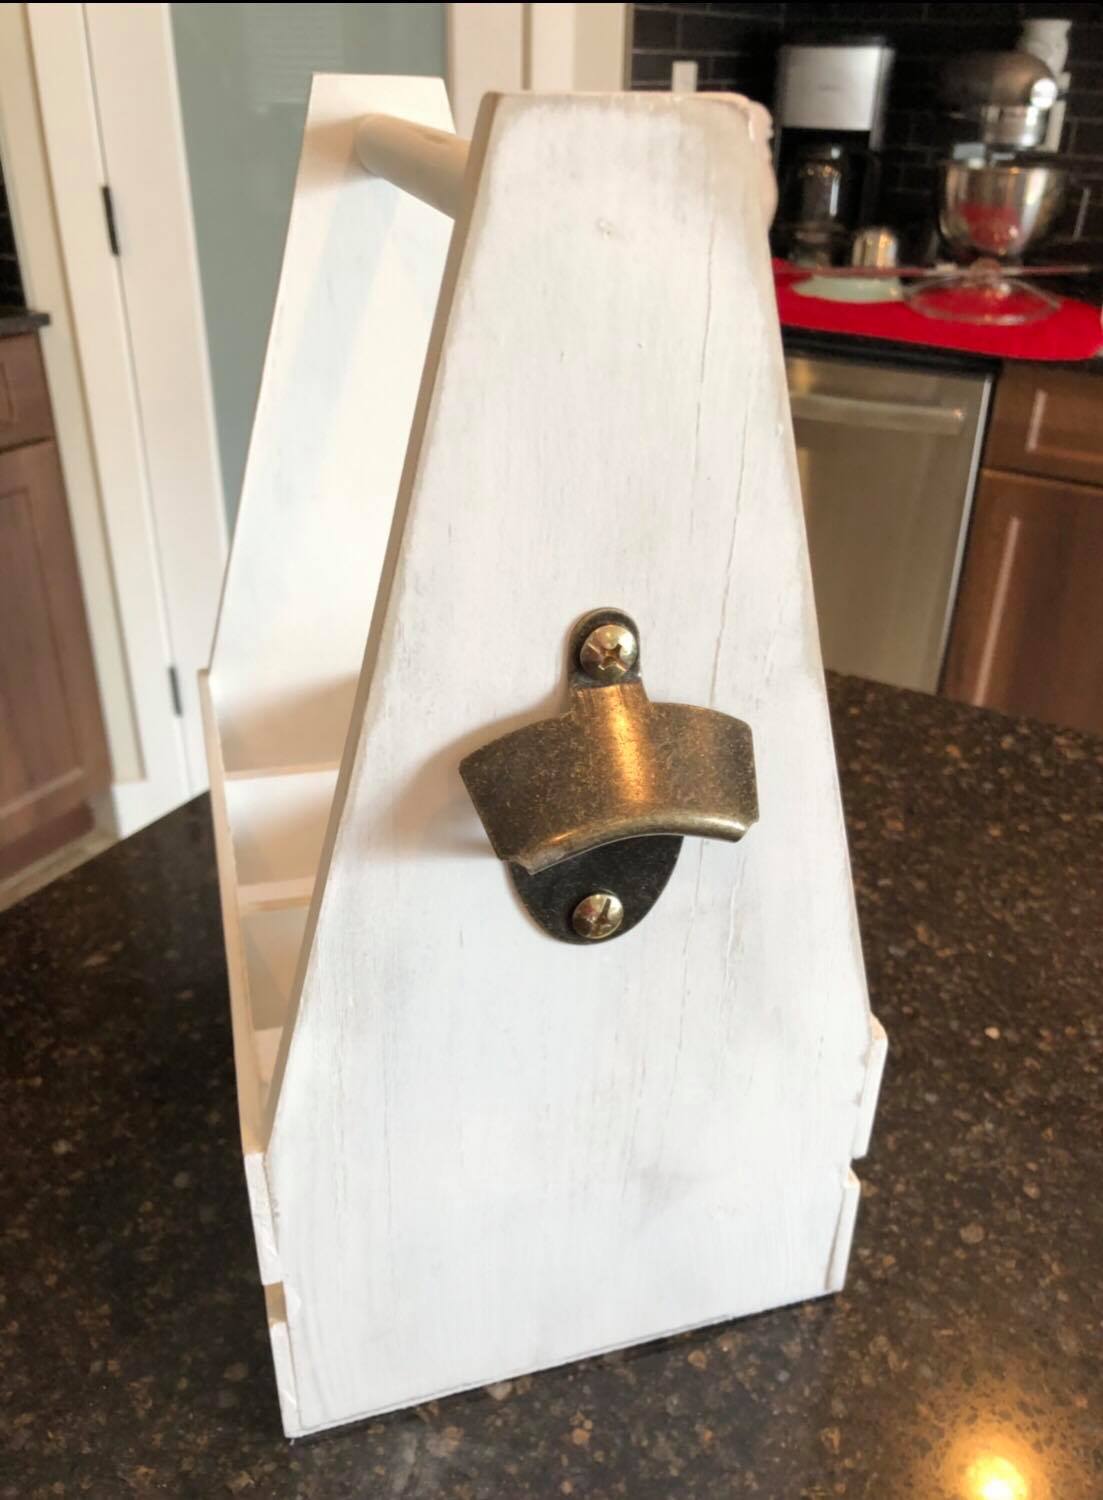
The beer caddy is so cute, the design is on one side and the bottle opener is on the other side. My beer caddy came with the bottle opener already, if yours doesn’t, or you make one yourself, you can easily attach one of these to the side. I have seen these openers at various craft stores.
I absolutely love the way it turned out and my husband was surprised and happy! In case you were wondering, the design is in Spanish and it says “A Corona for a great Papa!”
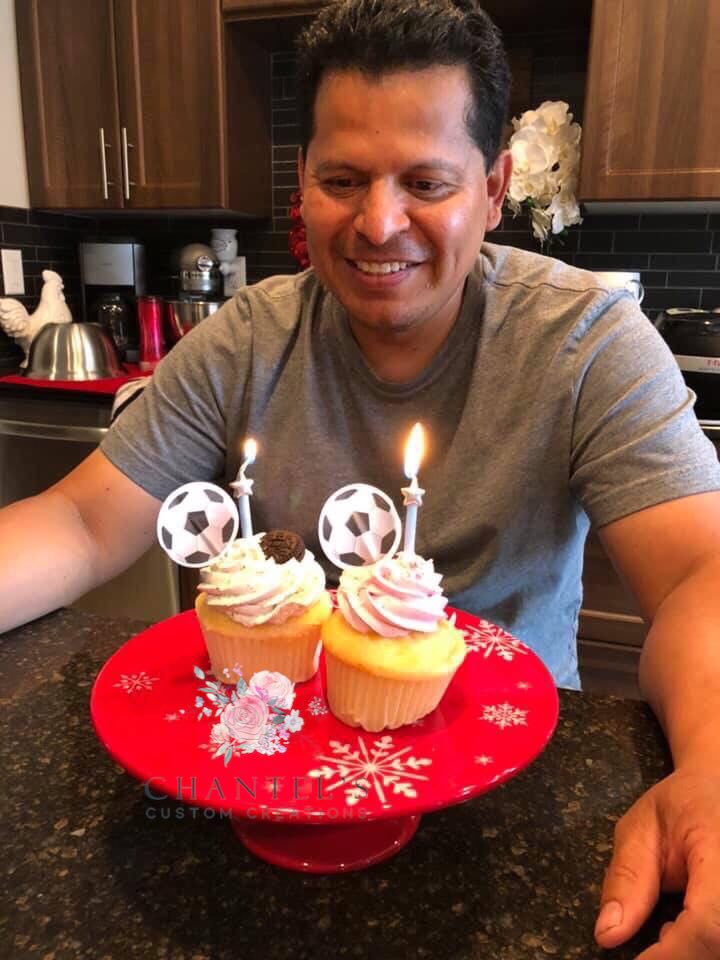
Here is a picture of my husband blowing out his candles on his little cupcake on his birthday!
Please leave me a comment if you liked this tutorial! I loved being able to find an item on clearance and use some paint to freshen it up and personalize it.


Leave a Reply