At Christmas time our family had our annual family photos done and this year I wanted to print them out and display them some how! They were all so cute and I couldn’t decide on just a couple of them to display in frames.
I had some empty old vintage frames hanging around my house and always loved the frames but was never sure what I really wanted to do with them as there are so many fun options for DIY frames!
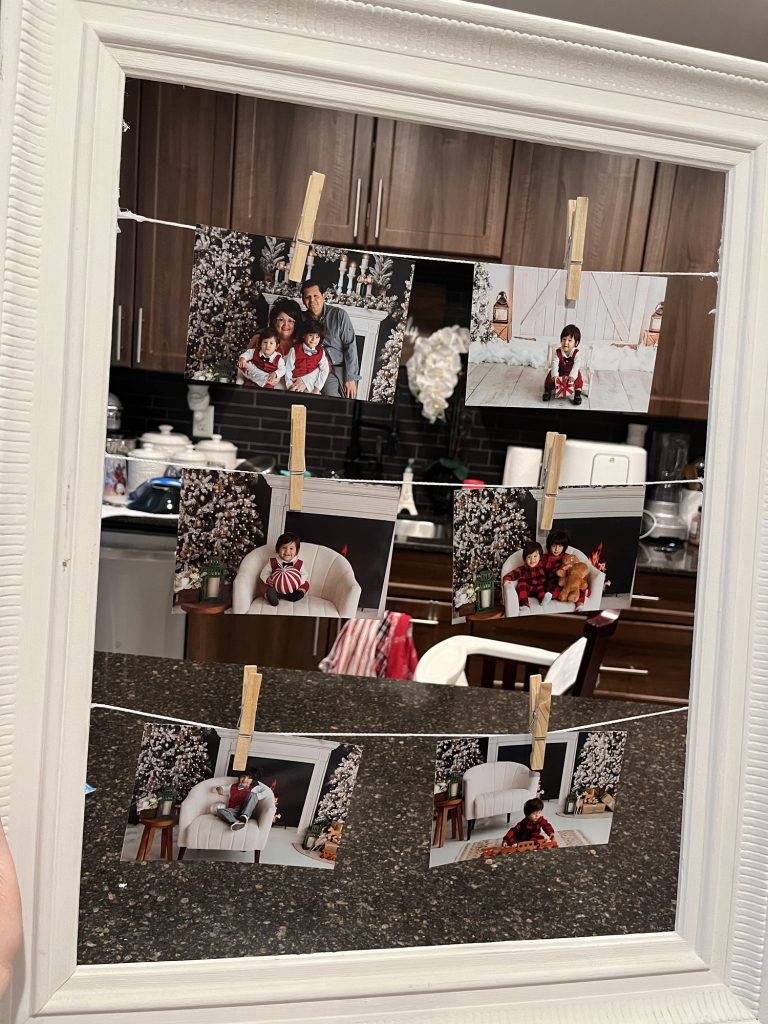
So I decided to use the empty frames with string and pegs to display the photos and the project came out so amazing !
Step 1
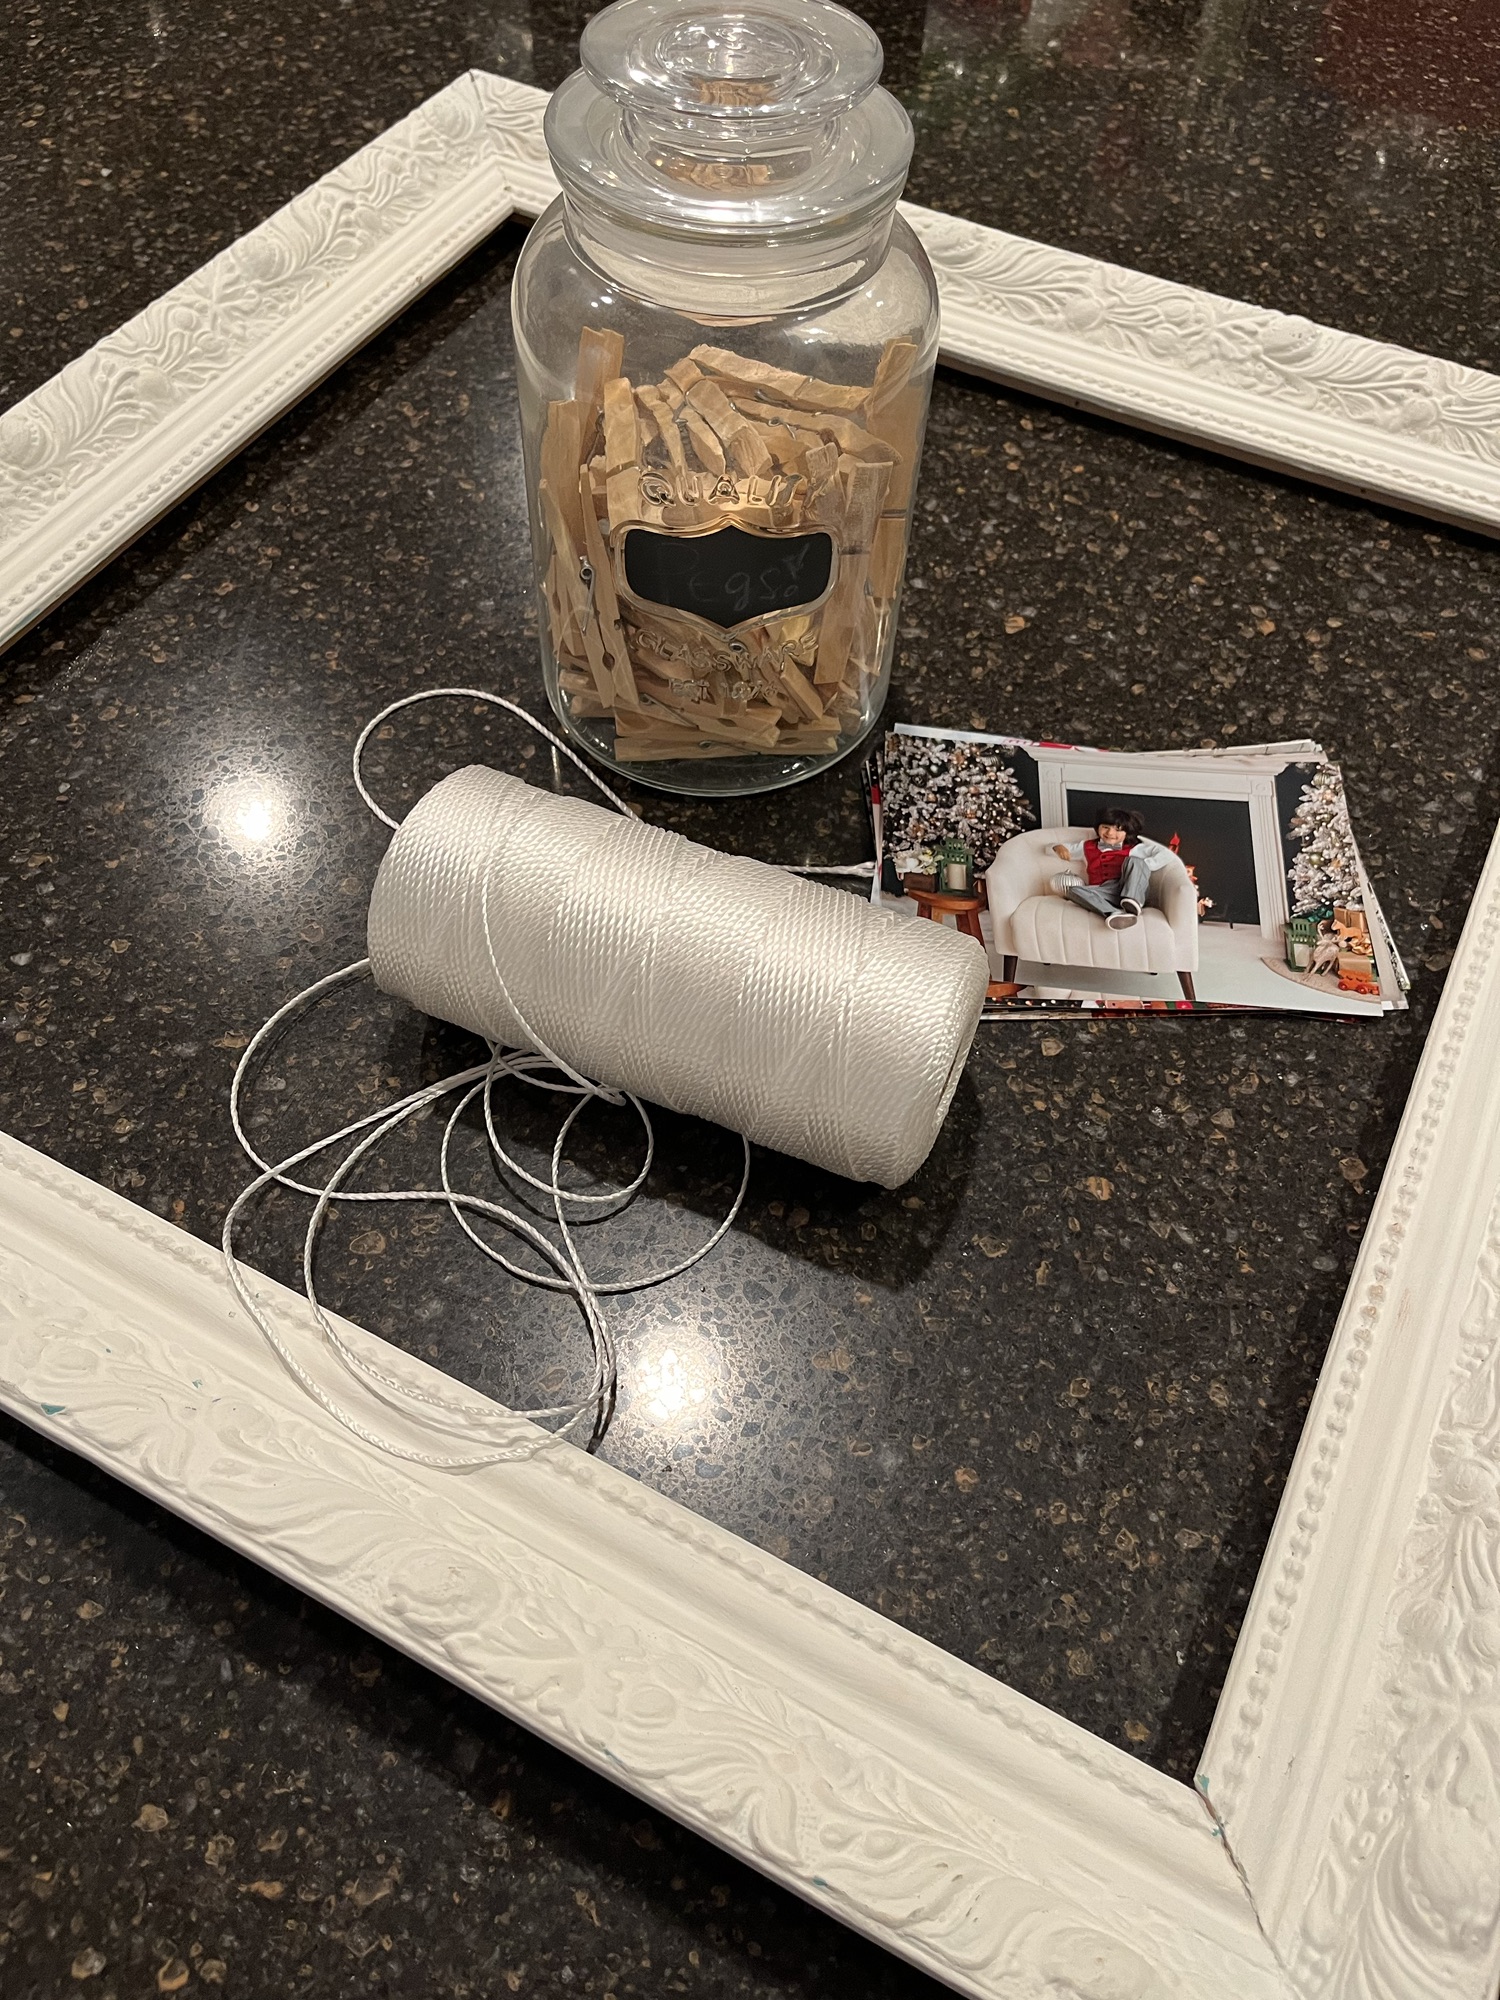
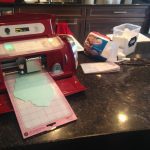
You will want to gather your supplies. You will only need a few for this project!
- Empty frame of your choosing
- Chalk paint for the frame
- String or twine or fishing line
- Photos of your choice
- Laundry pegs
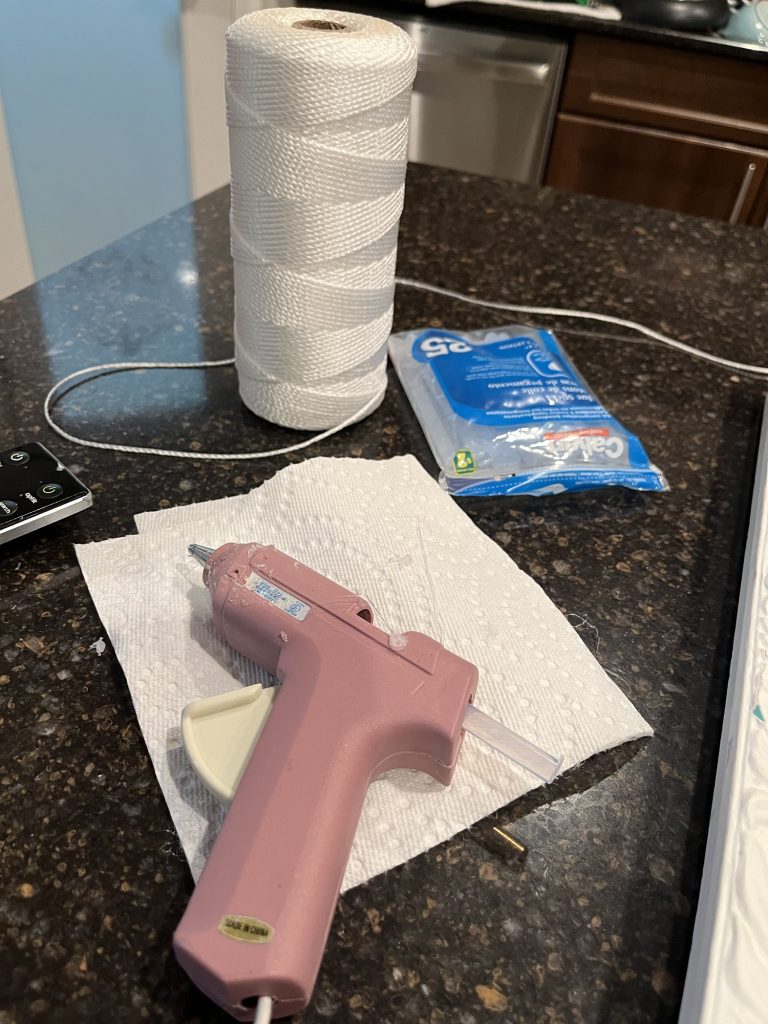
- Hot glue gun
Step 2
You will want to choose your frames to begin. I had quite a few empty frames on hand. I went ahead and painted them out with white chalk paint. I wanted the photos to stand out on their own and not be distracted by a busy colorful frame.
Step 3
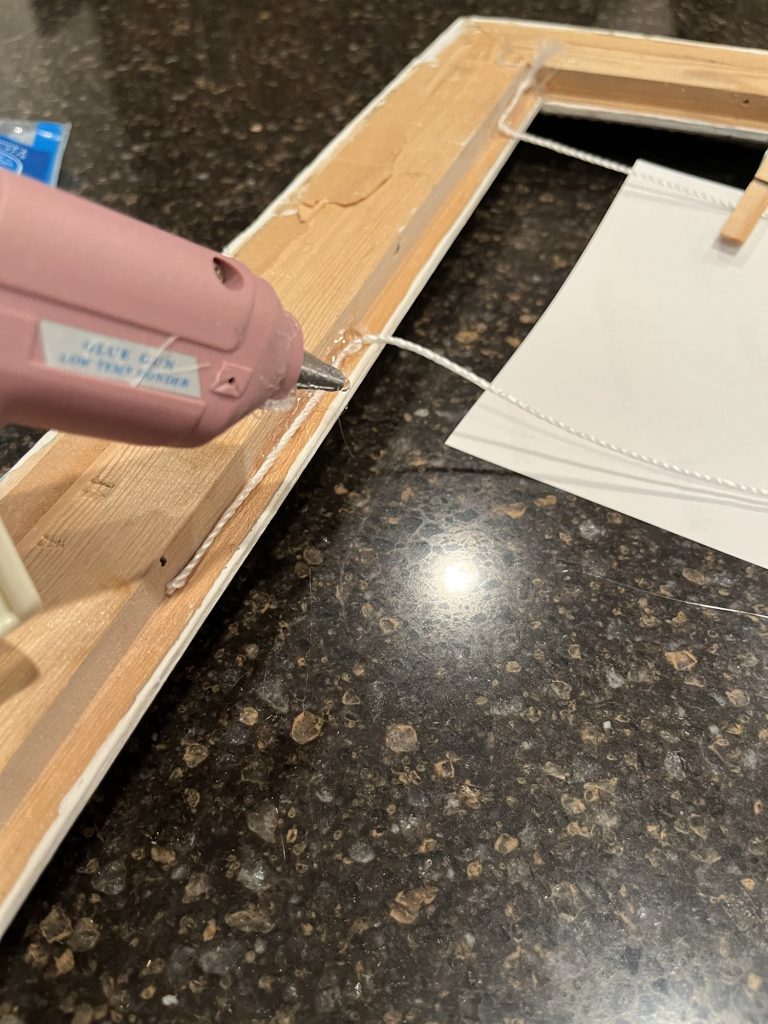
Heat up your glue gun and measure your strings and decide how many strings you would like to glue on the frame.
Depending on how large my frame was, determined how many rows I wanted.
This part takes a bit of trial and error depending upon how big your photos are as well and how much space you would like between the rows.
I liked to see the photos kind of droop on the string myself and not touch each other.
Step 4
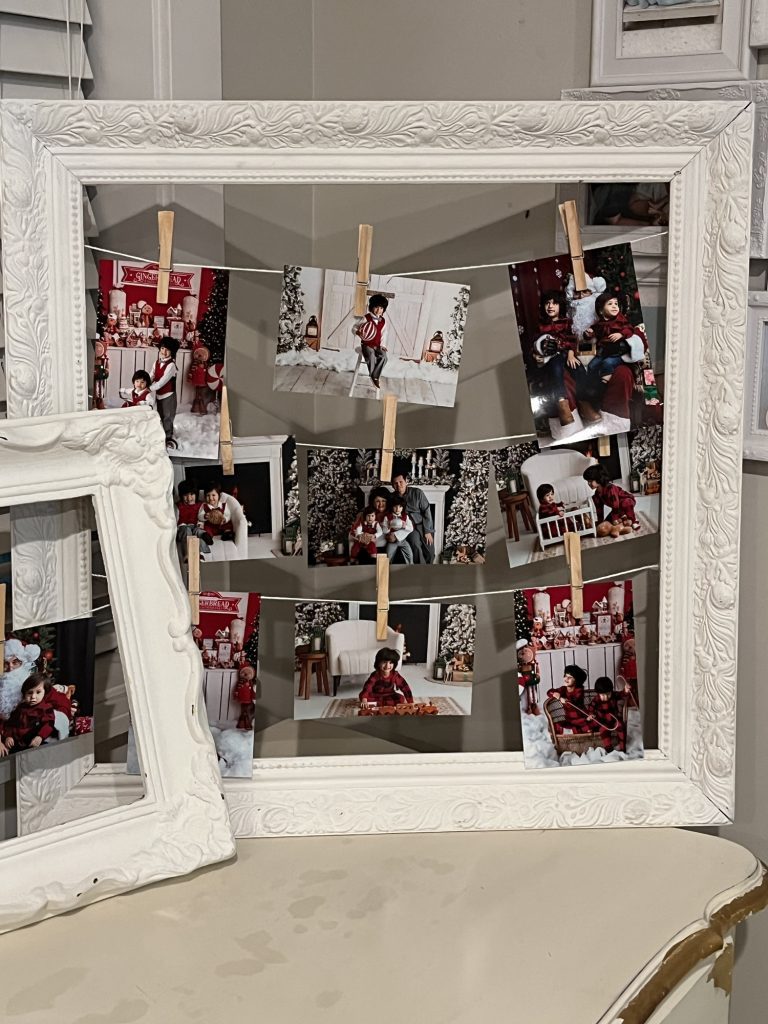
Now to add the pegs and the photos. This is the fun part! I had so much fun doing this part. Deciding on how many photos per row and how many rows that fit well in the frame.
Results
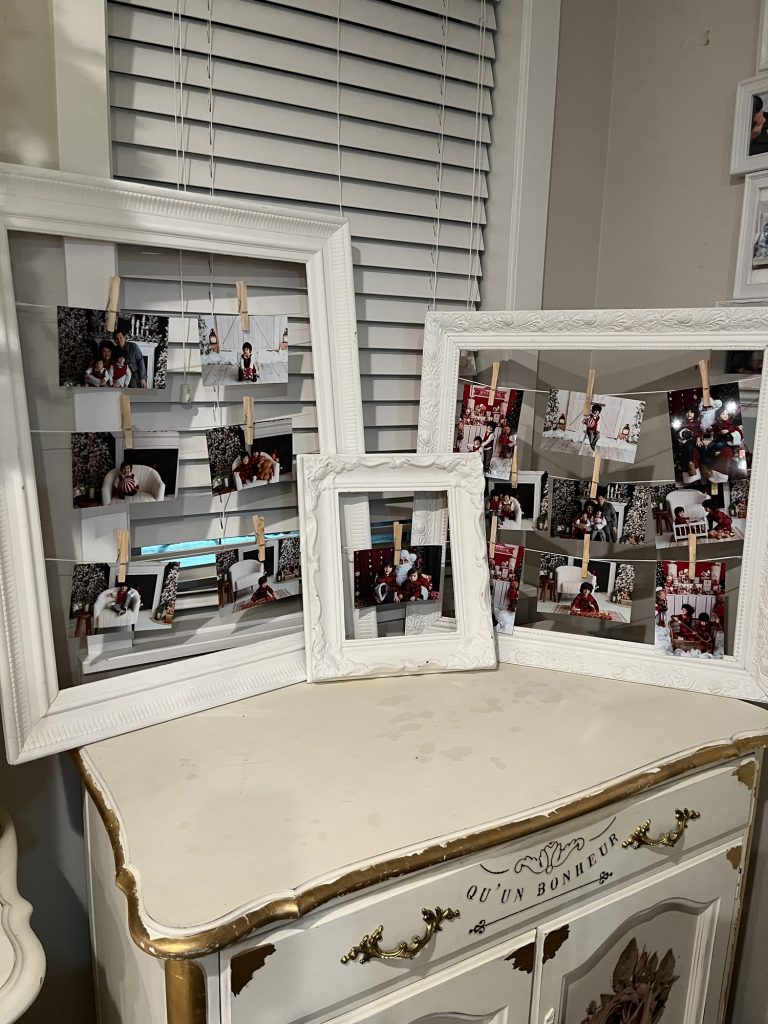
It always makes the display more interesting when you mix the vertical and horizontal photos in one frame. It catches the eye and makes it more unique.

Display
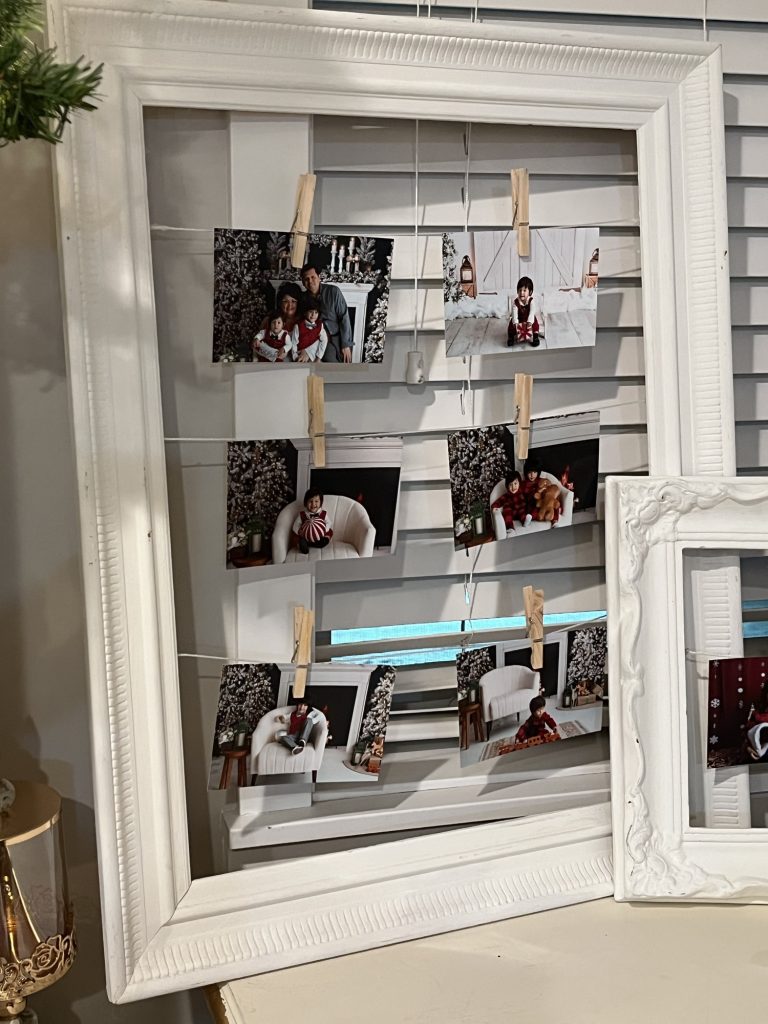
I was so pleased with how this project turned out! Quick and easy and oh so cute!
I decided to display the frames leaning on my dining room buffet for the season.
I am thinking I may find a spot on the wall and hang the frames so that I can switch out the family photos as the seasons and the years change. That is what I love most about this project is that it is not permanent and very easy to change out with minimal hassles!
Hope you enjoyed my DIY photo frame with strings and pegs!
Please let me know in the comments what you think and if you have tried it !


Leave a Reply