Master Bedroom Remodel with Chalk Paint Bed Frame
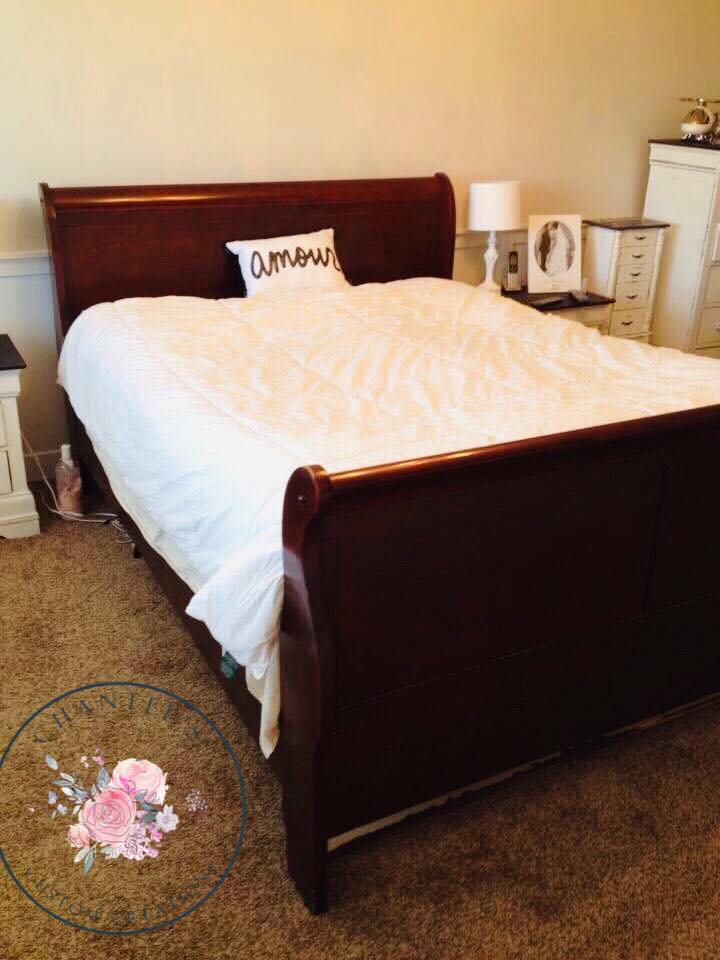
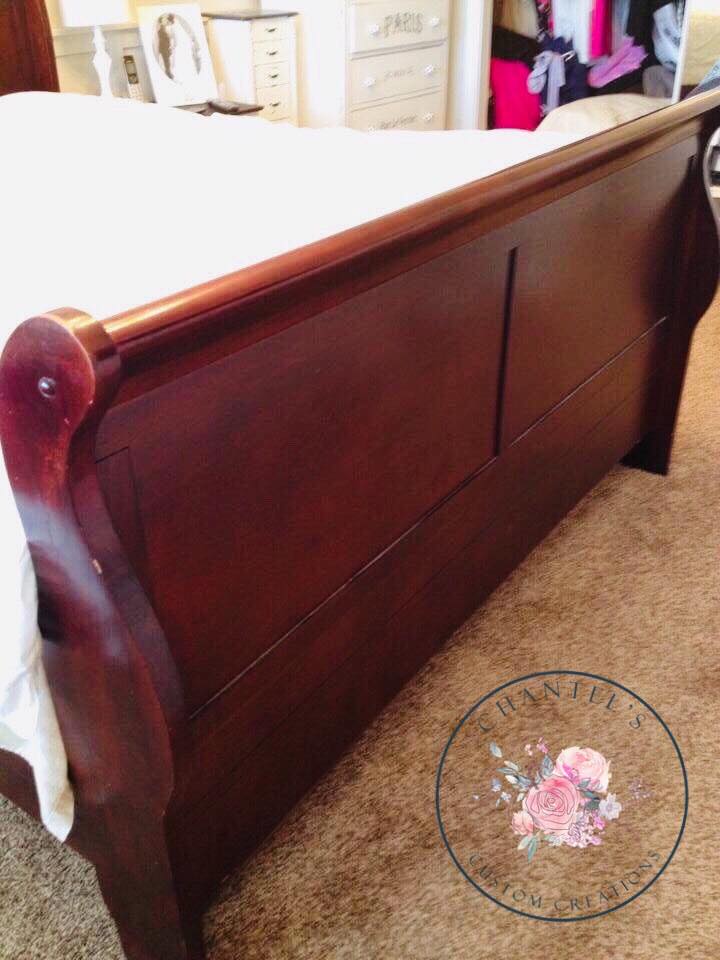
In 2014 we moved into our new house and I really wanted to update our Master Bedroom furniture as it was very dark cherry. The furniture was still in really nice shape and it would have been a shame to sell it as I wouldn’t have gotten much money for it.
I still liked the style of my furniture but out of necessity, I started painting the furniture in the bedroom. We had just bought a new home and I did not have it in the budget to buy all new furniture.
I will be showing you the makeover I did on our chalk paint bed which was a fairly large project.
This post contains affiliate links. See full disclosure HERE.
Supplies I Used:
Completing this project was very economical, in fact, you really only need a few supplies to be successful.
- Rustoleum Chalked paint, linen white
- Rustoleum Zinsser Primer, white
- 220 grit sanding sponge
- Chalk and Wax Paintbrush set
- Plastic Drop Cloth
- Creme Wax
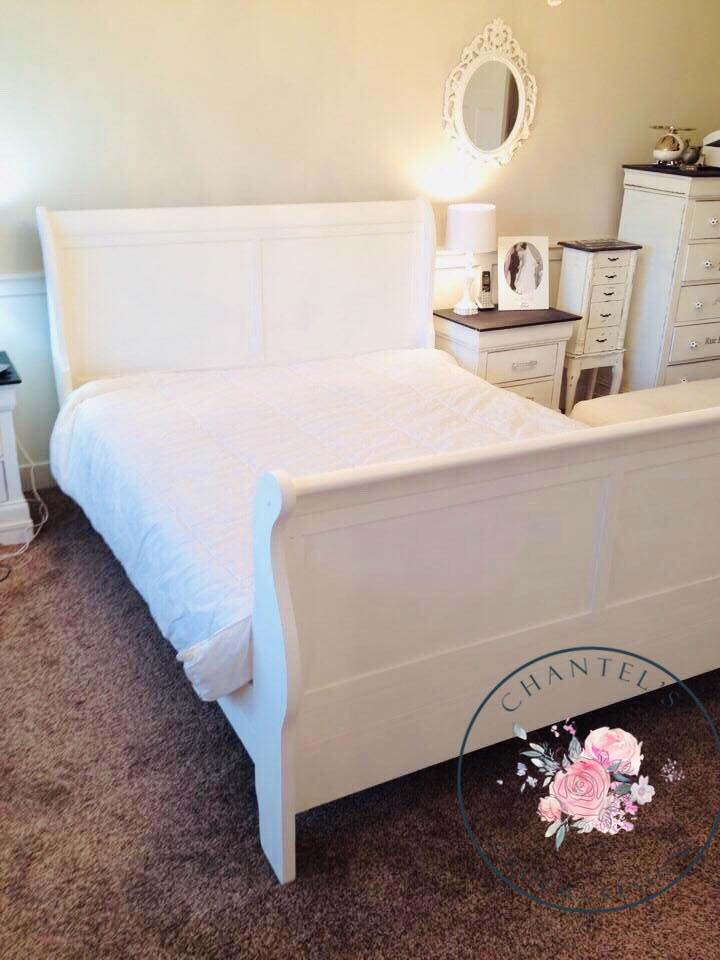
AFTER:
BEFORE:
Deciding on the Plan for the Chalk Paint Bed Frame
- I knew that I wanted a really simple makeover for the bed. My plan was to brighten up the space.
- It is very easy to brighten up a room, simply by using paint to brighten up the furniture. I decided to paint the furniture in a nice crisp white and in the end, I also decided to lightly distress it as well.
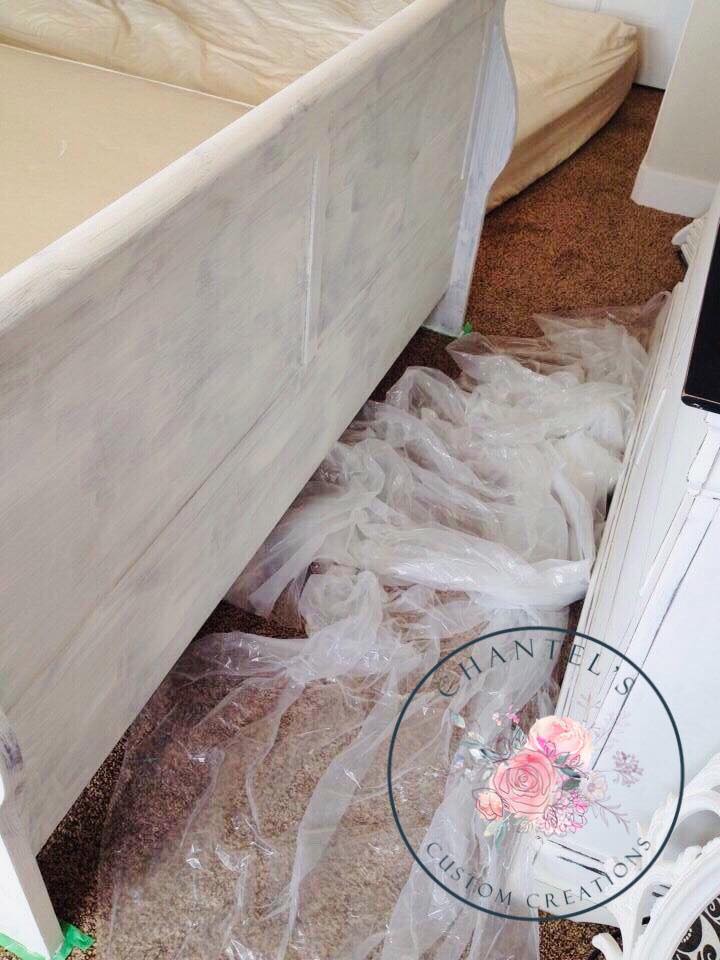
- This particular piece of furniture is of course quite large, so for convenience, I opted to paint the bed frame right in our bedroom and in fact I did not dismantle it at all.
- I simply removed the mattresses (as you can see from the photo). My plan was to throw away the mattresses as we needed new ones anyway, so I personally did not care to get paint on the mattresses. I am the kind of painter who likes to just get going on my projects!
Progress
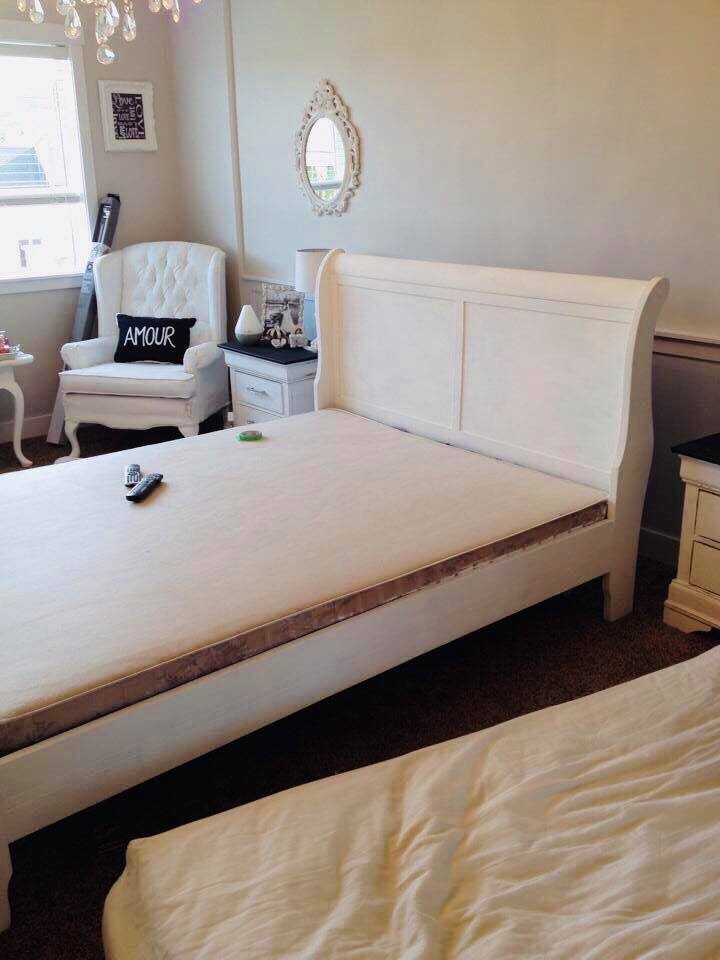
First Steps
- I cleaned my furniture well with a damp rag to make sure it was free of any dust.
- I would also recommend that when painting furniture from shiny cherry wood to a stark white color, that you make sure you scuff up the piece lightly with a sanding sponge.
- After it has been lightly sanded, you should wipe it down again with a damp rag.
- I would also recommend a white primer to cut down the number of coats of paint you will need when going from such a dark color to white color when you are painting a chalk paint bed frame.
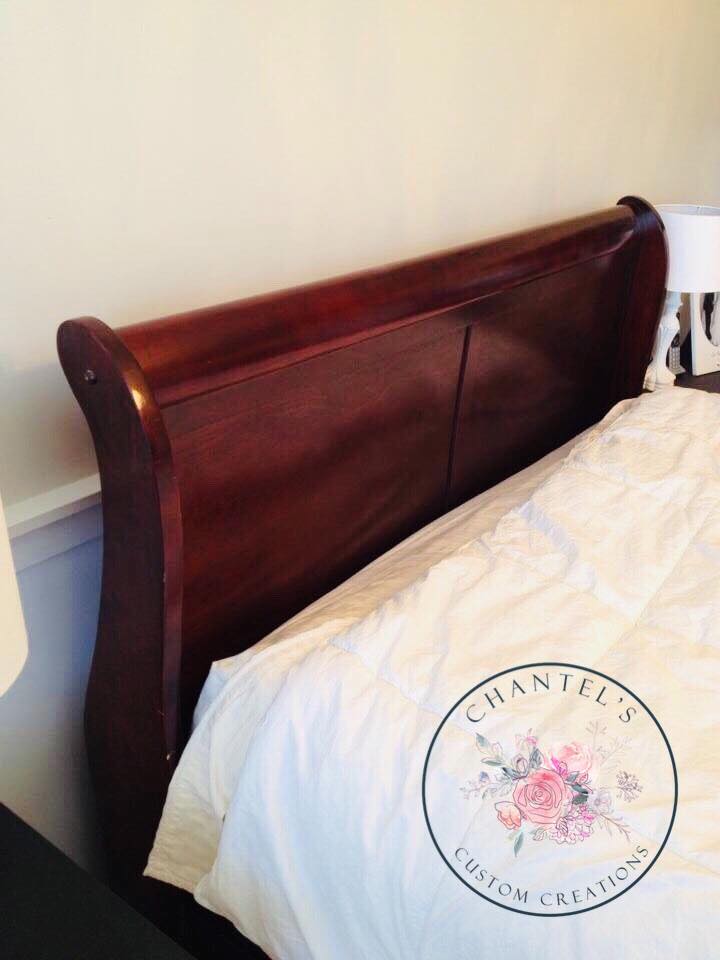
Priming and Painting
- After you have applied the primer, let your piece thoroughly dry.
- You can start painting your piece with chalk paint in the color of your choice.
- Just be sure to have a good quality paintbrush and in particular, one that will not shed its bristles all over your project.
- In my project, I was painting a very dark surface and my end result is a very stark white, and as a result, I ended up painting 3 coats of chalk paint after the primer coat was painted.
Distressing
- I wanted my chalk paint bed frame to have a rustic farmhouse look to it and to achieve that look, I took a 220 grit sanding sponge and lightly distressed the natural edges of the bed frame and exposed the corners to reveal the dark furniture color underneath.
- You want to be light-handed with your sanding as its easier to just keep sanding as you go rather than having to reapply a coat of paint because you sanded too much!

Top Coat
- Definitely a bed frame is the type of furniture that will be having to withstand daily use and for that reason, be sure to use a chalk paint wax topcoat on your project.
- I used clear wax for my project but you can also use a white wax if you prefer.
- You only need one light coat and you can apply it fairly quickly and easily with a shop rag or even a paper towel. Let your piece dry according to instructions.
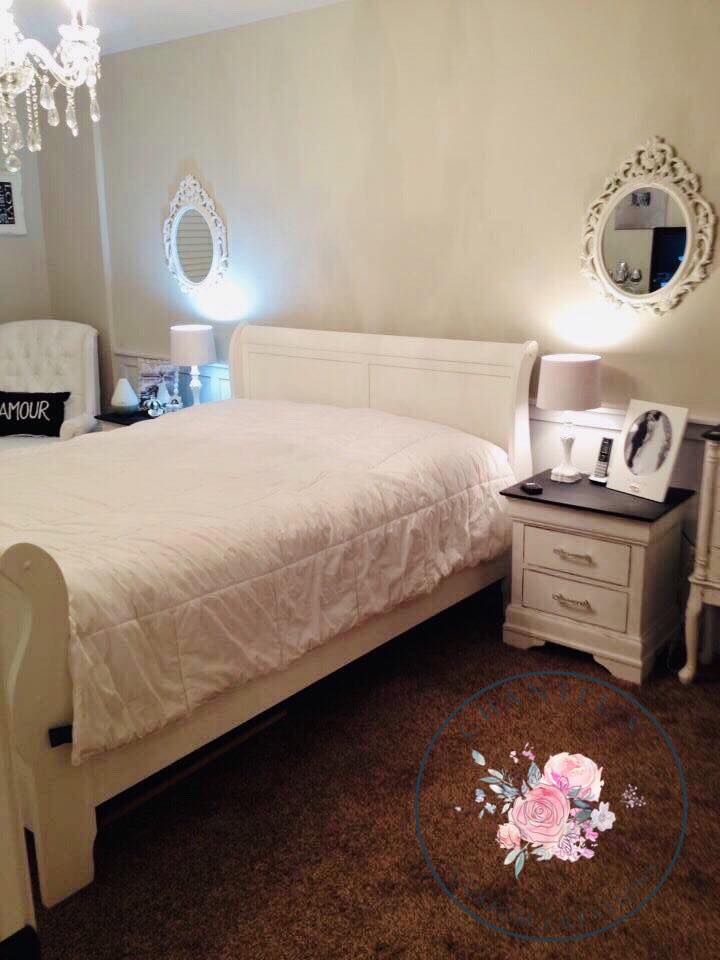
In conclusion, the color white brightens the room dramatically! I am so happy with the results of my chalk painted bed frame. I was able to achieve an updated look for a very limited cost. You may be interested in another blog post I did geared towards beginner chalk painters HERE!
Let me know in the comments if you have attempted a bed frame with chalk paint and I would love to see any photos you may have!
Before you Go, check out my other blog posts with Before and After transformations:
- Before and After Chalk Paint Fireplace
- Painted Armoire Before and After
- Vintage Nesting Tables Painted with Chalk Paint
- Nursery Dresser Painted with Chalk Paint





Leave a Reply