Furniture Decor Transfer Tutorial
This post is about How to Use Furniture Decor Transfers and in my experience, decor transfers take the furniture piece to the next level in my opinion!
I’m so in love with how my furniture turned out and I’m excited to show you how easy it is to transform your furniture.
This post contains affiliate links. See full disclosure HERE.
Supply List:
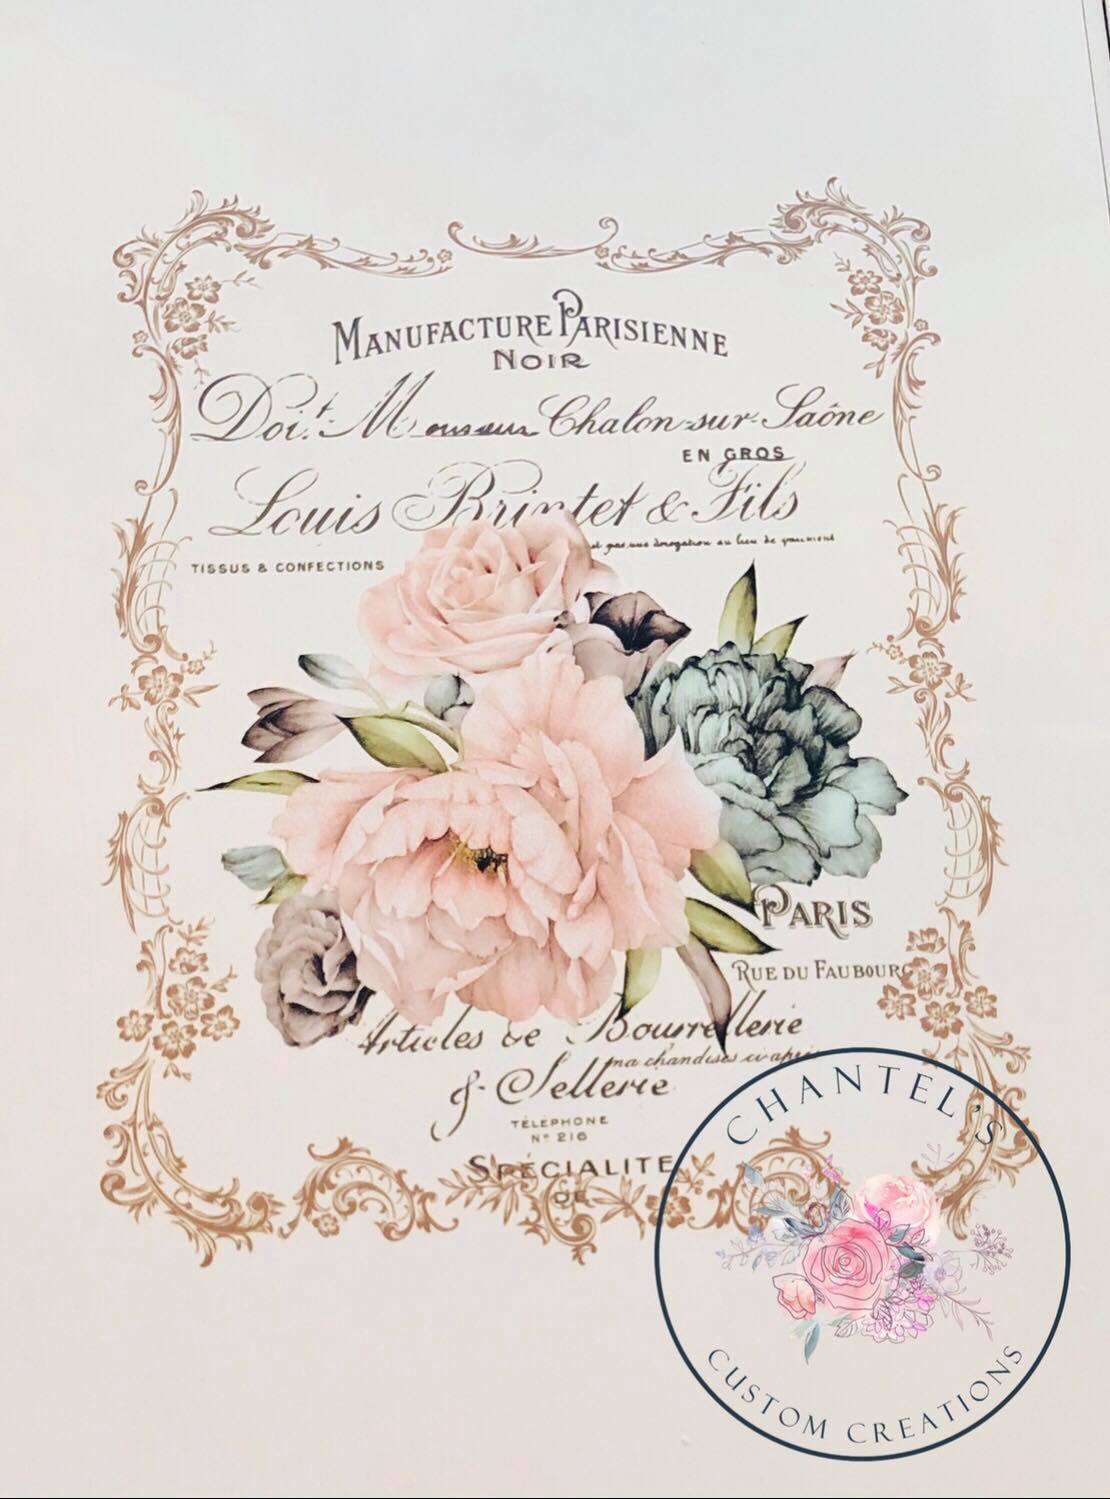
- Decor Transfer ReDesign with Prima “Floral Home”
- Rustoleum Chalked Paint, chiffon cream
- 220 Grit Sanding Sponge
- Creme Wax

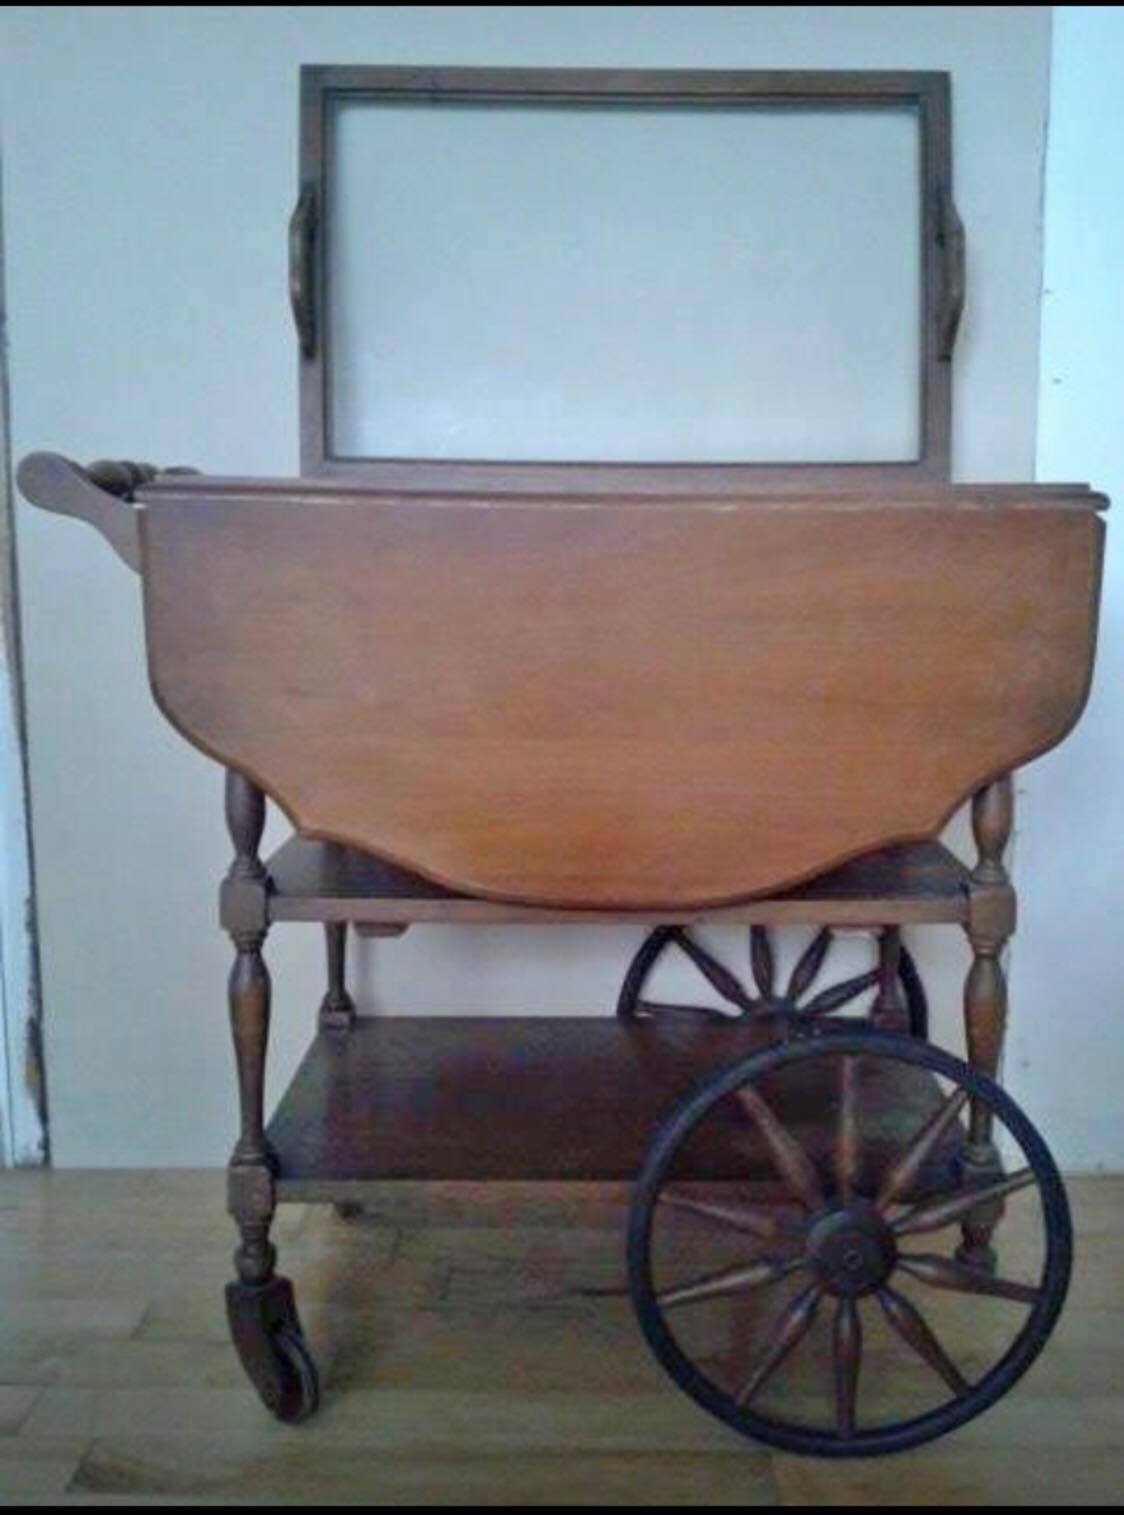
BEFORE:
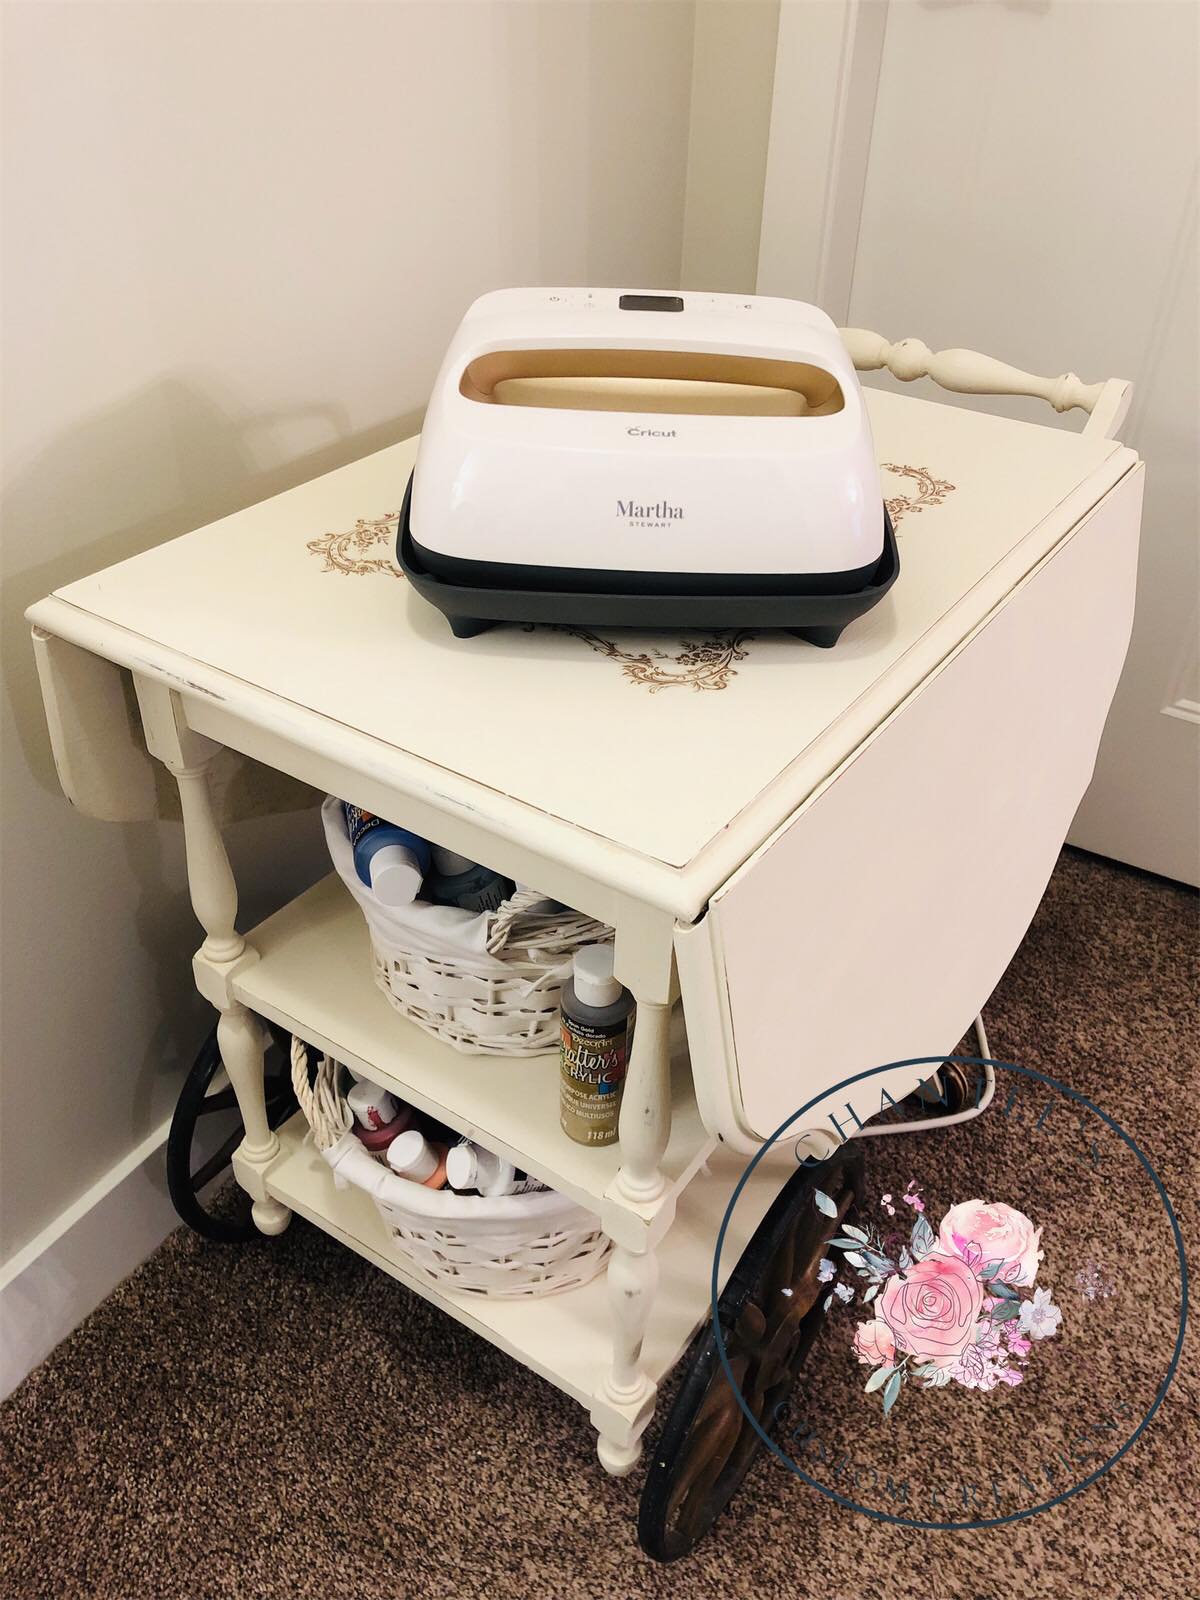
I found this most adorable tea cart on Facebook Marketplace one day. I had no idea what I was actually going to do with it but I just loved the vintage look of it.
I thought of several possibilities. Maybe I could put my grandmother’s teapot and china cups on it and display it in my dining room! When I placed it in my dining room, it was a really tight fit and I realized that it wasn’t going to work.
I am always thinking outside of the box when it comes to repurposing vintage finds. How can you use a traditional piece of furniture in a non-traditional way? After I painted my piece and applied my transfer, I decided to put it in my craft room and use it as a craft cart!
Steps to Applying Furniture Decor Transfer:
Step 1
Be sure your project has been painted and is ready for the transfer. The beauty of these transfers is that you can cut them and use them any way you choose. You can even use a piece of one transfer and mix it with another transfer for a custom look. For my project, I just used the transfer as it came in the container.
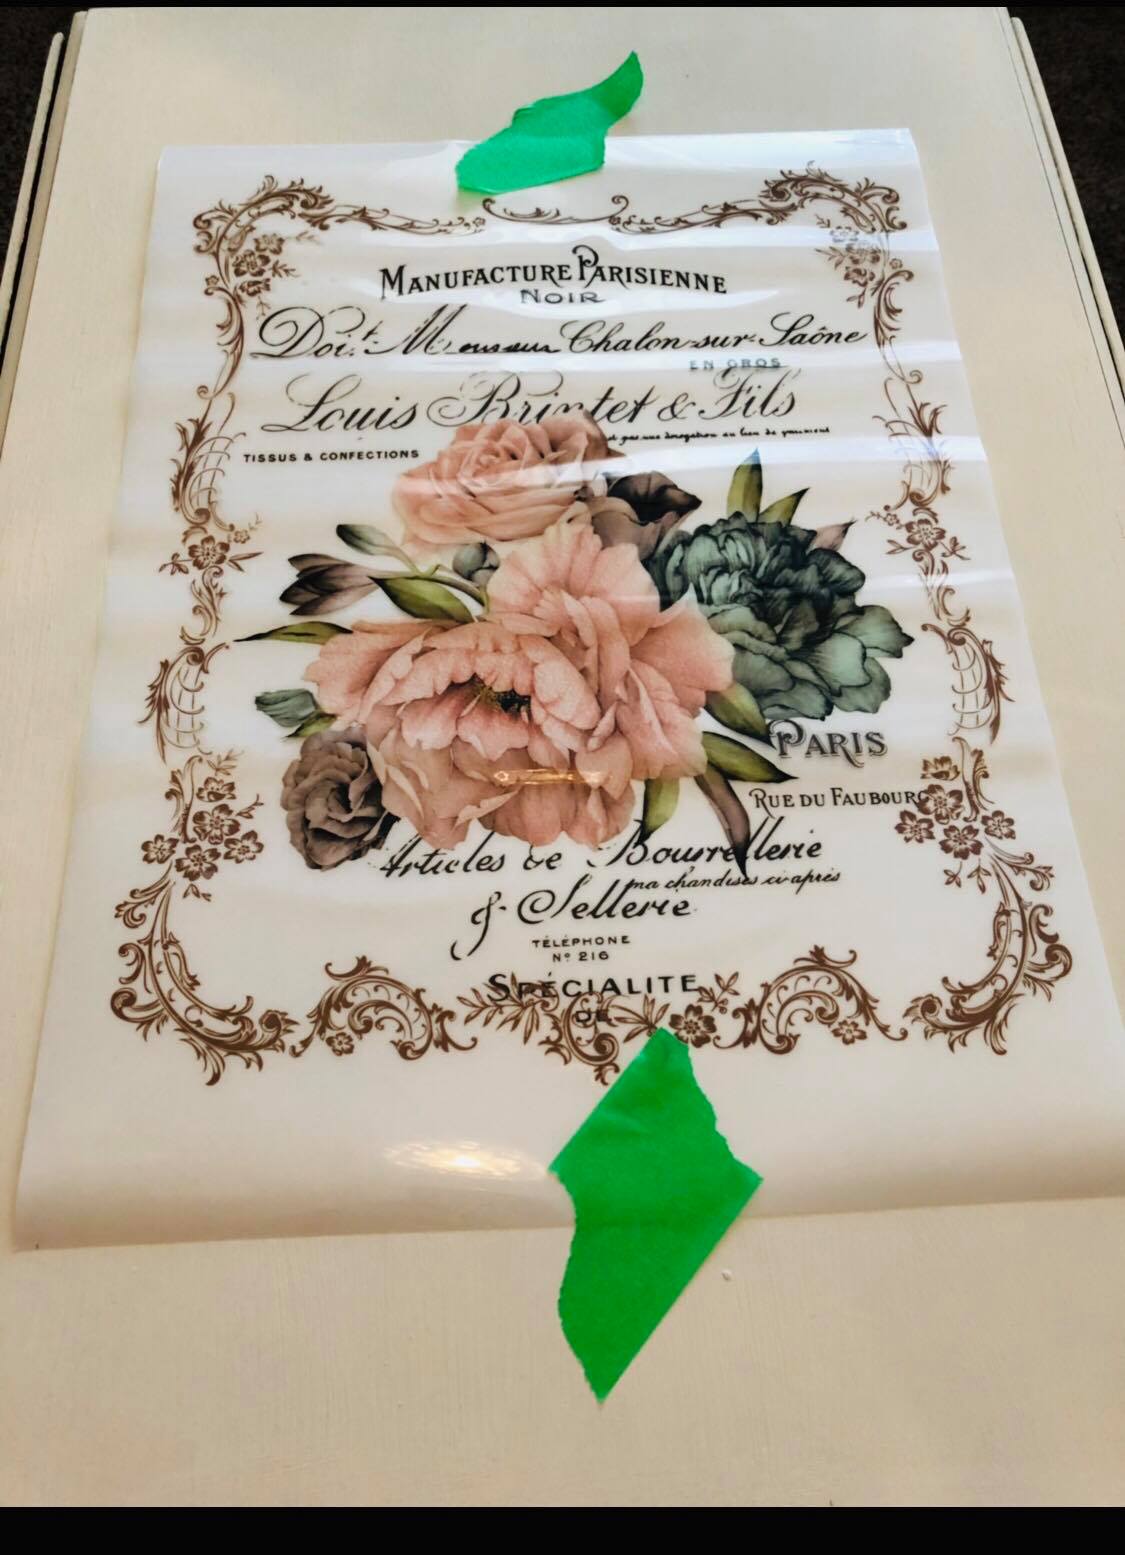
Step 2:
I love these transfers as they are so easy to use! I use green tape to lay my transfer where I want it placed. There are 2 sheets to the transfer, the top sheet is the design and the bottom sheet which is like a protector for the transfer.
Step 3 to Apply Furniture Decor Transfers
In the transfer case, there is a plastic brayer that you will use to transfer your design onto your furniture piece (as pictured here)
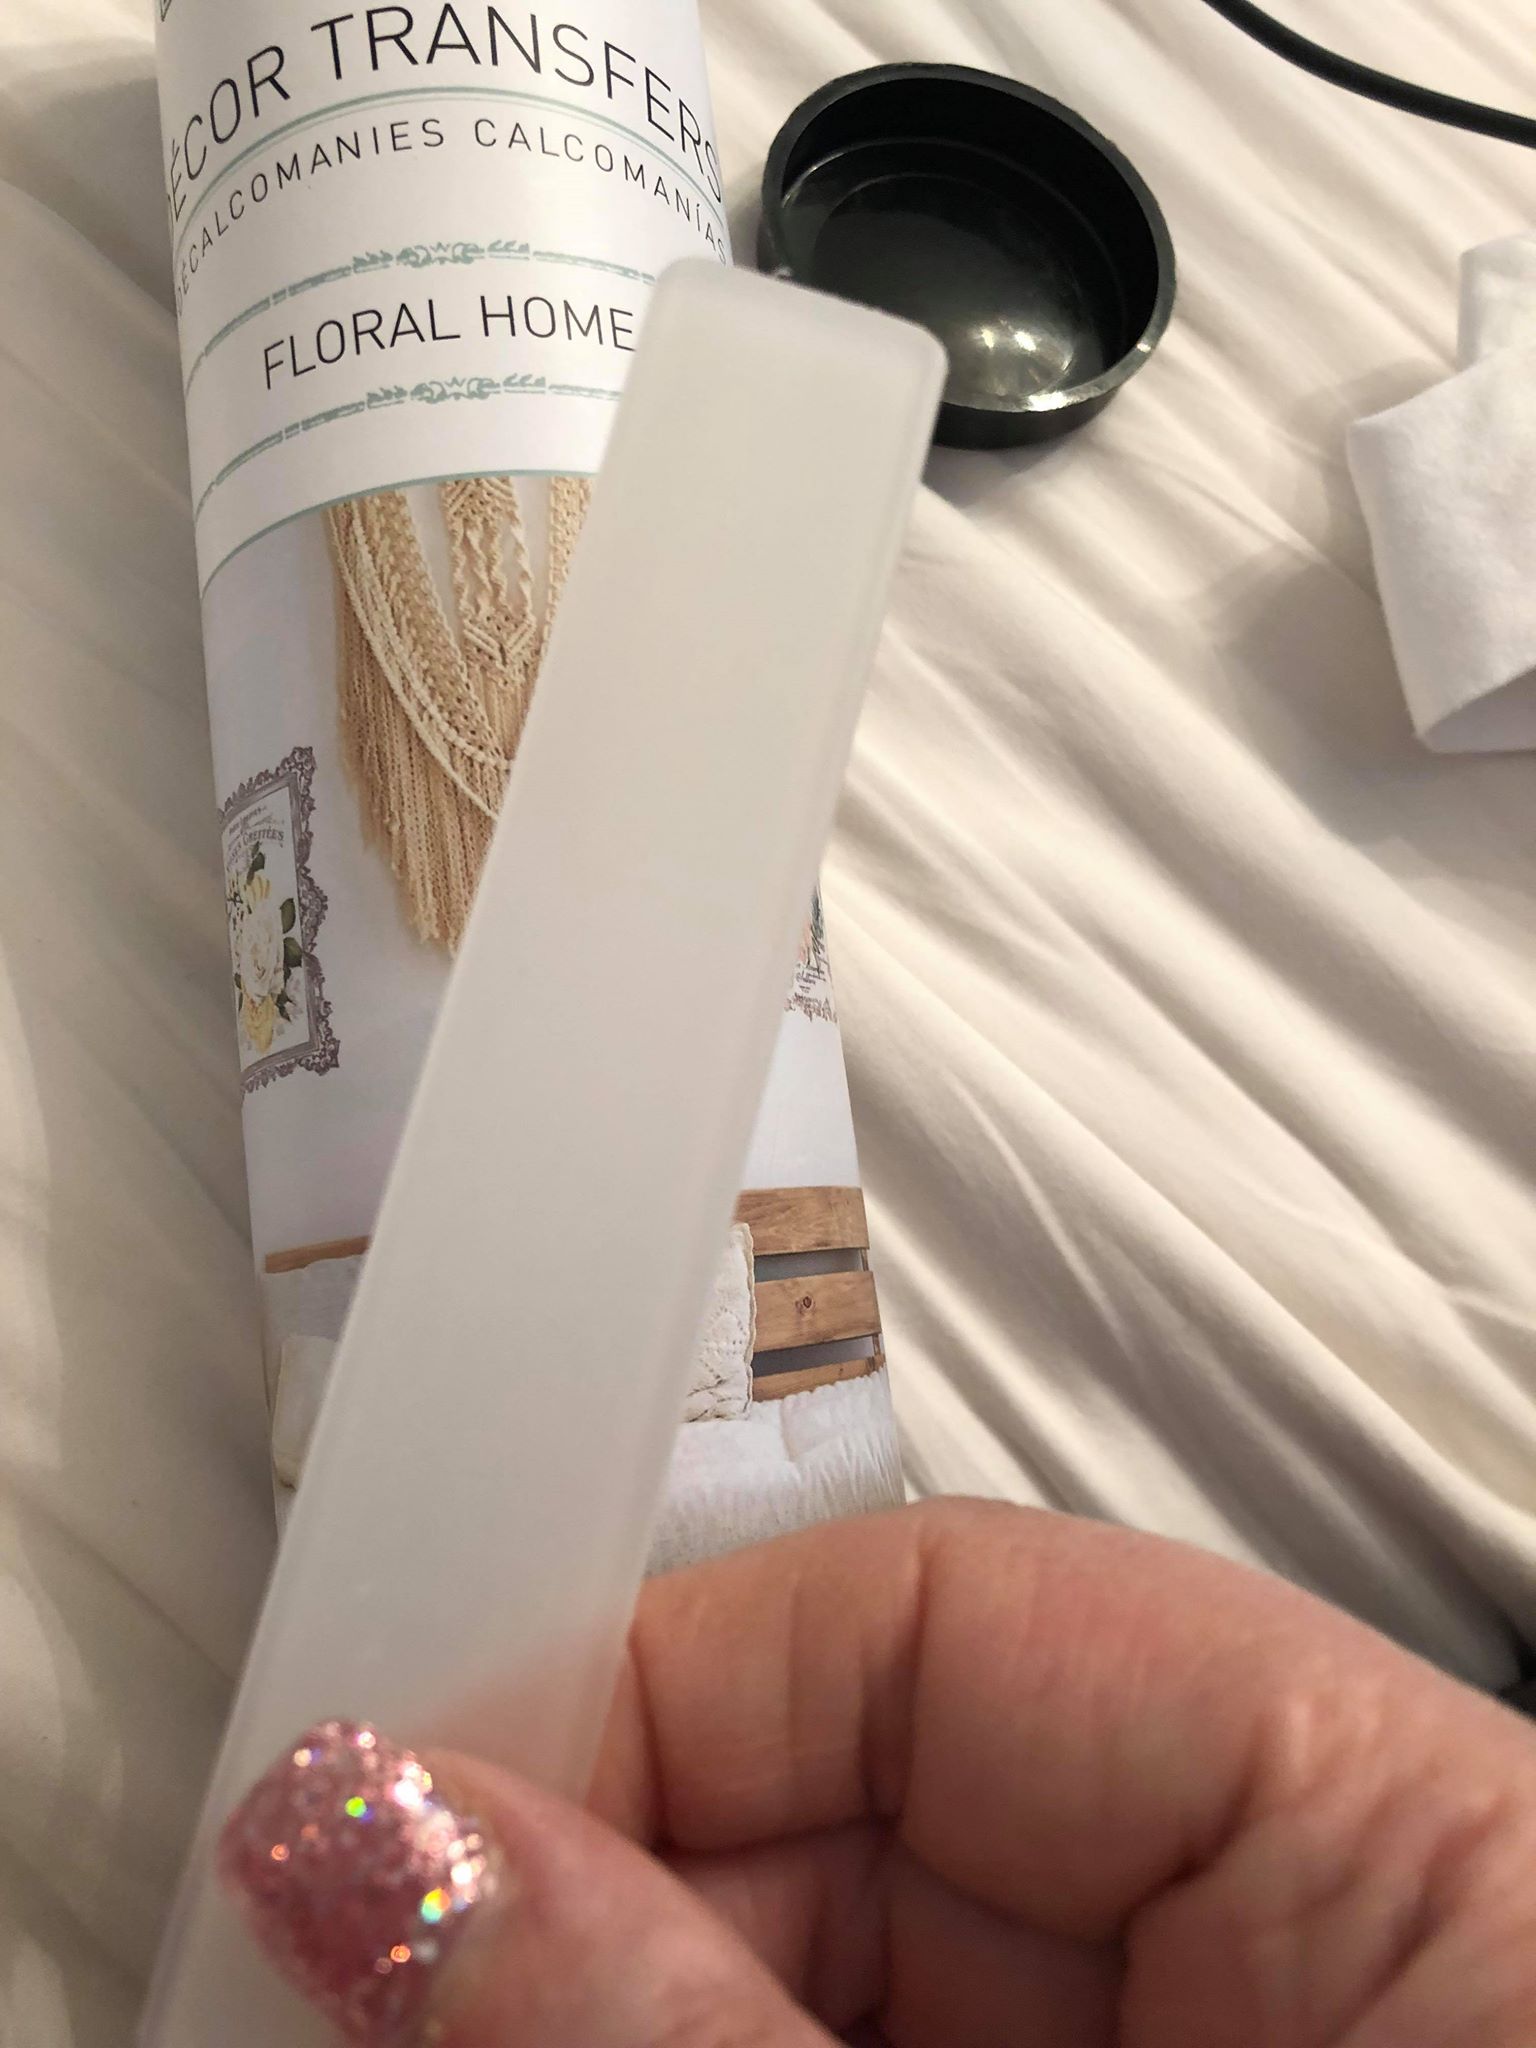
Step 4
Burnish the transfer onto your project with your plastic brayer until the entire transfer has been applied to the surface.
The furniture transfer I used for this project is described as Re-Design with Prima and the name of the transfer is “Floral Home”. The great thing about this particular transfer is that they came as a set of 4 and if you are doing several small projects, it is a nice value.
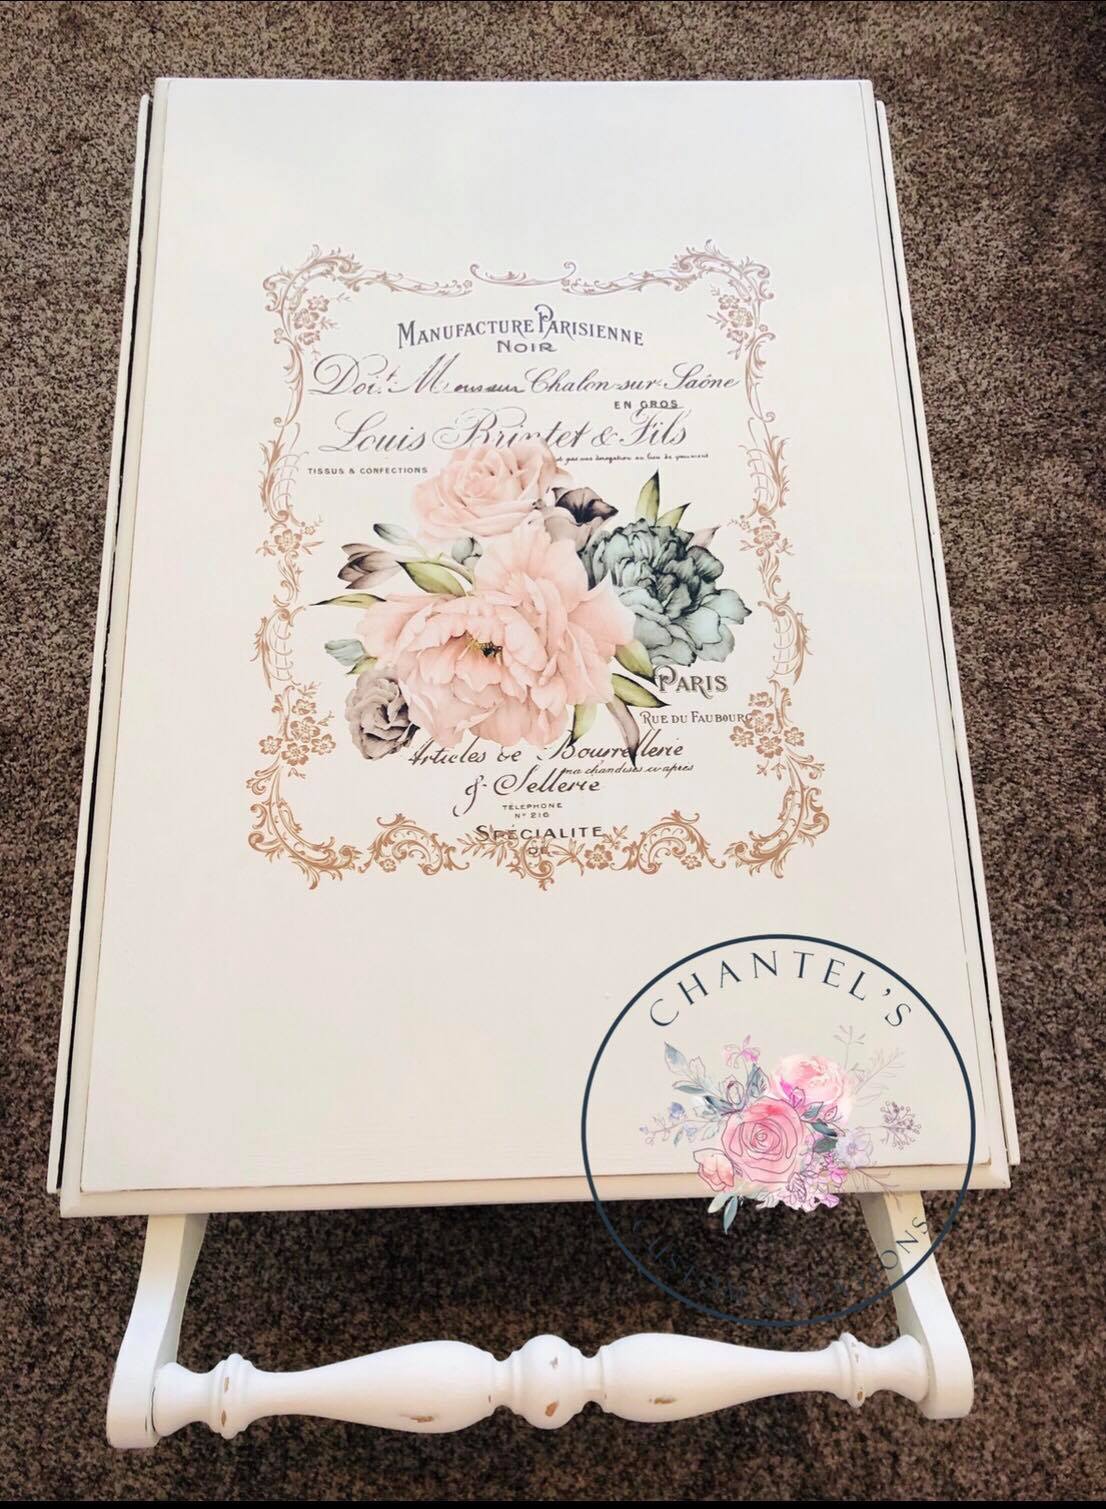
What a difference a little chalk paint makes and especially when you add a transfer to your project!
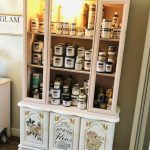
Here is my vintage tea cart being used as my craft cart in my craft room! I love how versatile this little cart is and maybe at some point down the road, I’ll be able to use it in my dining room as a tea cart!
Distressing
I also wanted to mention to go ahead and grab some 220 grit sandpaper and distress the edges a bit. I didn’t want my cart to be overly distressed but because it is a vintage piece of furniture, I wanted to have a light worn look to it.
Top Coat
With this particular piece of furniture, I did not apply a wax topcoat to it. I do find if it is for my own personal use, I sometimes skip this step! It is always recommended for best to results to finish your furniture with a furniture finishing wax topcoat.
Please let me know what you think of using transfers! I would love to see a photo of your finished project!
Are you interested in other posts with furniture transfers?!:
- Painted China Cabinet Hutch Makeover
- Can You Paint a Crib!
- Chalk Paint Buffet Transformation
- Growth Chart with Transfers for Nursery


Leave a Reply