I have always wanted a makeup vanity! Honestly I’ve always wanted a big antique one. But the room size doesn’t allow that, nor does the budget.
So what is the next best thing? A small vintage vanity. I found this one on the Marketplace and it fit so nicely in the corner of my bedroom.
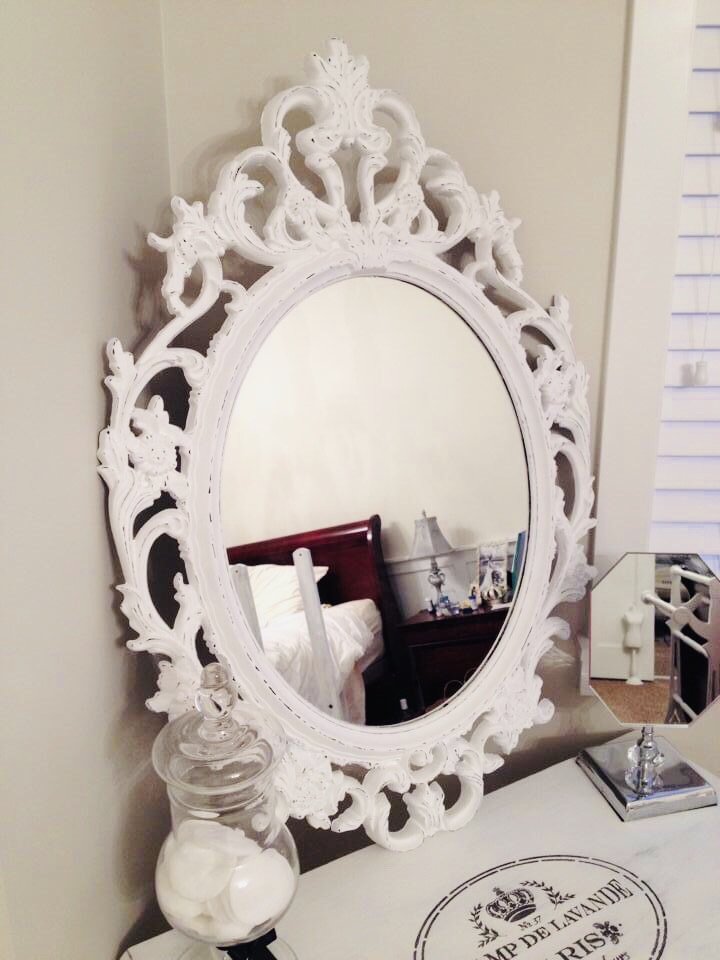
I also didn’t want to use the mirror that came with it, so I purchased the mirror from Ikea; with a small budget in mind.
This post contains affiliate links ; here is a link to my Disclosure Policy
Before
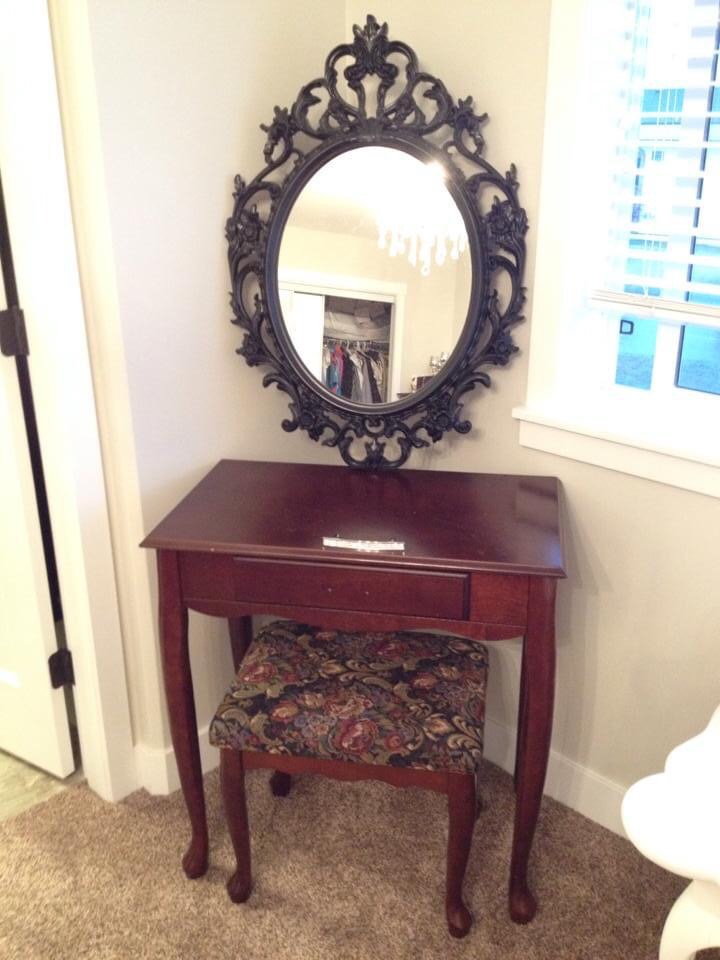
Preparing the Furniture
- The first thing to do is to wash all of the dust and debris and any caked on dirt. You can use any furniture cleaner but I prefer this one. Krud Kutter Prepaint cleaner.
- Next you will want to prime the furniture.
- I am wanting to go from a dark cherry color to white, so priming is essential.
- I prefer this primer, Zinsser primer in white, but at the end of the day, you can use whatever primer you have on hand.
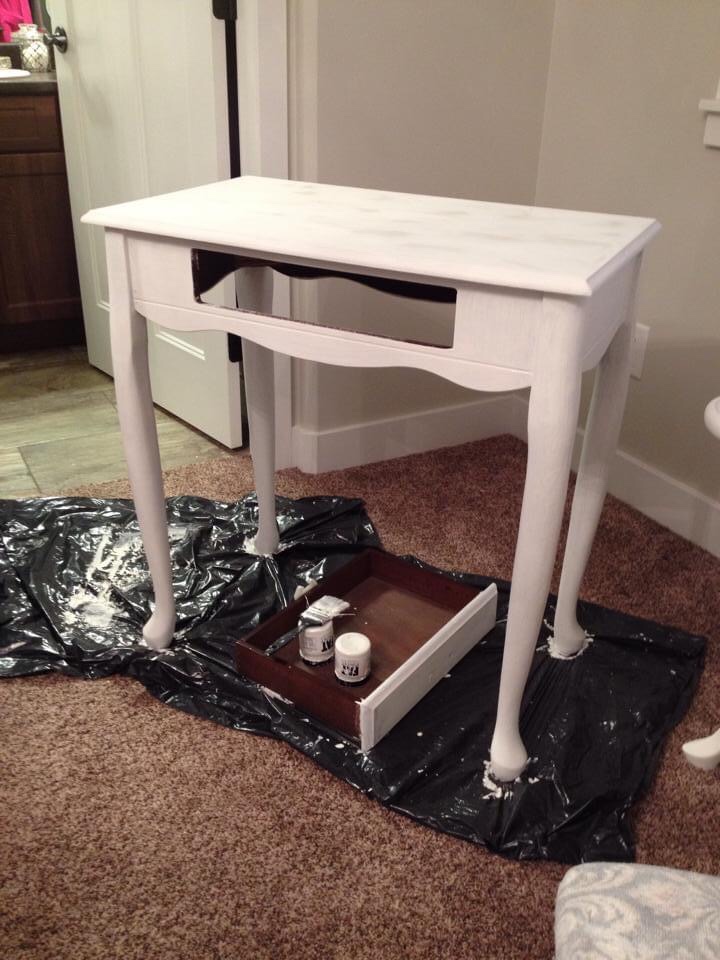
Priming
- Make sure you are painting in a well ventilated area and that you cover your carpets with garbage bags or drop cloths.
- I love painting my furniture in the room it’s going into.
- Be sure to remove hardware as well.
- I plan on adding my own hardware to the drawer on this piece.
Painting
- Once the primer has dried; I get right to the fun part! Let’s start painting.
- I used Linen White chalk paint by Rustoleum for this project.
- This is the brush I recommend: but if you have a nice soft bristle brush on hand, that could work too. Just make sure the bristles are soft or you will end up with brush strokes on your furniture.
- Brushes are important for sure. You want to make sure you don’t add too much paint to the brush.
- This is the chalk paint brand I recommend; but really, you can use whatever chalk paint you have on hand as well.
- How many coats you do will depend on the quality of the paint. Lower type quality will take more costs. I did 3 as I went from dark cherry to white.
Painting Fabric
- When painting any fabric, such as the seat cover, you will want to mix half fabric paint such as this one, with half of your chalk paint.
- This prevents your fabric from hardening. It’s an easy cheap way to make over a stool.
- If you have the time, you can easily reupholster yourself or have someone do it for you.
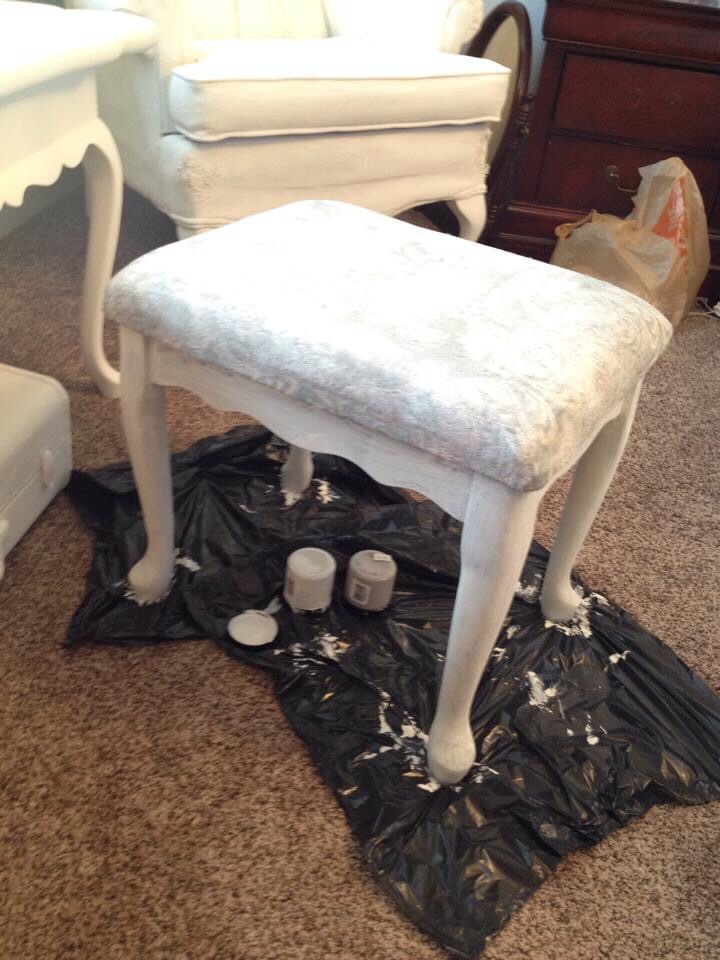
Distress
The next step was to distress my vanity.
I have tried many different ways of distressing and I would say using sandpaper is not my favorite way. It can really scuff down your furniture.
I prefer to use a wet rag to distress.
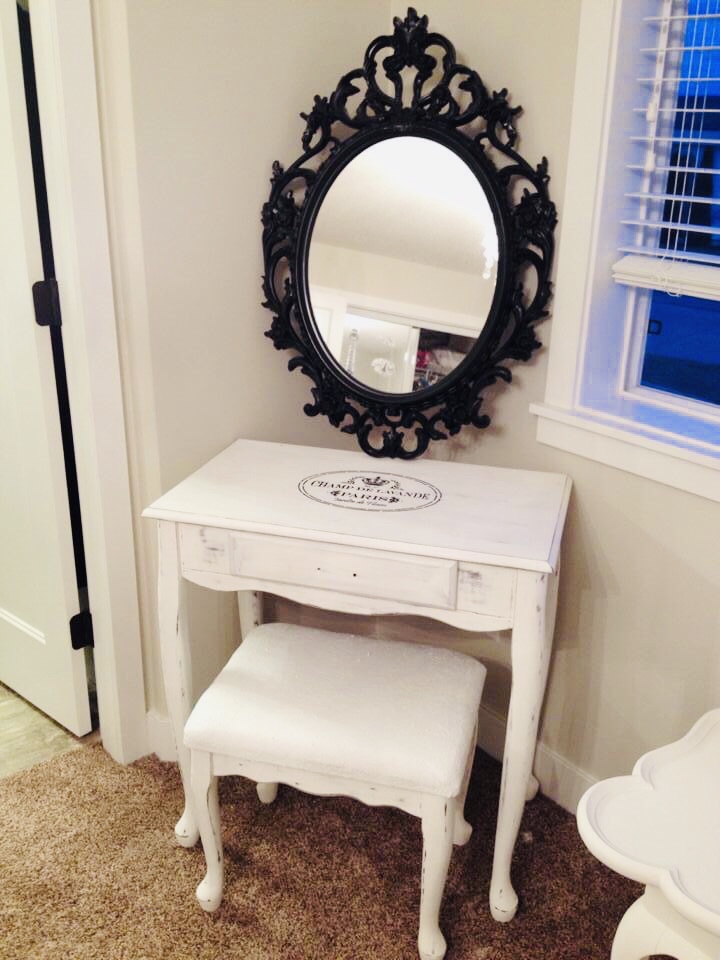
- You want to distress on the natural edges of where natural wear and tear would occur.
- Don’t be afraid! Distress away.
- If you are soft to begin with, you just keep adding to it as you go and if you go too far, you can paint over and start again.
Painting Plastic
Next was painting the mirror; it’s a plastic mirror which is great for chalk paint. I painted and then distressed the mirror as well.
New Hardware
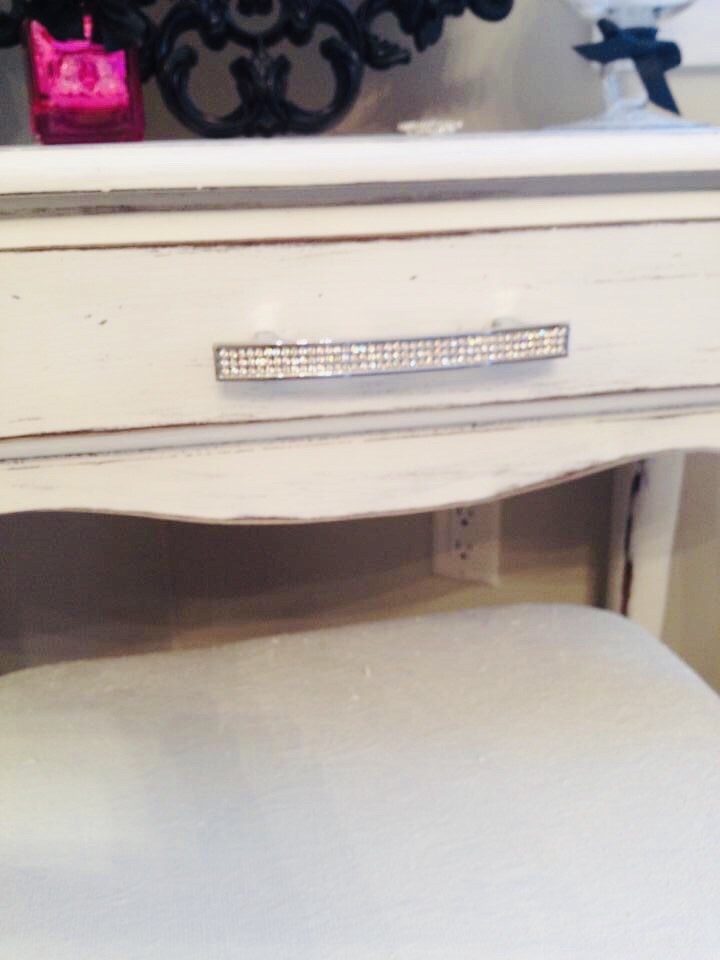
Next was adding new hardware. I’m a bling girl, so I added a blinged out knob to my drawer!
Mylar Stencil
I was feeling like my vanity was a bit plain, so I grabbed black chalk paint and a stencil and stenciled on top of my vanity and I think it turned out amazing.
You can use any mylar stencil you have on hand, but I prefer this Paris one!

I was very happy with how my vanity turned out and I hope I was able to inspire you to do your own!
After
 Share pictures and comments of your painting adventure, I would love to see!
Before you Go, check out my other chalk paint before and afters!:
- King Size Headboard Makeover
- Chalk Painted China Cabinet to TV Stand Makeover
- Vintage Nesting Tables Painted with Chalk Paint
- Nursery Dresser Painted with Chalk Paint
- Can You Paint a Crib!


Leave a Reply