Yes you can paint a crib! I have painted a crib for my son’s nursery! It’s not easy and it’s definitely time-consuming but if you can get your hands on a hand-me-down crib or one from the Buy n Sell but it’s not quite your style, then I have the answer for you!
Please make sure you check to see if the crib you are using meets all safety regulations in your area before painting. I also make sure to use low VOC and non-toxic chalk paint on my nursery furniture.
As my baby grows, I do add the cloth crib rails to the railings so he is not chewing on the paint. Worked wonders for me!
This post includes affiliate links ; here is a link to my Disclosure Policy
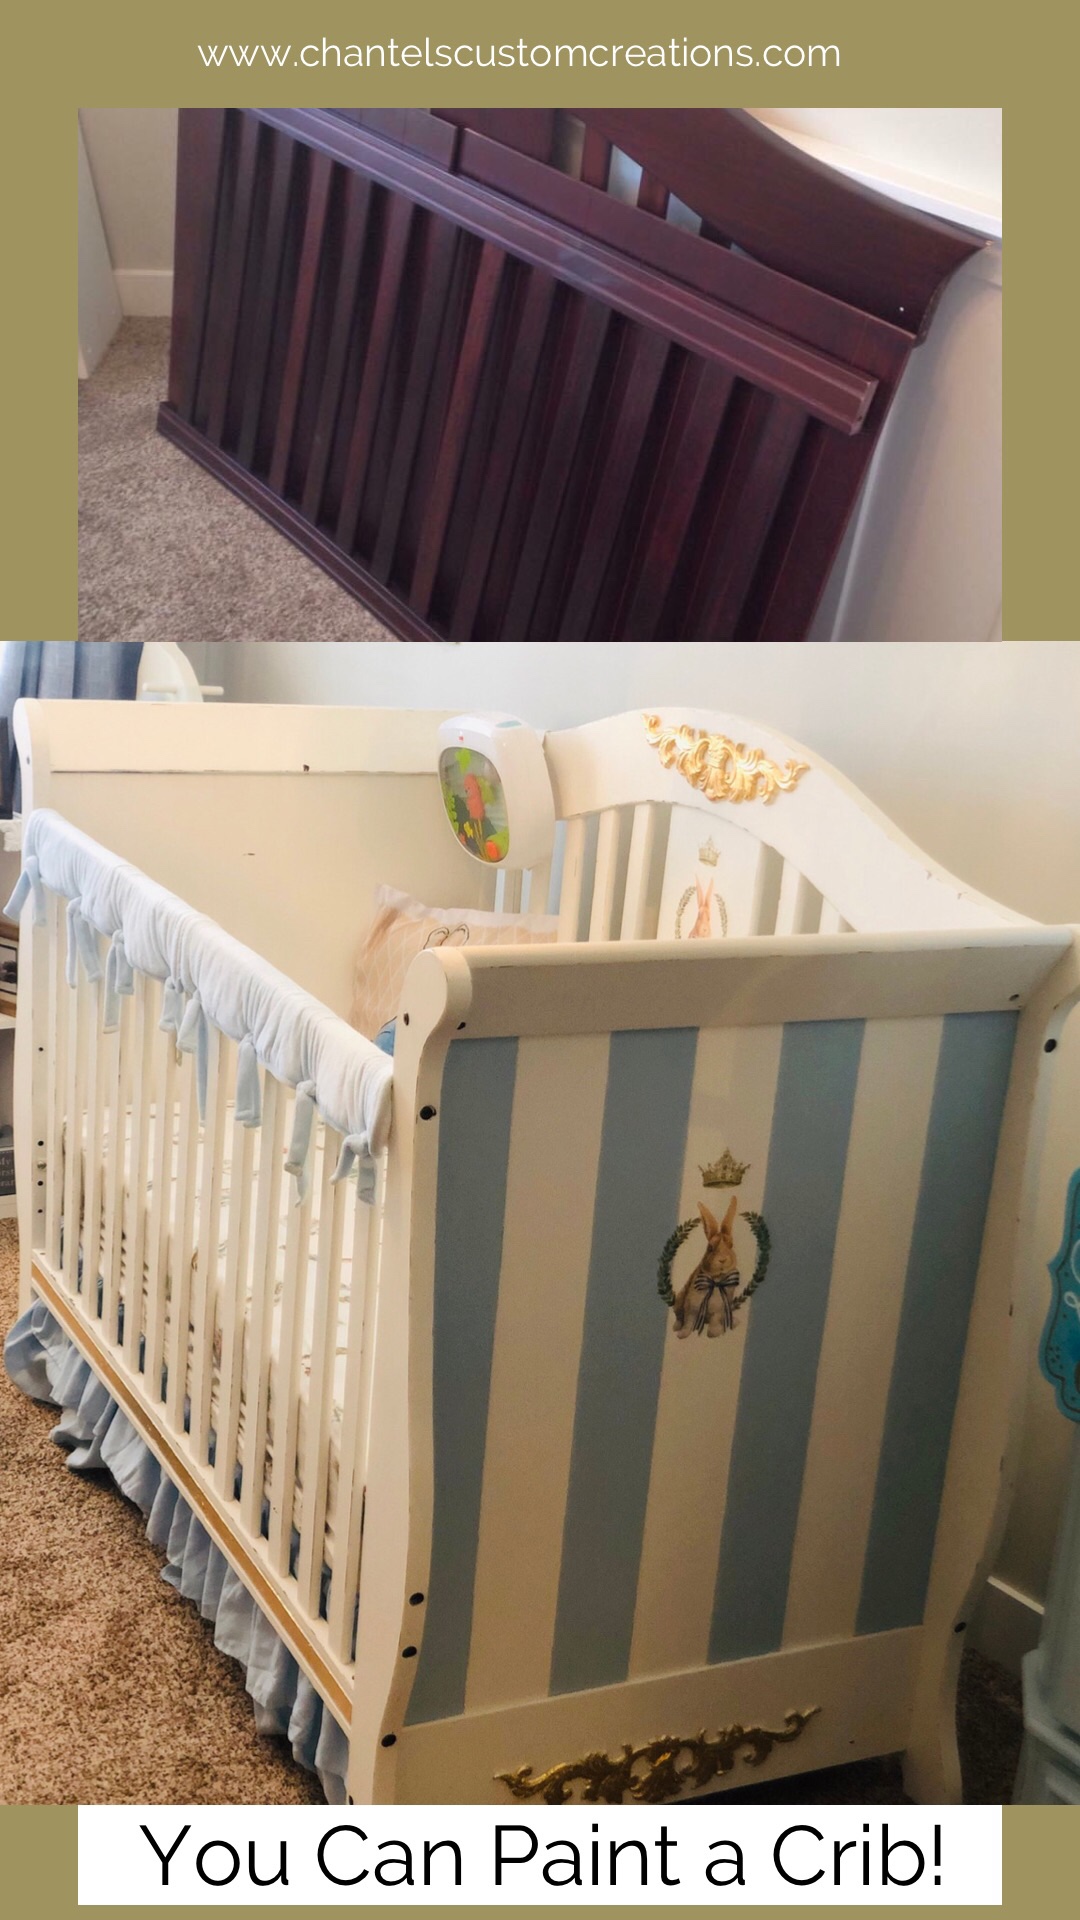
Before

Steps to Refinish
- I started my project right out of the box. I had bought the crib and then my design ideas had changed. Brand new cherry crib I decided to paint!
- It was scary and very time-consuming. I will also mention you will want to make sure you pick a chalk paint that is low VOC, no smell and safe for babies if they happen to bite the crib. I waited to see if my son would bite crib and when I discovered that, I added a rail cover to the crib and the problem was solved.
Prepare for Painting
- As I always say in all of my painting posts, please make sure you prepare your furniture for painting as it will save you so much time and money in the end. I have learned this the hard way and would like to help and save you from the same.
- Please check out my blog post on Preparing Furniture for Painting HERE.
- You will need to remove all debris and lightly sand if you are attempting to paint a shiny dark wood into a light paint. Sanding actually helps the paint adhere to the surface.
- I always start with a couple of coats of Zinsser LINK primer to my project when I am painting a dark wood into a light color. It will save so much of your precious paint!
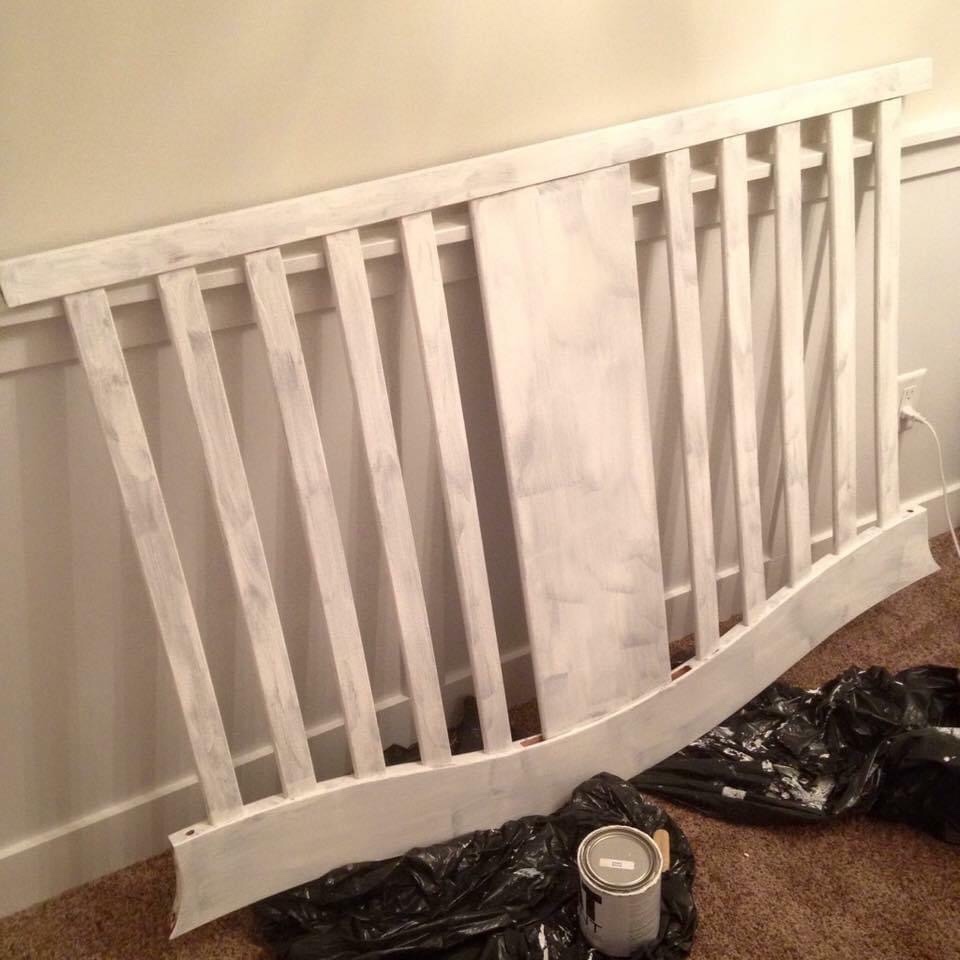
Painting
I used Chiffon Cream from Rustoleum for my project. A couple of coats was all that was needed. You can find it HERE.
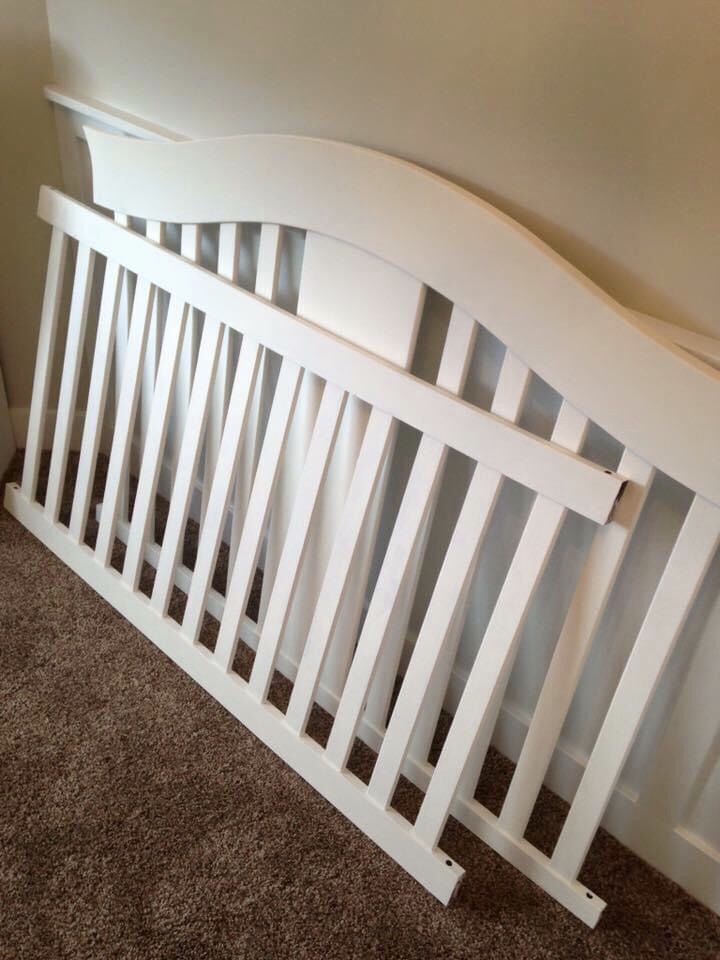
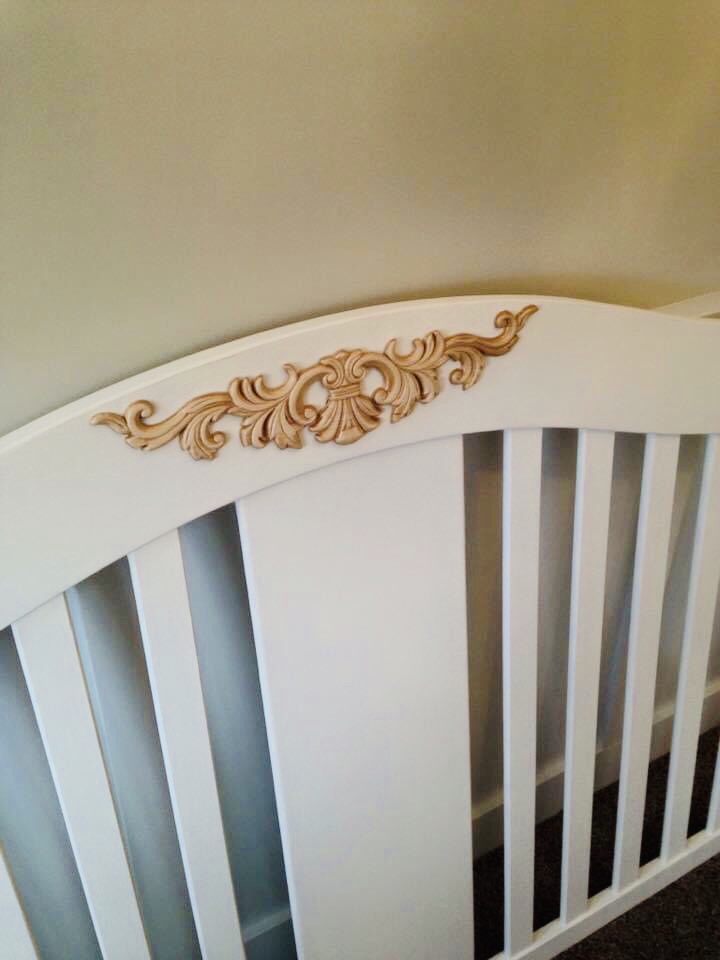
Wood Applique
- I opted for a wood appliqué for my crib as I felt it was too plain without something added! I purchased the appliqué quite some time ago and cannot find the exact one I purchased, but in order to help you find one similar, you can check out some options HERE.
- Then I chalk-painted the applique and applied it to the front of the crib with wood glue.
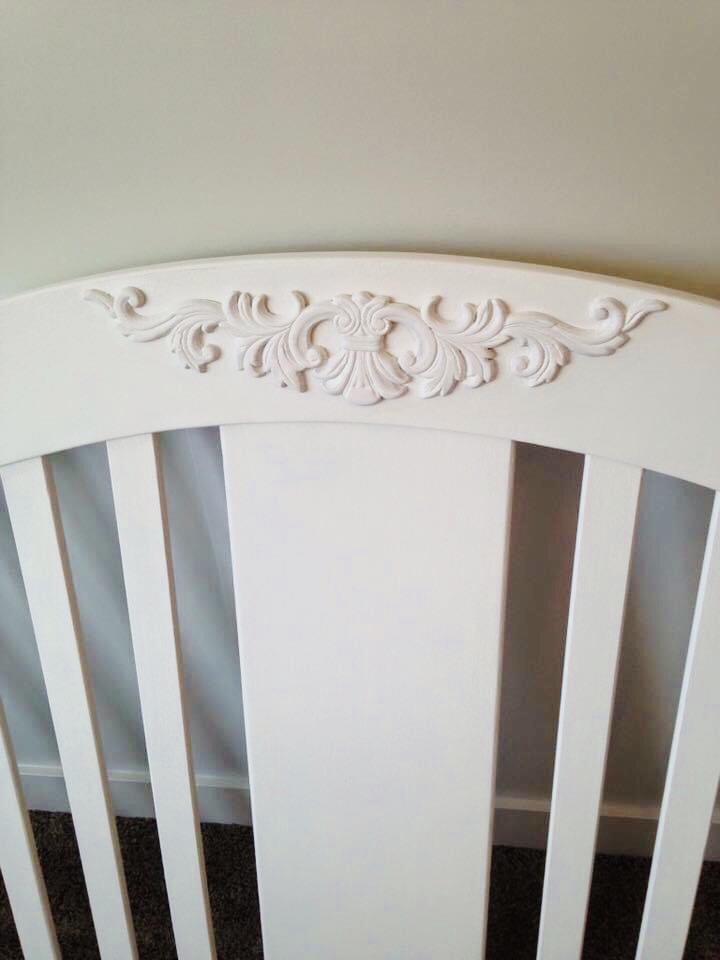
Distressing
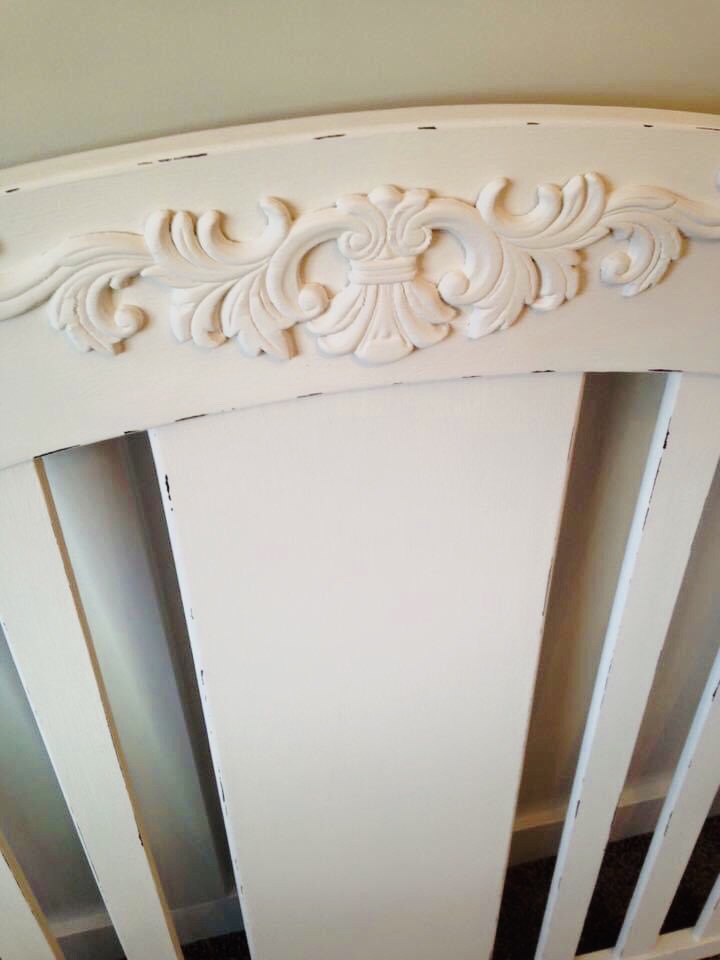
- I also opted to lightly sand and distress at the natural ridges of the furniture. If you do this step, be sure to use very fine grit sandpaper as you do not want to sand your wood down.
- This is meant to lightly distress. I have also made the mistake of sanding my project down too much and it ended up taking some of the wood with it.
- I always advise that if you would like to do heavy distress, to use the wet method as opposed to sandpaper. All this means is to wet a rag and to distress with a wet rag instead of sandpaper. That way you will not be sanding off the edges of your furniture piece.
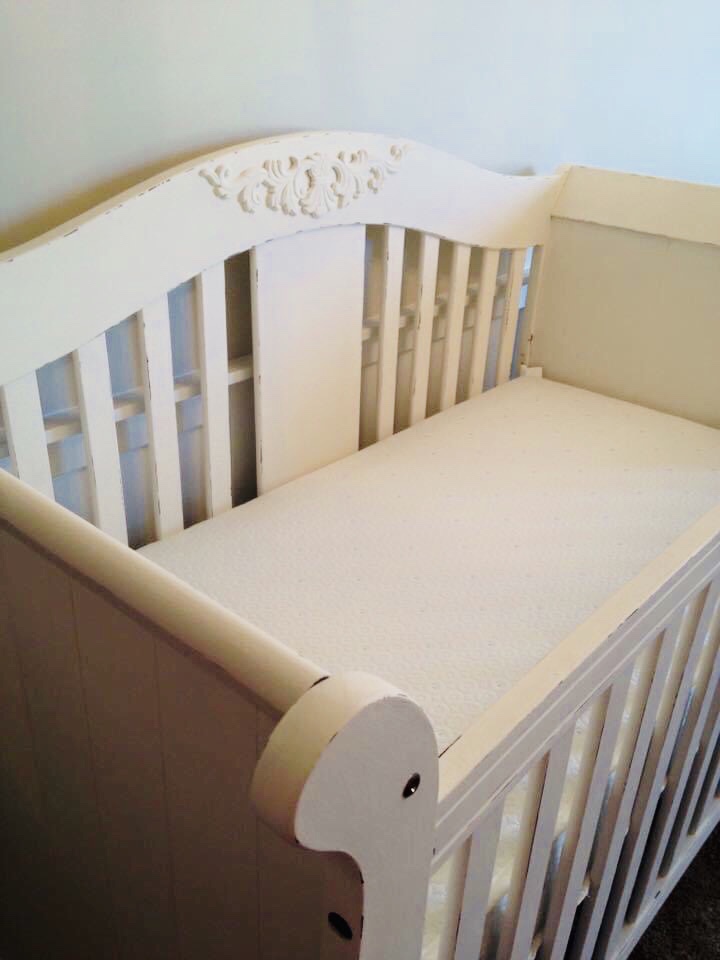
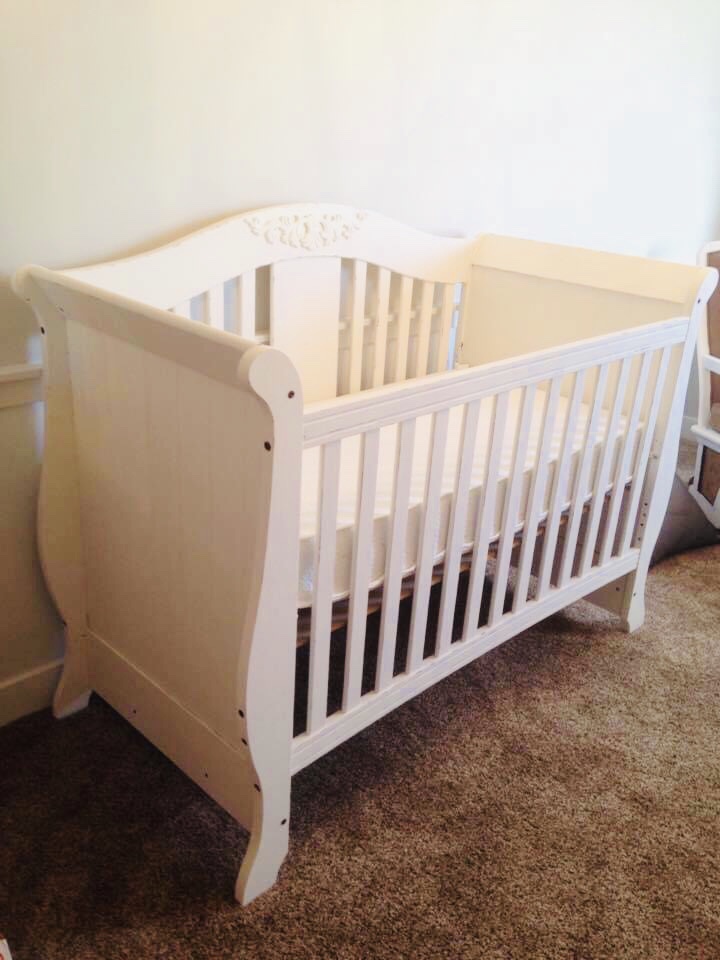
Decorative Elements
- At this stage, the crib is now ready for all of the decorative elements to be added.
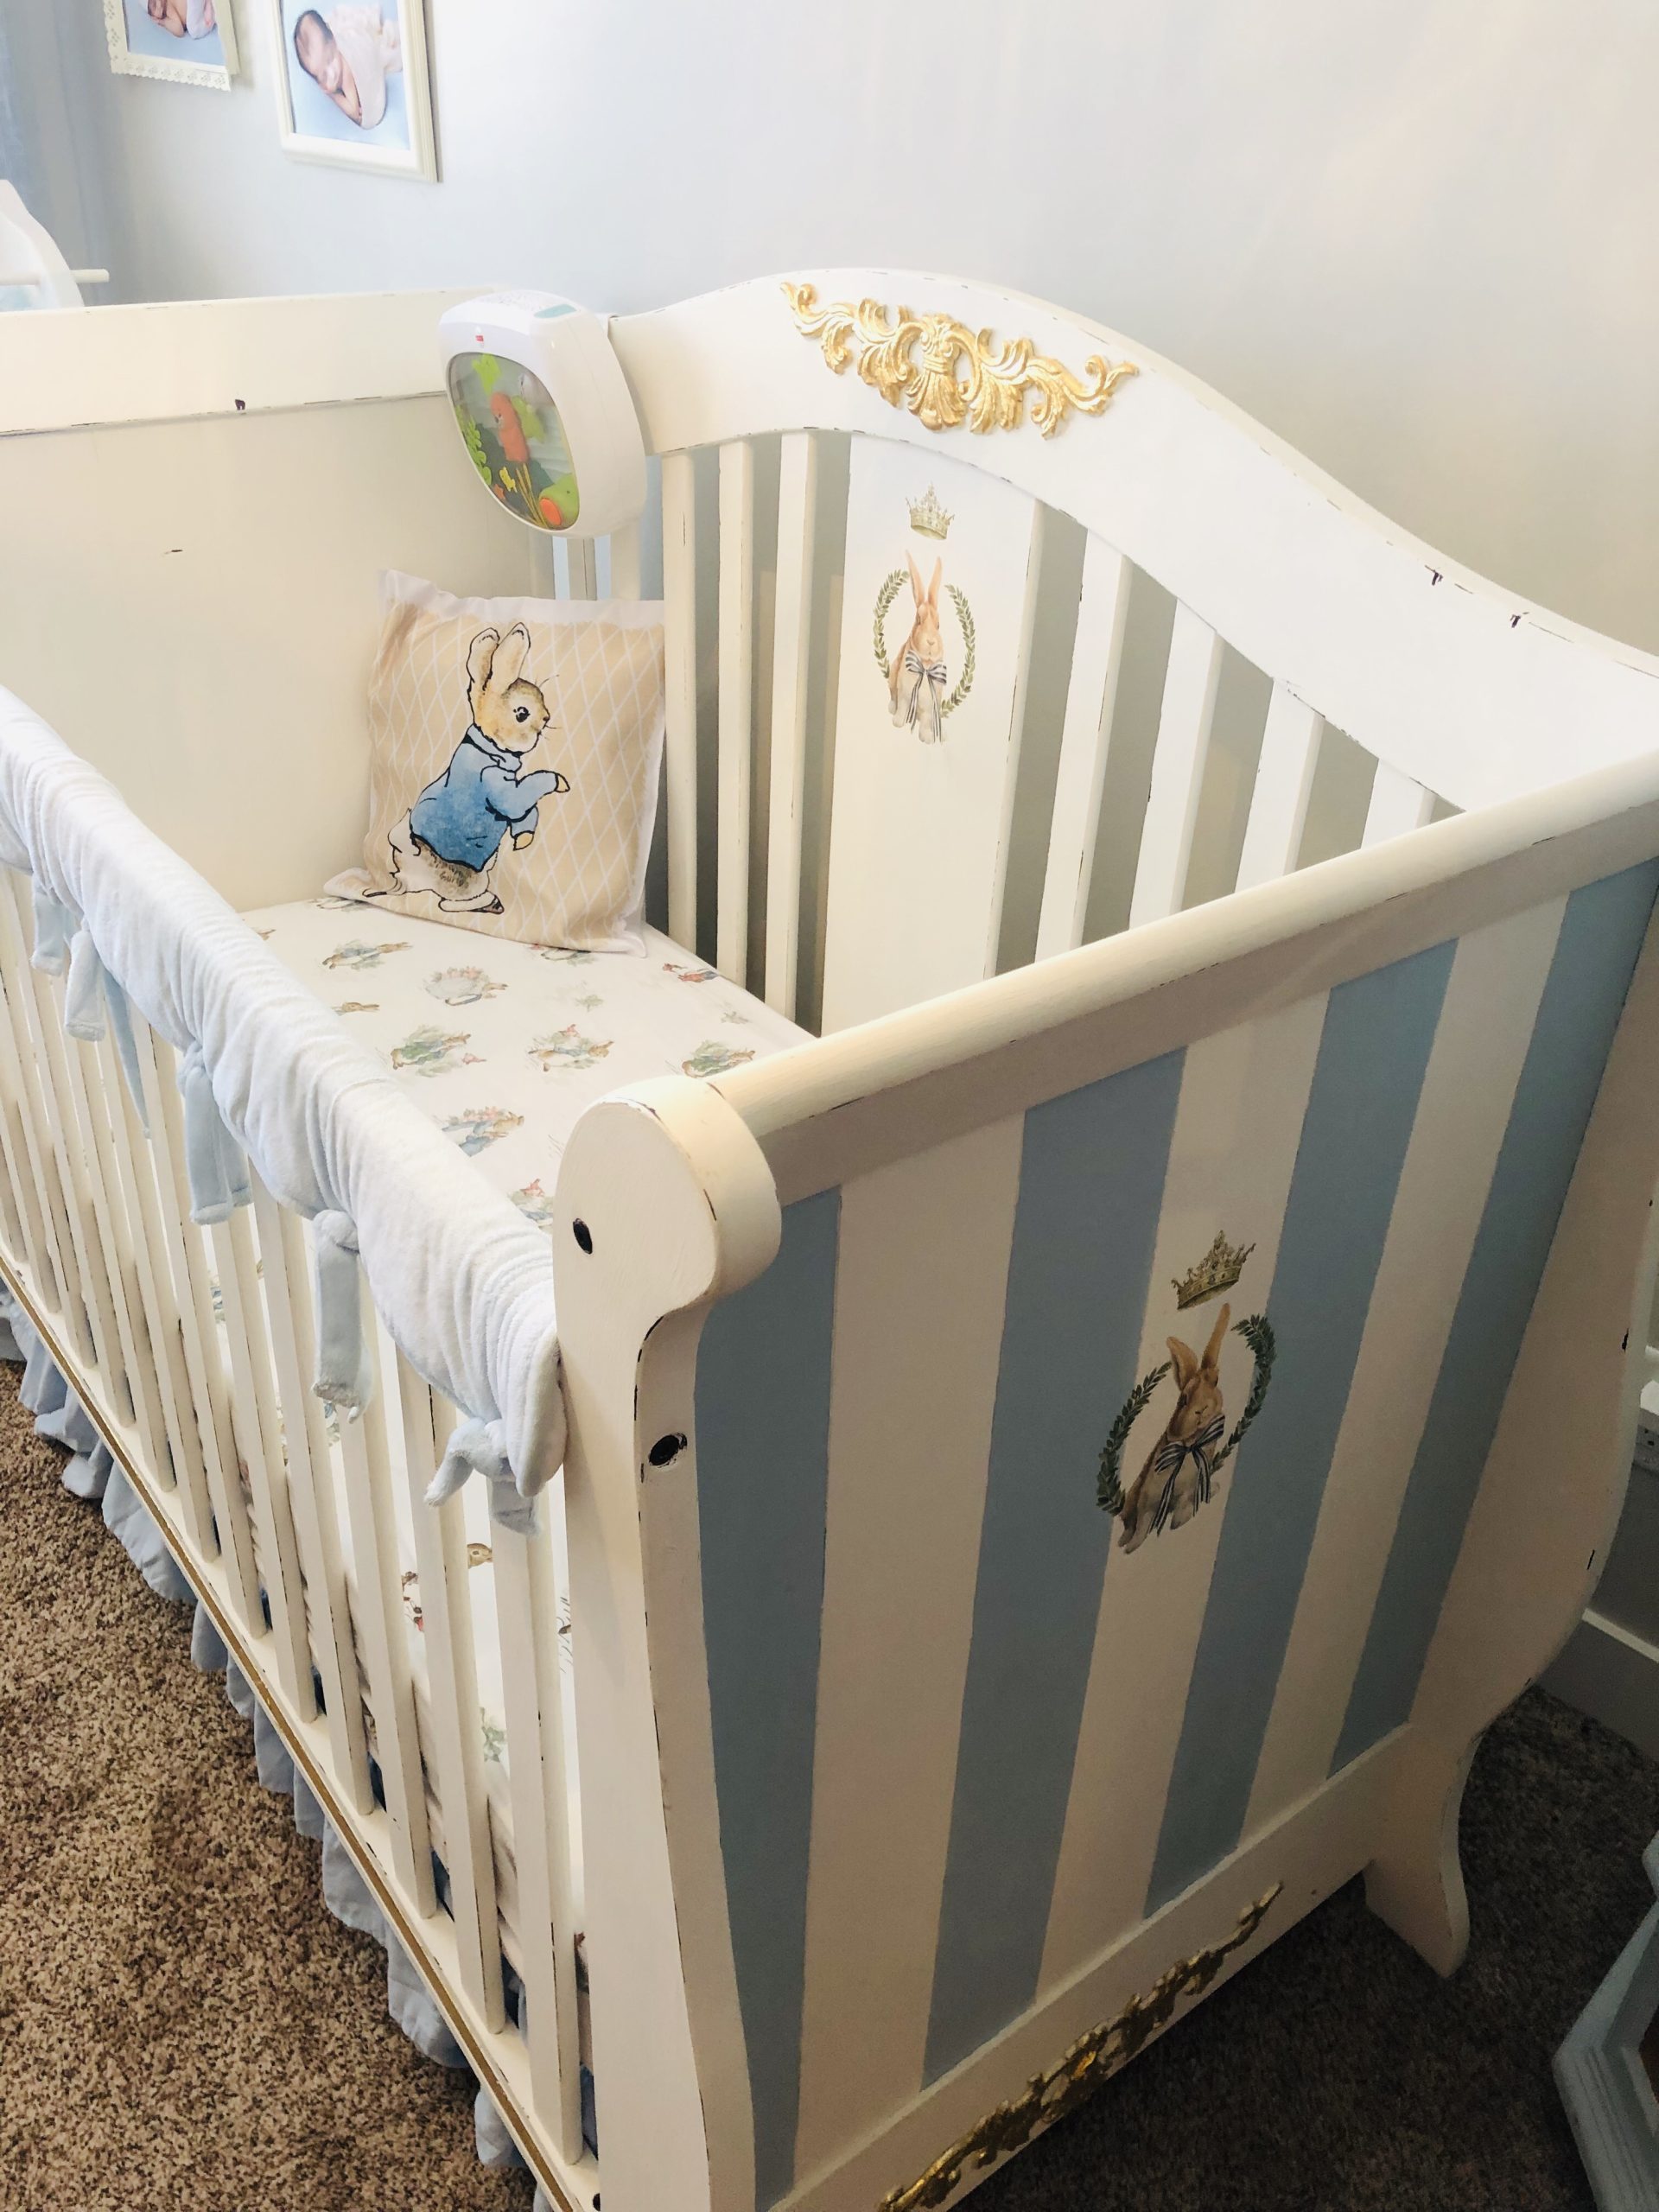
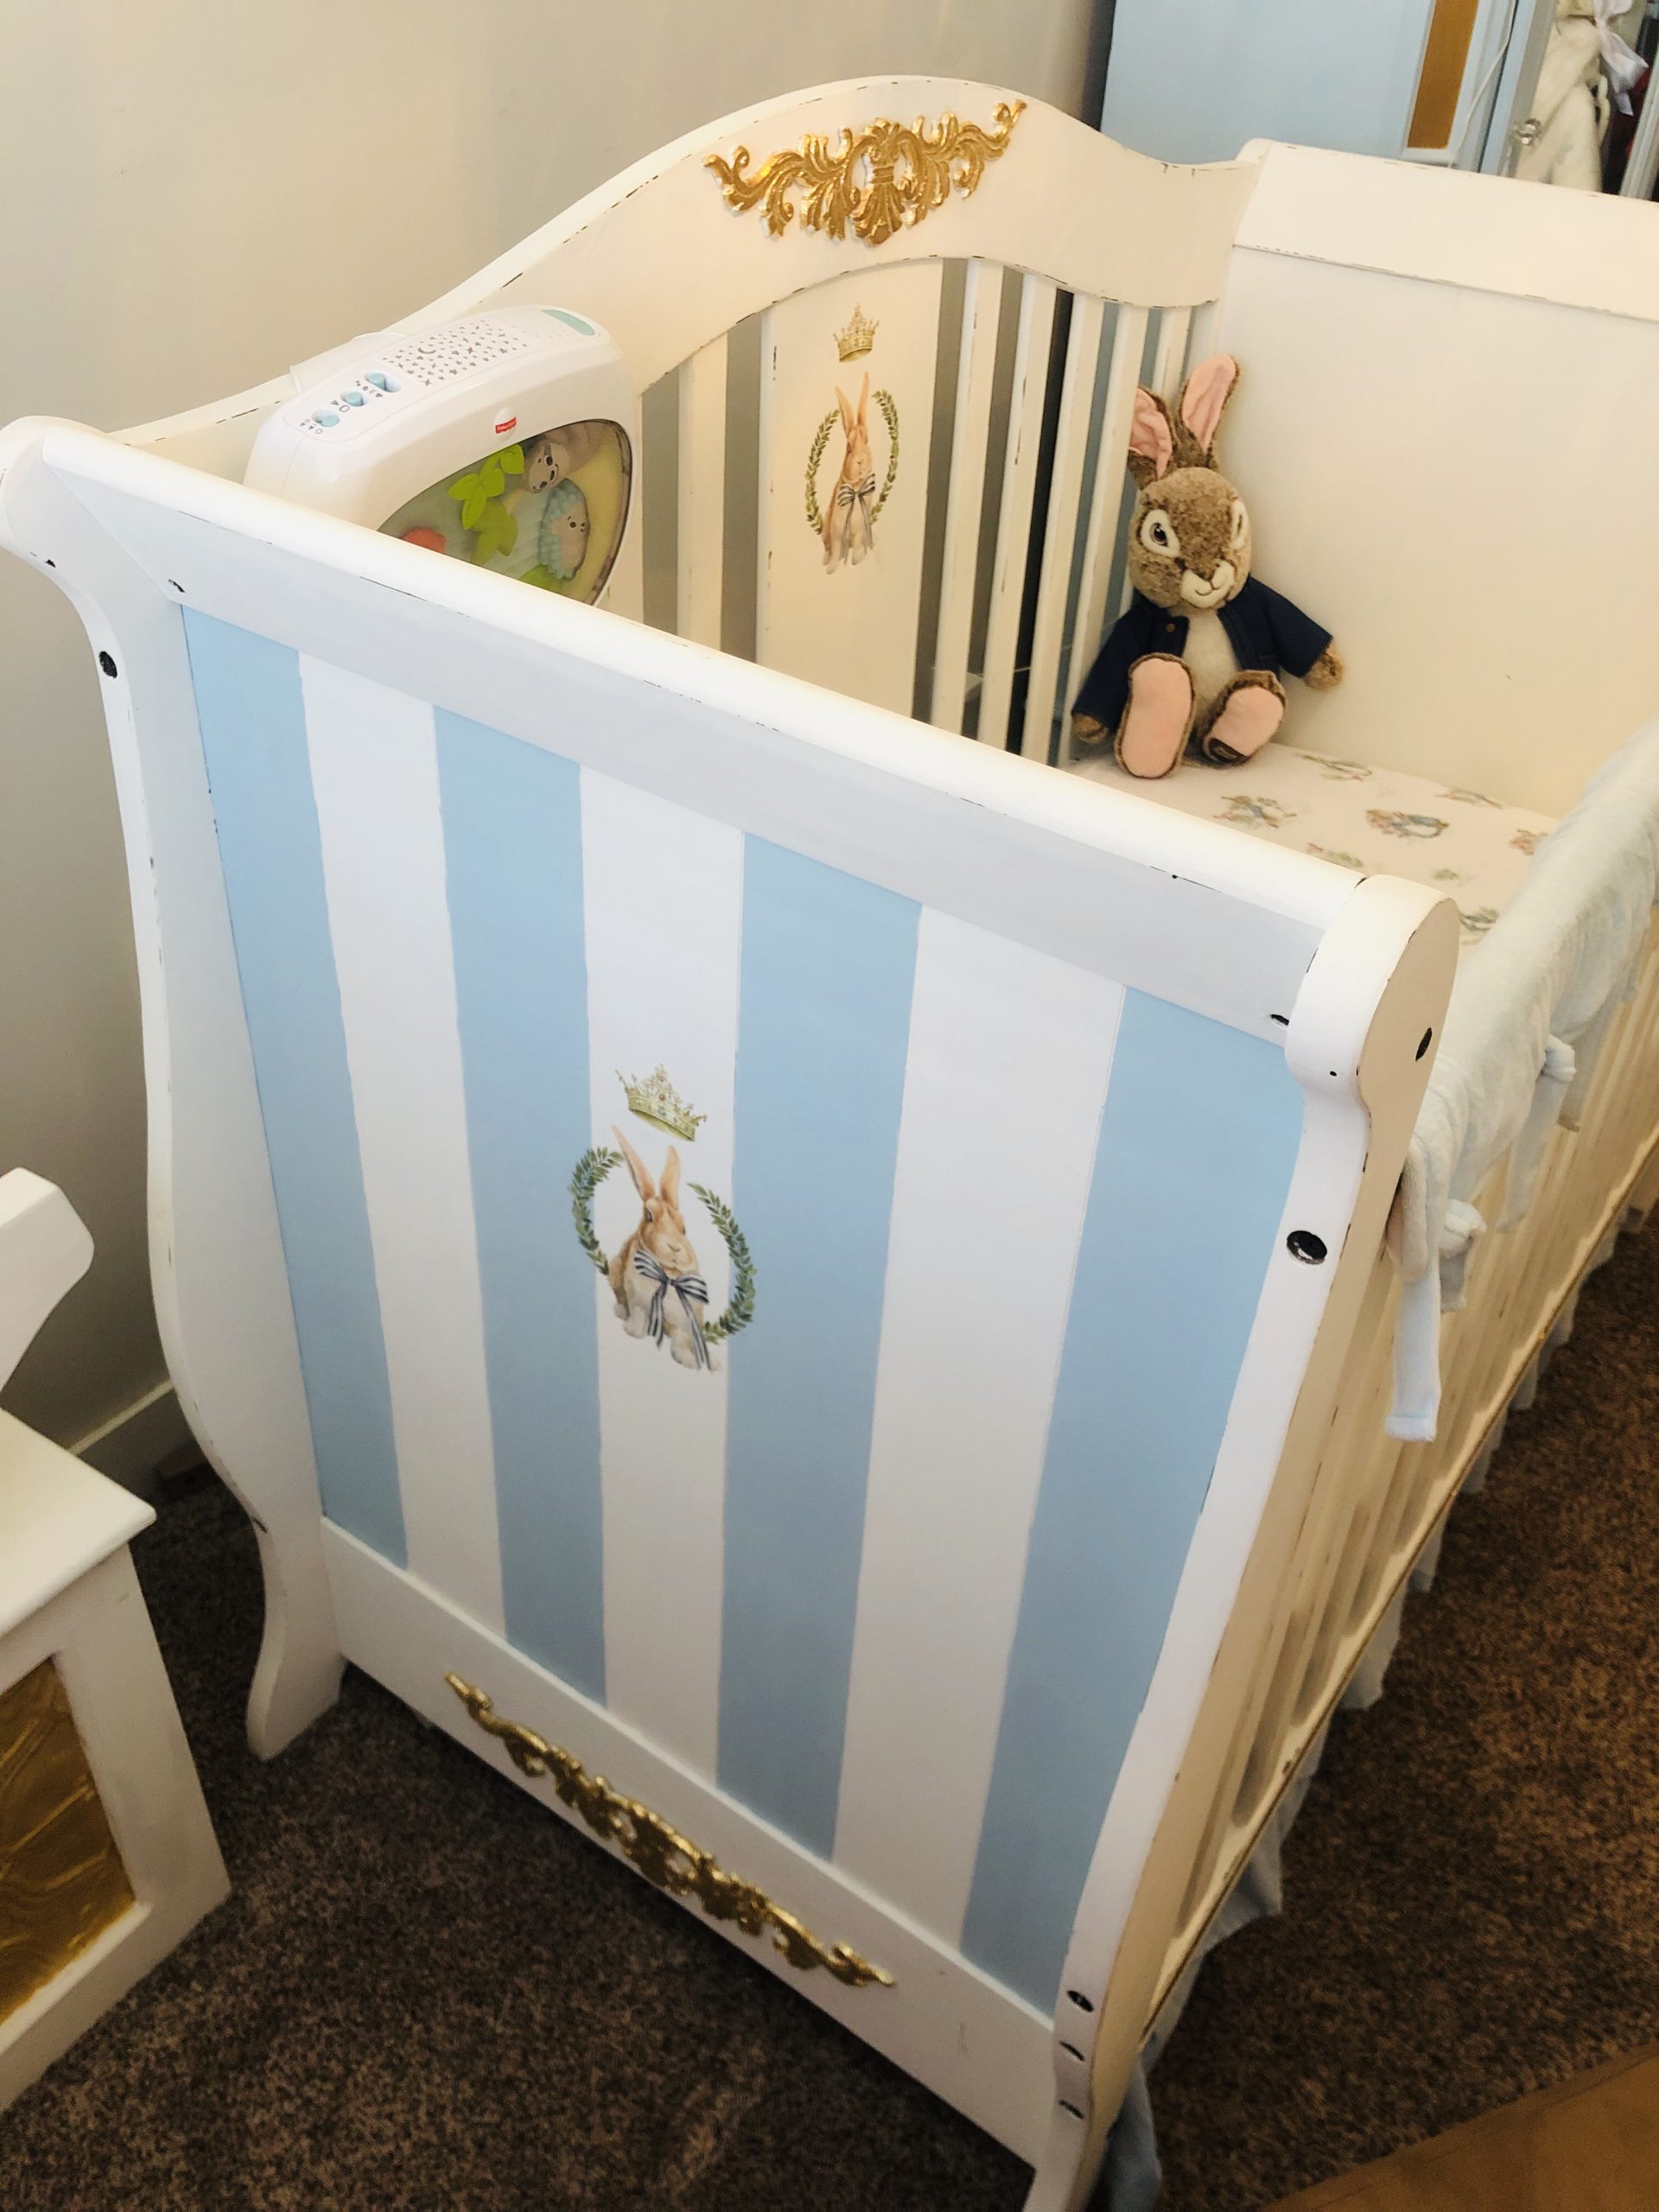
- I started the decorative elements by choosing a blue chalk paint to paint the slats on the side of the crib. I simply used painters tape on the slats to be sure I didn’t get the blue onto the cream color.
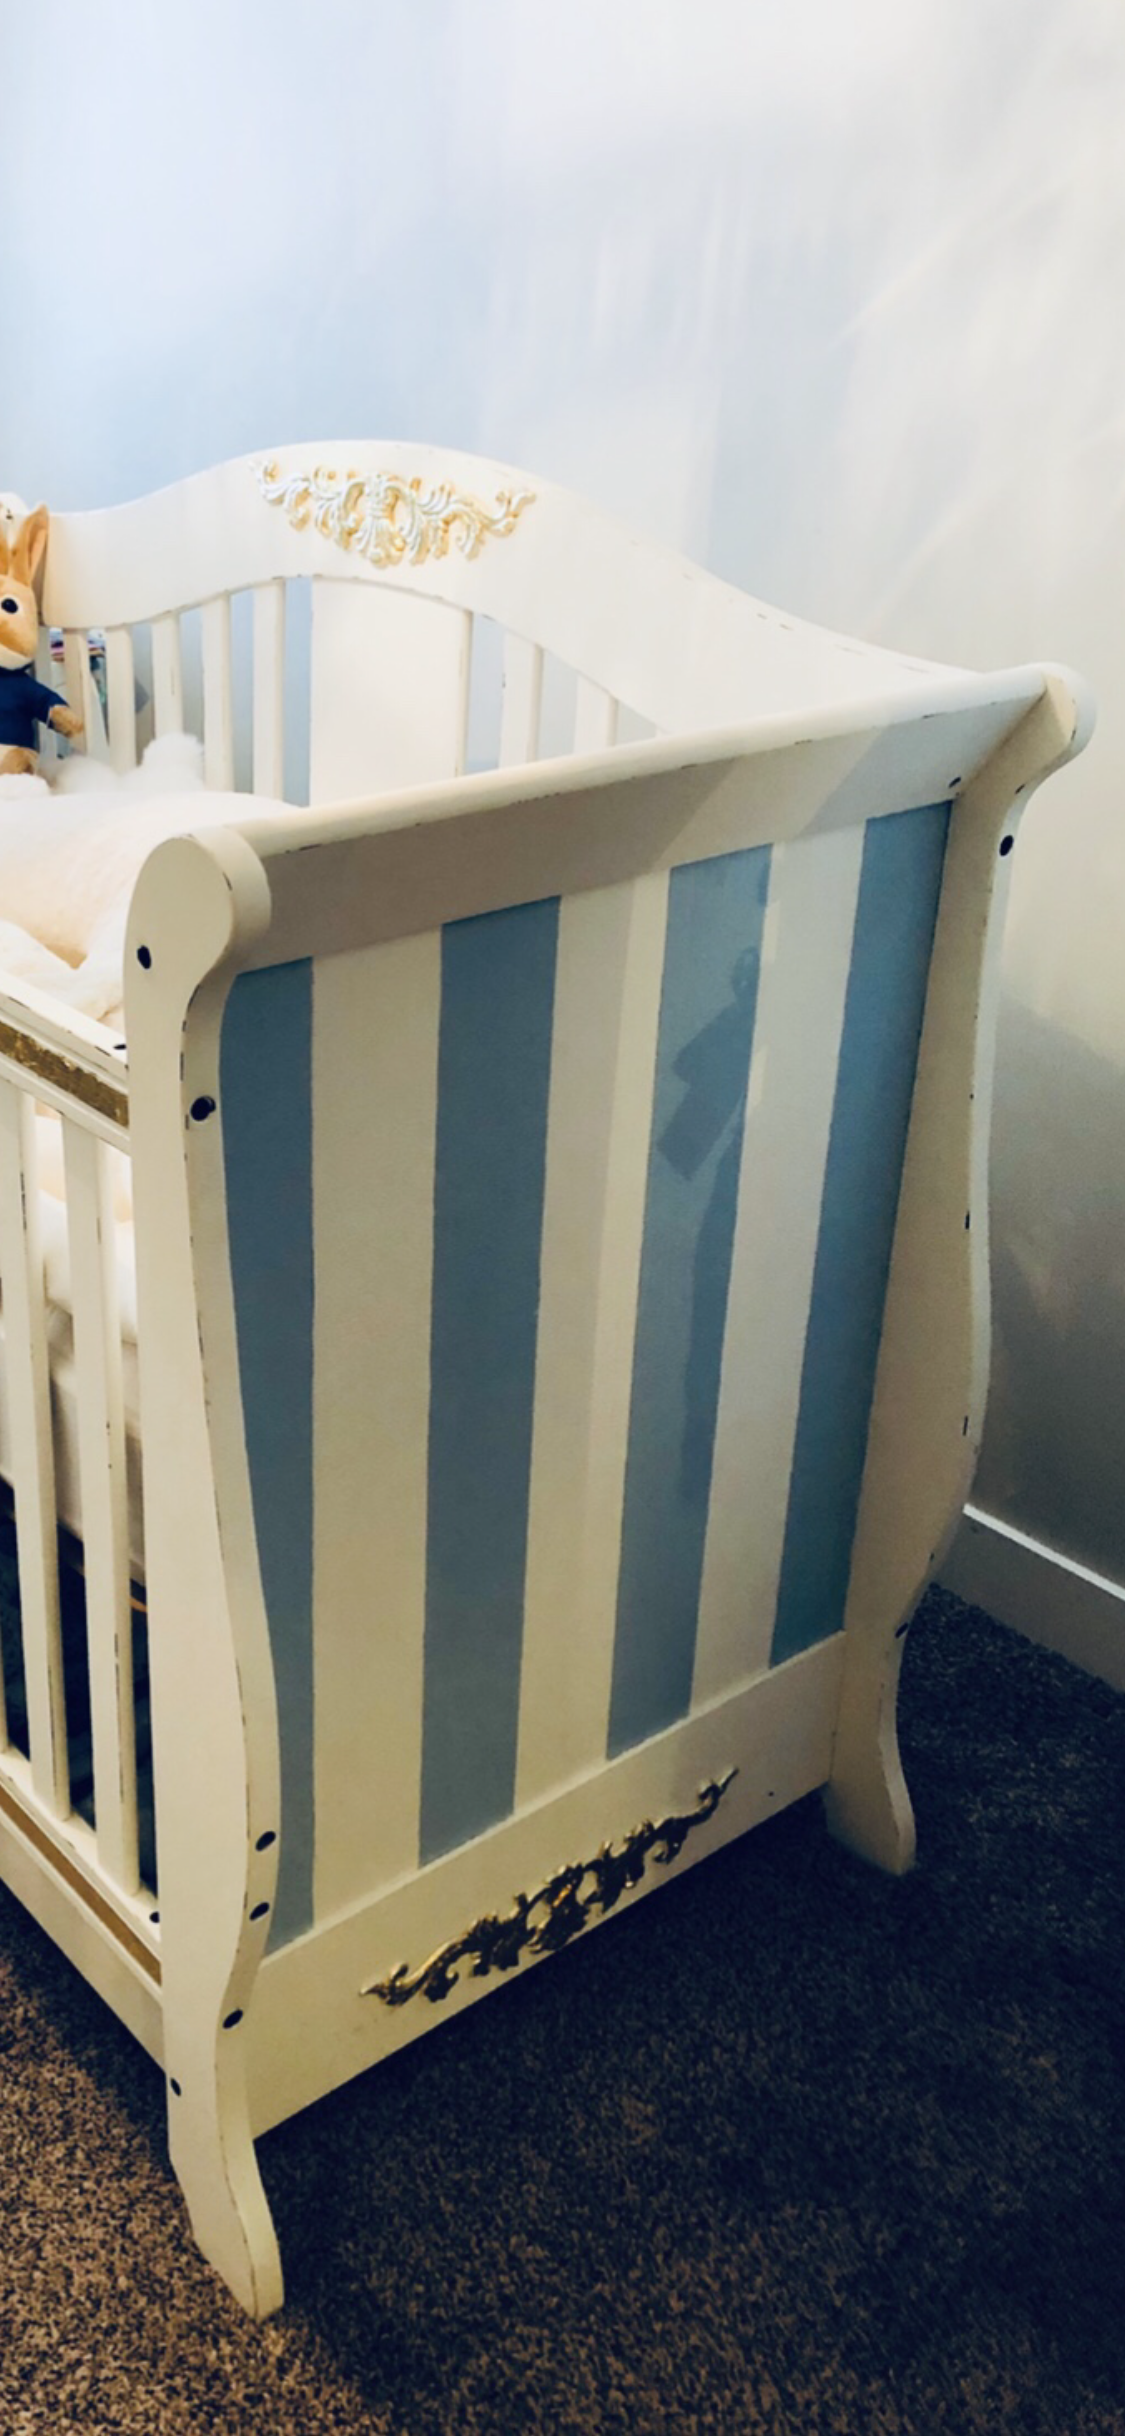
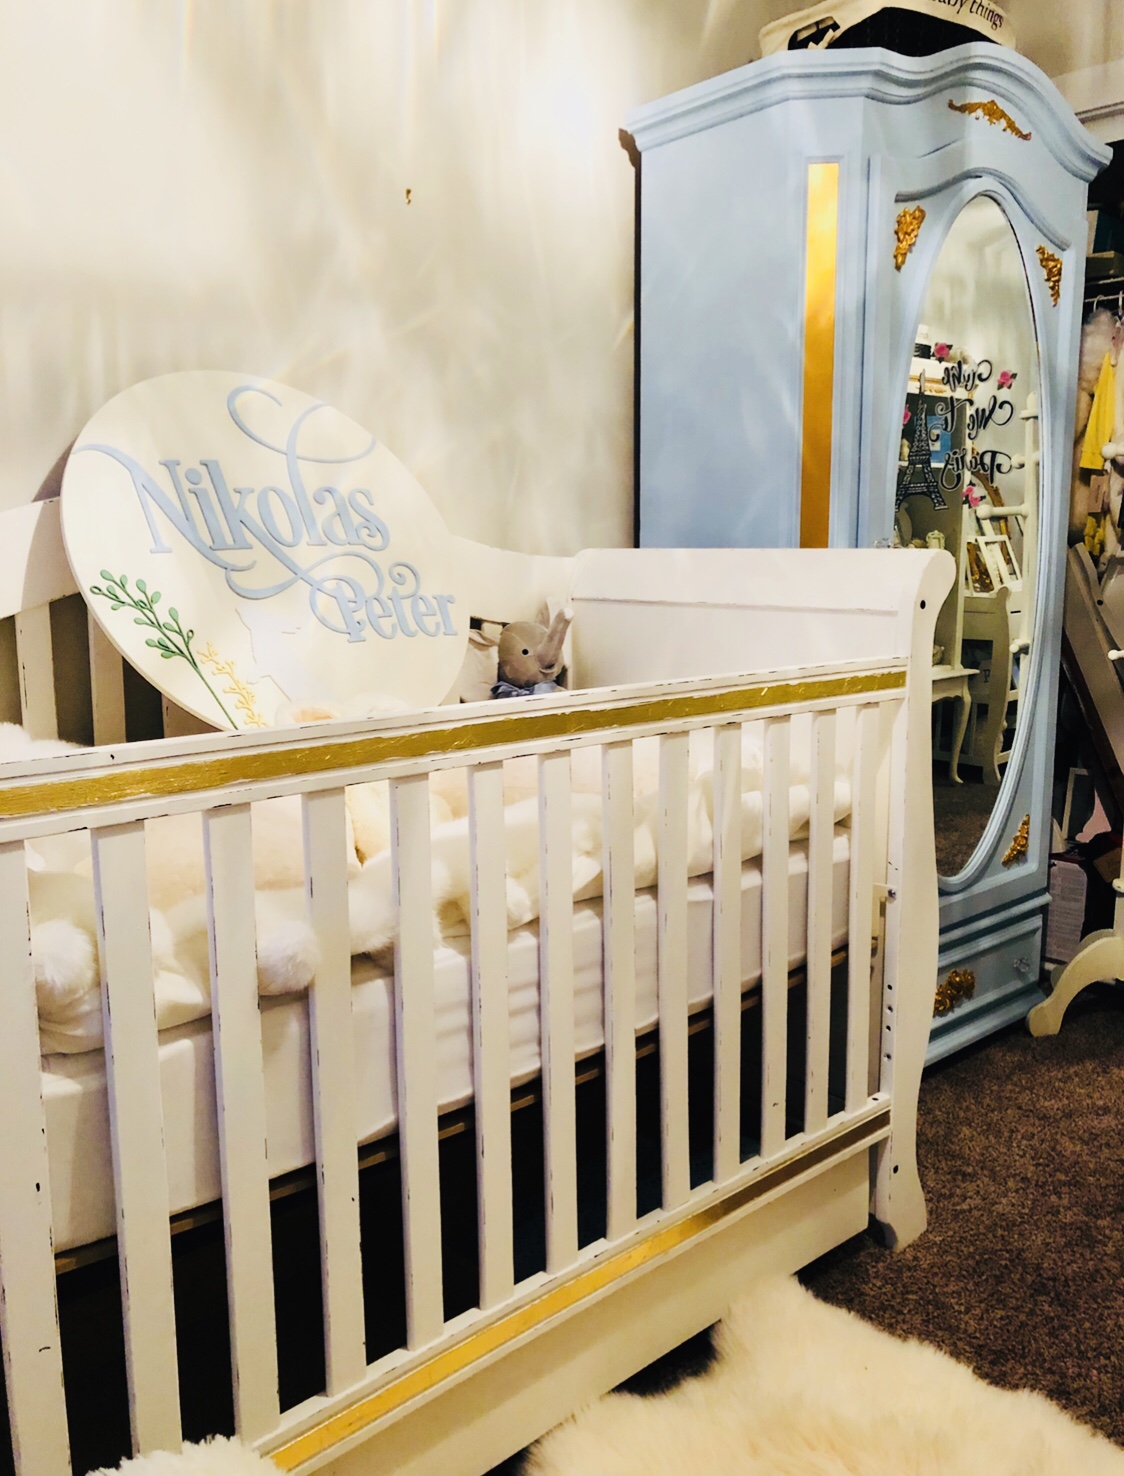
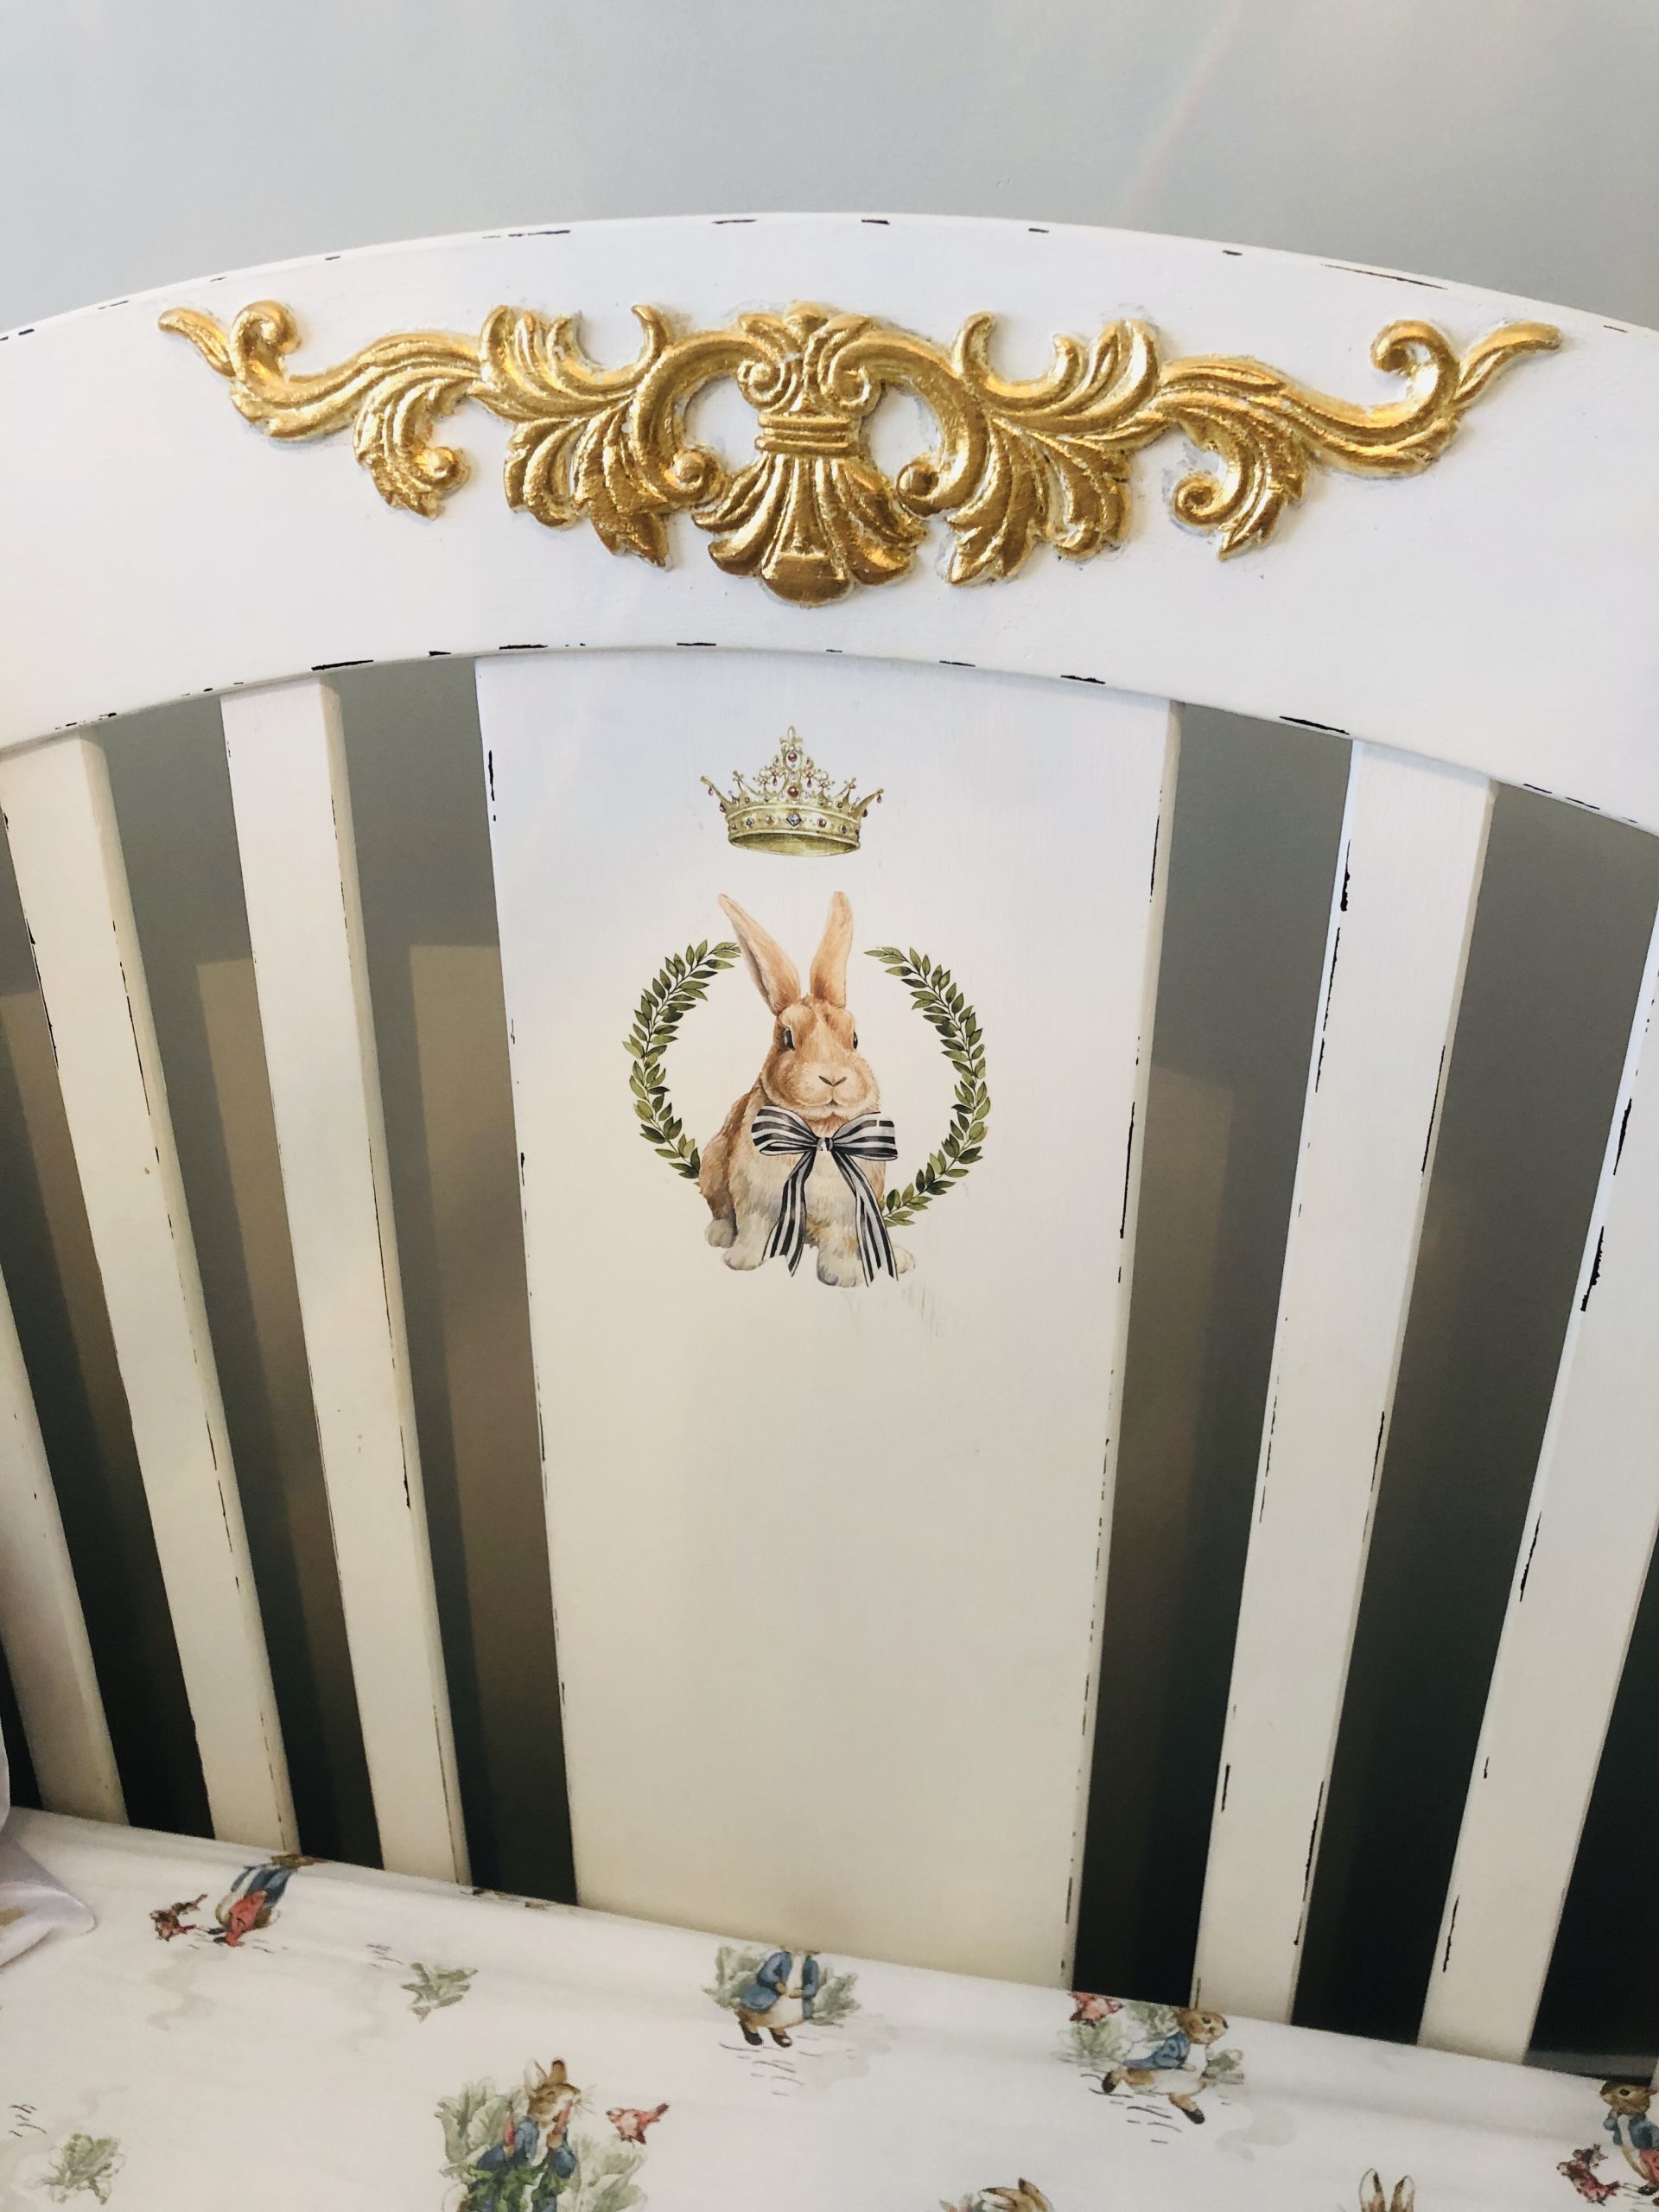
- I then added 2 more wood appliqués to the bottom of each side of the crib. I used gold leaf to decorate the wood appliqués on the sides and on the top of the crib. HERE is a link to the gold leaf I used for my project.
Gold Leaf
- I also added gold leaf to the front slats of the crib as you can see in the photo. I love the way my son’s crib turned out.
Furniture Transfers
- Lastly, I added some adorable vintage bunny furniture transfers to the top middle and to both sides of the crib! I absolutely love the way my son’s crib turned out. An amazing difference from a store-bought cherry crib.
- These are the transfers I used! HERE is the link if you wish to purchase it yourself!
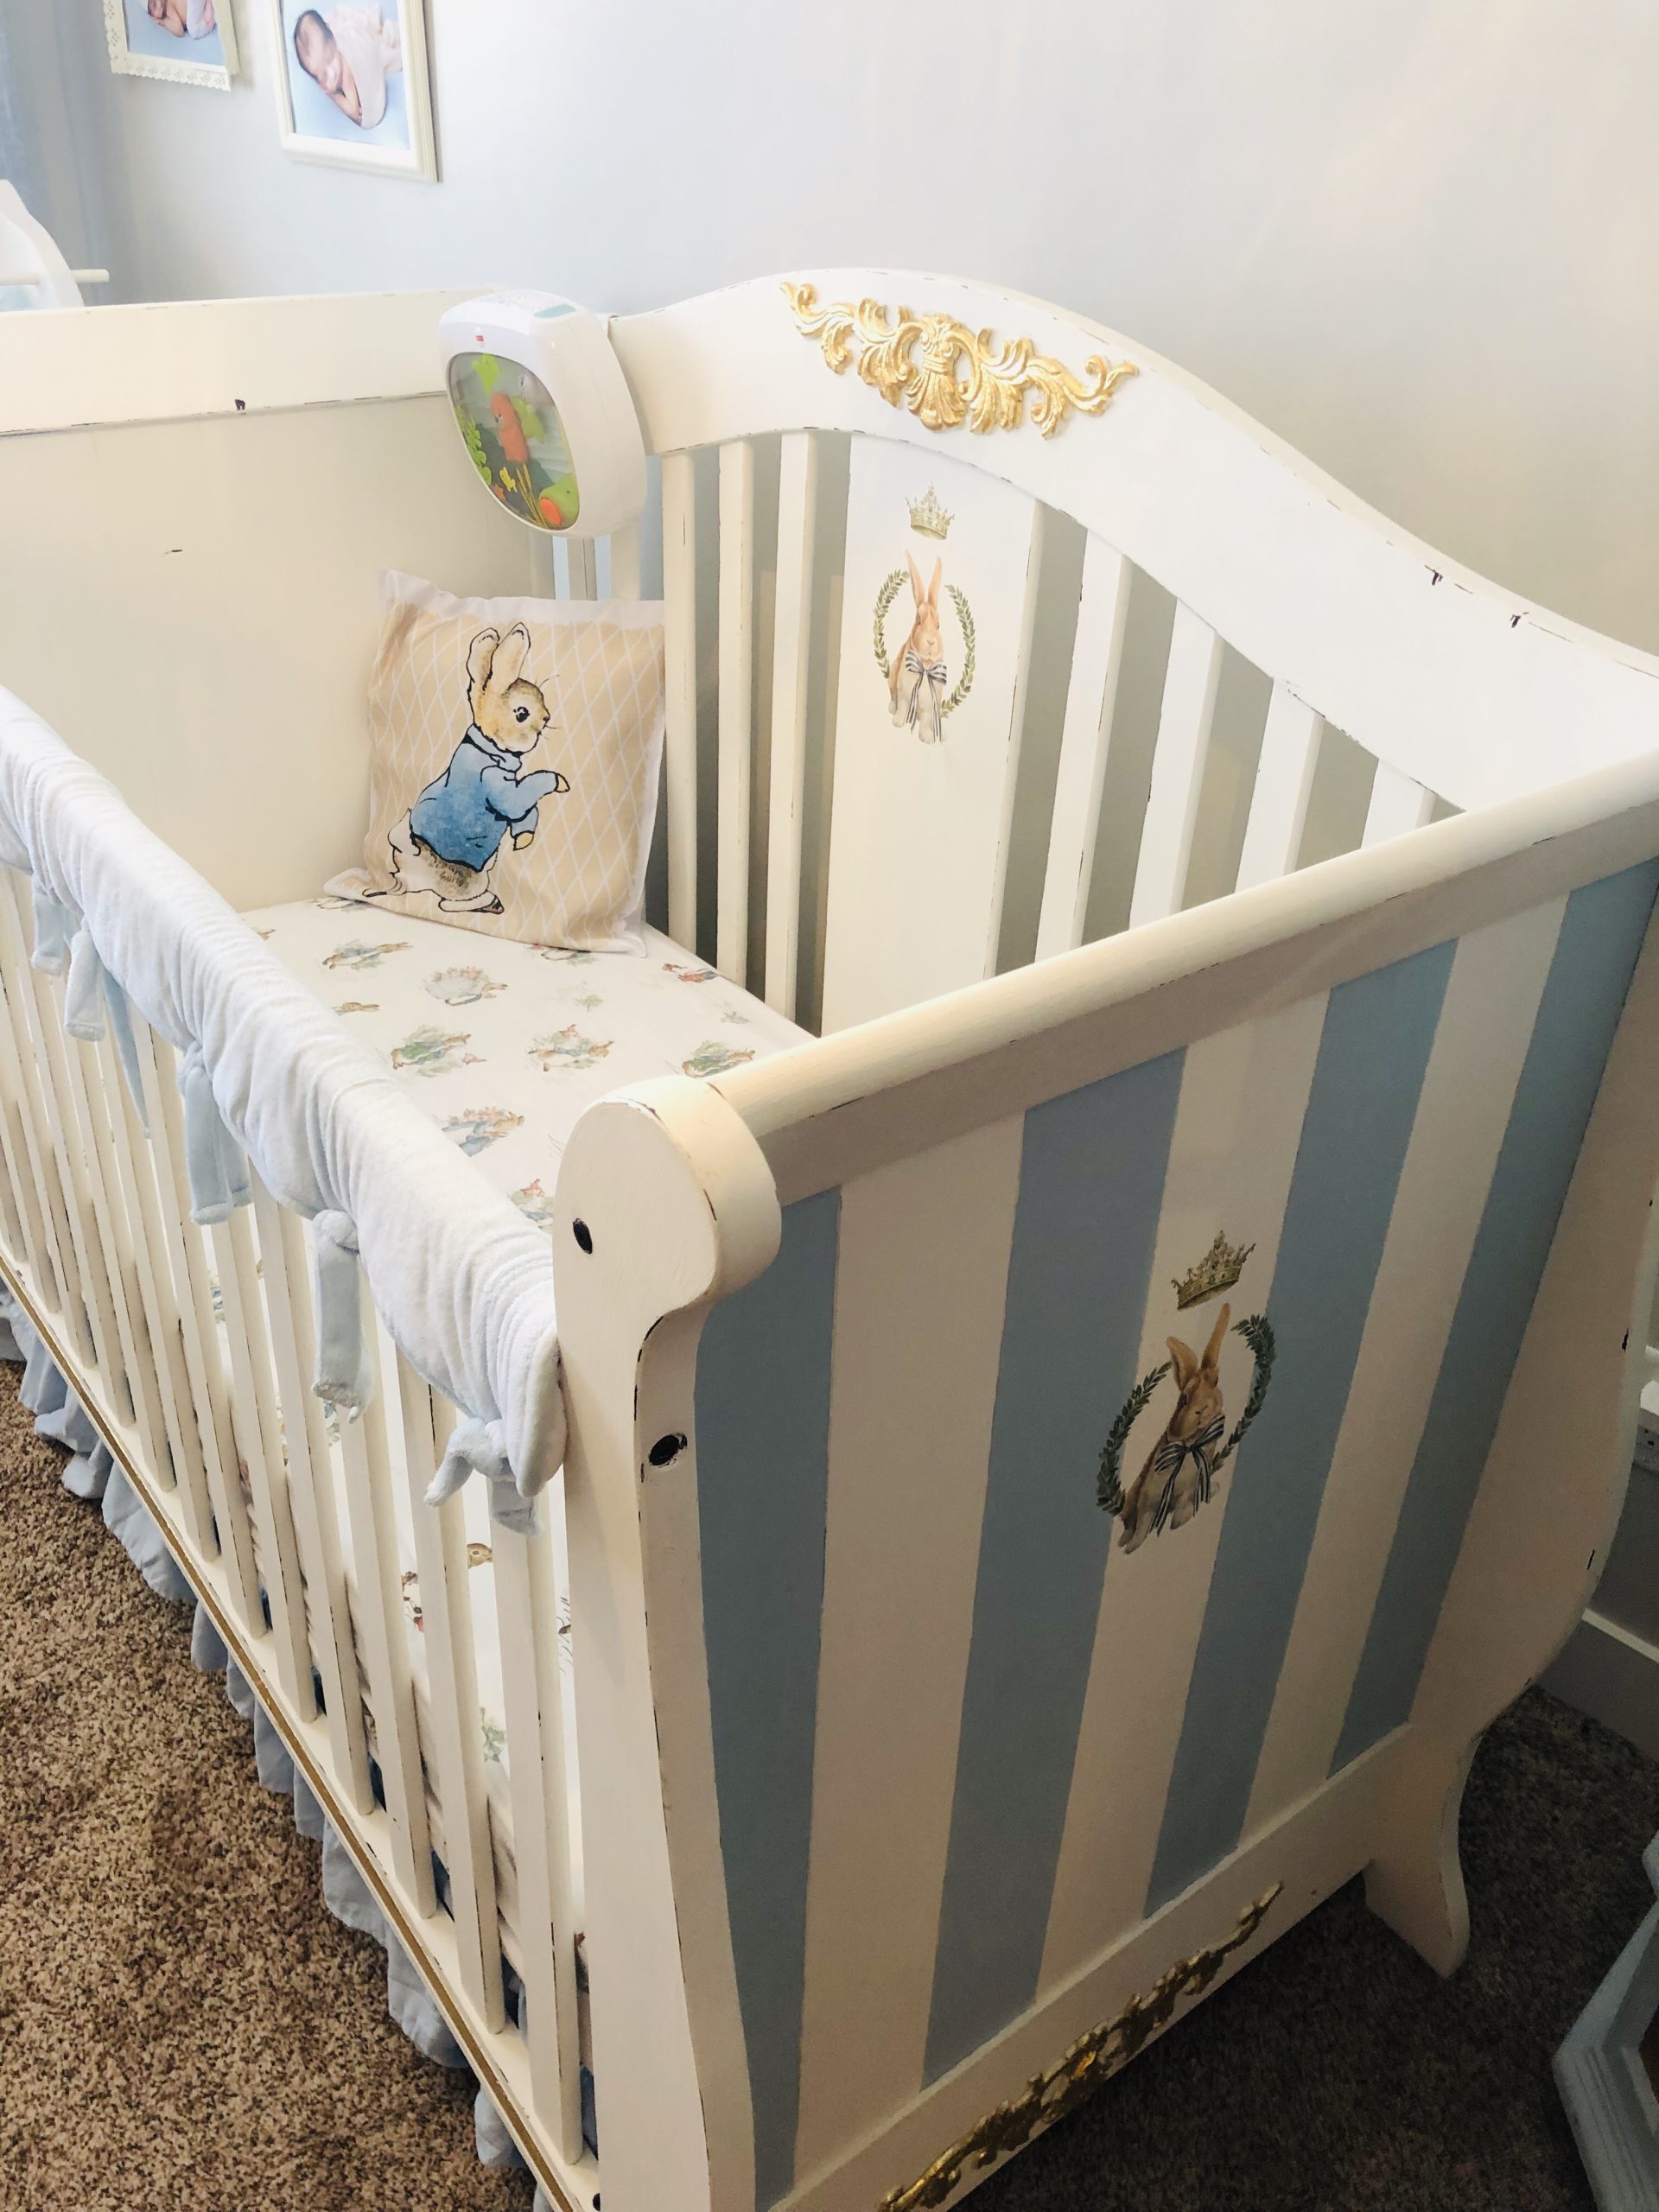
After
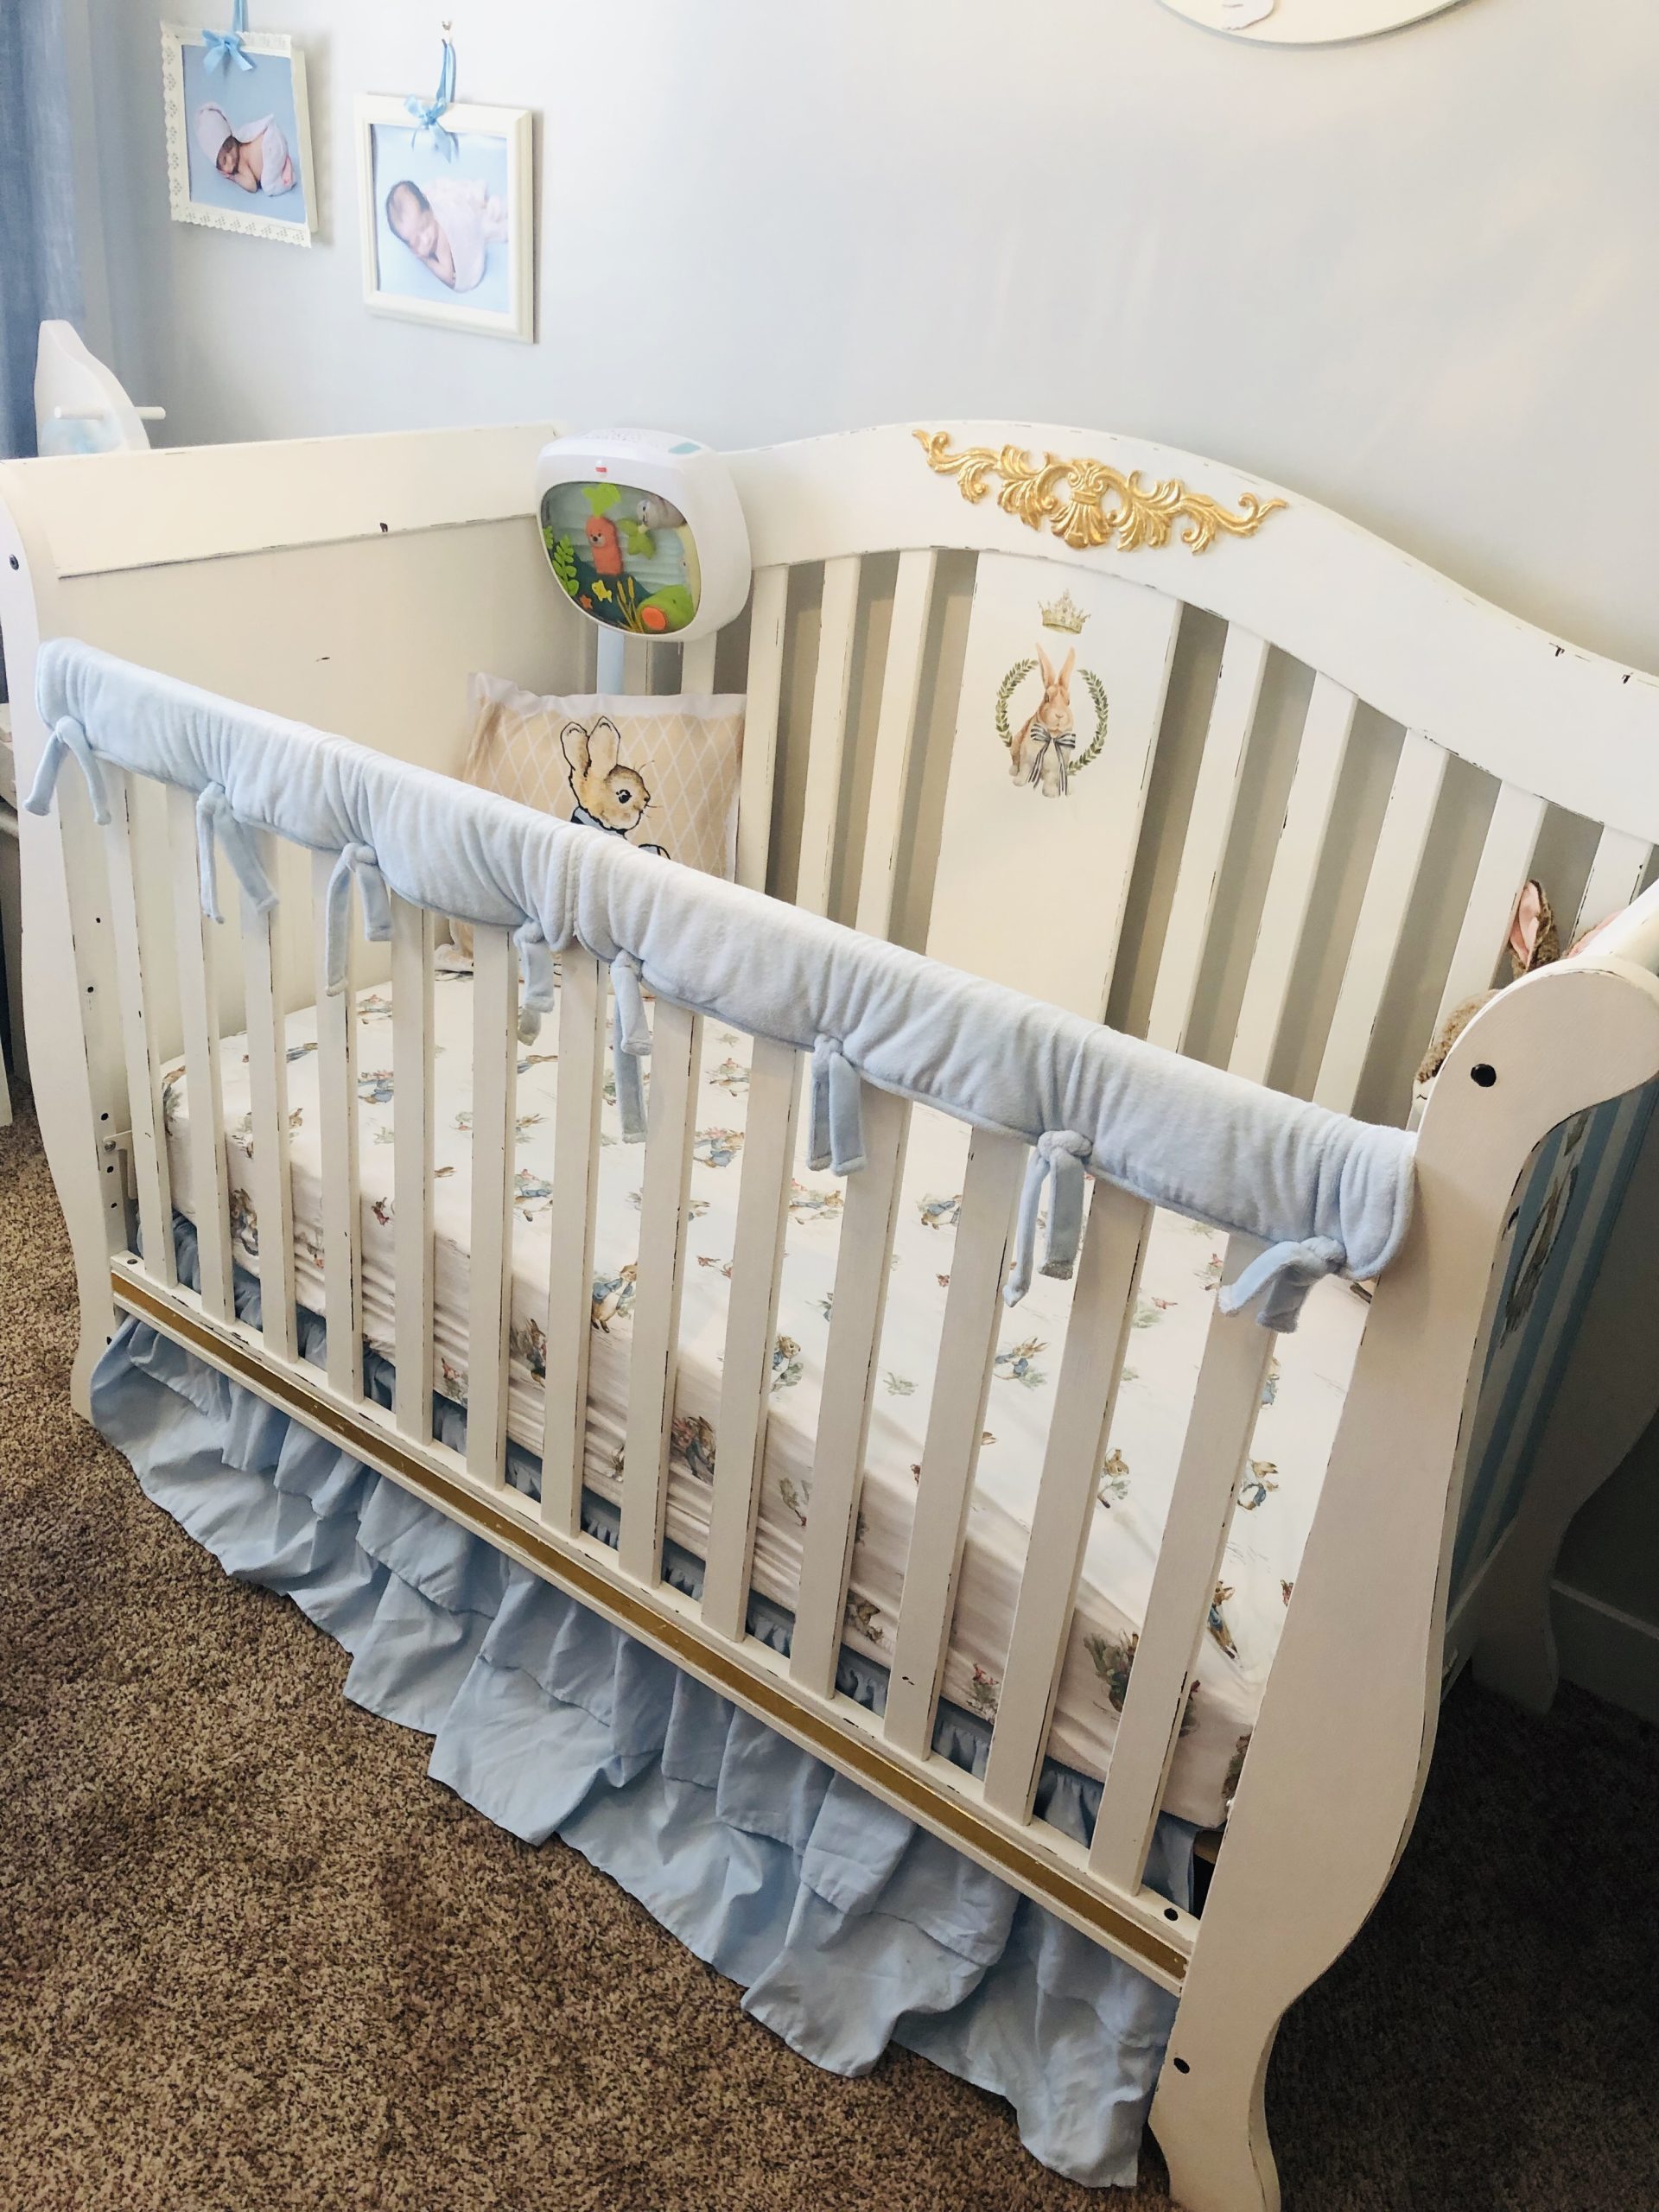
I hope my blog post inspires you to paint a crib! Yes you can and my son’s crib was definitely a labour of love. I added decorative elements to his crib over time as to not overwhelm myself with the project.
Before you Go, Please check out other projects I used with the above decorative elements:
PIN it for LATER!



Leave a Reply