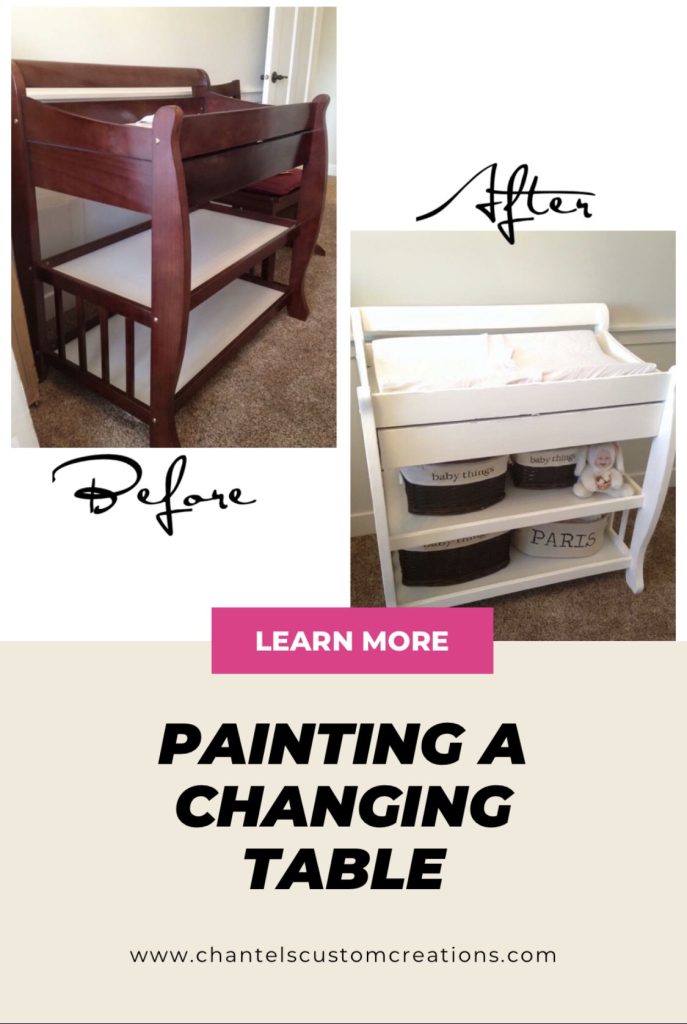
I absolutely love the sleigh style of the changing table I have, but the cherry wood look is no longer my style! I bought this changing table about 13 years ago! Yes, you can absolutely update old furniture.
All I needed to paint a changing table was a few supplies and some high-quality chalk paint!
This post includes affiliate links ; here is a link to my Disclosure Policy
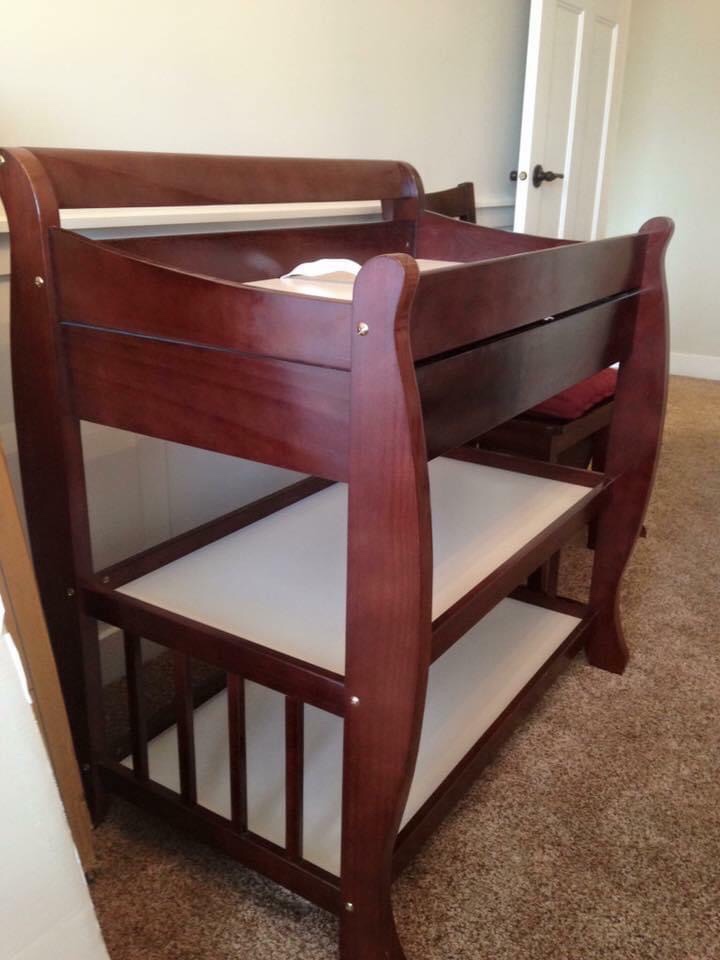
I love this beautiful changing table but a makeover was in order.
I highly recommend starting from shiny cherry wood to clean your surface well and to lightly sand so the fibers of the wood will adhere to the paint properly. Here’s my blog post on prepping furniture for painting HERE.
I would recommend a quality primer. I personally hate this step but from experience, it’s far better to prime and couple of coats than to use your precious expensive paints to get enough coverage. The primer I use is HERE. I like this Primer as it is water-based and virtually has no smell to it. I paint all of my furniture inside my house. We live in a house with 3 levels, so hauling all my furniture to the garage is just not going to happen! So I always make sure I use high-quality chalk paint with low VOC and always water-based. I will usually open windows to get good ventilation.
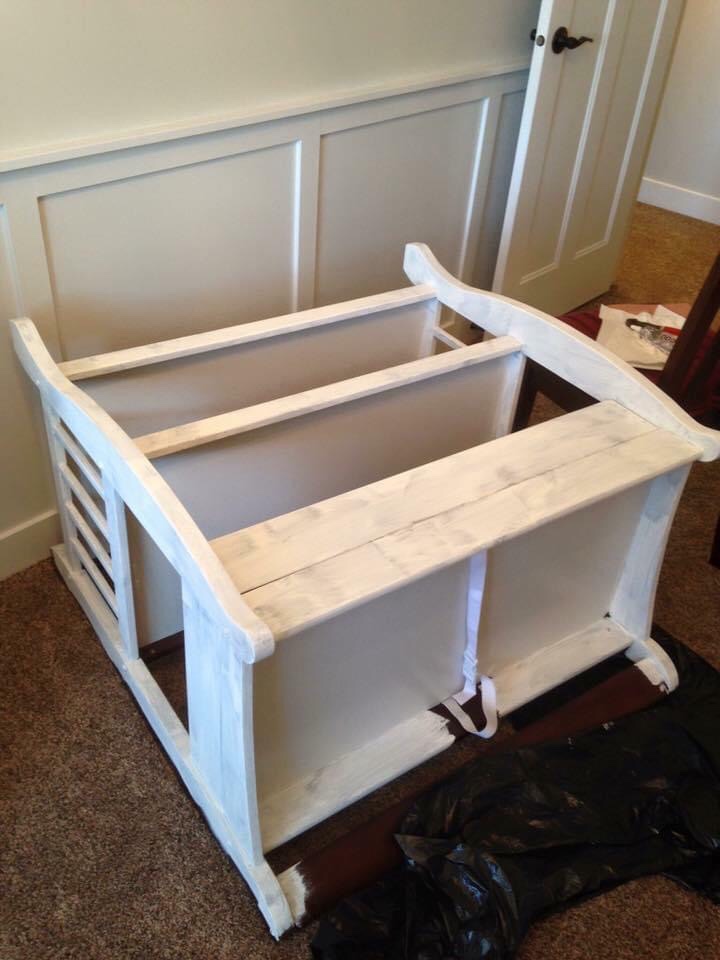
I used a high-quality paint brush HERE and I applied 2 coats of chalk paint. You may need 3 on your project, but if you use a high-quality primer, you should only need 2 coats.
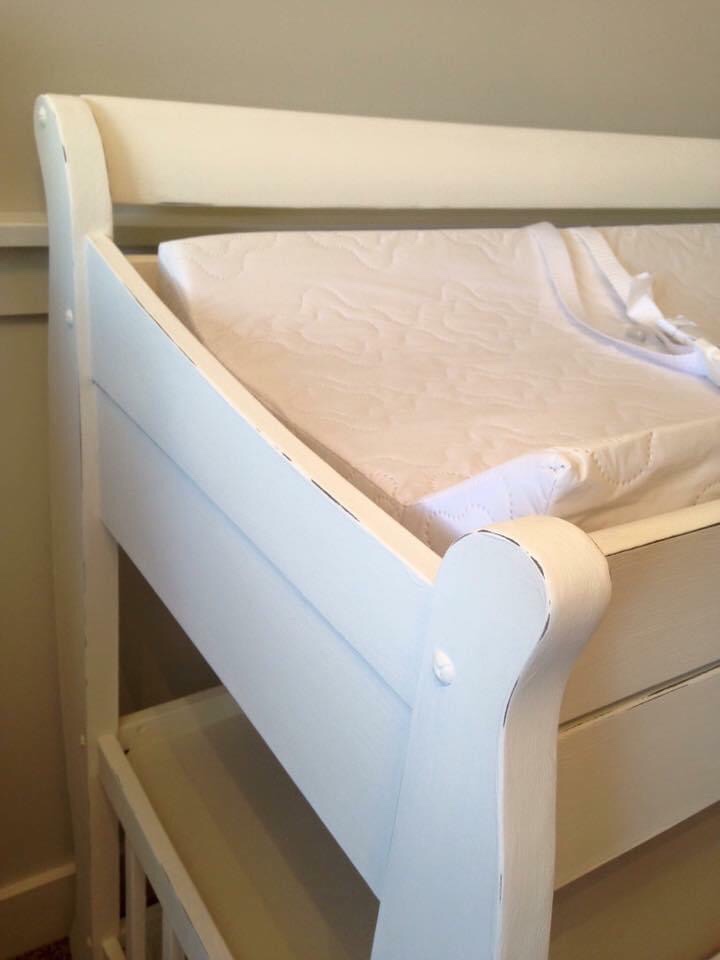
I then took a fine-grit sandpaper and lightly sanded the edges as I wanted a softer rustic look. This step is completely optional. If you don’t like the look of the rustic look, you can skip this step. I know when I started furniture painting, I was scared to distress my piece. But what I learned along the way is that even if you end up distressing too much, you can always re-apply your paint and start over. I would always advise to have a light hand to begin with and just keep going if you want to distress more.
I was also wanting to add a bit of embellishment as I felt it was a bit plain! So I added a wood applique. HERE is one that is similar, I can’t find the exact one I have here, but there are so many to choose from!
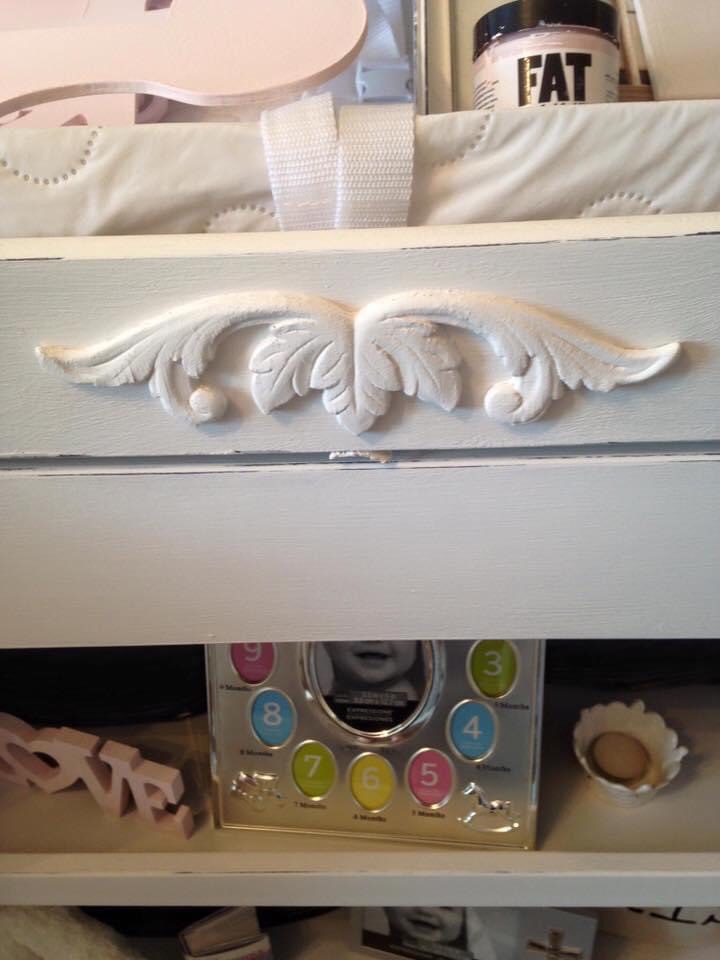
I simply used wood glue to adhere it to my furniture. I painted it out with the chalk paint and then used the Rustoleum metallic gold paint HERE to highlight the appliqué.
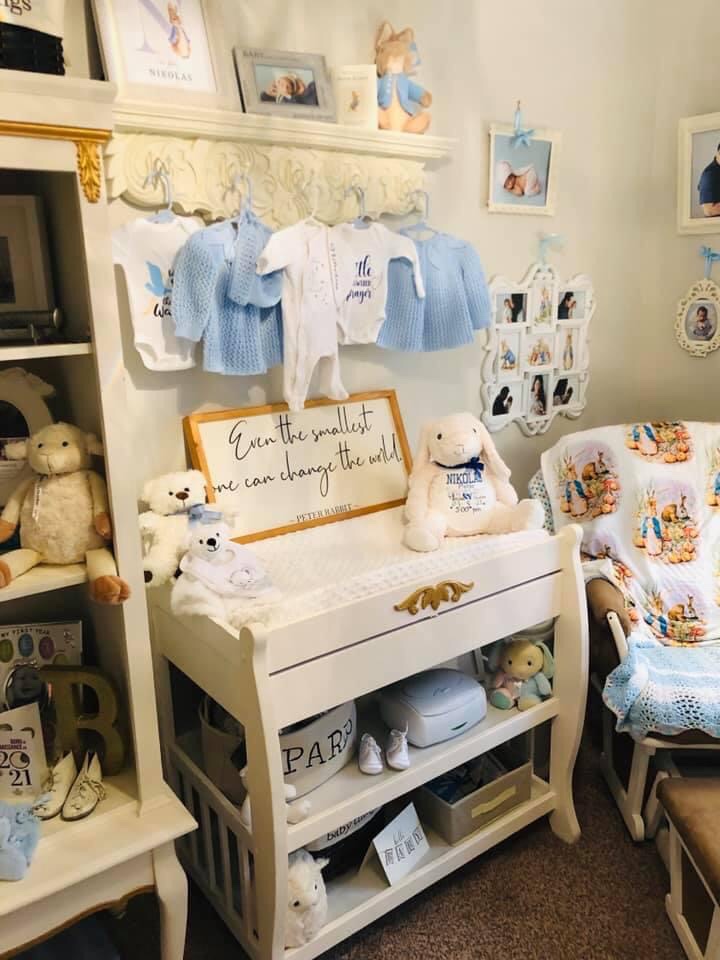
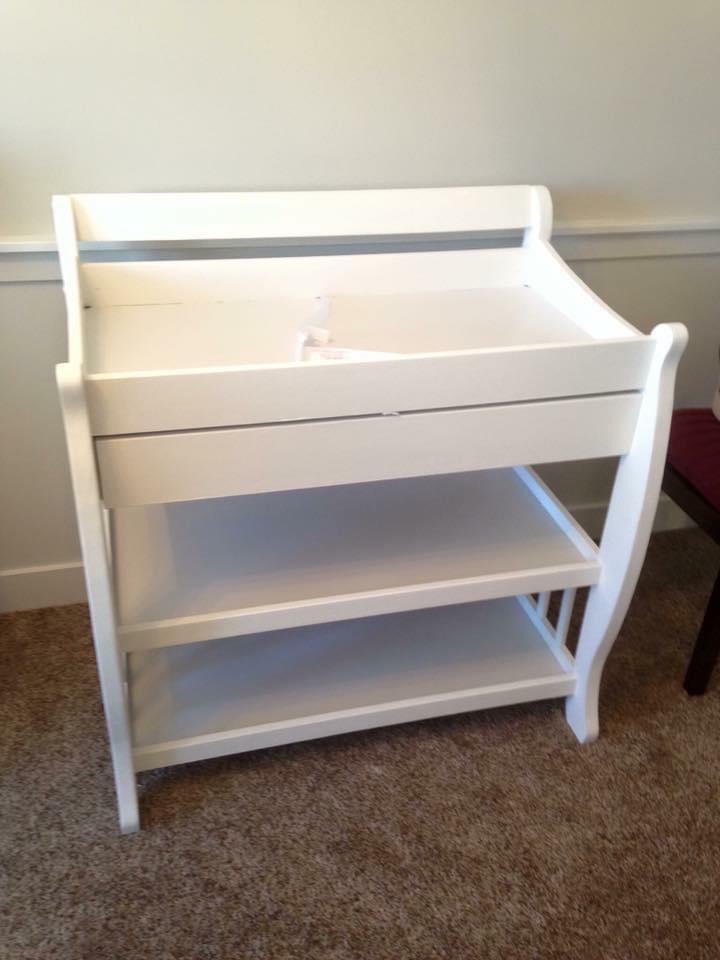
The end result was what I had envisioned for the nursery. I added a hanger shelf above and a small shelf to display the photos above. So happy with the way my change table turned out!
I hope you are not afraid to upcycle or revamp or makeover a changing table you might have in order to make it fit into your nursery decor!

Leave a Reply